Baby quilts are one of my favourite things to make. The reason? Because they are small so you can get them done fast. Plus, if you have an easy baby quilt tutorial to go by, you can get it done even faster…you know, for that baby shower you were only given two days’ notice for.
I must admit that I am not one for making long-winded quilts that take months to complete. Yes, I know they are worth it in the end but I have a tendency to get over things pretty quickly and want to move on to the next project. So quick and easy quilts are my favourite things to make. So with this in mind, we have started a series of quick quilt tutorials that only take a day or so to make and this baby quilt tutorial is a nice easy one to start with.
No binding quilt makes it super easy
You don’t even have to add binding to this quilt as we use the turn through method to make it. You could, of course, bind it in the traditional way if you prefer.
You are going to love this easy baby quilt pattern.
WHAT YOU NEED
- 16 layer cake squares (or cut your own 10″x 10″ squares) – We used a Moda Layer cake for this one and I highly recommend you do that if you have trouble choosing fabric or if you would rather not cut your own. It just speeds up the process immensely.
- Fabric for the backing – 1 ¼ yards (approx 38.5″ x 38.5″)
- Quilt batting (approx 38.5″ x 38.5″) – We use the Warm & Natural brand for most of our quilts and they do have a pack specifically for crib size quilts.
TOOLS USED IN THIS TUTORIAL
You can check the latest prices at Amazon by clicking on the links below:
- Creative Grids Ruler 8½” x 24½”
- Olfa 24″ x 36″ double sided healing mat
- Olfa 60mm rotary cutter
- Oliso Iron
- Gutermann Sew All thread
- 505 Basting Spray (temporary adhesive)
Watch the video tutorial below or scroll down for the written instructions
(Can’t see the video? You may have an ad blocker installed. You can watch the video on our YouTube channel here.)
Let’s Get Started
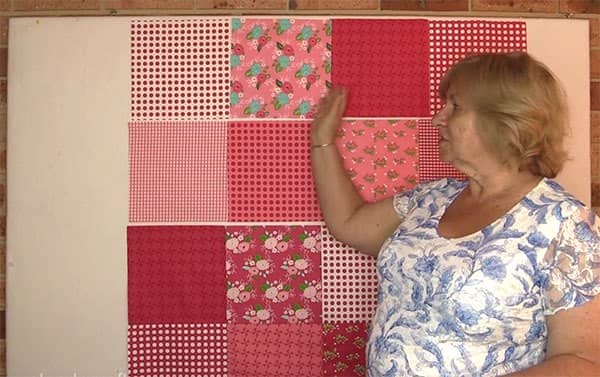
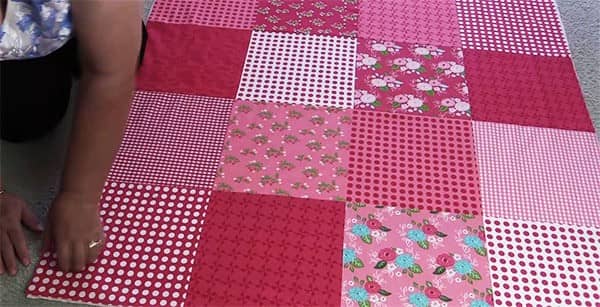
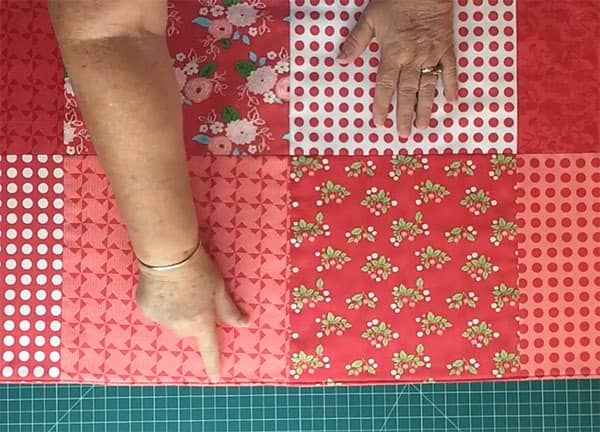
- Start by laying out your squares in the pattern you would like with 4 squares in each row.
- Sew together the squares into 4 rows. (Use a quarter inch seam throughout the sewing of this quilt.)
- Watch the video at the end of this post for tips on sewing the squares together.
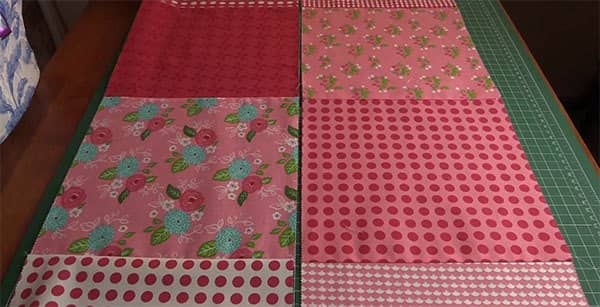
- Sew the first and second row together.
- Then sew the third and fourth row together.
- Finish sewing the quilt top together by sewing the two pieces together.
- Technically if you have sewn a perfect quarter inch seam, your quilt top should now measure 38.5″ x 38.5″. BUT, as we know things don’t always go to plan so it is best to measure your quilt from top to bottom and side to side to get the exact measurements.
- Once you have your measurement cut the backing fabric and the quilt batting to the same size. Our quilt did end up measuring 38.5″ x 38.5″ so that is how we cut our backing and batting pieces.
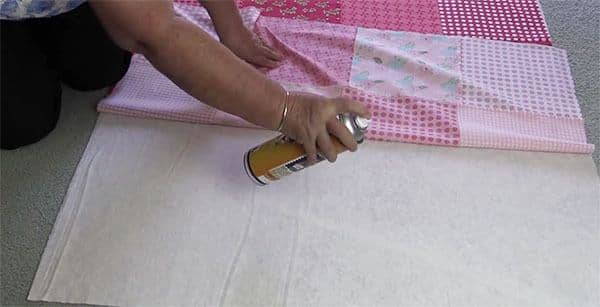
- Lay the quilt batting on the floor or table and place the quilt top face up on top of the batting. Smooth down as best you can. The smoother the better.
- Lift up the bottom section and spray with a quilting adhesive spray. We use 505 Spray. You can also pin if you prefer.
- Repeat the process with the top half of the quilt.
- Ensure you smooth down the quilt so there are no lumps and bumps.
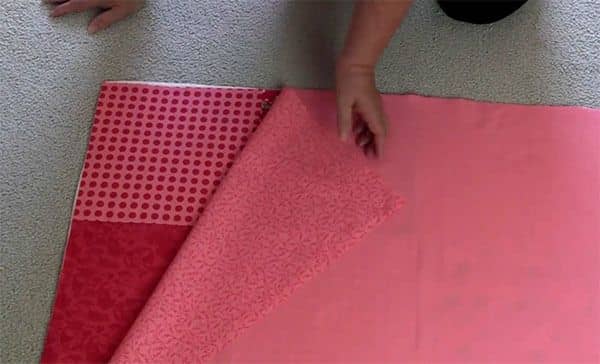
- Place the backing fabric face down on top of the quilt.
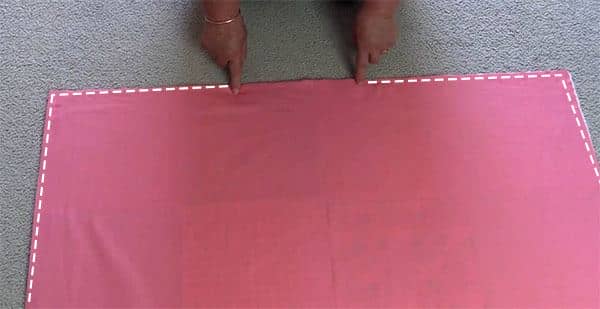
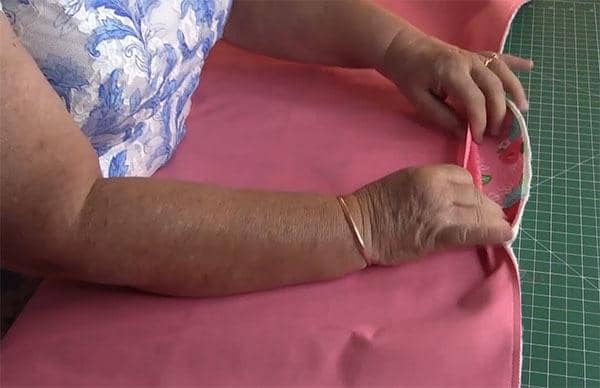
- Sew the three layers together by sewing around the quilt with a quarter inch seam. Ensure that you leave an opening of 5 or 6 inches to allow you to turn the quilt through.
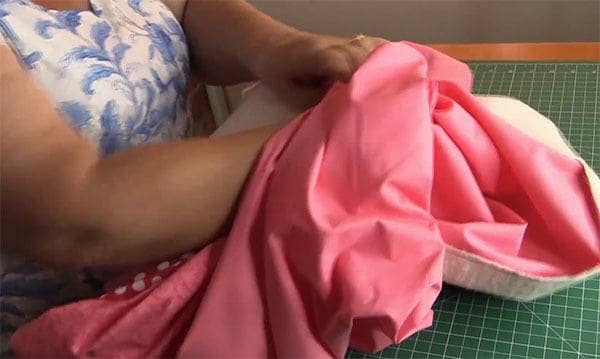
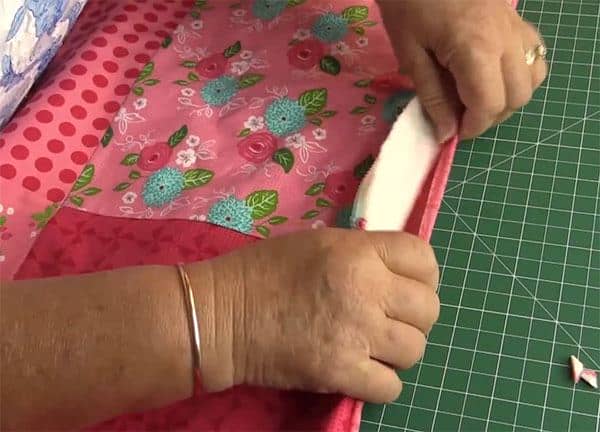
- You can clip your corners at this point to reduce the amount of bulk but we always like to turn the quilt through first before making any cuts, to ensure that all the layers have been sewn together correctly.
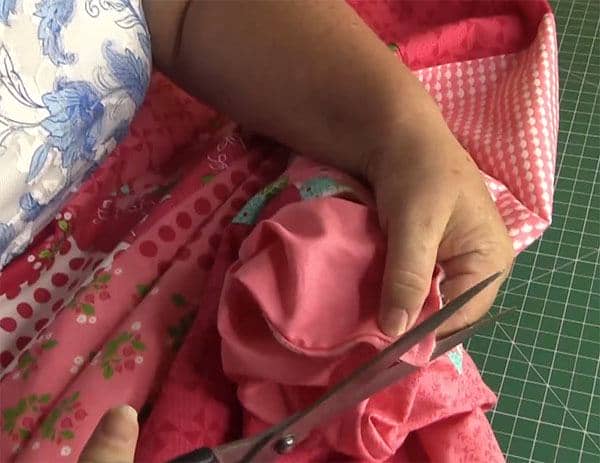
- Push out the corners. We use a skewer but you can also use a chopstick. If you are using scissors just be careful that you don’t pierce through the fabric.
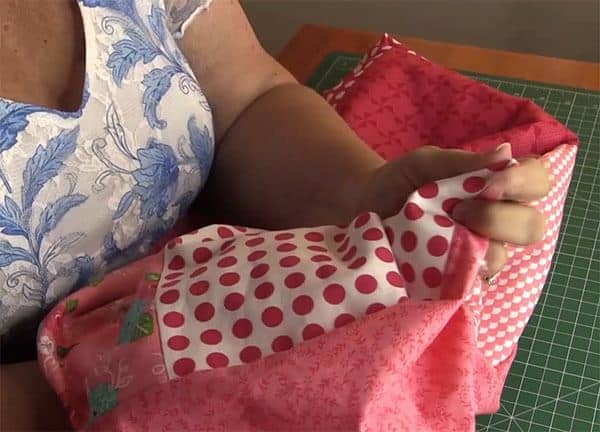
- Now fold in the opening neatly and iron around the edges of the entire quilt.

- You are now ready to topstitch around the entire edge of the quilt. This will close up the opening. Sew close to the edge – about 1/8″.
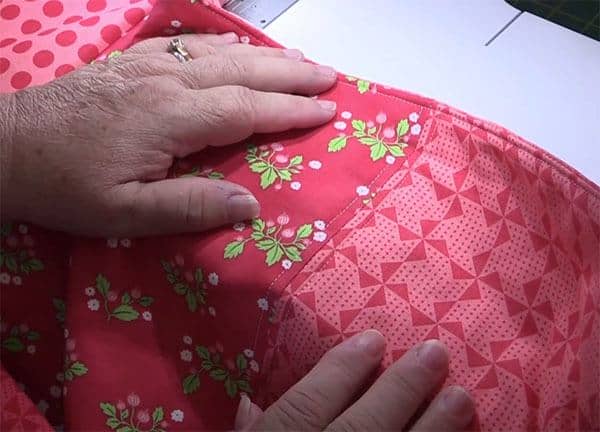
- You are just about done. Now it’s time to quilt your quilt. You have a number of options but just remember that with this particular quilt you don’t want to go to heavy with your quilting pattern.
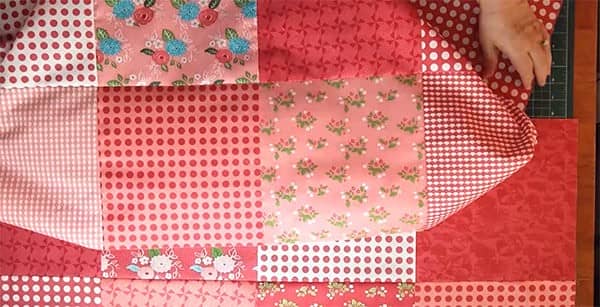
- The easiest option is to simply stitch in the ditch. Or you can do what we did and stitch on either side of each seam as you can see in the image below. You can find more details in the video on how we did this.
- Once you have finished quilting, you are done!


Nichole says
Love how u teach
Alanda says
Thank you Nicole 🙂
Deborah says
This was very helpful and to the point
Alanda Craft says
Thank you Deborah 😊
Susan says
Very nice and easy??❤️
Alanda Craft says
Thank you Susan!!
June Elaine says
You mske this project look enjoyable.
Thank you.
Alanda Craft says
The beauty of this layer cake quilt, June, is that is so quick and easy to put together, and that does make it an enjoyable project. You can whip one up in no time at all.
Anna says
We are expecting our 6th in March 2020,I plan on making baby a quilt and our 2 year old with my oldest for home economics!Thank you for the clear and easy to follow instructions❤️
Alanda Craft says
How wonderful Anna, congratulations. 6 children will certainly keep you busy. This baby quilt will be a quick and easy project for you both to make. I love hearing about children who are learning to sew and quilt, along with cooking, sewing is a great skill to have.
Kathy says
I made one of these baby quilts for a little boy. It was easy and was adorable when finished. I would like to print a copy of the directions but I can’t find the link to print the pattern. Sadly in a few months I won’t remember how I made this.
Alanda Craft says
You can click Print from your menu bar at the top of the screen. That will print the page for you.
Brenda Jo Smith says
Can I use this method on larger quilts?
Alanda Craft says
You can but the bigger the quilt, the more difficult it can be to work with using this method. If you are new to quilting, it might be better to start with this size first before tackling something larger.
Kay says
I just happened to discover you’al today. Have been quilting for about 7 years, often getting discouraged with how longggg things take to finish! I love your beautiful voices! Thank you for making quilting fun and exciting for the first time, it isn’t down right boring.
Alanda Craft says
Thank you so much for your lovely comment, Kay. I’m happy to hear that you are back having fun quilting. 🙂
Darcy Davis says
love your videos. So easy to follow along with you and easy to understand
Linda Bixler says
Love this easy pattern! Mine turned out beautiful!
Alanda Craft says
Awesome, so good to hear Linda.
C. Gresham says
Some types of batting require quilting more closely together than your quilting directions state. You might want to mention that in your directions so quilters will know what type of batting to purchase. (Especially due to this being written more for a beginning quilter who might not be aware of quilting requirements for various types of batting.)
Carol says
What size are the blocks?
Alanda Craft says
I have used layer cake squares which measure 10″x10″. They are sewn together with a 1/4″ seam so the finished size of block is 9½”x9½”
Honey Lazoren says
Oh, so simple, You’ve encouraged me to go through my stash, dig out my sewing machine and get busy ceating again. Thank you so much
Alanda Craft says
That is so lovely to hear Honey.Thank you for your lovely comment 😊. We do have a number of really quick and easy projects that you might like.
, Cassandra says
I’m am a Beginner at sewing and I want to thank you for the Tutorial you did a wonderful job, Cassandra
Alanda Craft says
Thank you Cassandra!
Nicki says
Love your tutorials! Very easy to understand!
Alanda Craft says
Thank you Nicki. 😊
Nadra Calver says
I enjoyed and found easy to follow
Eager to try it out
nadra
Alanda Craft says
Thank you Nadra, It’s a nice easy quilt to start with.
Terri says
Has anyone ever just tied this quilt?
Noreen Jankowski says
I feel the same way you do not spending years on a quilt need to get them finished for those babies. Regarding this pattern what would you think about a decorative stitch around. Would it work?
around the whole outside?
Alanda Craft says
I think a decorative stitch around the the quilt would look really nice, Noreen. You could certainly do that instead of the straight stitch that I have used.
Karen H says
I love watching your tutorials! I’m so glad I “found” you to help me with my quilting! Like you, I don’t like having a project that takes months…as I lose interest.
Again thank you for these wonderful informative tutorials!
Alanda Craft says
Thank you for your lovely comment Karen 😊
Jackie R Bohner says
I want to know how many layer cake squares you need for a queen size blanket in flannel, going across and down. How many yards do you need for the backing to fit the batting.
Deb says
Your projects are always so clearly instructed and so much fun to make. Thank you.
Alanda Craft says
Thank you for your lovely comment Deb 😊
Bridget Piscoya says
Do you need a walking foot for this quilt? I love the simplicity of this! Thank you!
Alanda Craft says
No Bridget, it isn’t absolutely necessary. A walking foot makes it easy to hold the layers in place as you sew them together. However, you can use your regular foot but take it slow and adjust the fabric as you sew, so that you don’t end up with the fabric bunched up and out of alignment at the end of the row. A walking foot works in such a way that the top fabric doesn’t move as much.
Marge Barlow says
I think if you wanted to add more quilting, you could do so with diagonal lines to form x, I love this tutorial. Thank you so much!!
Alanda Craft says
Thank you Marge 😊. Yes, that would certainly work