Whether you are new to quilting and aren’t yet ready to tackle binding or you’re a seasoned quilter who just wants to put together a quick and easy quilt, then here is a no binding baby quilt tutorial for you.
In this tutorial, I am making the cutest little quilt and I’m doing it all without a pattern. And the best part as mentioned previously is that this quilt has no binding so you don’t have to fuss around cutting and sewing on binding strips.
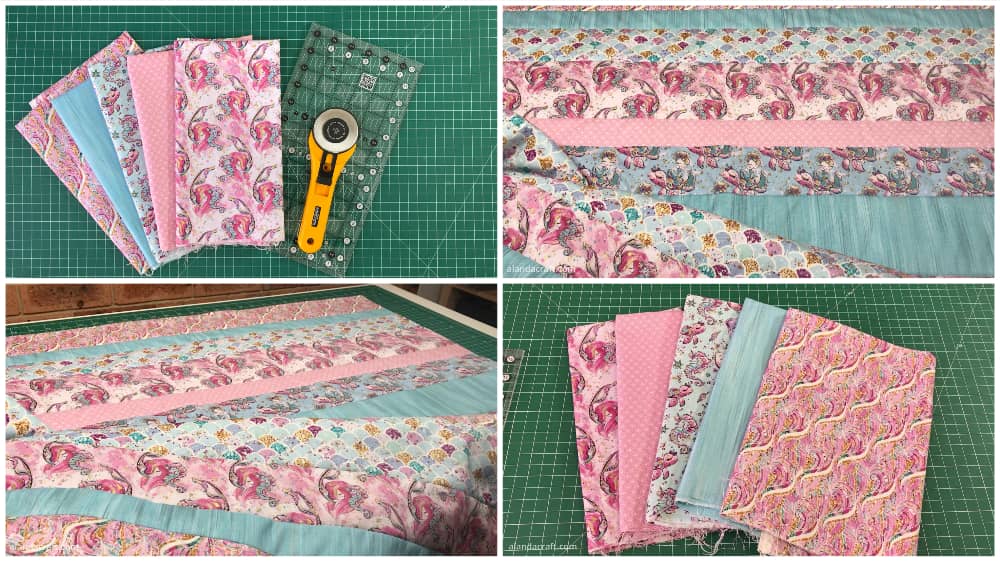
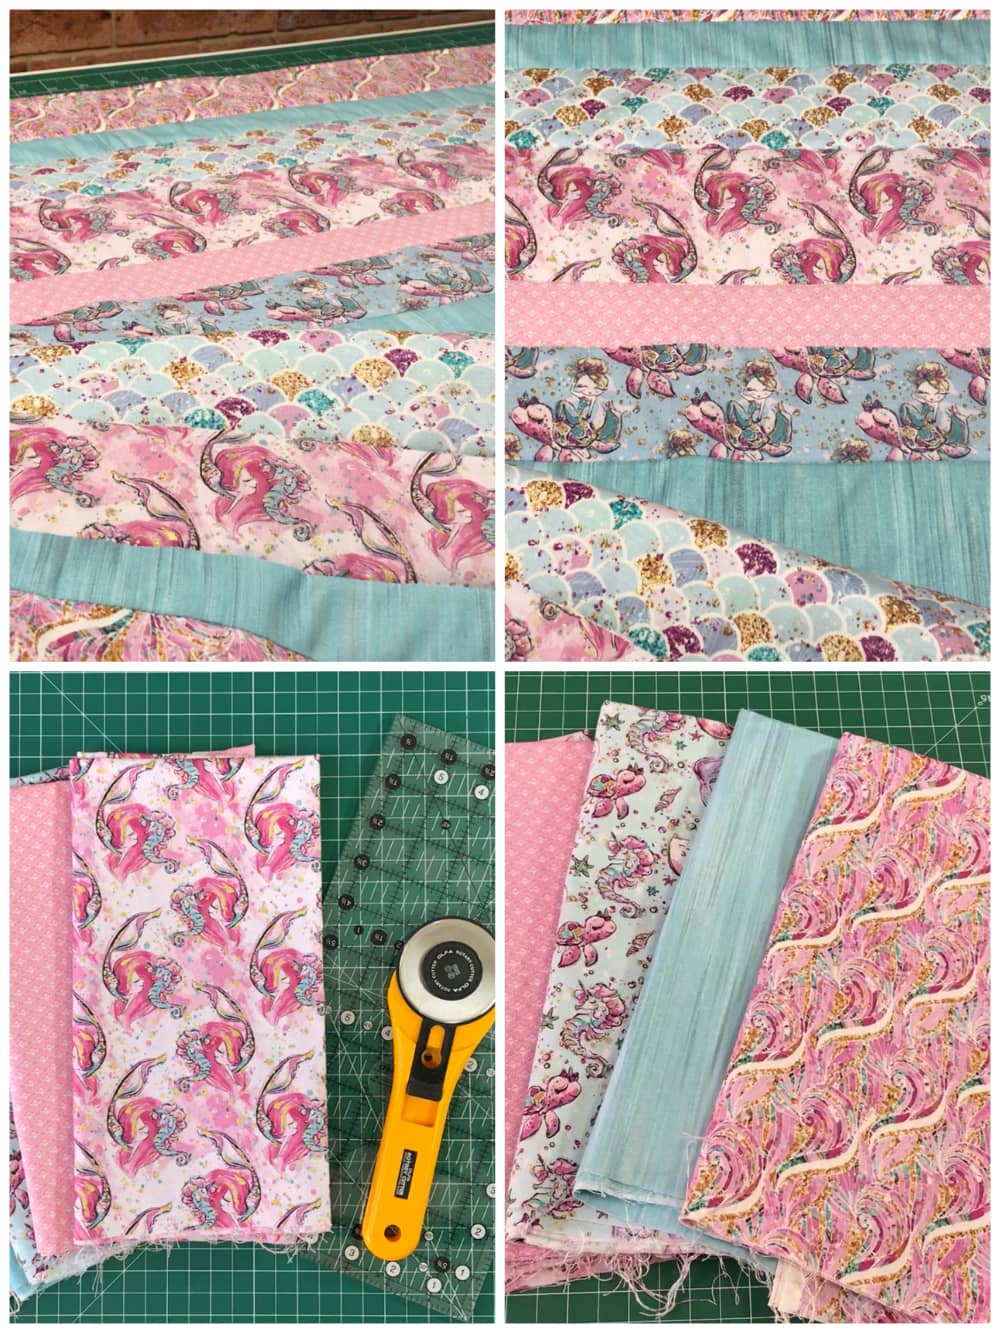
This quilt is a great scrap buster as you can use strips of fabric in all sorts of colours from your stash – they just have to be scraps that are the full width of the fabric so that they are wide enough for your quilt. So you want strips that are selvedge to selvedge in length. And if you don’t have any suitable scraps you can do what I’m doing, which is cut strips from some pretty fabric I have had sitting around waiting for the right project.
Finished Size
Our finished quilt measures – 53¾” x 40¼”, however, your quilt will most likely end up at a different size. This is a no pattern quilt so it will depend on the strips you cut and the size you desire as to what the final size will be.
Watch the Video Below
Can’t see the video? You may have an ad blocker installed. Click here to watch on YouTube.
What You Need
We can’t really tell you how much you will need for this quilt because it will vary from person to person since you will be the one choosing how many strips you want and also the size of each strip.
But just to give you an idea, for our quilt we ended up using 6 different fabrics and we used about 1¾” yard in total for the quilt top. And for the backing we used about 1¾” yard and the same for the batting.
What Tools are Used in This Tutorial
Please note: The following are affiliate links. This means that we receive a small commission on item you purchase at no extra cost to you. This helps us to keep bringing you free tutorials.
- Olfa Rotary Cutter 60mm
- Creative Grids The Big Easy 12-1/2in x 24-1/2in Rectangle Ruler – CGR1224
- FriXion Pen
- 505 Fabric Adhesive Spray
- Panasonic NI-WL600 Cordless Iron
- Warm and Natural Batting
Cutting the Strips
You can randomly cut strips from fabric you have on hand, or use jelly roll strips or use a mix of each. In other words, there is no set pattern here, you just want to have enough strips to make up the size you want for your quilt. And remember that they need to be the full width of the fabric.
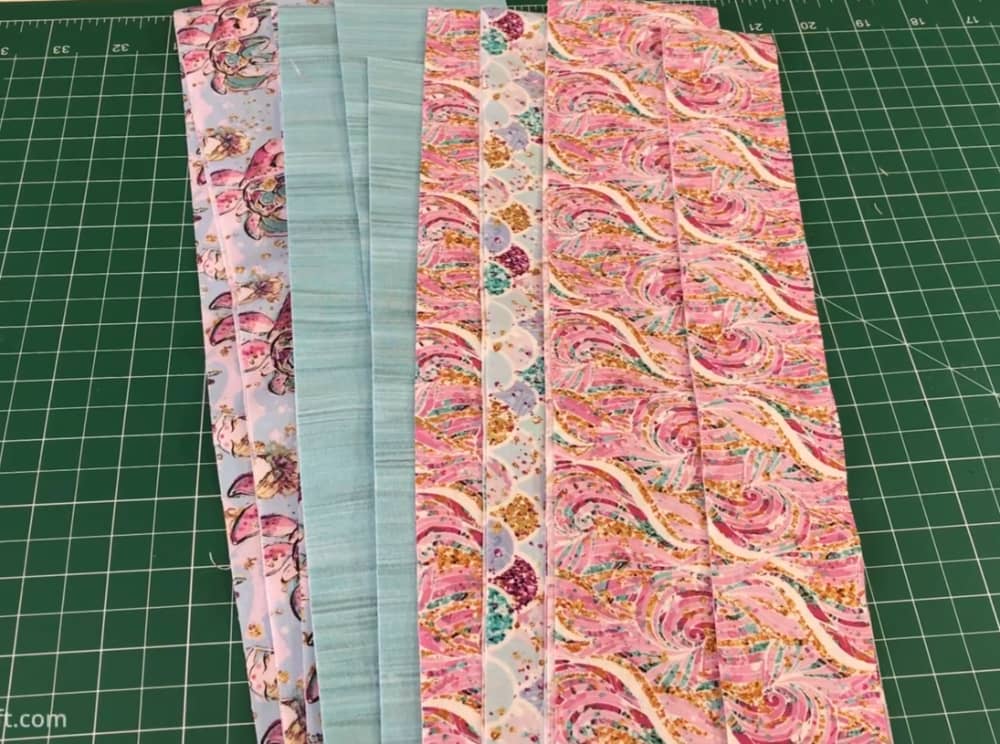
From each of my six fabrics I initially cut the following but I added more as you will see further on:
Now, you don’t need to cut them at these sizes. You can keep everything at 3” strips or at 4” or use some leftover jelly roll strips but I am going for a more random look with different sizes.
- 1 x 2” strip x width of fabric
- 1 x 3” strip x width of fabric
- 1 x 4” strip x width of fabric
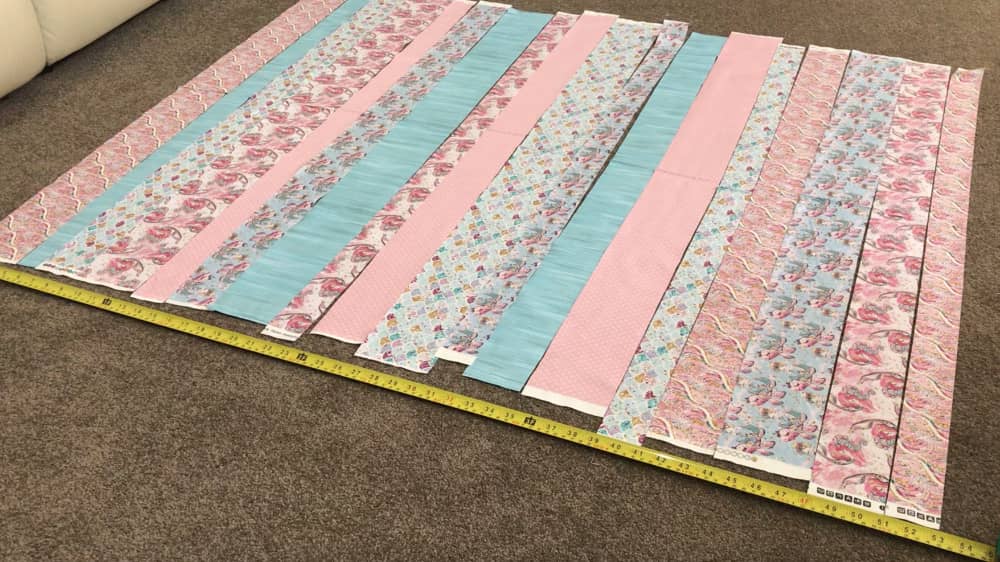
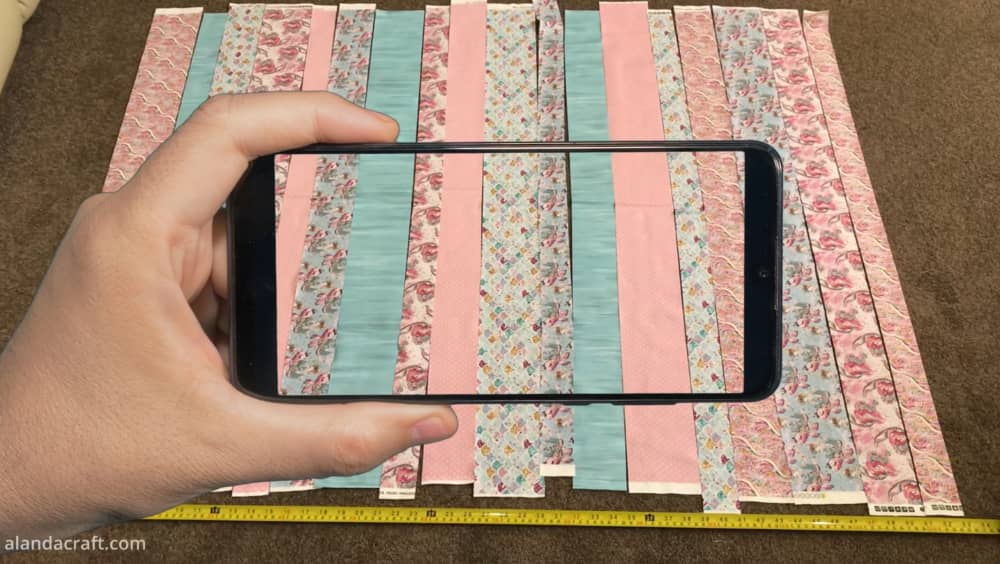
Lay out your strips
Once I cut my strips, I laid them out to see how the strips will look and also how long my quilt will be.
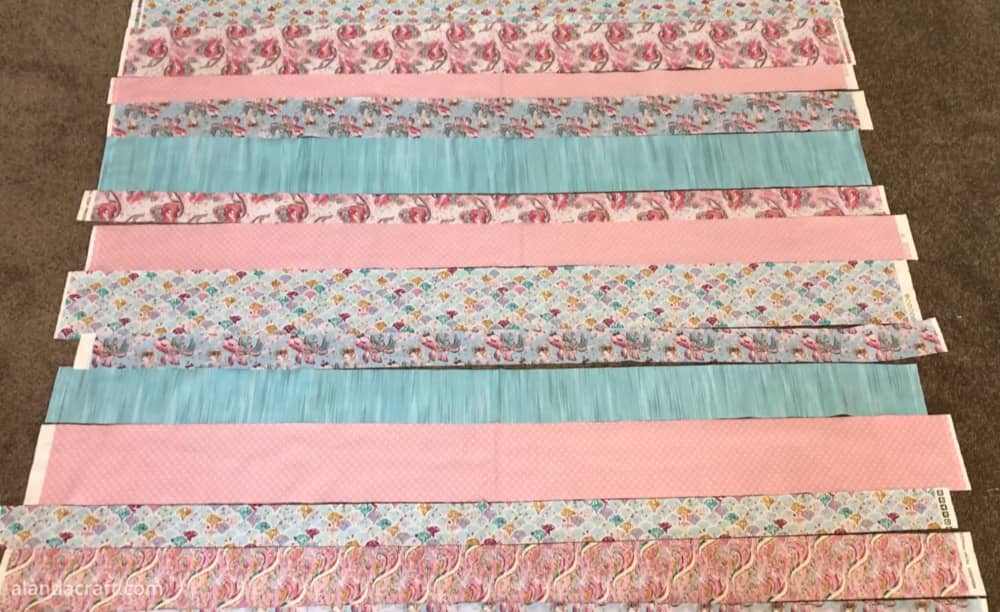
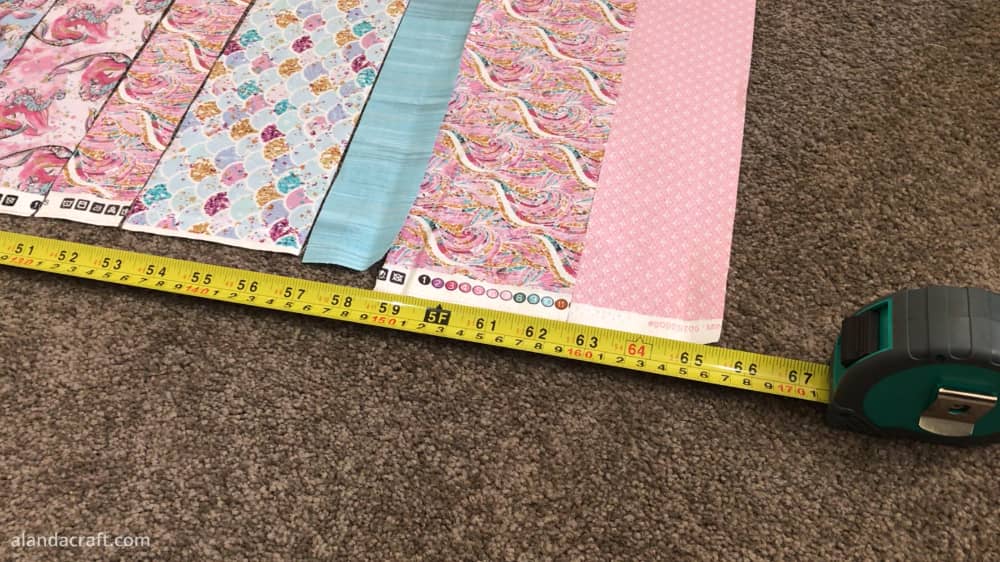
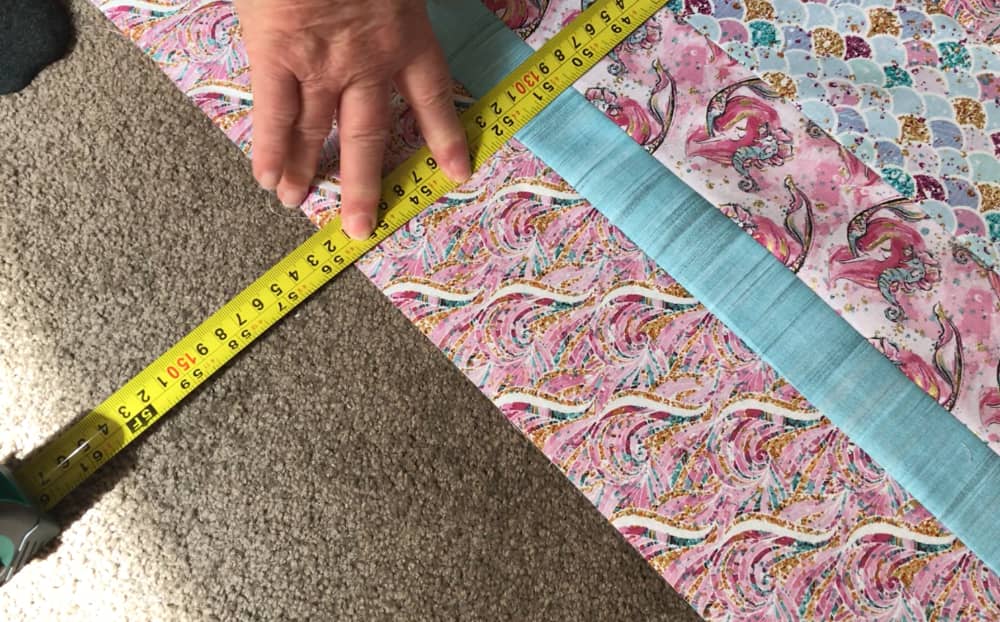
Measure the Quilt
At this point, we need to measure down the side of the quilt to see how long it is and mine measures 53”.
I want my finished quilt to measure around 40” x 55” but we have to take into account that we are going to sew all of these strips together which means we will be losing a half inch with each seam line and that is going to make my quilt a whole lot smaller.
So I am going to need to cut a few more strips to add to my quilt, and I ended up cutting 4 more strips.
- 2 x 4″ strip x width of fabric
- 1 x 3″ strip x width of fabric
- 1 x 2″ strip x width of fabric
Once I laid them out I measured the quilt again and it came to just under 65”.
I am happy with this size. If I take into account the seam lines it will bring my quilt down to about 55” once the strips are sewn together.
You can add more strips if you want to make a longer quilt but you don’t want it too tall as it will look a little odd.
Once you are happy that you have the right number of strips, it’s time to play. Arrange the strips into a design that you like and once you are happy that your strips are to your liking, it’s worth taking a photo with your phone or tablet so you can refer back to it if needed.
Putting the Quilt Together
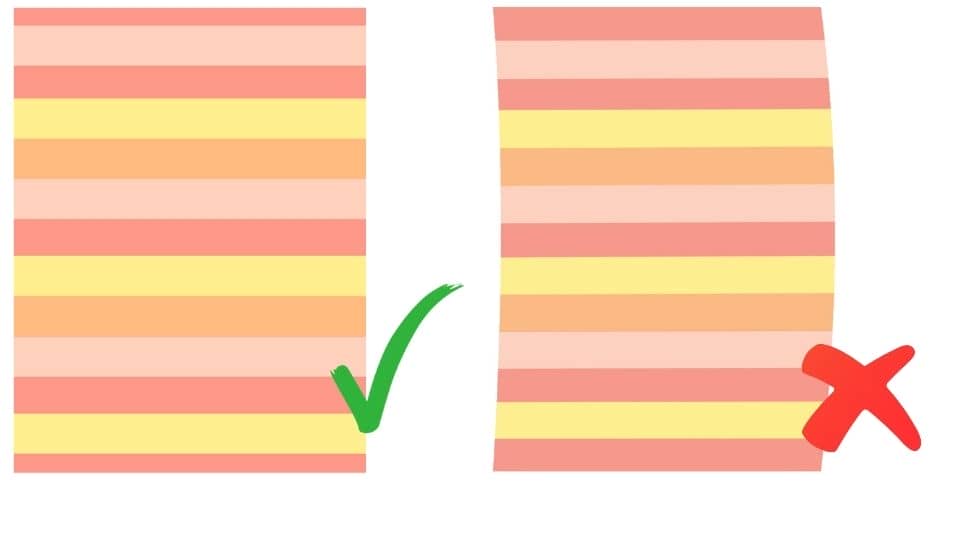
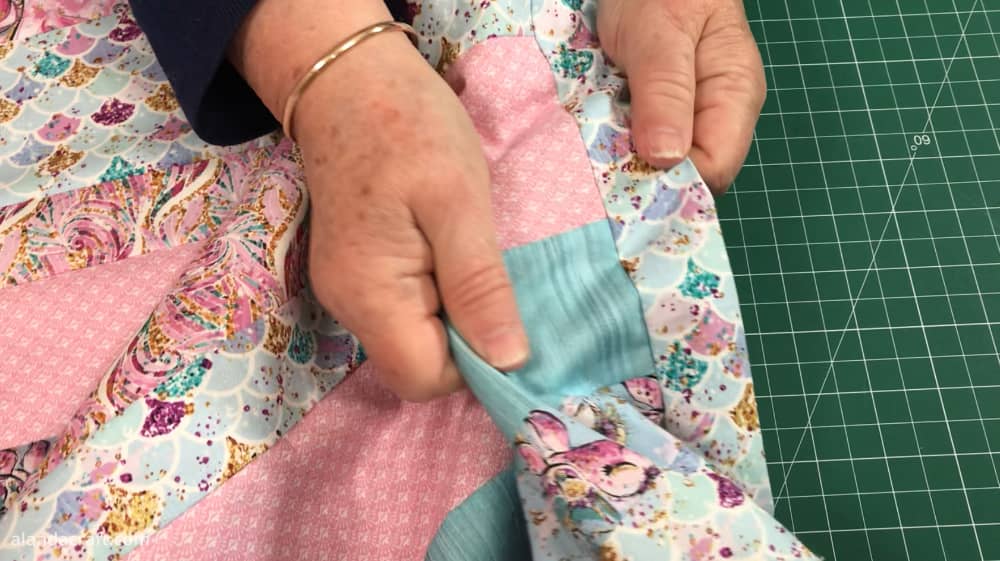
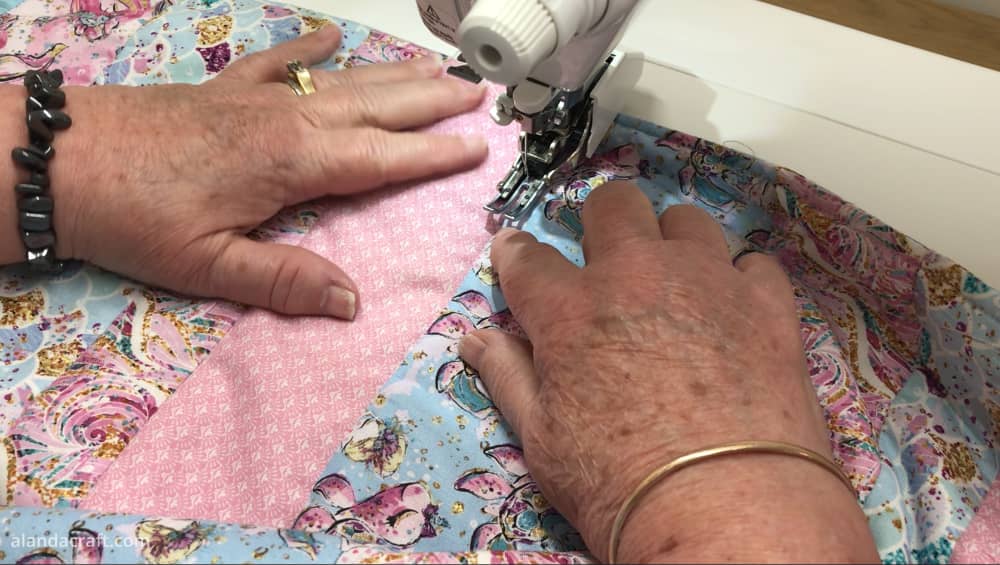
Now we are ready to start sewing these strips together and you will be doing this with a quarter inch seam So I am going to take the first two strips and sew them together with a quarter inch seam. And then I will take the next two strips and sew them together and so on all the way up the quilt. And I will continue in this way until the whole quilt top is complete.
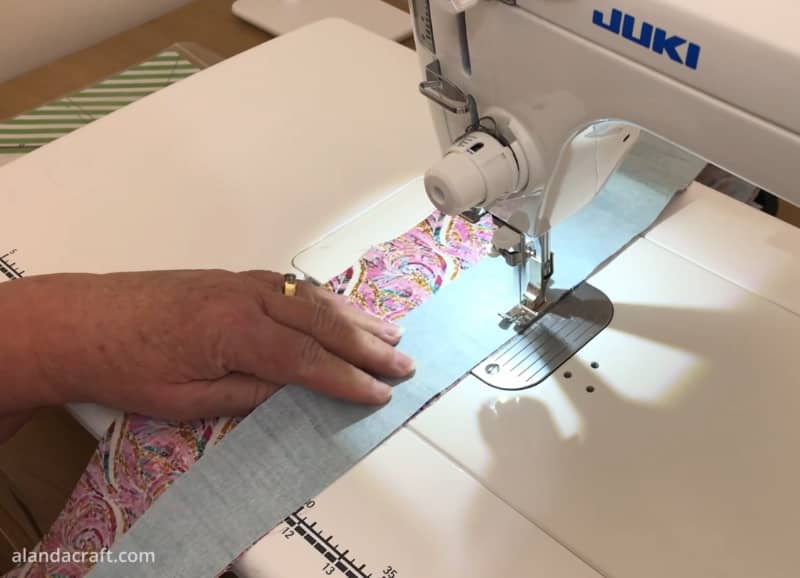
I find it is easier to work in sections like this rather than sew all the strips together in one go which can result in a misshapen quilt.
So instead of a nice straight quilt, you may end up with a bit of warping.
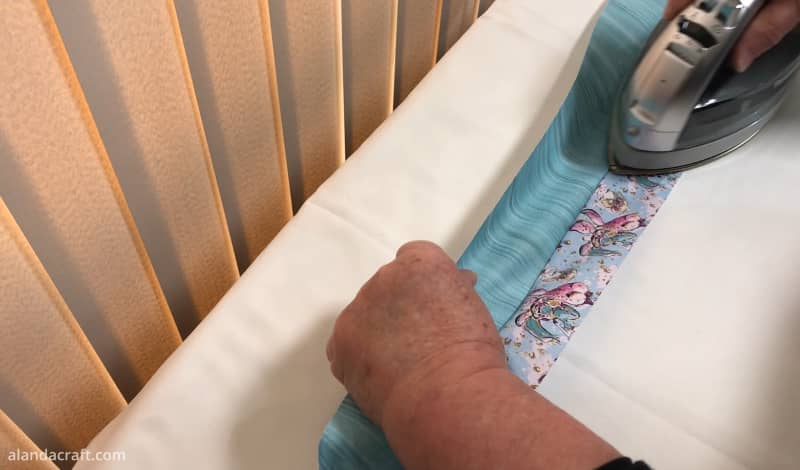
Pressing the Seams
For this quilt project, we don’t need to worry about which way we iron the seams as we don’t have to match any of the seams together. However, it’s always good practice to press the seams towards the side of the dark fabric wherever possible just to prevent the seam showing up under lighter fabrics.
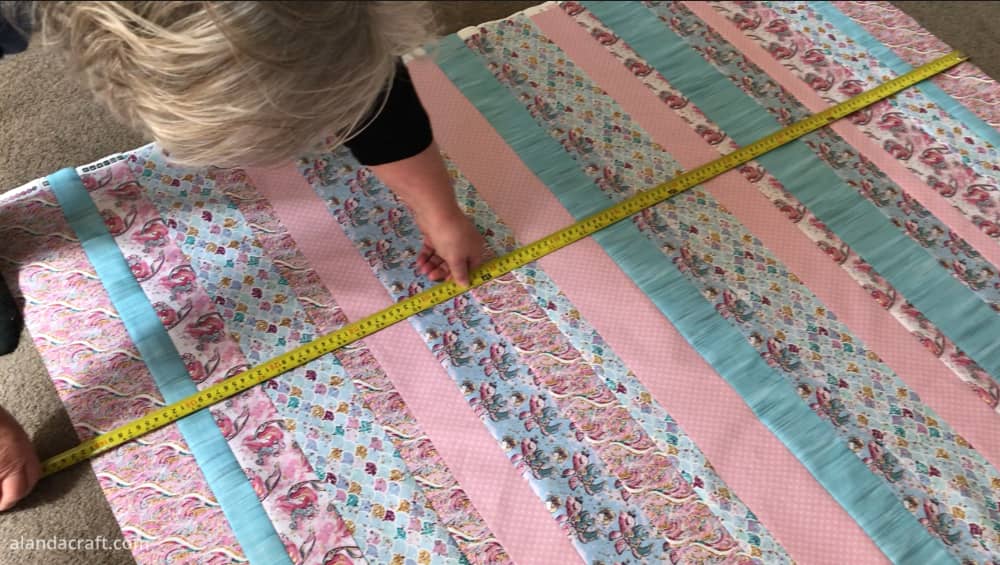
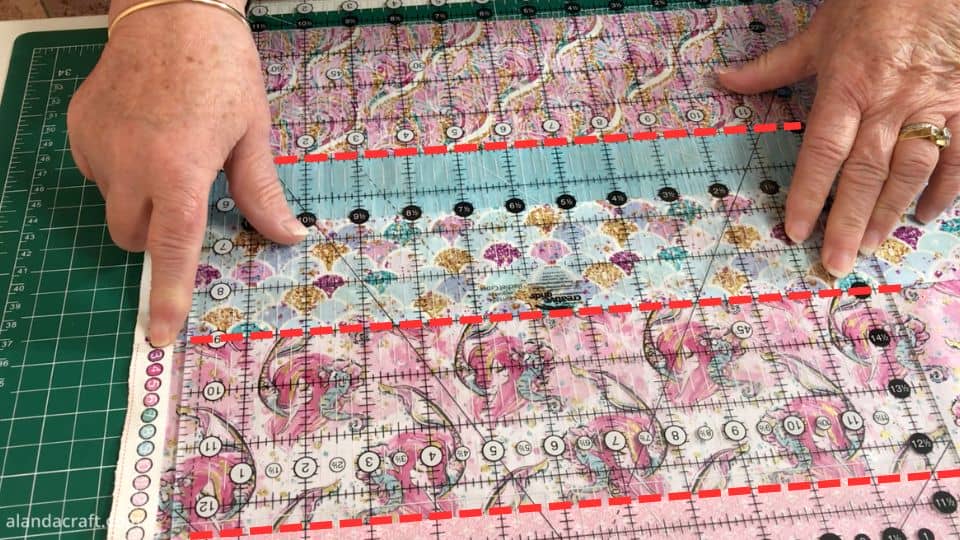
Measure your quilt
It’s time to measure our quilt because we need to see if we need to add more strips. Mine measures around 55” as you can see in the image below and I am happy with that so I won’t be adding anymore but you can add as many strips as you need, to get to the size you want for your quilt. (NOTE: Our final quilt ended up being slightly smaller than this as we inadvertently cut our backing piece too small so we had to trim back the quilt top to take that into account.)
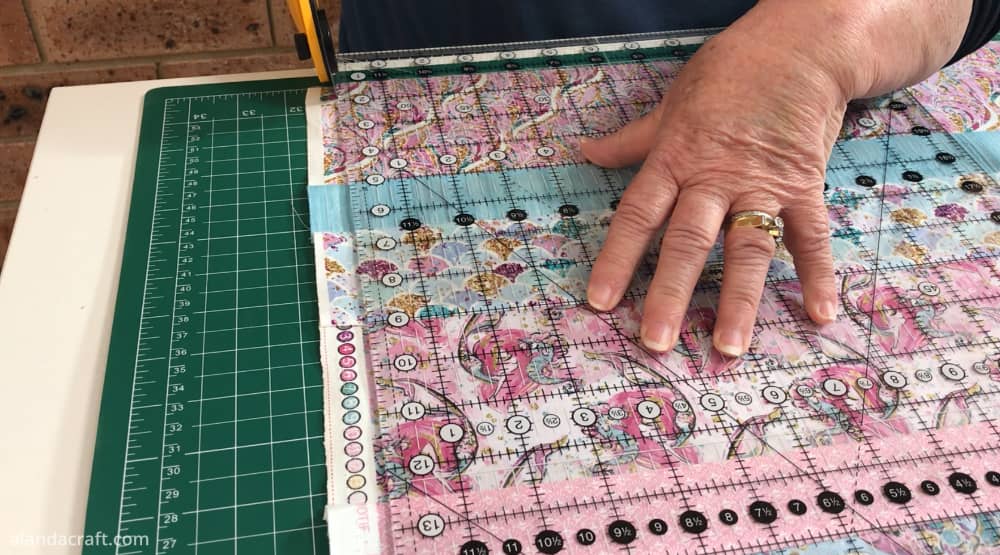
Trim your quilt
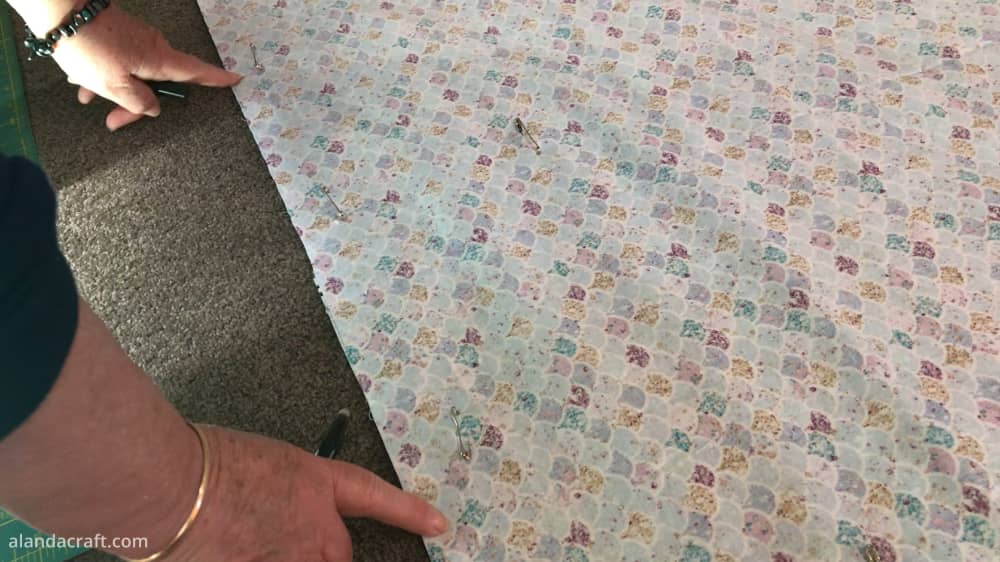
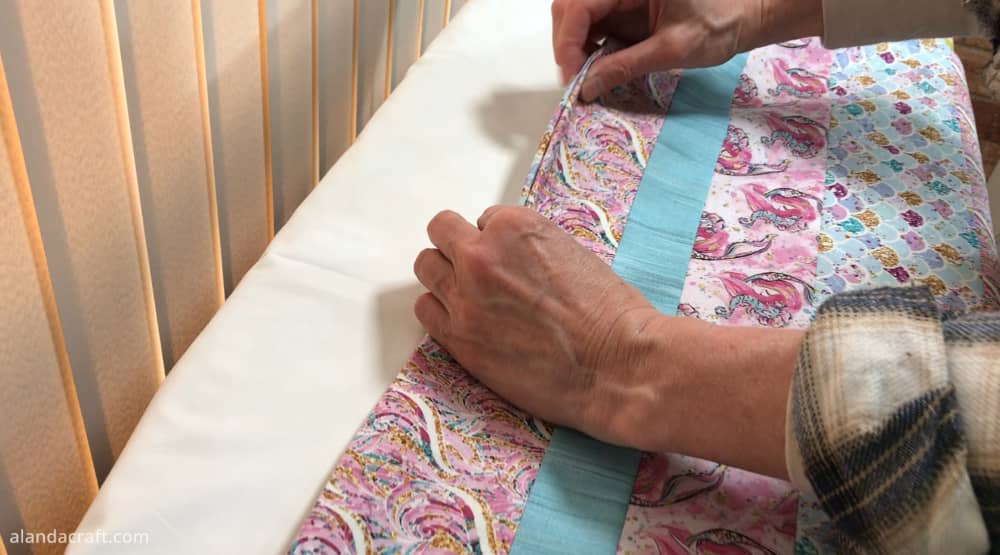
Now it’s time to trim our quilt top. To do this I just take my ruler and I am going to find the thickest selvedge and line up my ruler next to that. We want to make sure that we remove all the selvedges.
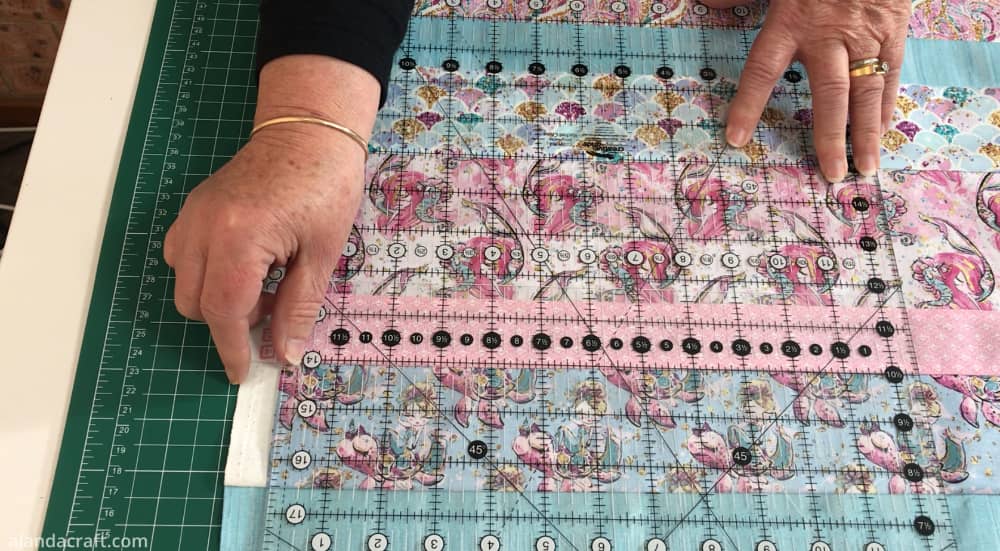
Then I am going to make sure that the lines on my ruler are lined up nicely with the seam lines of the quilt.
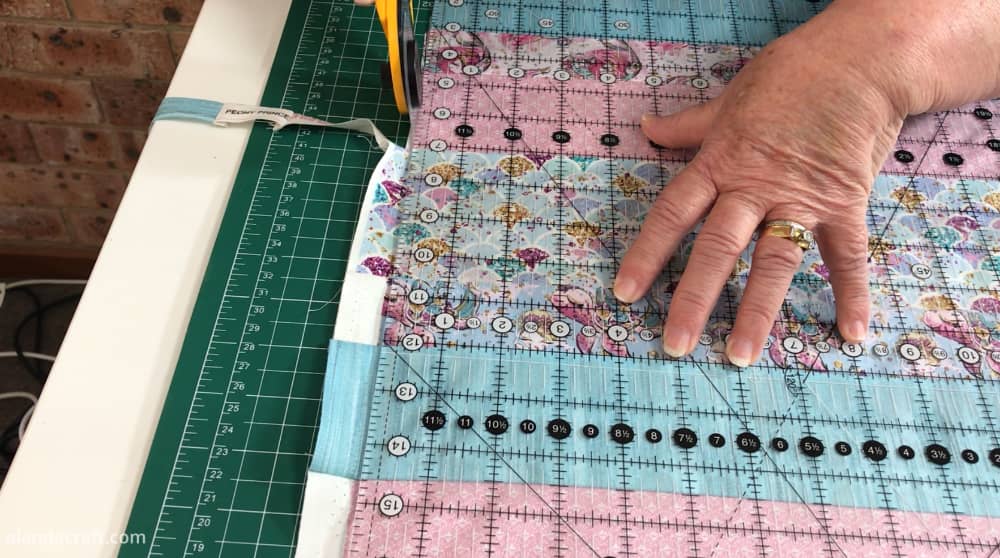
And then, I am going to use my rotary cutter to cut the edge.
I’m just doing a little at a time as the quilt is larger than my mat. So I’ll just cut as far as I can and then drag the quilt down and repeat the process until the first side of the quilt is straight.
Then I will repeat the process on the other side.
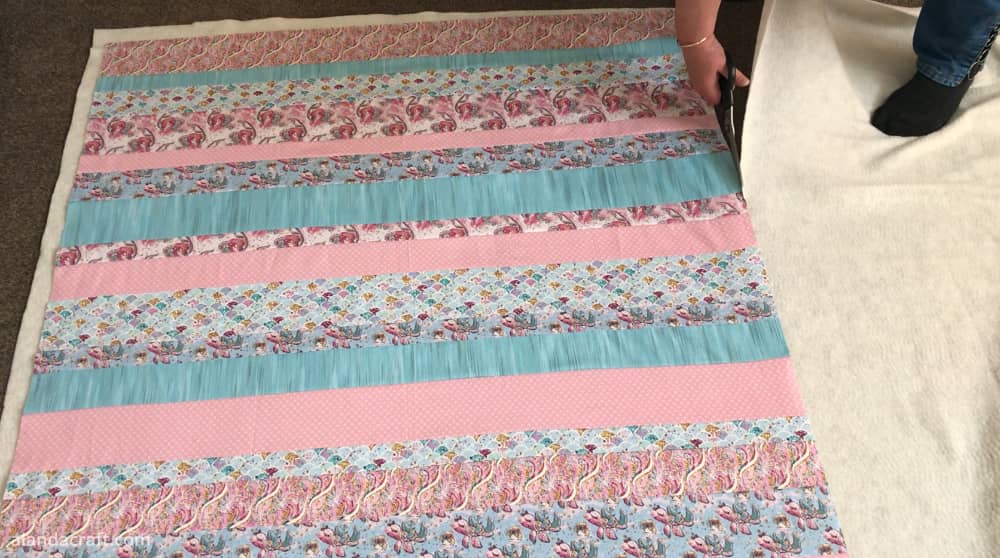
Adding the Batting
We are now ready to add our batting and it needs to measure the exact same size as our quilt top.
Now you can do this in one of two ways:
- You can measure your quilt top and cut your batting to the same size.
- Or you can lay out your batting and use your quilt top as a template and cut around it with scissors… this is what I did.
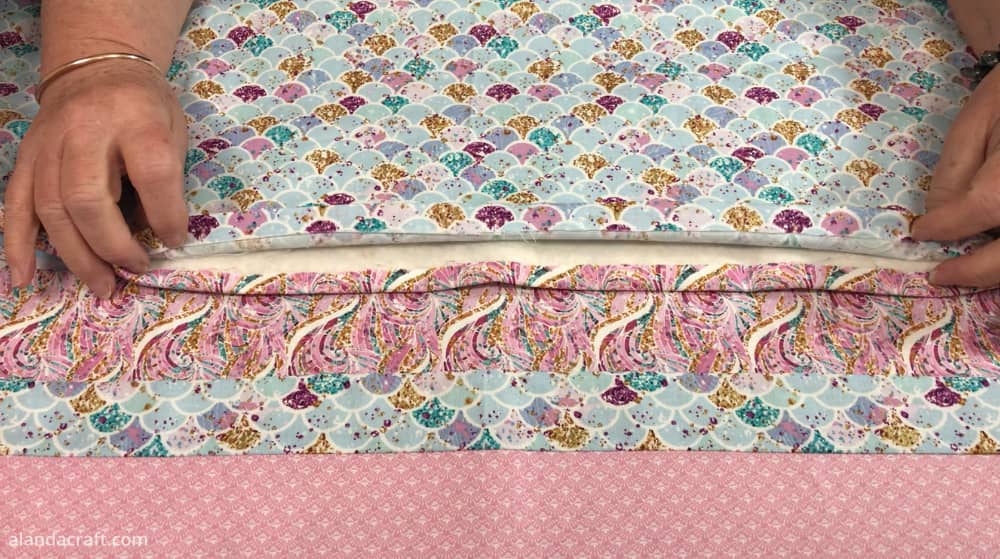
Now I want to make sure the quilt top and batting stay in place before we start sewing this all together so I am going to use some fabric adhesive spray. I am just going to turn down half of my quilt top and spray it, and then smooth it all down and then repeat the same process on the other end.
It’s important that it’s smoothed down really well before we go on to the next step.

Add the Backing
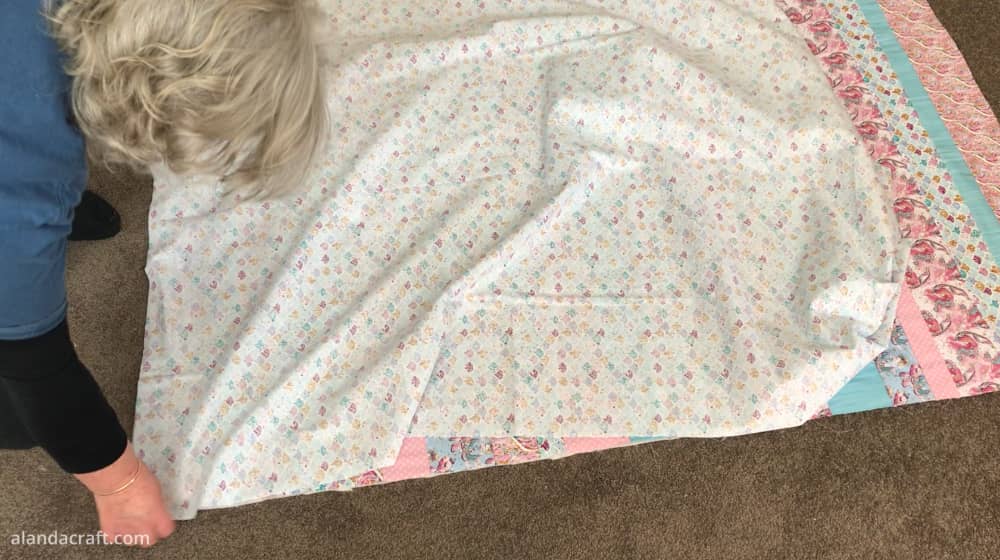
Now I am going to add my backing piece and it needs to be the exact same size as the quilt top and I am going to place it down right sides facing (so the wrong side of the fabric is facing up towards me).
At this point, you need to make sure everything is smooth and all of the three layers match.
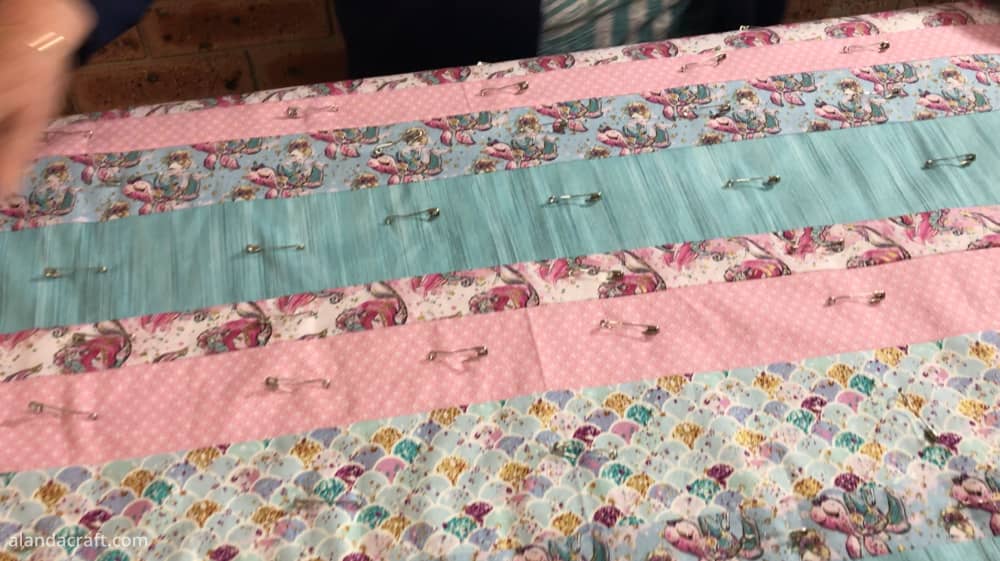
Once everything is smoothed down, I am going to pin all around the edges to hold the three layers in place. I’ll also add a few pins in the middle as well just to keep everything together because now I am going to sew all around the edge of this quilt.
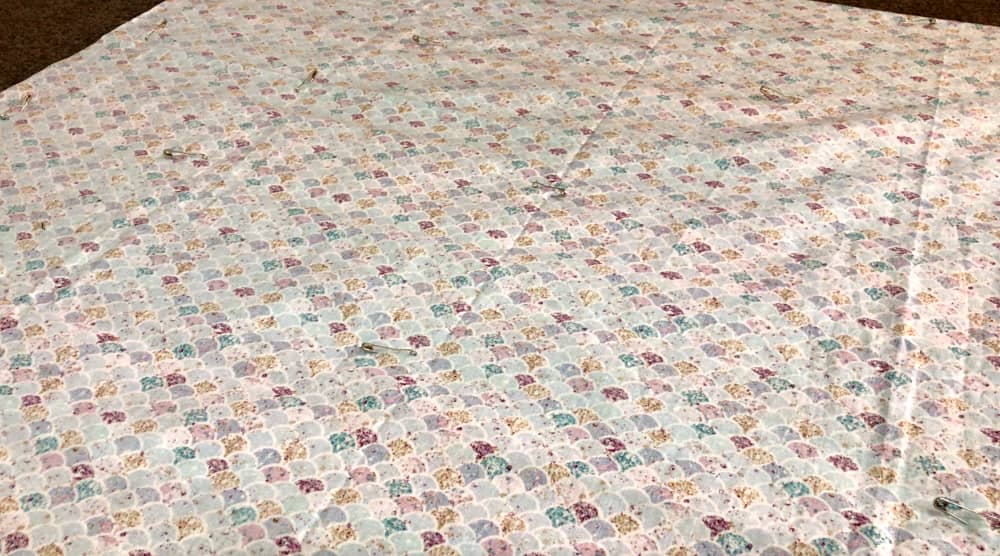
I am going to leave an opening on the bottom edge as I will be turning the quilt though and I am using a Frixion pen to make some marks so I don’t forget to stop at those points. I left a fairly large opening so I can easily turn the quilt through. We well be sewing this opening closed later.
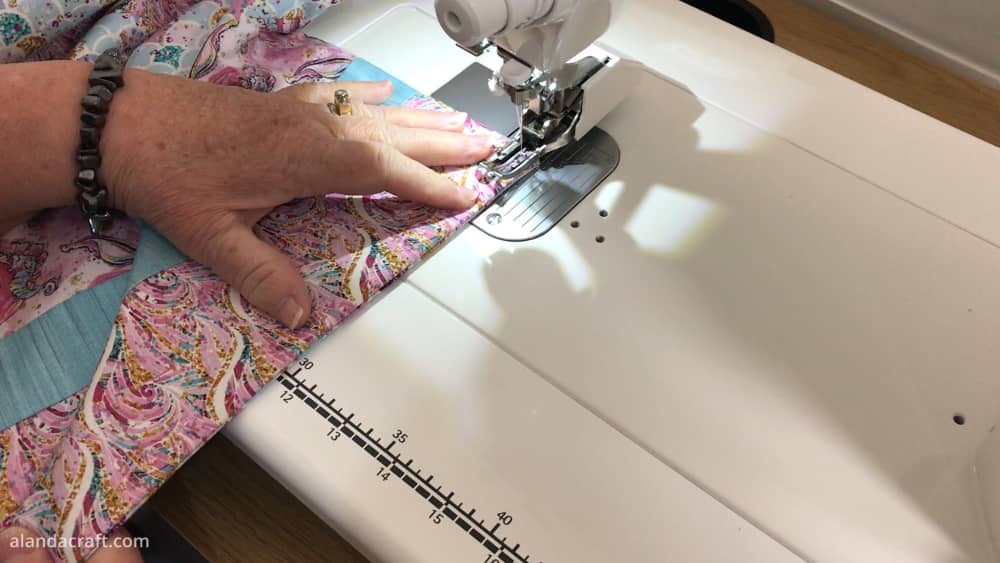
I am going to sew all around the edge of the entire quilt top with a half inch seam. The reason I’m using a half inch seam because we have a few layers here and we want to make sure everything is taken up in the seam.

Once you’ve finished sewing around the edge, you need to remove the pins.
Now, at this point you can clip your corners but I prefer to turn the quilt through first to make sure everything has been taken up in the seams.
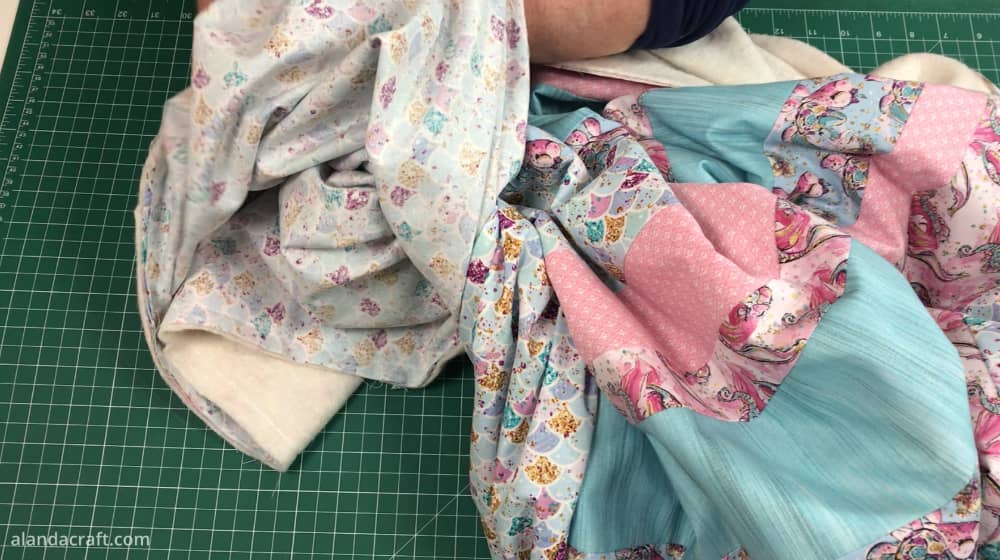
And now I just quickly run through the edges and check that everything is looking okay and has been sewn together nicely.
Then I turn the quilt back through and cut my corners. You don’t have to cut your corners but it does remove a bit of bulk and helps you get pointier corners.

Press the Quilt
At this point, we need to give the quilt a good press and particularly around the edges and the opening at the top of the quilt.
This can sometimes be a little tricky but you just need to fold over the front piece and press down and then do the same with the back piece taking care to line them up nicely. It is worth the effort to make it all line up perfectly so take your time with it.
Now we are ready to sew all the way around the quilt. This not only closes the opening at the top of the quilt but also provides a nice finish around the quilt.
So I started at a corner with a back stitch and then sewed along the edge with a quarter inch seam. As I got to the next corner, I kept my needle in the down position and pivoted around the corner and continued on all the way around the quilt and ended with a back stitch.
And you can see how that gives the quilt a nice clean edge.
Quilting the Quilt
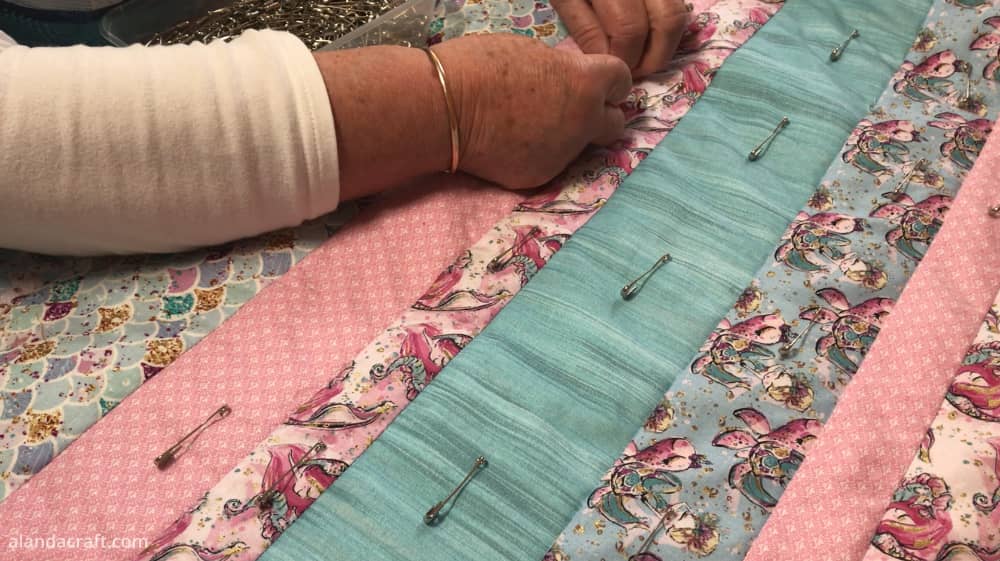
Now we are on to our last step and that is quilting the layers together and you can see I am heavily pinned since this type of quilt can have the tendency to bunch up while you are quilting.
This is also why I am going to keep it simple and only stitch in the ditch. With this type of quilt, the less quilting the better as we have sewn the sides together so there is really no leeway for heavy quilting.
Stitching in the ditch just means that you are top stitching over the seam lines and you will do this with each seam line.
I always use a walking foot for this step as it helps to stop the fabric from bunching up.
Now, I start in the middle of the quilt and for each seam line, I start with a small back stitch and then continue to sew along the seam line until I get to the end of the row and I’ll end with a back stitch.
And I will repeat that process with each of the rows.
It’s a good idea to turn your quilt around before ditch stitching the next seam as this will also help to prevent bunching up.
Now that the quilting is done I just have to remove all of those pins.
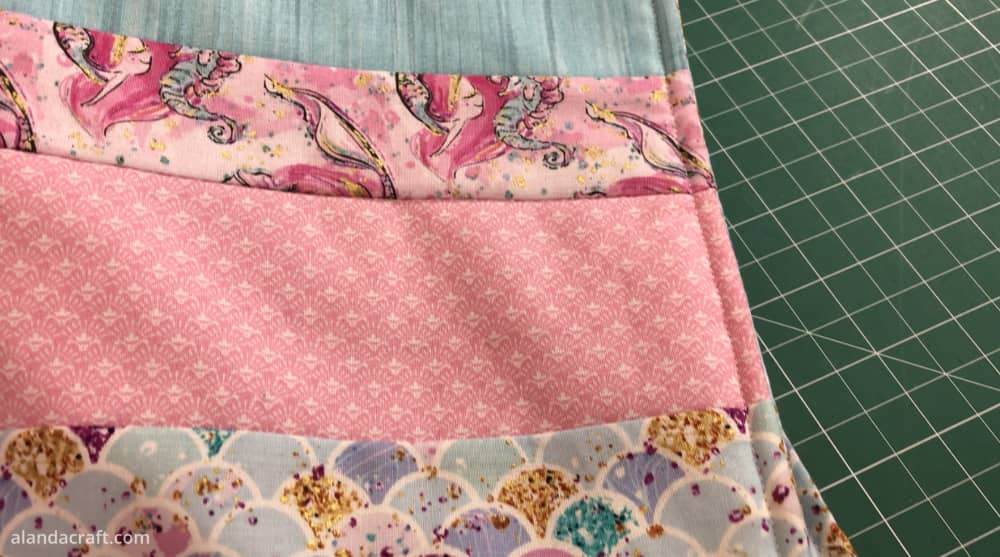
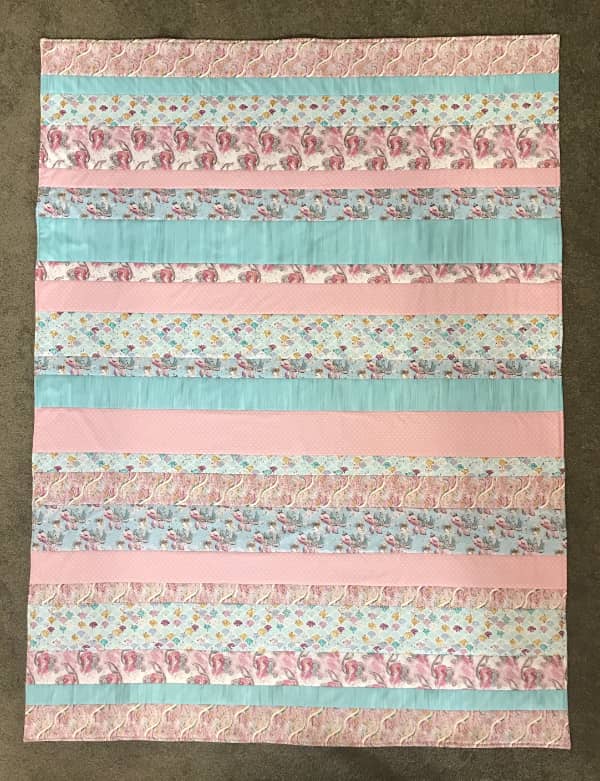
And there you have it, a quick and easy baby quilt without binding. I’m very happy with how it turned out and the fabric is super cute with it’s turtles, seashells and mermaids. This fabric is called Peony Princess and unfortunately it is no longer available.
The concept for making this quilt is based on the Easiest Quilt ever tutorial.Here are Links to other quilts based on the Easiest Quilt Ever.
- Readers Project: Michelle’s Baby Quilt – Easiest Quilt Ever
- Ayla’s Easiest Quilt Ever
- Jeanenes – Easiest Quilt Ever
- Lisa’s – Go the Bronco’s – Easiest Quilt Ever
- Phyllis’s – Striped Quilt – Easiest Quilt Ever


Sue F. says
LOVE this quilt, the concept, the method and the finish! Thus IS the easiest quilt to make! I sm thoroughly inspired!
Thank you SO Much!
Alanda Craft says
That’s lovely to hear Sue 😊. I am so glad to hear you like it.
Judij says
Well done tutorial, easy to follow and the explanations were thorough and clear. I will start this quilt today and expect I will make many more. Thank you for this tutorial for an easy going project.
Alanda Craft says
I am so glad you like the pattern, thank you for your kind comment 😊.