For our 2024 Christmas Table Runner we are using strips of fabric. I am using up fabric that has been sitting in my stash for quite some time now, and I decided it’s time to use some of it up. This is perfect sewing project for the holiday season.
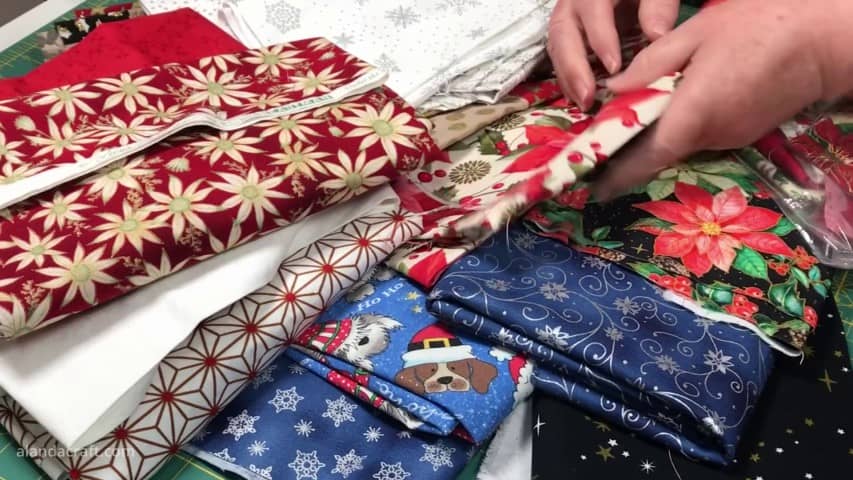
This project is beginner friendly and you’’ll ‘re going to love how simple it is, because it only uses strips of fabric.
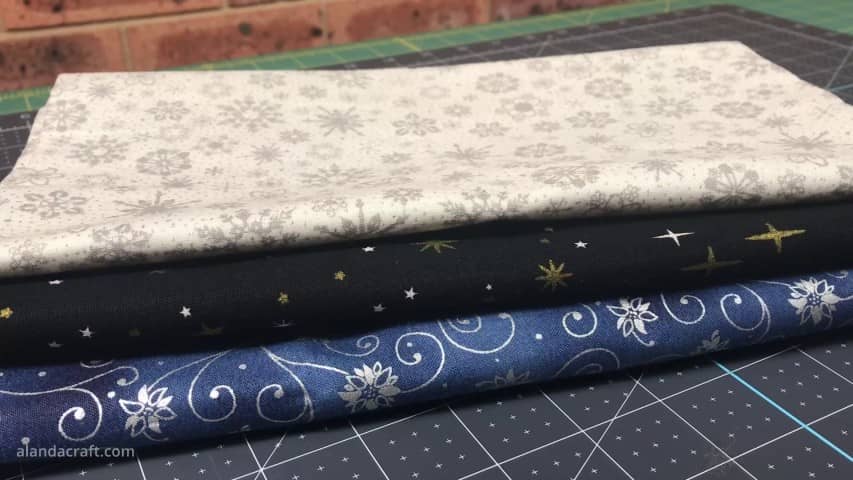
Now you’ll need three fabrics for this sewing project and you can see here that I ended up with two different colour combinations – blue and red because I am going to be making two of these. Although it was so quick and easy I decided to make a third runner in non-Christmas fabric.
Tools Used in the Video
- Olfa 60mm Rotary Cutter
- Olfa 24″ x 36″ Self Healing Cutting Mat
- Creative Grids The Big Easy 12-1/2in x 24-1/2in Rectangle Ruler
- Panasonic NI-WL600 Cordless Iron
- Juki 2010QP Sewing Machine
Watch the Video below to see how to make this quick and easy table runner
(can’t see the video, you may have an ad blocker switched on)
Fabric Requirements
Table Runner Top
- ¼ yard blue
- ¾ yard white
- ⅛ yard black
Batting
- 1 pce measuring 16″ x 49″
Backing
- 1 pce measuring 16″ x 49″
Binding
- 4 strips measuring 2¼” x WOF
NOTE: The backing/batting sizes allow for and extra 2″ on all sides. For heavy quilting add more.
Fabric I used for the red Christmas table runner

Cutting Instructions
Block cutting instructions
Fabric 1 – Blue
- Cut 1 strip – 6½” x WOF (width of fabric)
Fabric 2 – Black
- Cut 1 strip – 3½” x WOF (width of fabric)
Fabric 3 – white
- Cut 1 strip – 1½” x WOF (width of fabric)
Sashing Cutting Instructions
Fabric 3 – white
- Cut 5 pieces measuring 1½” x 10½”
Border Cutting Instructions
Fabric 3 – white
Cut 3 strips – 2½” x WOF
Method
Sewing the Strips
Once our strips are cut, take the white strip and place it over the blue with the right sides of the fabric facing, and pin all the way along the edge. Pinning is optional, I like to pin to keep everything nicely in place.
You’ll notice as I get to the end that the strips don’t meet up but it doesn’t matter as we will be trimming the ends off in the next step.
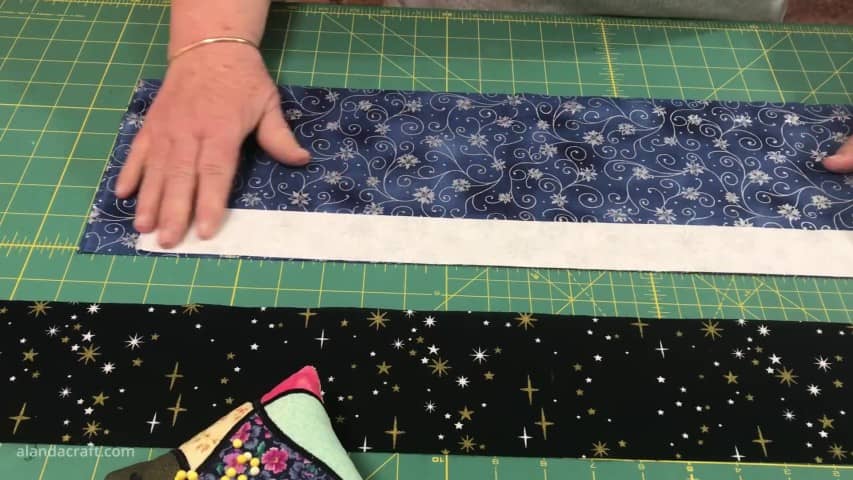
Once the strips are pinned together we sew along the edge with a quarter inch seam.
Now that the two strips are sewn together I’m going to press to set the seam and then press the seam to the dark side of the fabric. I’m doing that because I’m using white here and I don’t want the dark fabrics to show under the white.
Now I am ready to sew the black strip onto the white fabric. So just like before I will pin it with the right sides facing and sew along the edge with a quarter inch seam.
And here’s just a quick tip – when you are sewing strips together make sure to turn the fabric around and sew from the opposite direction when adding the next strip, it will help to prevent bowing which can happen when you sew a lot of strips together. We’re only sewing three strips here so you shouldn’t get that problem.
Now I just need to press the seam, making sure to press it towards the dark side of the fabric
Sub-Cutting the Strips
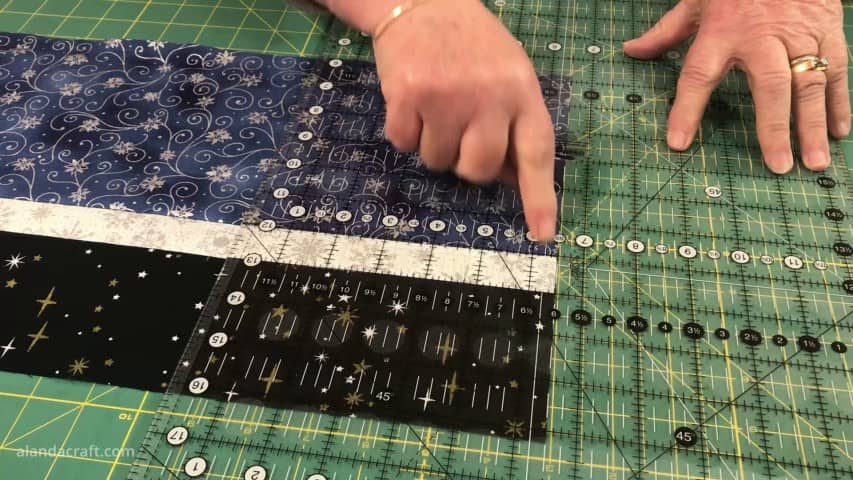
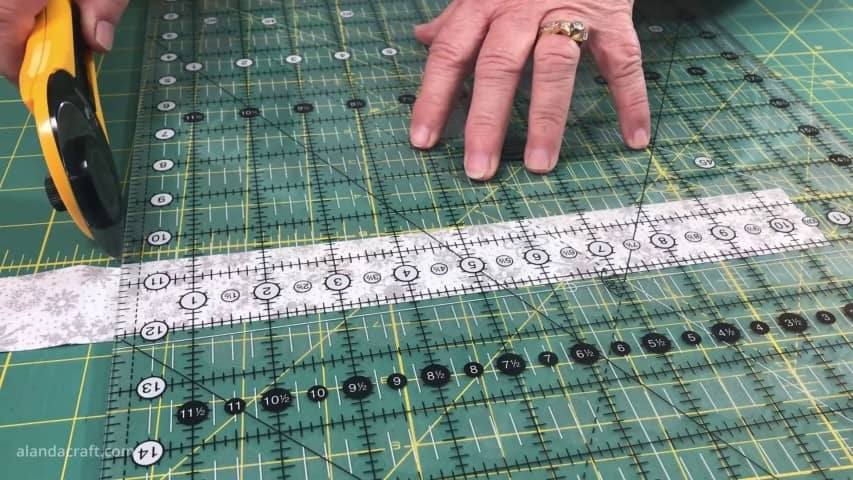
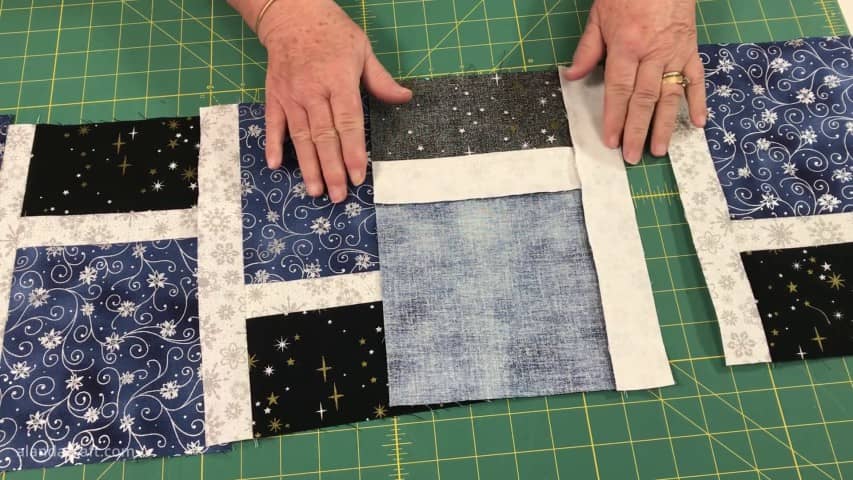
We are now ready to cut this strip set into pieces. Just trim off one of the edges first so that you have a nice straight edge to line up your ruler. And then I’ll flip the fabric around so that it’s in the correct position for me to cut and then line up my ruler on the 6½” mark.
Before cutting, I like to line up the horizontal lines on the ruler with the seam lines as well as along the edge. This ensures that you get a nice straight cut.
So that’s our first piece done and we are going to continue cutting more of these all the way down the strip so that we end up with six blocks in total.You will end up with a piece of left over fabric on the end.
Now I am going to be sewing these together but I want to break them up a bit with some of the white fabric.
So I’m going to cut a couple more 1½” strips and from these I am going to sub-cut them into 5 pieces measuring 10½”.
So I will line up my ruler on the 10½” mark and cut.
And if you don’t have a ruler this large, you can use your mat to cut the pieces but I highly recommend getting one of these rulers – it’s one of my new favourites.
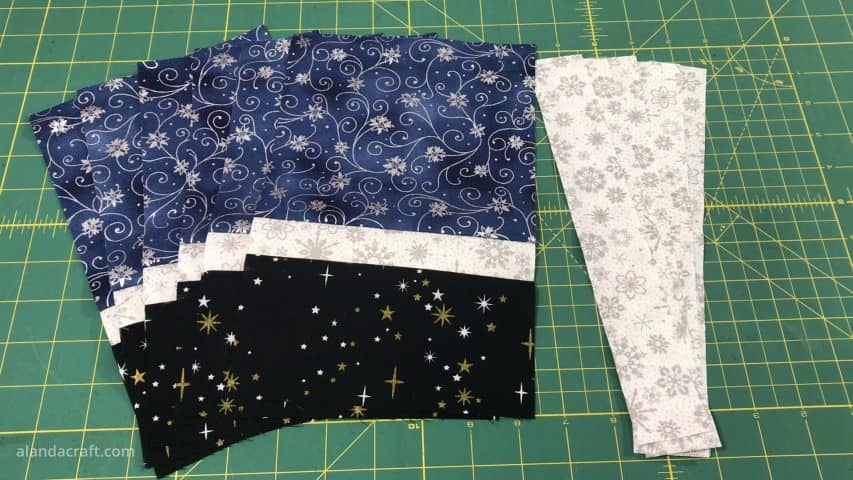
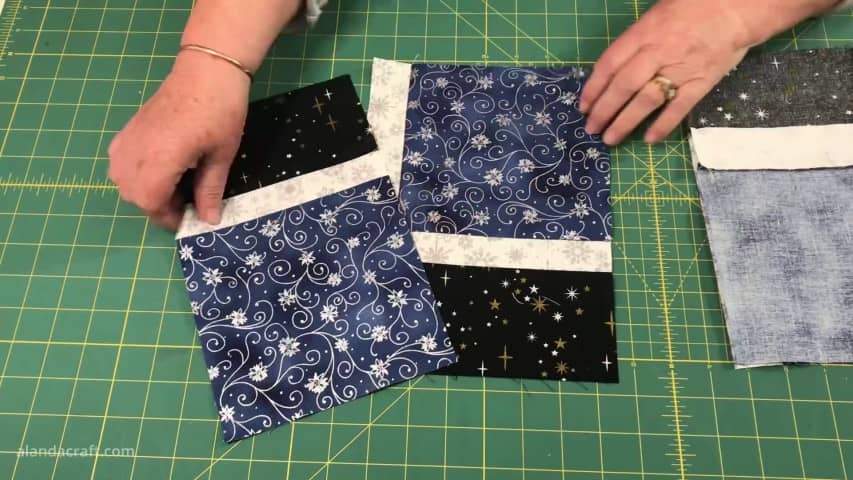
So I have my 5 pieces of sashing cut and my 6 blocks ready to go.
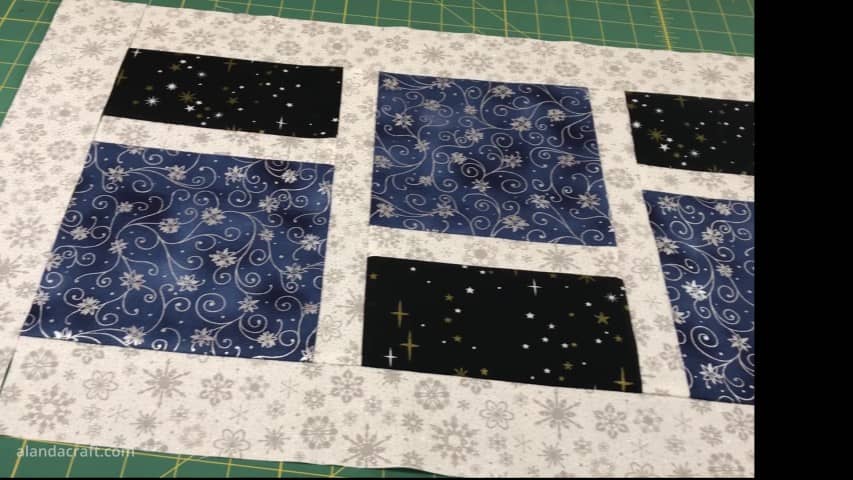
Laying out the Blocks
Lay out the blocks and arrange them as shown below. Don’t miss this step as you will end up doing what I did which was sewing the sashing pieces to the wrong side which resulted in a lot of unpicking.
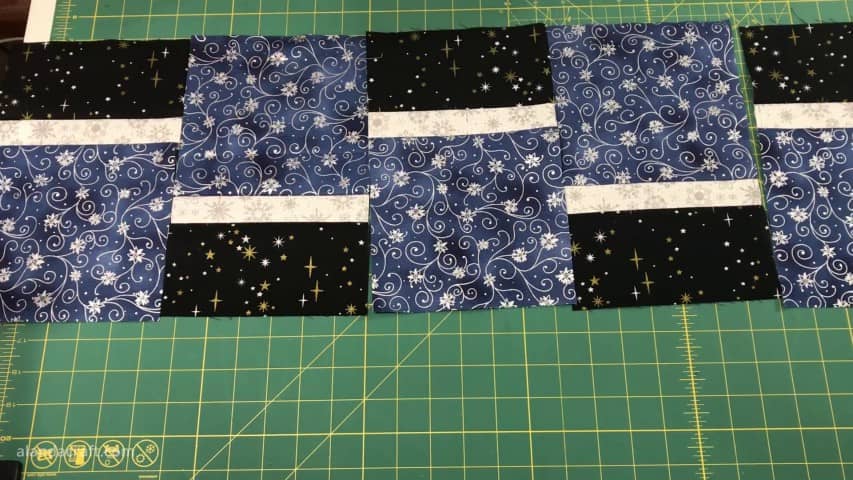
Once the blocks are arranged in the right manner, lay out the sashing pieces in-between the blocks.
And then we are going to sew the sashing on to each of these blocks using a quarter inch seam.
You will have one block remaining so just set that aside as we will be using it in the next step.
Here is the back of one of blocks so you can see how the seams have been pressed.
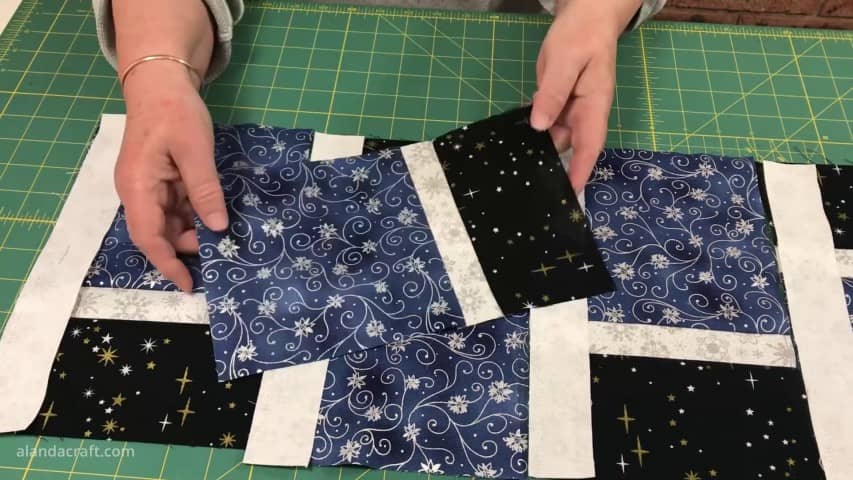
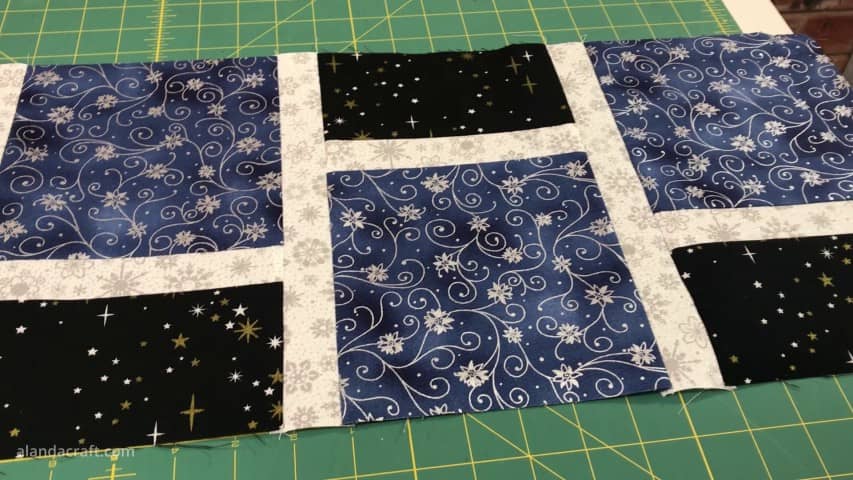
The next step is to sew the blocks together. So I will place this piece over the first piece and sew with a quarter inch seam.
And I’ll repeat that along the row and you can see here that we now add the piece that didn’t have any sashing added to it, now gets sewn on to this piece here.
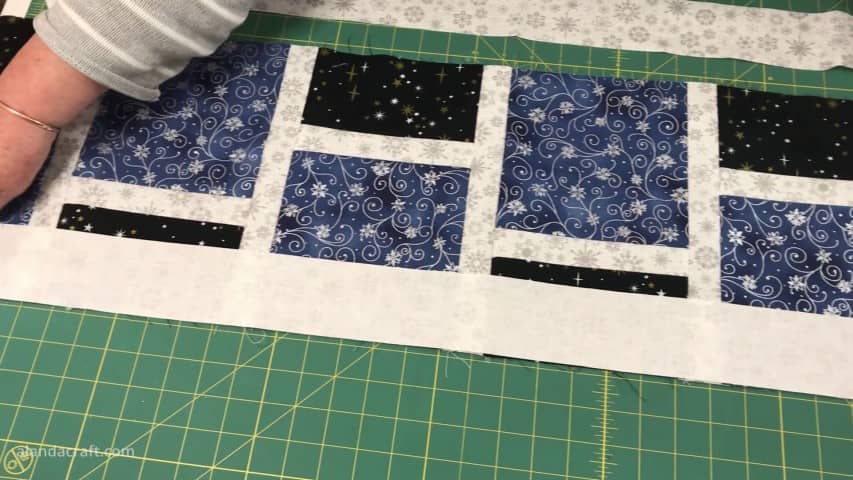
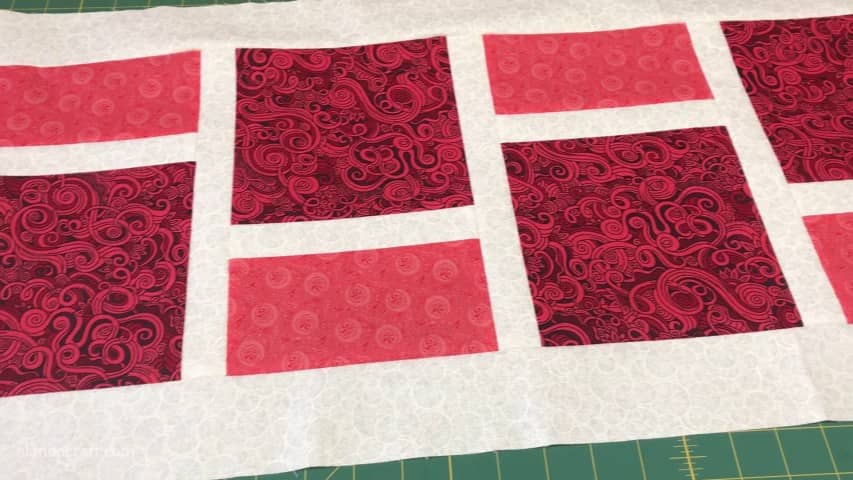
So this is what the table runner looks like now that we have the blocks all sewn together.
Adding the Borders
Side borders
Your table runner top should measure 41½”. If yours is a different size then cut your borders to match your table runner.
Take 2 of your 2½” x wof pieces and sub-cut them into 41½” (or to the length of your runner)

Place one piece along each of the long sides of your table runner and pin them in place. Make sure you have the right sides facing. Sew the long borders in place with a ¼” seam.
Press the seams towards the dark fabric.
Top and Bottom Borders
From your remaining strip – cut 2 pieces measuring 14½”. These are the pieces for the top and the bottom borders.
Place one piece along each of the short ends of your table runner and pin them in place. Make sure to have the rights sides facing. Sew the short borders in place with a ¼” seam.
Finishing the Table Runner
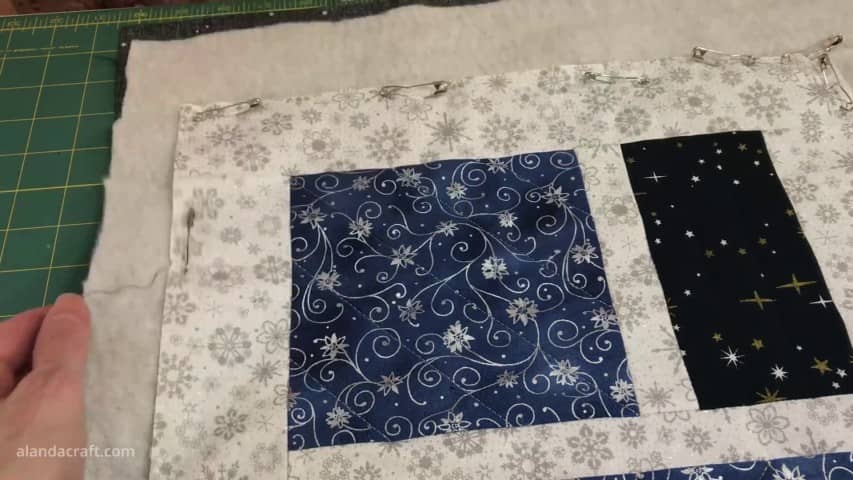
Now that our borders are sewn on it’s time to add the batting and the backing.
Lay out the pieces with the backing fabric face down on the mat. Place the batting on top. I generally use a temporary adhesive fabric spray (like 505) to keep the layers in place. Make sure to smooth everything down. We don’t want any wrinkles in the backing.
Now lay the table runner top on top of the batting and spay with temporary adhesive fabric spray to keep everything in place. Make sure you smooth it down so that there are no wrinkles.
I also like to add some quilting pins to keep the layers from moving.
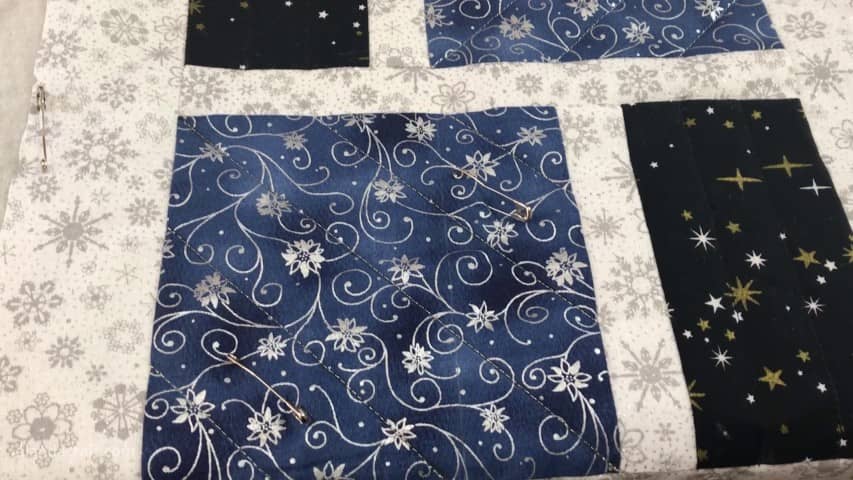
To quilt my table runners I did some simple diagonal lines across the blue fabric and some straight lines on the black fabric. Then I ditch stitched around the between the blocks and the border.
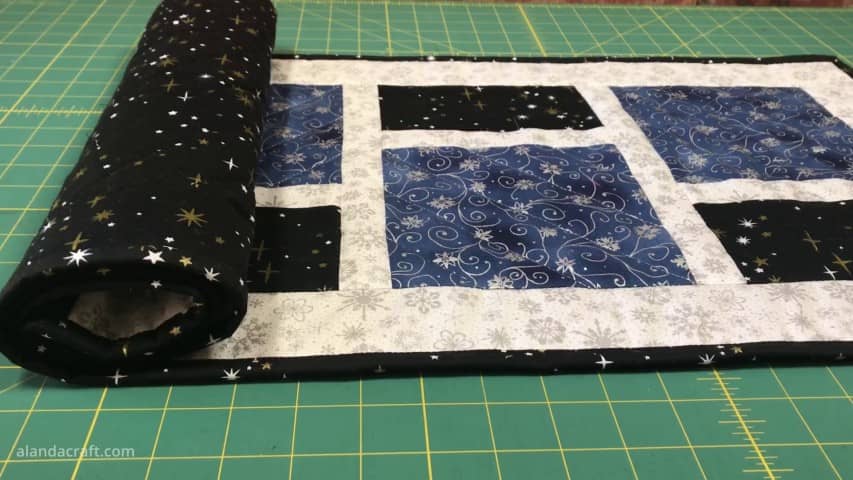
Now for the best part, trimming the quilt. You just need to line up your ruler along the edge making sure it lines up with the seam lines of your quilt and trim. As the mat isn’t long enough you will find it easier to trim up to a certain point and then move the ruler along, making sure to line up your ruler as you go. Now repeat trimming the piece on the remaining 3 sides.

And here is the final result.
The red table runner
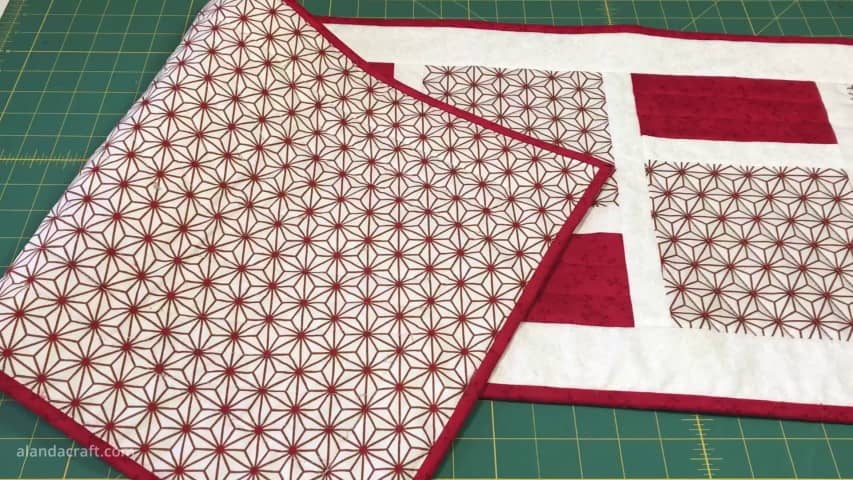
And the non-Christmas fabric table runner (as yet unfinished)
These are quick and easy table runners to make, and they are a great scrap buster for those larger pieces of fabric you have on hand. I could even see this being made with an assortment of colors and patterns.


Lynn says
Thank you for your lovely able runner! I so appreciate your style of teaching I. Just enough information, and you moved the project along perfectly. Will be looking for more of your videos. Happy quilting from Tucson, Arizona, USA!
Alanda Craft says
Thank you Lynn 😊