This is a quick and easy quilt that beautifully shows the off the fabrics used. You are going to love how easy this is because all we are going to be doing is creating two very simple quilt blocks and I think you are going to love the end result.
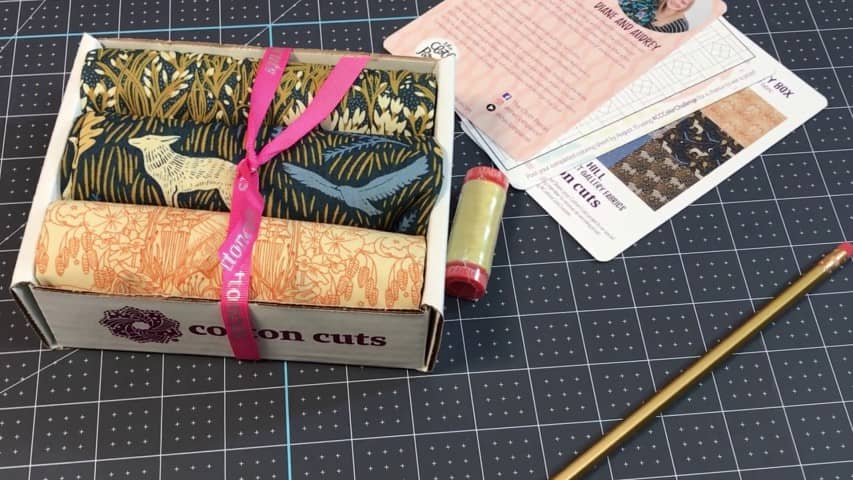
The fabric I am using in this tutorial was sent to us by Cotton Cuts and I have to say we had a little bit of trouble creating a pattern for these fabrics, because of the colours and the directional print.
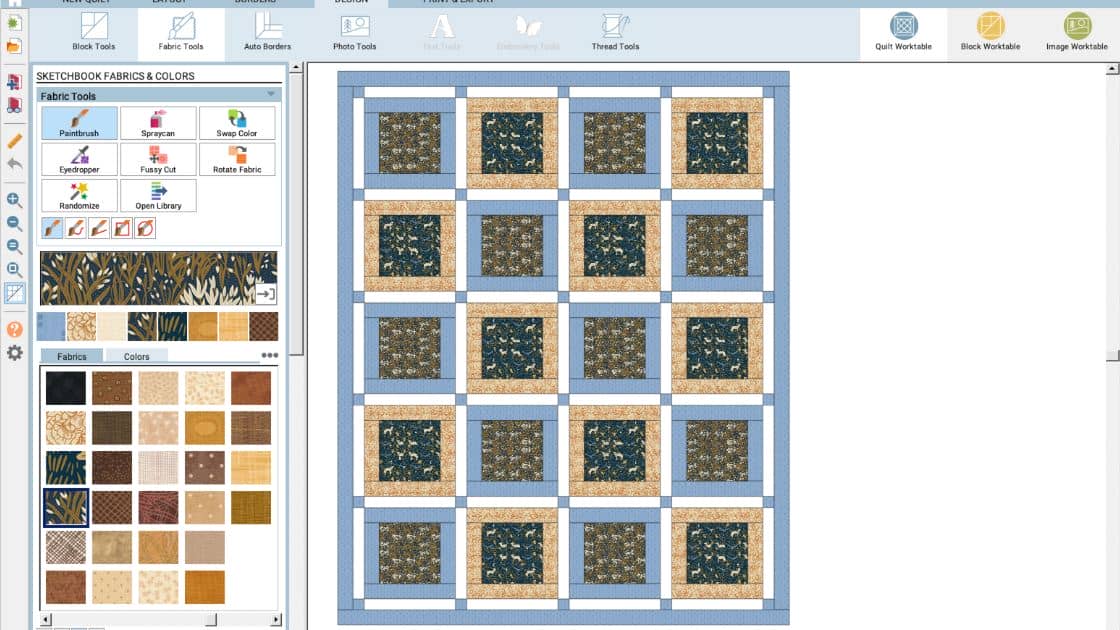
So we designed the quilt using our EQ8 software (Electric Quilt) that allows us to import fabric swatches of the fabric we are using, so that we can see just how the quilt is going to look when it’s finished. But, at the start we just couldn’t get anything to work.
We knew we would need some contrasting fabric to make the patterns pop, but just adding white didn’t cut it. It was only once we added some blue fabric that everything seemed to pop.
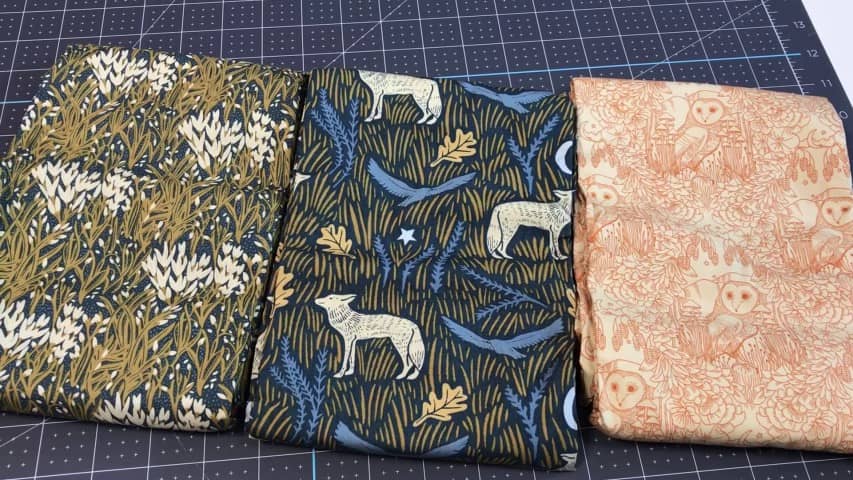
Now before I get into the step-by-step instructions I’m going to mention the fabric that I am using in this tutorial. Cotton Cuts sent us this fabric pack to use and review for our YouTube channel and the range is Coyote Hill by Katie O’Shea for Art Gallery Fabrics.
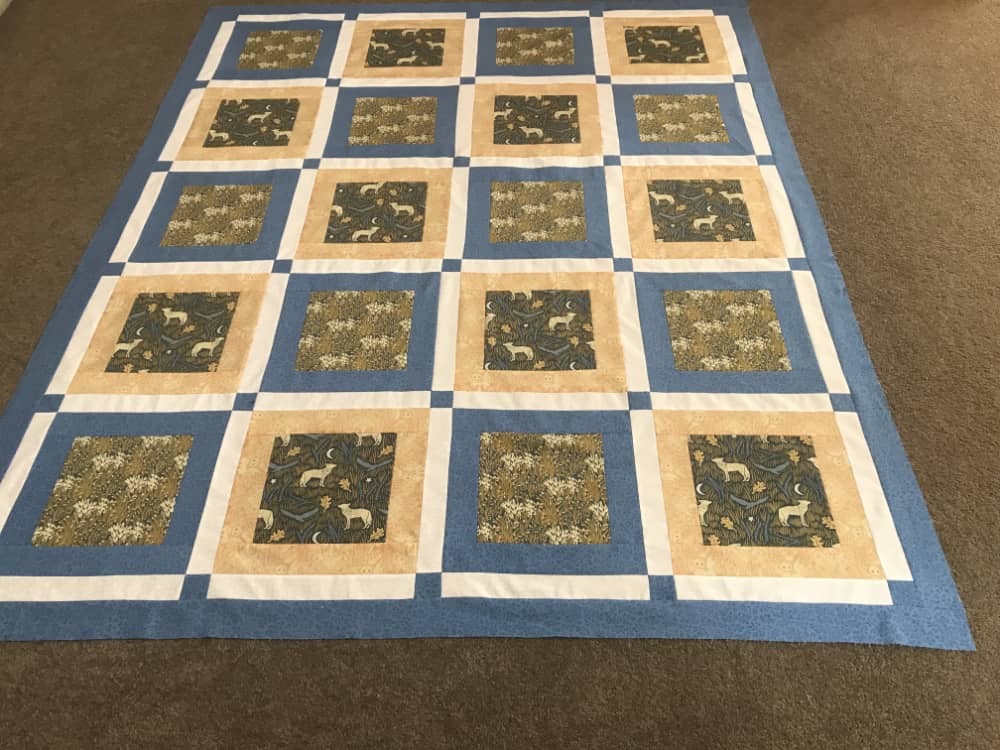
FINISHED QUILT SIZE – 59½” X 73″
Tools Used in this Tutorial
- Olfa Rotary Cutter – 60mm
- Creative Grids CGR612 6-1/2in x 12-1/2in Ruler
- Creative Grids CGR824 8-1/2in x 24-1/2in Ruler
- Creative Grids The Big Easy 12-1/2in x 24-1/2in Rectangle Ruler – my absolute favourite ruler
- Panasonic NI-WL600 Cordless Iron
- Juki 2010QP Sewing Machine
- Chalk Wheel
- Olfa Cutting Mat
- EQ8 Quilt Software
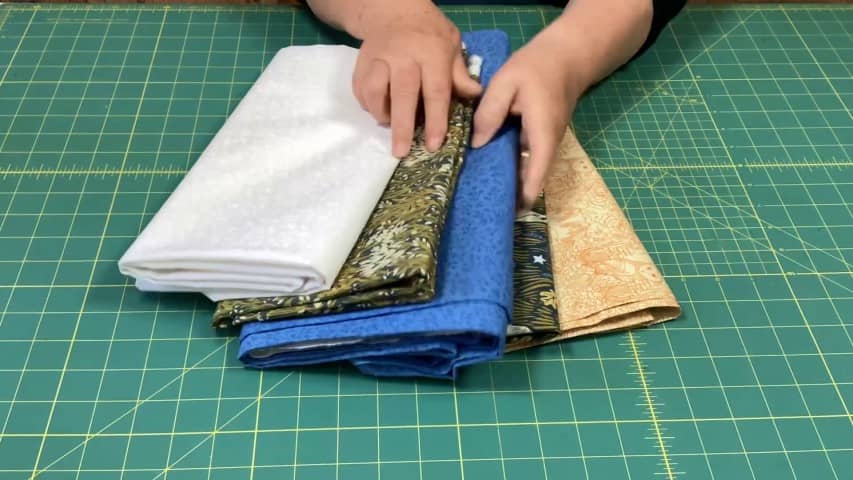
Fabric Requirements
- Fabric A – Wild Woodblock – Coyotes – ¾ yard
- Fabric B – Meadow Melody Hill – ¾ yard
- Fabric C – Moonlit Guardian – Owls – ⅞ yard
- Fabric D – White Contrast – 1⅛ yard
- Fabric E – Blue Contrast – 1⅝ yard
Watch the video below or scroll down for written instructions.
Can’t see the video? you may have an ad blocker. Click here to watch the video on YouTube.
Cutting Requirements
As I mentioned earlier this quilt is made using 2 blocks. Here are the cutting instructions for these blocks.
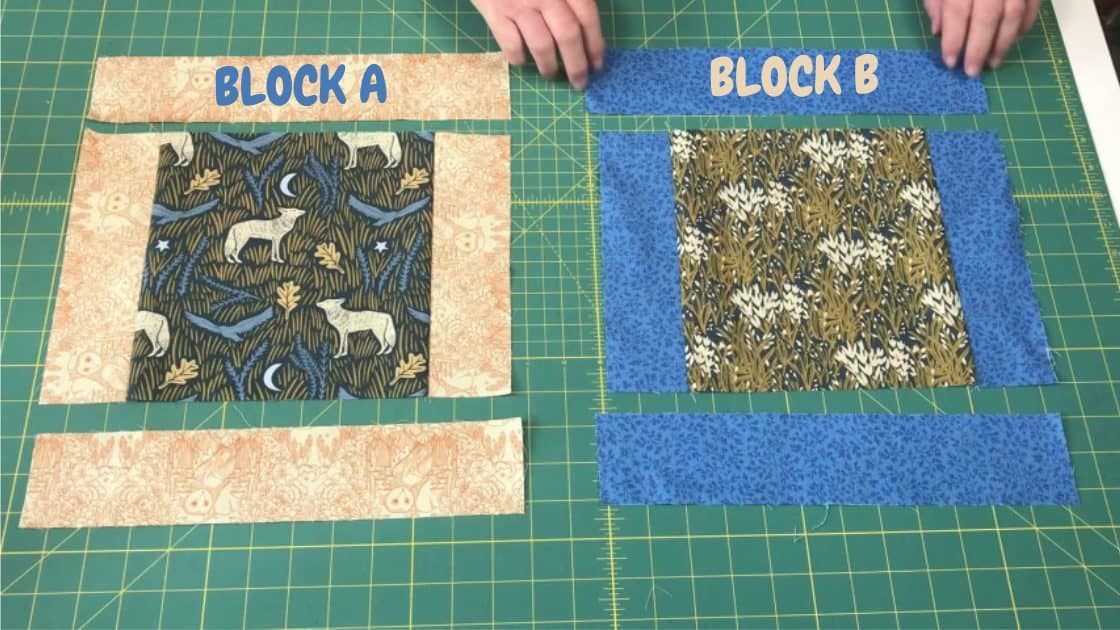
Block A
- Fabric A – Cut 10 squares measuring – 8½” x 8½”
- Fabric C – Cut 20 pieces measuring 2½” x 8½”
- Fabric C – Cut 20 pieces measuring 2½” x 12½
Block B
- Fabric B – Cut 10 squares measuring – 8½” x 8½”
- Fabric E- Cut 20 pieces measuring 2½” x 8½”
- Fabric E – Cut 20 pieces measuring 2½” x 12½
Sashing for Side of Blocks
Fabric D (white) – Cut 20 pieces measuring 2″ x 12½

Sashing for Top of Blocks
There are two ways to cut the sashing for the tops of the blocks.
Option 1: Traditional Method
You can go with the traditional method by cutting individual sashing pieces and cornerstones and sewing them together before attaching them to the top of the block.
- Cut 29 pieces of fabric D (white) measuring 2″ x 12½”
- Cut 30 pieces of fabric E (blue) measuring 2″ x 2″
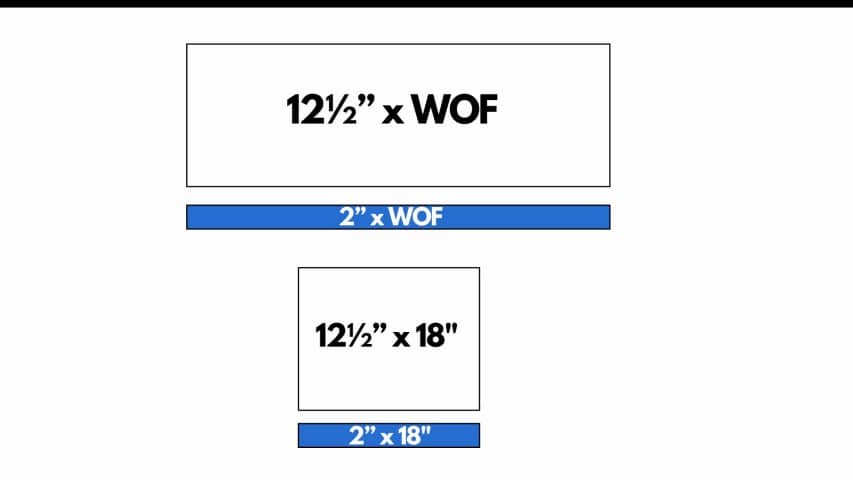
Option 2: Strip Method – This is the method we are going to be using in this tutorial
This method involves cutting pieces of fabric, sewing them together and sub-cutting into smaller pieces.
- Cut 1 piece of fabric D (white) – measuring 12½” x width of fabric (wof)
- Cut another piece of fabric D (white) measuring 12½” x 18″
- Cut 1 piece of fabric E (blue) – measuring 2″ x wof
- Cut 1 piece of fabric E (blue) measuring 12½” x 18″
Borders
You will need to piece your strips together to get the required length.
- Cut 7 strips 2″ by wof.
- Each of the two long borders require 69″ of fabric
- Each of the two short borders require 60″ of fabric
Method
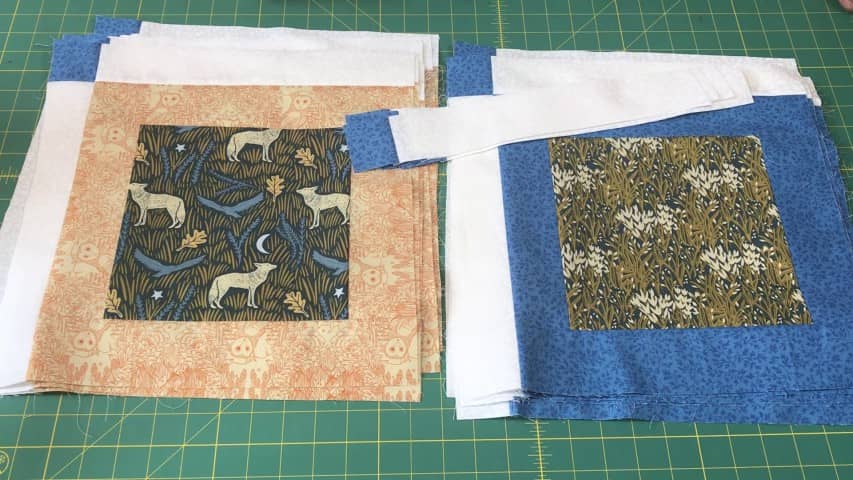
The first thing we are going to do is construct the two different blocks as follows:
Block 1
We are going to make 10 of these blocks.
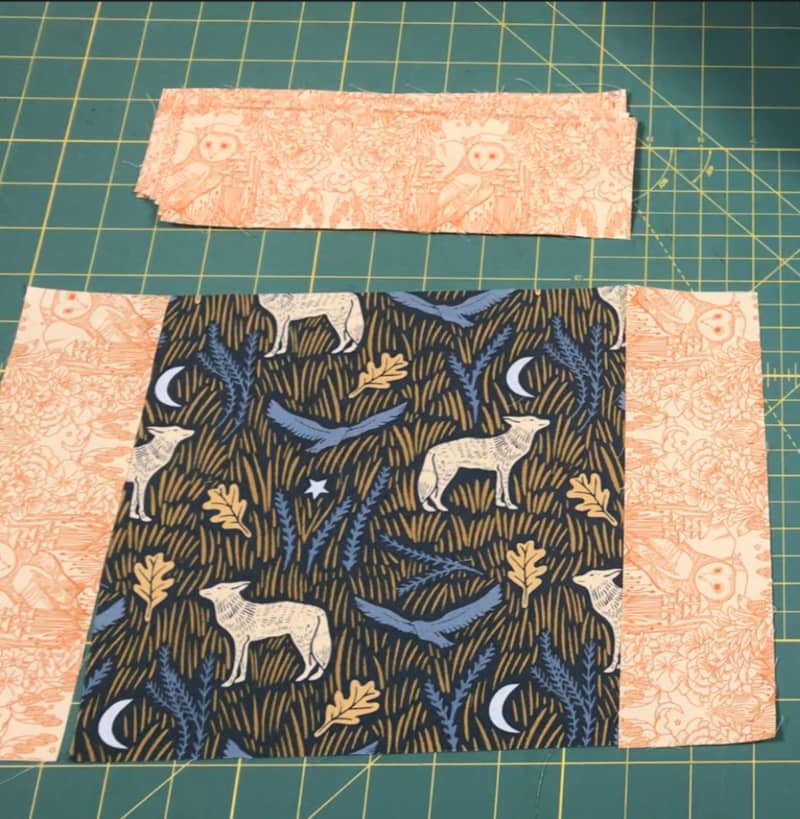
- Take one of the 8½” x 8½” Fabric A (coyotes) squares.
- Place a short strip of the contrasting Fabric C (owls) on either side of the square and sew with with a ¼” seam. (Make sure you are placing them on the right sides. If you are using a directional print, be sure to have the pattern facing in the right direction).
Repeat this process with each of the Fabric A squares.
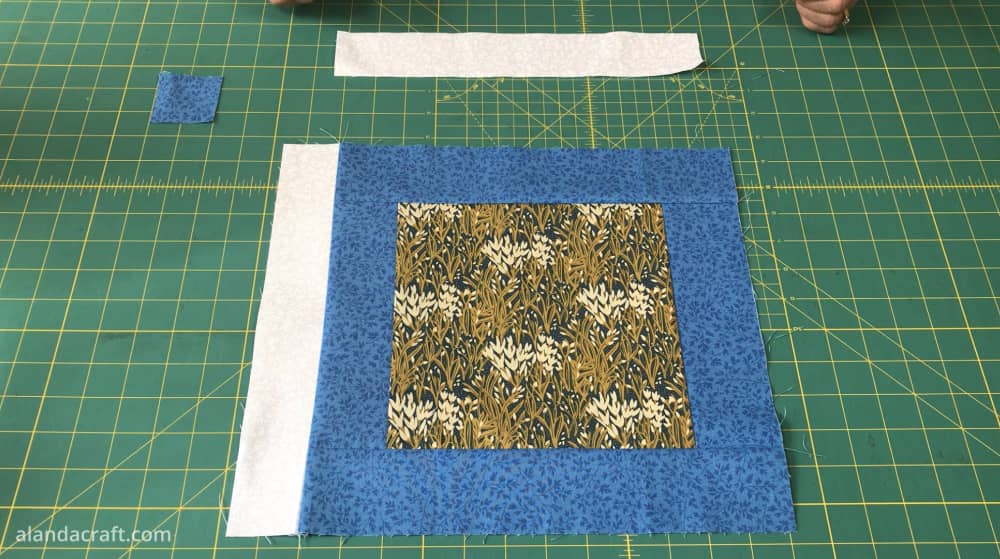
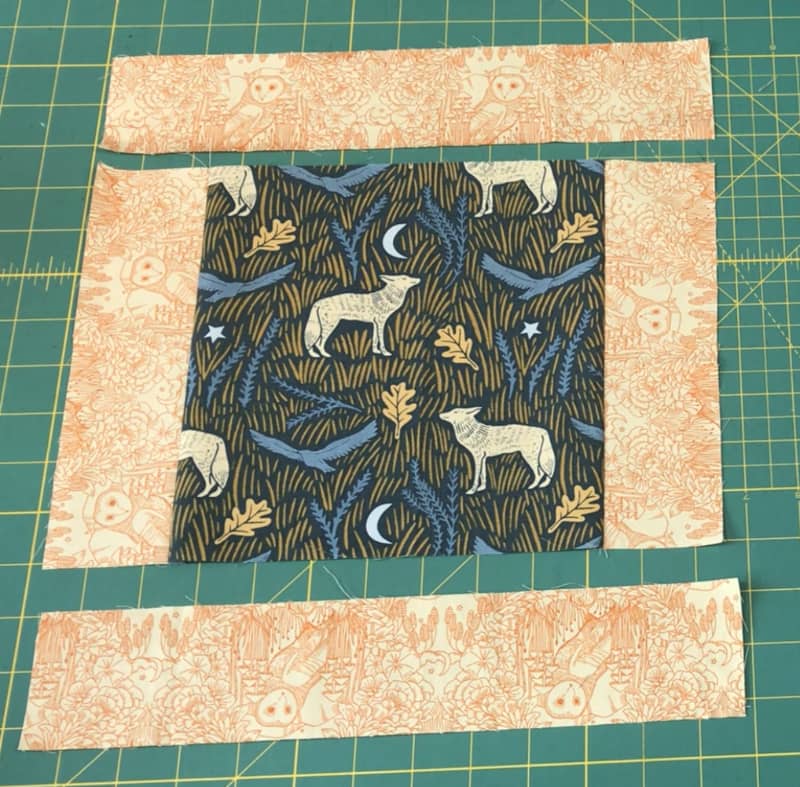
Once all the side pieces are sewn on to each of the squares we take the longer strips of the Fabric C (owl fabric) and sew them on to the top and the bottom of the blocks.
Block 2
There will be 10 of these blocks.
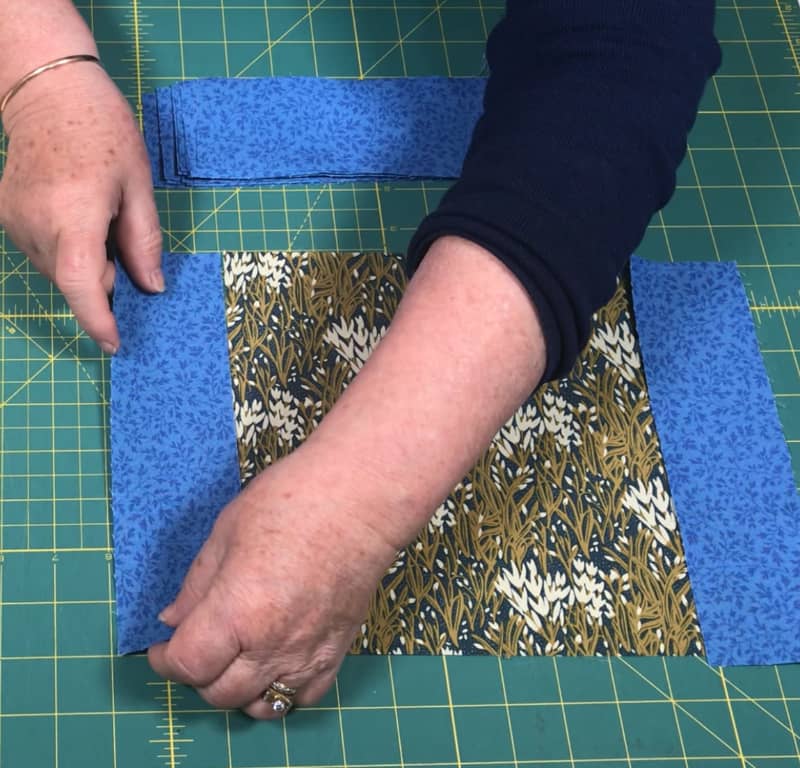
- Take one of the 8½” x 8½” Fabric B (meadow melody hill) squares.
- Place a short strip of the contrasting Fabric E (blue) on either side of the square and sew with a ¼” seam. (Make sure you are placing them on the right sides if you are using a directional print, be sure to have the pattern facing in the right direction).
Repeat this process with all of the squares for Fabric B.
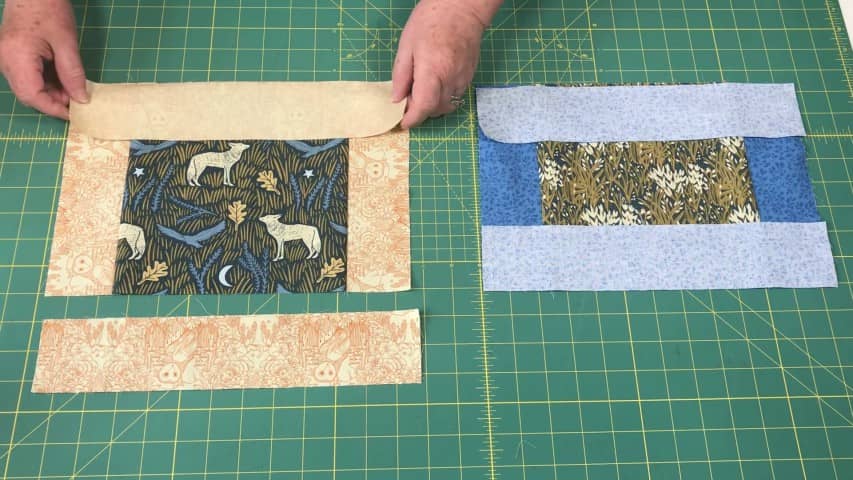
Once all the side pieces are sewn on to each of the squares we are now going to take the longer strips of the blue fabric and sew them on to the top and the bottom of the blocks.
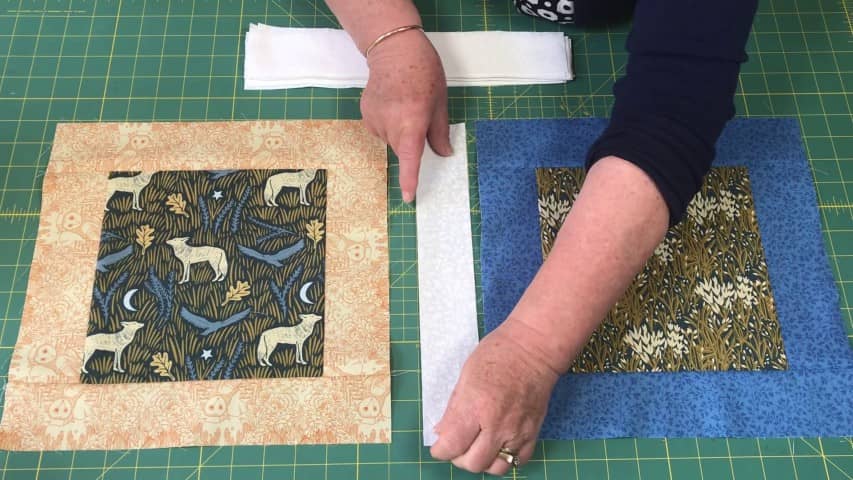
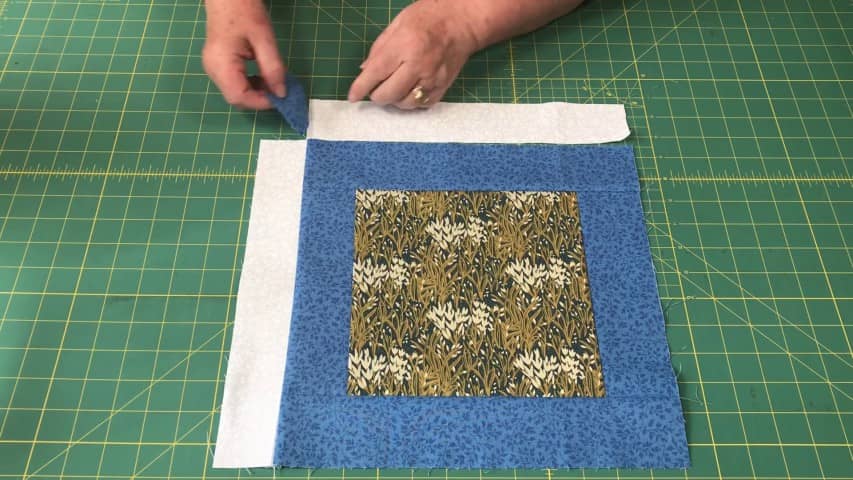
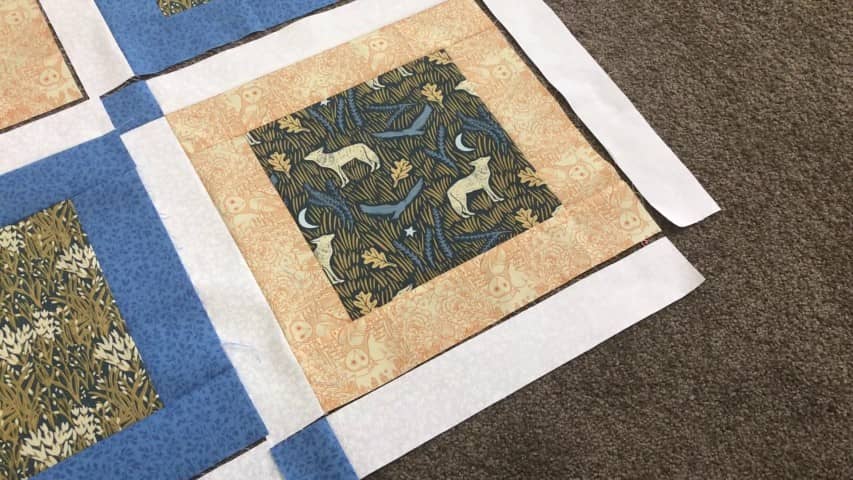
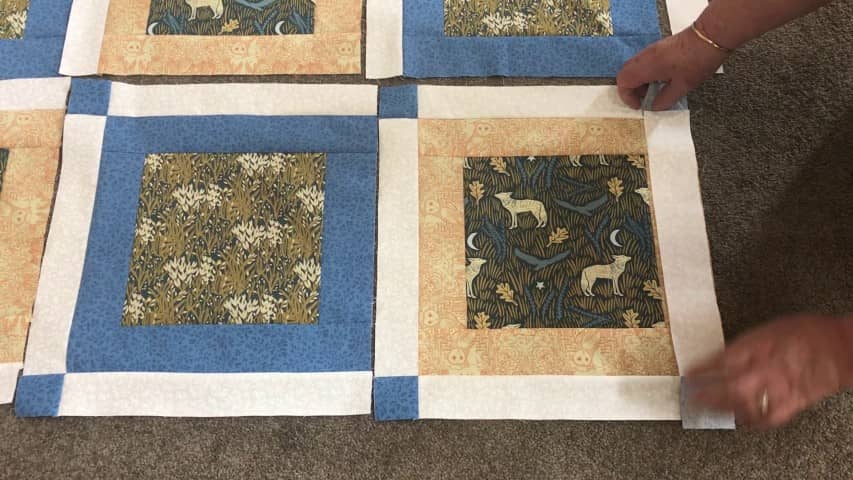
Side Sashing
Now that our 2 blocks are complete we are going to add some sashing to each block.
Sew one piece of the sashing to the left side of each block. If you have a directional print makes sure to sew the sashing to the correct side of the block.
Top Sashing
Now we are going to add the some sashing and a cornerstone to the top of each block and you can do this in one of two ways:
Option 1
You can go with the traditional method by cutting individual sashing pieces and cornerstones and sewing them together before attaching them to the top of the block
Option 2
Or you can use the strip method that I am using, to make these sashing pieces.
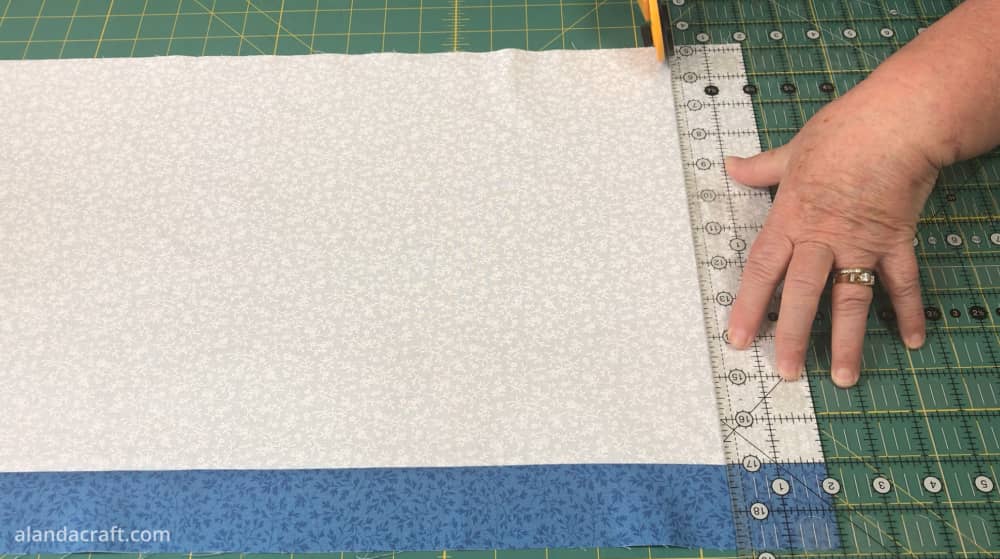
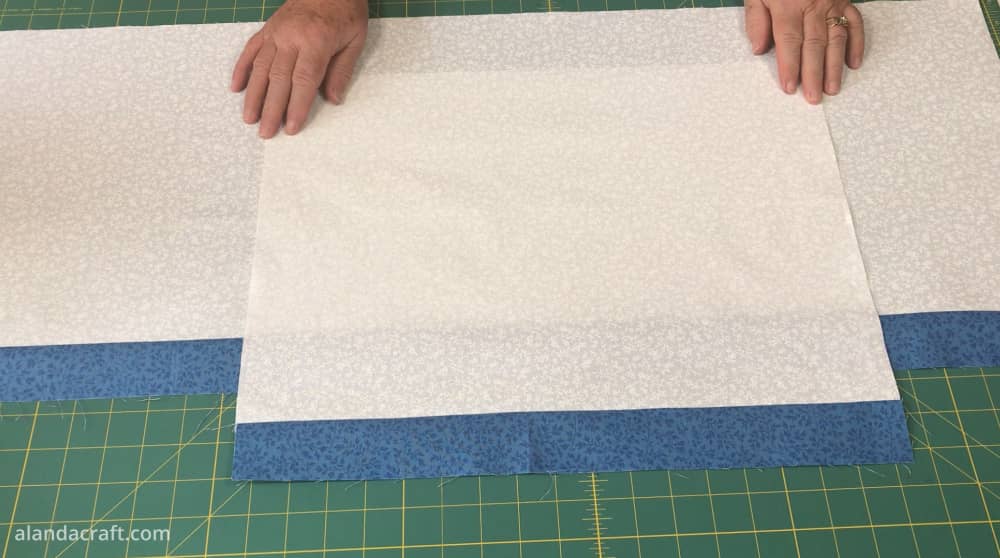
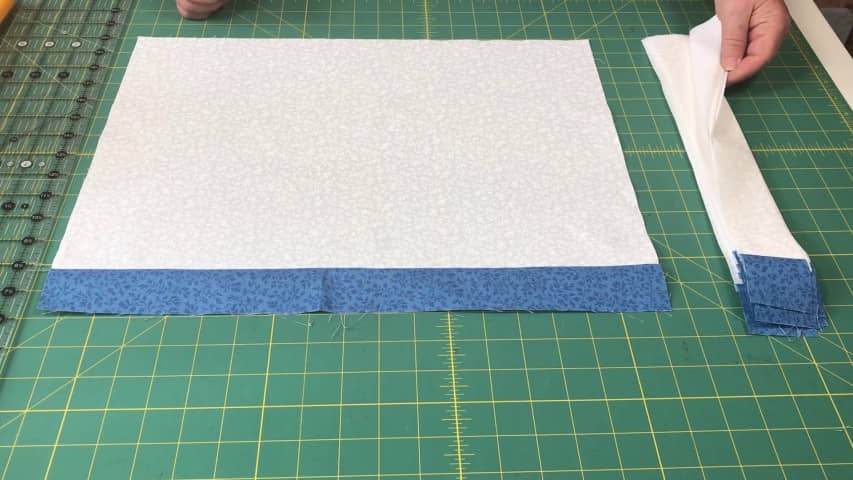
Take one strip of white and one strip of blue ( make sure that the strips are both the same length).
Sew the each of the matching sized strips together with a ¼” seam.
Now I’m going to sub-cut these into 2” pieces so I’ll line up my ruler along the 2” mark and cut and I’ll repeat that all the way down the strip.
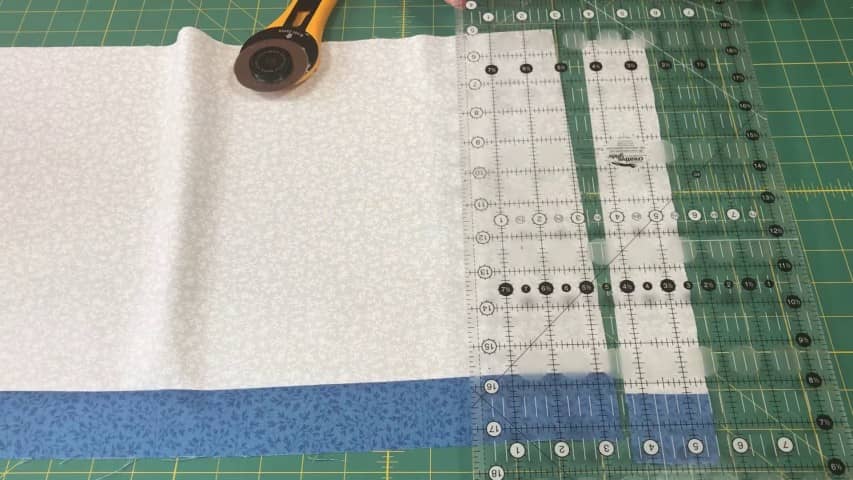
So out of the first strip set, I got 21 pieces but I need 8 more so I am going to be cutting those from the second strip set. In total, you will need 29 of these pieces.
Now we need to sew these strips to the top of the blocks. Sew them on with a ¼” seam.

Once you have sewn the strips on you will still have 9 sashing pieces left over. Don’t worry, I’ll show you what to do with them in the next step.
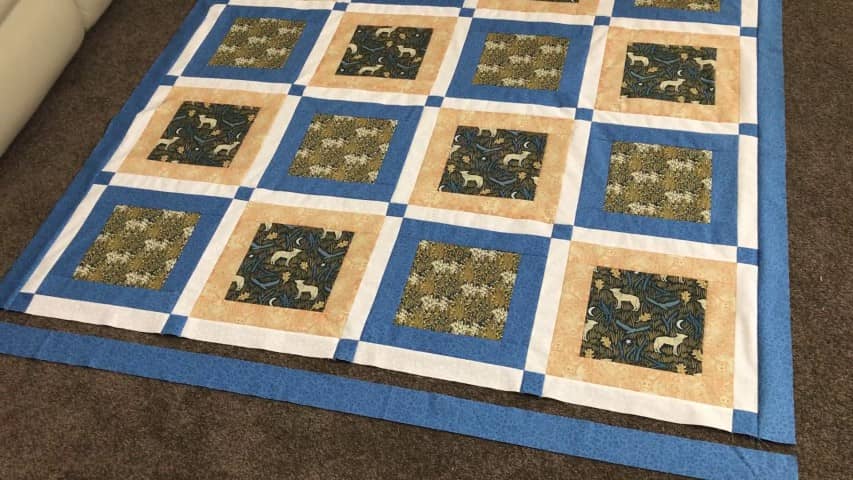
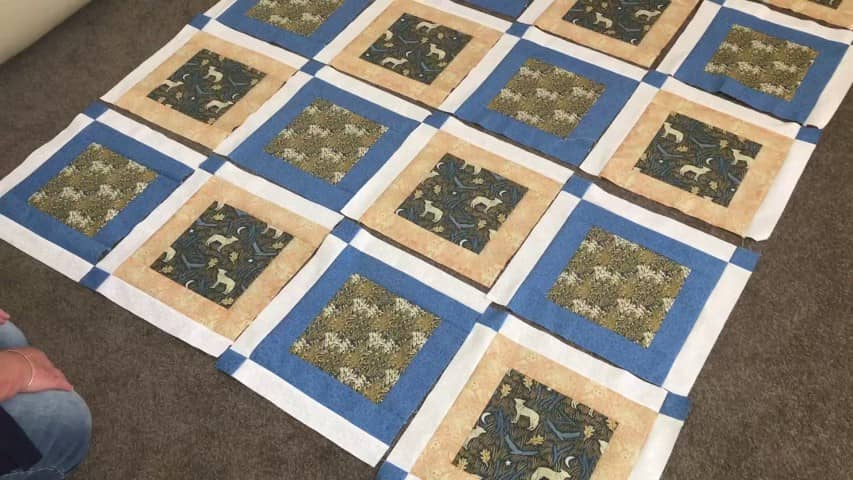
Lay Out the Blocks
So as they say in the Godfather, let’s go to the mattress, or in this case the floor.
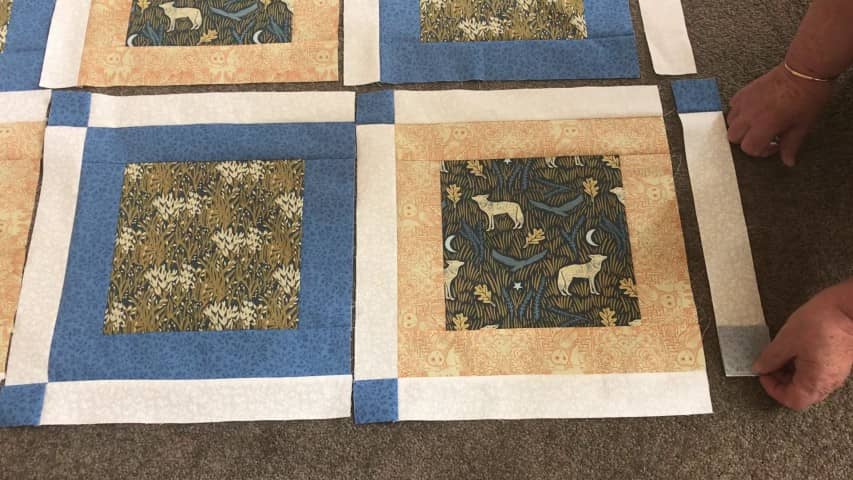
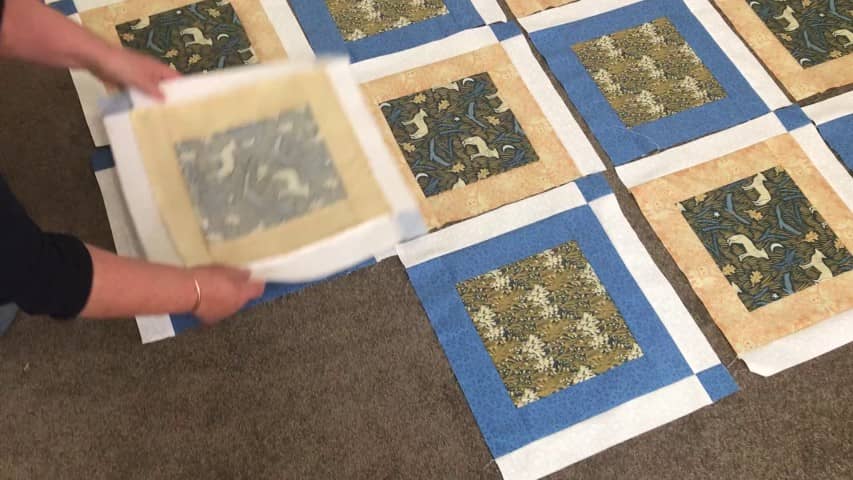
Lay out the blocks in an alternating pattern.
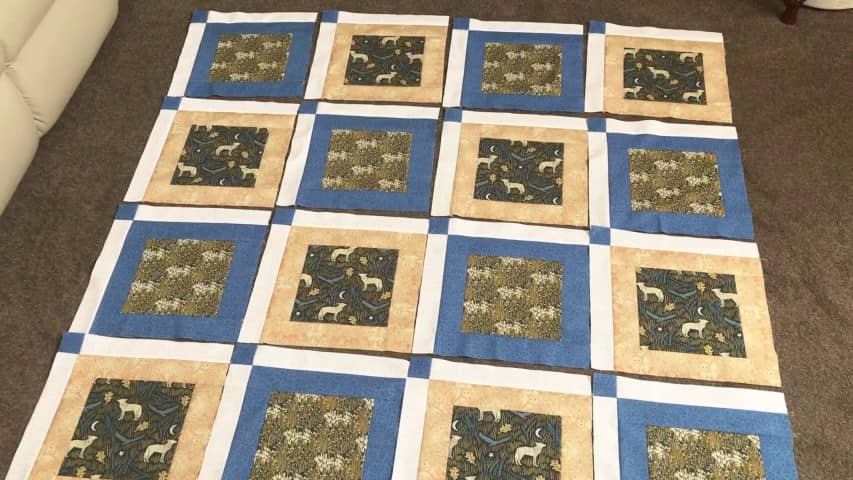
Now lay the sashing pieces that you had left over from the previous step, along the bottom and also next to the blocks on the right hand side of the quilt.
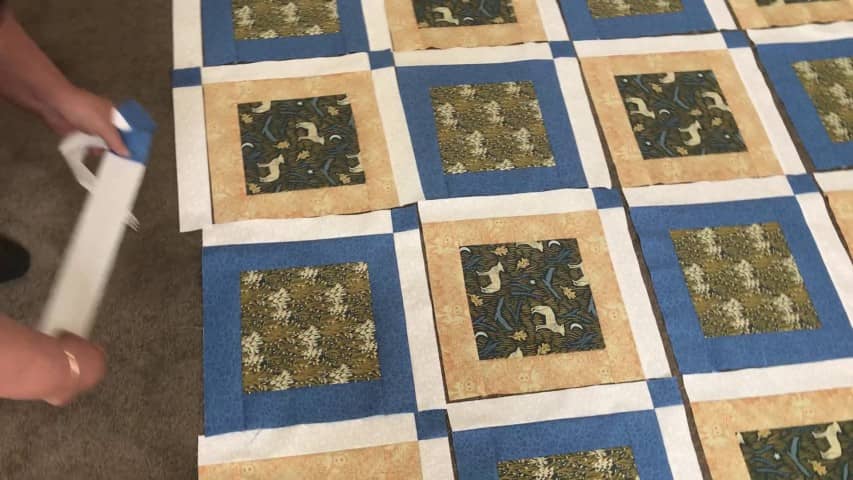
You’ll notice that we have a space here in the bottom right corner and that’s where our 2” x 2” piece of the blue fits.
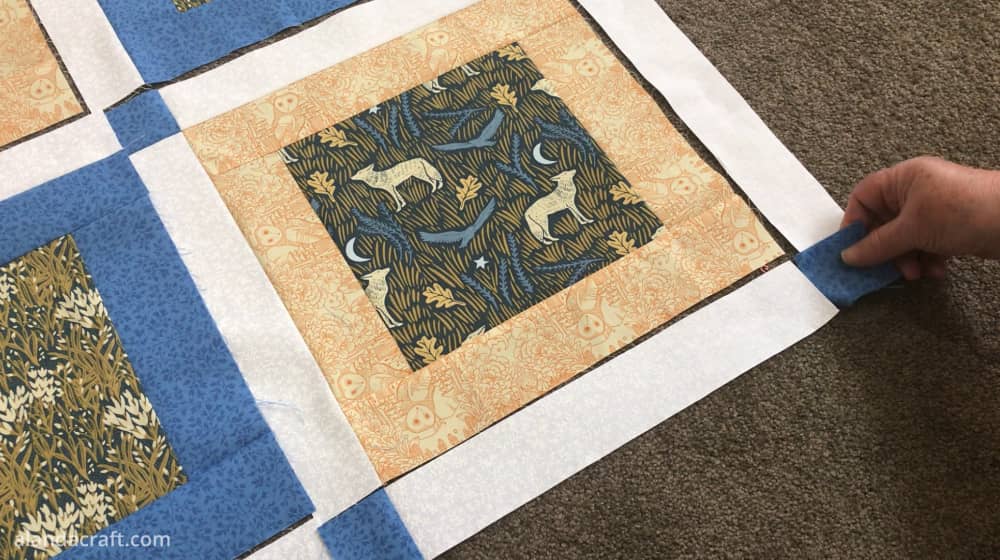
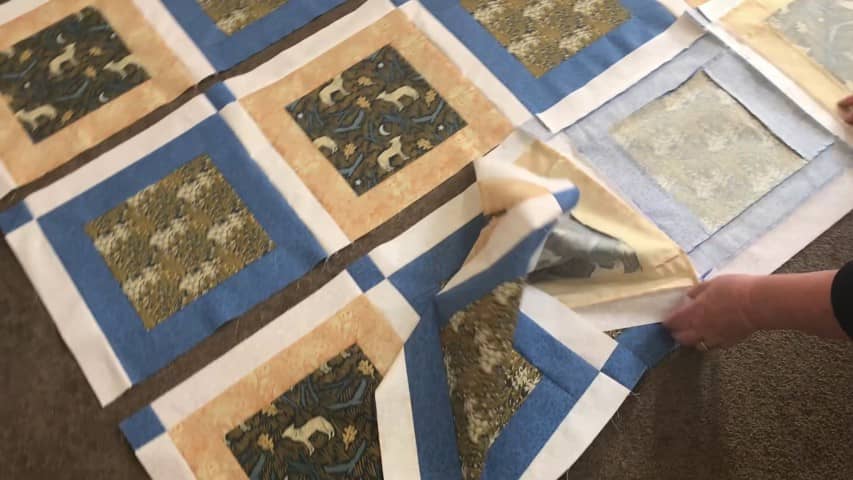
Attach the Bottom & Side Sashing
Starting at the bottom of the quilt sew a piece of the sashing to each of the blocks in the bottom row. Don’t add the extra blue square in the corner at this stage.

Once those pieces are sewn on it’s now time to sew on the little square of the blue fabric to the sashing piece on the side,
Once it is sewn on, take the sashing piece and sew it on to the side of the block.
Then we sew the remaining sashing pieces to the sides of each of the blocks on the right side of the quilt.
Sewing it All Together
So now that our blocks are all complete, we can start sewing them into rows. I usually do this in lots of two at a time and then sew them together to form a row.
Once the rows are sewn I just need to sew them together to form the quilt top.
Borders
So the quilt top is almost done and we are ready to add our borders so I am going to sew the long borders on first and at this point your quilt should measure 69” in height so you will need to join some of the strips together to get the length you need.
Now we need to add the top and bottom borders and these should measure 60″
And now you have the quilt top completed and ready for you to add the batting, backing, quilt it and add binding.


Leave a Reply