A potholder is a super quick sewing project. You can make them in any color and size, and they make lovely gifts. We made ours using leftover 10″ layer cake squares, but you can cut 10″ squares from your fabric stash to suit.

This is the QUICK 1 MINUTE VIDEO
(or scroll down for a more detailed version)
Watch the video below or scroll down for the step-by-step written instructions
Tools Used in This Tutorial
- Olfa Cutting Mat – The mat we use measures 24″ x 36″ so it’s quite large. If you are wanting to get one this big then make sure you measure up your space first and buy one to fit.
- Olfa Rotary Cutter – As you can tell, we like Olfa products. We both use a 60mm rotary cutter but the 45mm is more popular. I just find that the 60mm handles most applications so I don’t find myself picking up the 45mm much at all anymore.
- Scissors – We use a generic brand but there are plenty of high quality scissors on Amazon.
What You Need
- 2 pcs fabric measuring 10″x10″ or you can use layer cake squares
- 1 pc quilting batting measuring 10″x10″ – We usually use Warm & Natural batting.
- 1 pc Insul Bright (You can purchase Insul Bright from Amazon here)
- 1 small piece of ribbon
- Matching thread
Materials We Used in This Tutorial
You can check the latest prices at Amazon by clicking on the links below:
Let’s Get Started
- Place the the batting on top of the Insul Bright and then place one of the fabric pieces face up on top of the batting. Place the final piece of fabric on top face downwards.
- You should now have a sandwich of 4 layers – Insul Bright, batting, fabric 1, fabric 2

- Fold the ribbon in half and place in between the two fabric layers with the raw edges facing outward.
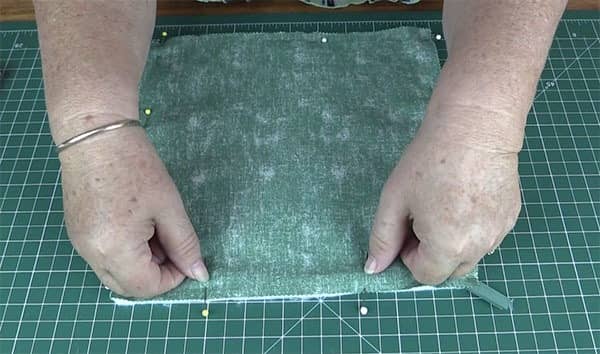
- Pin around all the edges, leaving a gap of about 4 inches or so on one side.
This will be the opening for when you turn the pot mitt through.
(Note: The fabric of the colour changes here only because we had one already completed.)
- Sew around the edge using a half inch seam ensuring that you leave the opening section free so that you can turn the pot mitt through.
(Again, the fabric changes here as we used pot mitts already partially completed to speed up the video tutorial.)
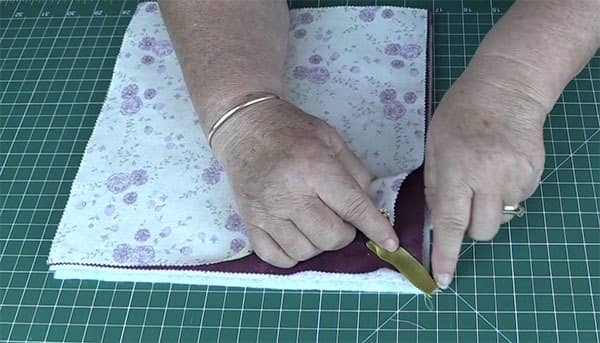
- Now we need to reduce some of the bulk from the sides.
- To remove the bulk, trim each of the corners as shown.
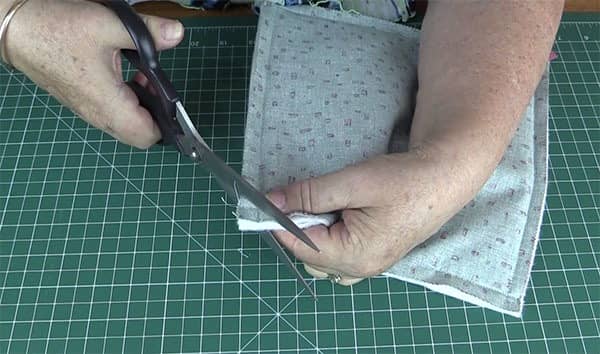
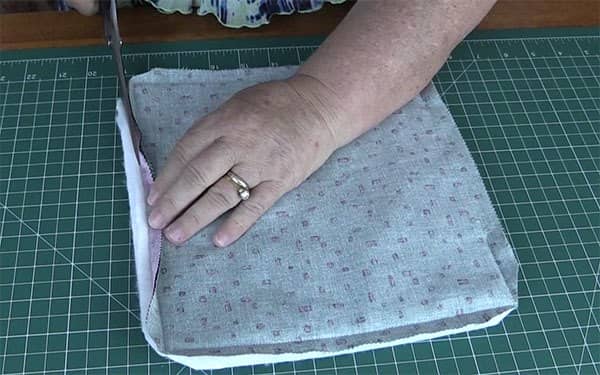
- Trim back the batting and Insul Bright from each of the edges.
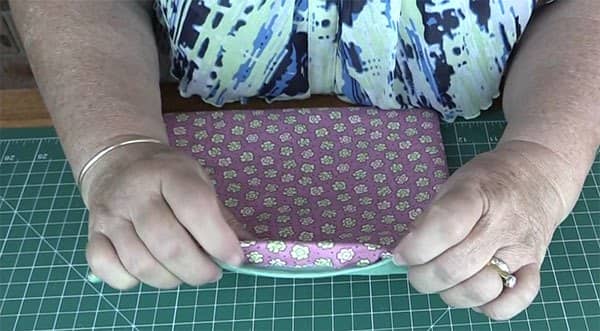
- Turn the pot mitt through.
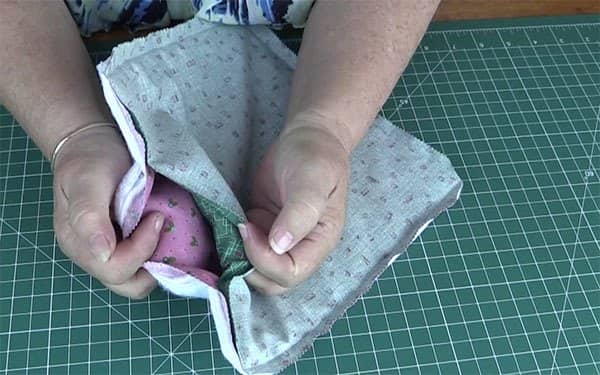
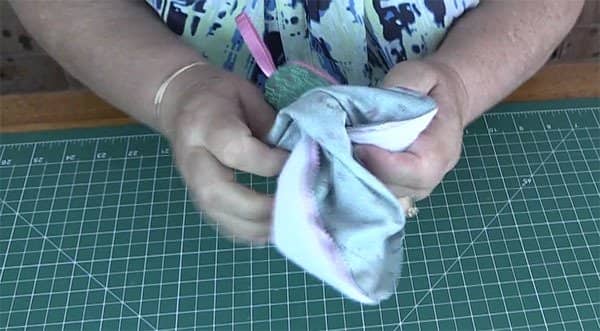
- Once you have turned the pot holder through, push out the corners using a chopstick or you can use your scissors. Take care not to push the scissors through the fabric.
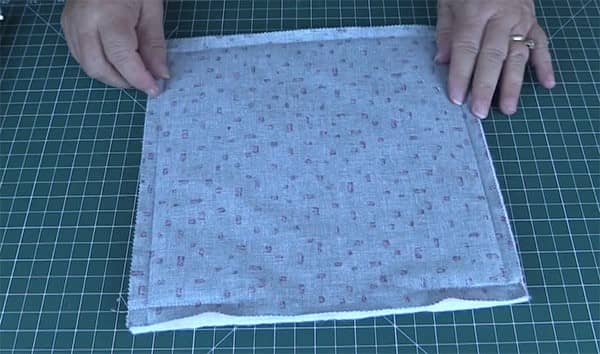
- Give it all a press and ensure you press the opening down nicely as shown in the image below.
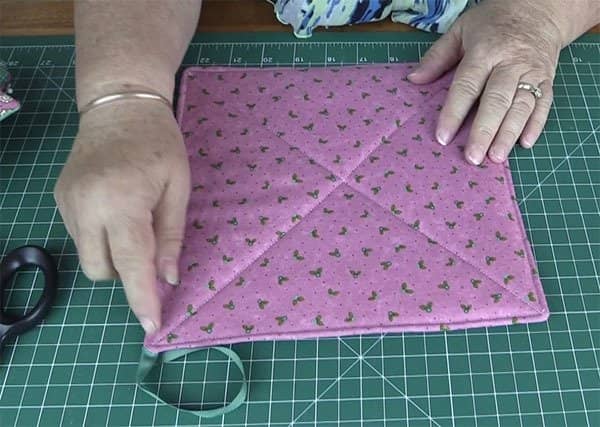
- Top stitch around all four sides about 1/8″ around the edges. This will seal up the opening.
- You can simply stitch across the middle to hold all the layers together.


Christi Dollar says
I thought you explained how to make the pot holders very well! I am a visual learner and your tutorial was great!
Alanda says
Thank you very much for your lovely comment Christi. 🙂
Gwen says
How would you add a pocket?
Jean says
I love the clarity you give with your tutorials!
Alanda Craft says
Thank you so much Jean. It’s always nice to receive such positive feedback. 🙂
Susan says
You made this so easy to understand Thank You
Sara Matthews says
Wow! I am excited to make these. Last Christmas my son and I made glove pot holders (Mitts) and they were an “in the hoop” pattern. We put the recipients names on the gloves also. They were so hard to do that by the time we got through, we were actually sick of making them. These pot holders you have made are exactly what I am looking for. They are quickly made, and you can dress them up or leave them plain. I need about 8 for Thanksgiving, as we are having about 20 people over for dinner. This will fit the bill and you explained how to make them very well, as you always do. Thank you for the idea and directions. Sometimes the easiest is the best. Hugs
Alanda says
Thank you for your lovely comment Sara. These potholders are so quick and easy to make, you and your son will get them made in no time at all. Your Christmas effort for last year sure sounds like it was a lot of work. I bet they looked awesome though. Cheers. Wanda
Sally says
I would like the pattern or tutorial link for pot holder mitts if possible please.
Love your tutorials
Sally
Alanda says
This is a link to our tutorial for oven mitts made from jelly roll strips – /2014/11/05/easy-oven-mitt-tutorial-made-with-8-moda-jelly-roll-strips/
Nancy says
That’s the easiest pot holder I ever saw!
Char says
I am also a visual learner, thank you for another great tutorial.
Alanda says
Thank you Char. 🙂
chris says
very good tutorial. thanks for keeping it simple.
Alanda Craft says
We love simple!
Mavis says
Great visual demonstration! At the moment i am restricted to my home for most of the time so this would be a great way of making some gifts and filling time constructively. Thank you.
Alanda Craft says
We have more quick projects here Mavis: /2018/06/18/quick-and-easy-sewing-projects-for-beginners/
Sandra says
This is a wonderful tutorial. This was my first project. The instructions were well put and easy to use. It helped me learn many things. Materials both for fabric and the inside materials and using the machine. My cat enjoyed learning also.
Alanda Craft says
Thank you for your lovely comment Sandra. Happy to hear the cat enjoyed the class :).
Maxine Frye says
Thank you. I need to make new ones and this helped.
Jean says
Thank you for an easy way to make potholders. I can never find any in the stores that I am satisfied with so make my own. This is way easier then the way I do it. Thanks!!!
Alanda Craft says
Happy to hear you like the tutorial, Jean. I am a big fan of simple, easy to do projects and these potholders are certainly quick and easy to make.
Karen says
I made a bunch of these for family members.
I skipped the loop on the ones I made my daughter because she stores hers in a drawer!
Debbie says
Thank you 😊
SANDRA GODDEN says
I love your tutorial. I make many potholders and my signature quilting on them is –a heart. I also quilt 1/4 inch around the edge.
Alanda Craft says
Love the idea of adding your heart signature, Sandra. These potholders make great gifts or even for selling at markets etc.
Kathy Swindle says
Amanda,
Love your tutorial! Great directions, easy to follow. I have trouble with the opening not closing easily. I’m going to try making them bigger and a bigger opening. Anxious to watch your other tutorials!
Kathy
Alanda Craft says
These openings can be a bit tricky, Kathy. Turn the seam in and press it so that it stays in place. Do this on both sides of the opening. Then bring both sides together and press again. Pop in a couple of pins and this should work (hopefully this makes sense). When I first started making bags and pot holders etc, getting a nice finish on the opening was one thing I had problems with. It did get easier with practice.
Melinda says
Great tutorial
Marita says
You really explain very well. Nice easy project for gifts. Thank you!
Alanda Craft says
Thank you Marita 😊.
Vickey says
Thank you for your video. You explain everything .
Vickey says
Thank you for sharing your video.
Alanda Craft says
You are most welcome Vickey. These are so quick and easy to make and they make great gifts and Christmas stocking fillers.
J says
Great tutorial. I am wondering-why both batting and Insul Bright? Sounds like it would be rather thick. How about using just Insul Bright?
Alanda Craft says
We use two layers because we found that one layer of Insul-Bright wasn’t enough. The reason we add batting as the second layer is that Insul-Bright is more expensive than batting so you could use two layers of Insul-Bright.