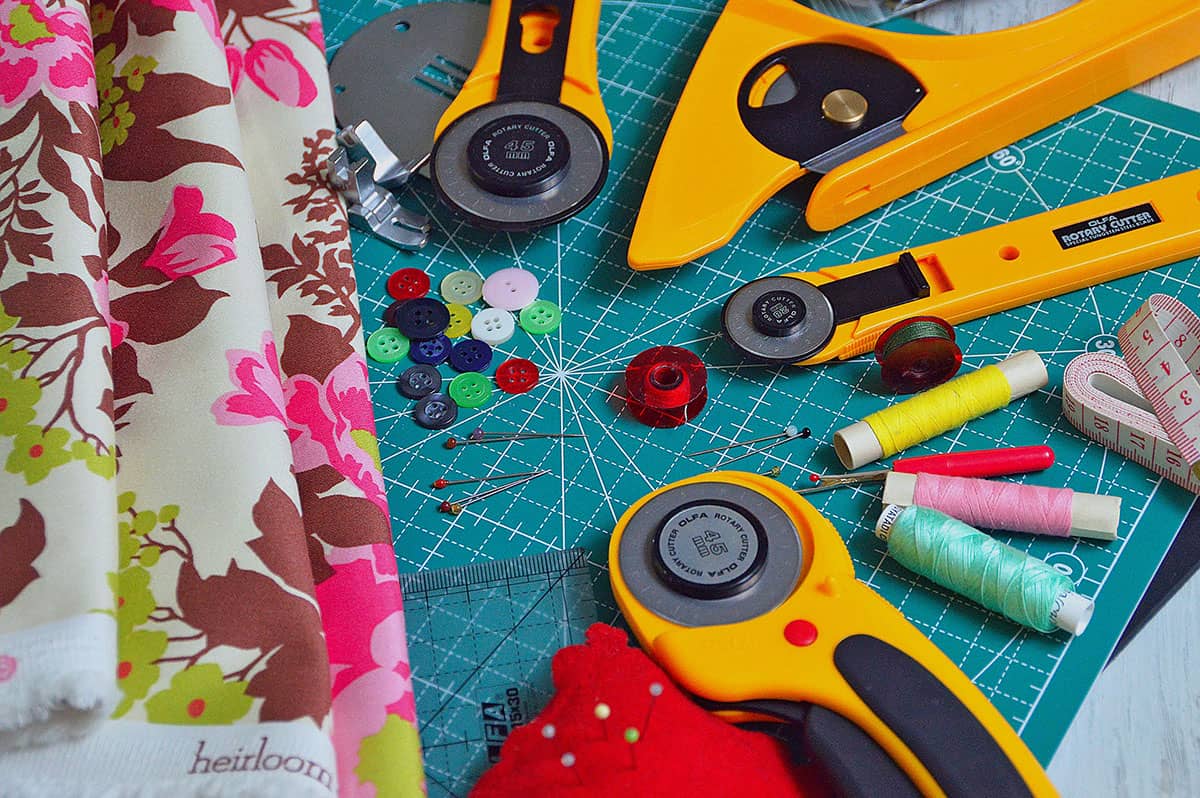 Are you just starting out on your quilting adventure? If so, you’ll need a few quilting tools to really get the most out of your experience. Bear in mind however, that in times gone by, they didn’t use all of these fancy tools and they got away with the very basics – a pair of scissors, a needle and thread and a bit of fabric…mostly scraps.
So don’t feel like you have to get everything on this list but if you are going to make more than one quilt, you are really going to want to get your hands on at least some of these quilting supplies. It will make your quilting experience a whole lot easier.
The list below does contain affiliate links. This means we will get a small commission if you purchase anything from the list. It doesn’t cost you any extra but it does help to support this website so it’s very much appreciated.
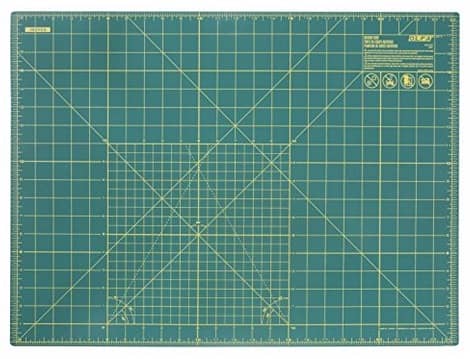
1. Self Healing Cutting Mat
Cutting quilting fabric requires either a pair of scissors or a rotary cutter. These days most people use a rotary cutter because, well…it’s just so easy to cut with it and it is also more accurate. You will get much better results when cutting your fabric. So if you do get yourself a rotary cutter, then you will also need a self healing mat as well. Without it you are going to be cutting through whatever surface you use it on which isn’t good to say the least. You will also dull the blade pretty quickly.
The self healing mat as the name suggests, heals itself after each cut. So you can use it again and again without dulling your blade….at least for a while anyway – all good things must come to an end eventually.
Choosing the Right Size
So what are your options when it comes to cutting mats? First you need to decide on the size. We use a 24″ x 36″ mat but a lot of people go with an 18″ x 24″. The bigger the better in my opinion, but be sure to measure the surface where you will be using the mat before choosing the size as you will need want to make sure the mat is going to lay flat and is fully supported.
Which Brand?
We’ve used lots of different mats both generic and branded. We like the Olfa the best but there is a lot of good feedback for the Alvin cutting mat which we haven’t tried yet so do your research on that one.
Our Favourite Cutting Mat
The Olfa 24″ x 36″ is our personal favourite. The reviews are also pretty awesome on Amazon – 4.5 stars.
Click here to view on Amazon
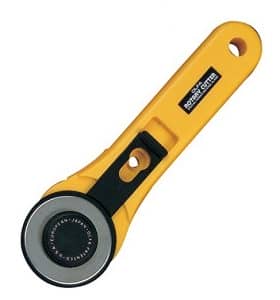
2. Rotary Cutter
We’ve spoken about the Self Healing Mat, so now of course we need the rotary cutter. There are many different brands available. The most well known are probably Olfa, Clover and Fiskars. We have all three brands but really it is a personal choice because all of these brands are good rotary cutters. However, if we were forced to rate them we would put Olfa first, Clover second and Fiskars third.
Choosing the Right Size
Rotary cutters come in difference sizes based on the blade size. So you might see 28mm, 45mm, 60mm sizes and so on. So which one is the best?
For someone just starting out definitely go with the 45mm. It will cover pretty much all quilting scenarios. We use that size more often than not, however the 60mm is also one that also gets a lot of use. It’s a larger blade so can get through thicker fabrics and more layers of fabric a lot easier than the 45mm.
We also have the 28mm which personally I love. It’s small so works particularly well for cutting around curvy rulers so something for you to think about for later on.
Also consider if you are left handed that you choose the right rotary cutter for you. The Olfa rotary we recommend below is made for both left and right handed users.
Our Favourite Rotary Cutter
The Olfa 45mm is the rotary cutter we used the most often. Also consider the 60mm for cutting through thicker fabrics or layers of fabric.
Click here to view on Amazon
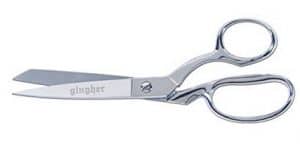
3. Scissors
Most people have a pair of scissors in the house but when it comes to cutting fabric, it is always ideal to have a pair of scissors totally dedicated to cutting fabric and nothing else. This means hiding your scissors from your spouse, children, neighbour, dog and anyone else who wants to get their hands on them and believe me, they will. Do not tell them you even have a pair of scissors because they will do their best to find said scissors and use them on anything and everything possible. You need to keep those sewing and quilting scissors sharp so keep them safe.
We recommend two sizes. One large for cutting batting but you can also use it to cut fabric (although a rotary cutter is much quicker and more accurate). You will also want a smaller set for cutting threads. You will find yourself using the small one all the time.
Which Brand?
What we’ve found is that it’s not so much about the brand but the sharpness of the scissors. Every pair of scissors is going to go blunt over time but if you can keep them sharp they can last for years. We use a generic brand for most of our scissors so can’t even tell you what they are but what I can do is send you off to some scissors that get excellent ratings on Amazon.
Here’s the recommendations list:
Gingher 8-inch Knife Edge – this one has received thousands of reviews with a 5 star rating. That’s pretty difficult to achieve so I’m thinking they are pretty good.
Evergreen Sewing Scissors – another one with a 5 star rating with exceptional reviews. Might think about buying a pair of these myself.
For small thread scissors:
Stork Scissors – These are one of the ones we use and like the best. Not sure if it is the exact same brand but they look the same, so read the reviews to make sure it’s worth your purchase.
4. Pins, Needles & Clips
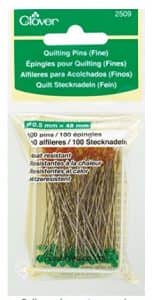
Another one of those quilting supplies that you really can’t sew or quilt without are these little suckers and not all pins are created equal. There are different thicknesses believe it or not so ideally you want to get yourself two different sets. One thick and one thin. The reason for this is that when you are sewing up the fabric to make a quilt block for instance, the thinner pins glide into the fabric a lot easier. Some of these also come with a flat head for ironing over but ensure you buy the heat resistant ones if you are going to go with those.
These Clover Fine Quilting Pins are one example of thin pins. Clover are quite a good brand in my opinion and the reviews for these are particularly good.
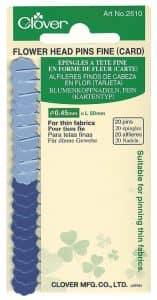
Here’s one example of fine pins that we use. These are the Clover Flower Head Pins and I quite like the flat head style of pin when piecing together quilt blocks.
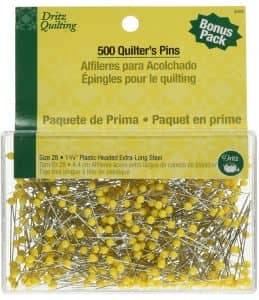
The regular thicker pins will be needed when you start pinning together pieces with batting or you are using tougher fabric than quilting cotton. The thins pins will probably bend in these sorts of situations. We use a generic brand of pin and they are quite good. Can’t even remember where I got them from although the Dritz Quilters Pins get a good wrap on Amazon so check those out.
Quilters Safety Pins are optional but highly recommended. When you are pinning the quilt in order to quilt the layers together, you can use regular straight pins but the quilters safety pins are so much better. You won’t stick yourself every time you move the quilt around and you won’t have the issue of pins getting lost in the layers of the quilt. There’s nothing worse than someone getting stuck by a pin from a quilt you have made them. Look for curved safety pins as they are a lot easier to insert into the thick layers of your quilt.
I’d love to be able to link to a recommended product for these on Amazon but I just haven’t found any that people are really satisfied with. We use a generic brand and they do the job nicely.
A relatively new product are the aptly named Wonder Clips. These are an alternative to pins and are awesome when it comes to sewing on binding. You will want to get yourself some of these.
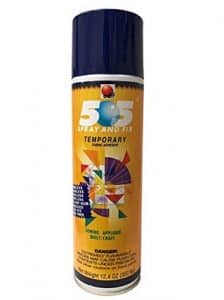
5. 505 Spray
Some quilters use adhesive spray and some don’t. You generally use it when basting your quilt together. So instead of using pins, you use an adhesive spray. If you do decide to use it, then it’s worthwhile using a brand that is recommended for quilters. Some adhesive sprays can gum up your needle and get into the workings of the machine. We personally use and recommend 505 Spray.
Our Favourite Adhesive Spray
505 Spray is our personal favourite. It has very little odour and doesn’t gum up our needles.
Click here to view on Amazon
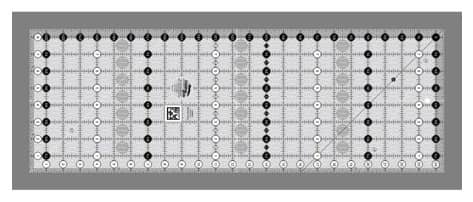
6. Quilting Rulers
There are literally hundreds if not thousands of different quilting rulers and probably many more still to be designed. For a newbie however, you don’t need too much. If you’re starting out all you need is one long ruler and a square ruler. These should cover most things. You can (and you probably will) buy more as you gain more experience. If you only had to buy one out of the two then definitely go with the long ruler. We use that long ruler probably about 80% of the time.
What Size?
The ‘long ruler’ size can vary but our favourite size is 8½” x 24½”.
What Brand?
We have a couple of these long rulers but our favourite brand is Creative Grids for rulers. The thing we really like the most about them is that they have grips on the back of the ruler so when you push down on them, they don’t move. This means that you get any slippage when cutting.
Our Favourite Quilting Ruler
This one is our favourite for a number of reasons but mostly because it just doesn’t slip when you use it.
Click here to view on Amazon
7. Sewing Machine
This one is kind of obvious really, although not everyone uses a machine to sew their quilts. There are still a lot of people who love to hand sew everything. Not my thing to be honest but there is nothing like a hand sewn quilt. There are so many machines we could recommend but if you are looking for a machine for quilting then consider the following:
- Get one with a quarter inch plate. Quilters use a quarter inch to sew most things on the quilt so having a guide on the plate can help immensely.
- If you are going to be doing the quilting part yourself (ie. sewing the sandwich together), then you will need a machine with a wide throat so that you can fit the quilt in as you sew. It can get bulky so the more space the better.
We have a number of sewing machines between us and they include the following:
- Janome 7700 – They have upgraded it since I purchased it, but this is the latest version.
- Pfaff Creative 1475cd – This is an oldie but a goodie. They definitely don’t make em like this anymore. Still a fantastic machine.
- Singer Confidence Quilter – They still make these and you can get them on Amazon here for under $300. Quite a good machine for the money. I got it to take to quilting classes as hulking along a huge Janome just wasn’t all that fun.
- Dream Machine 2 – I’ve left the best till last. This is one awesome machine that has both sewing and machine embroidery functionality. Just amazing is all I can say.
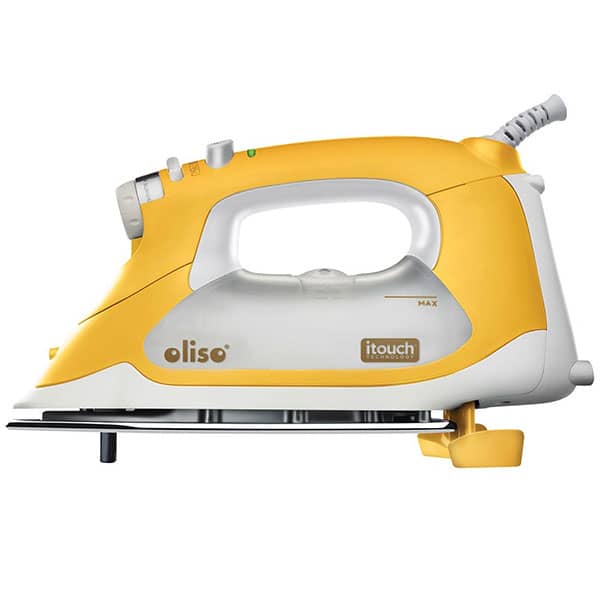
8. Ironing Board and Iron
You really need to ensure that your fabric is neatly ironed when you are quilting. This will result in a better finish at the end. A good ironing board is a must and an iron suited to quilting is nice but not absolutely necessary. There are some super expensive irons out there that are fantastic but you can get away with a regular iron although you need to ensure that it is clean so that you don’t mark your fabric with rusted water.
We currently use an Oliso Iron and love it, mostly because we can leave it in the down position and it will automatically pop up to prevent it burning the fabric. You can read our full Oliso Iron Review here if you want to know more.
Our Favourite Iron
We just love how this pops up automatically so you will never scorch your fabric ever.
Click here to view on Amazon
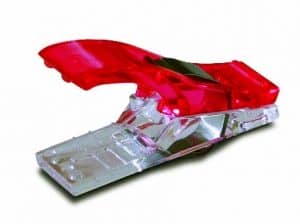
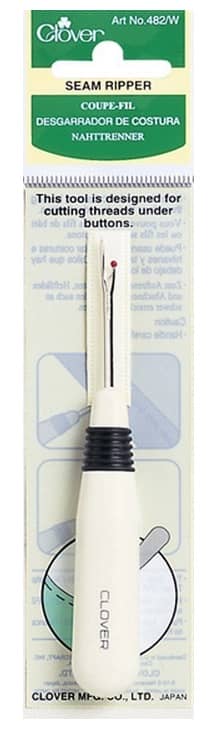
9. Seam Ripper
This is an absolute must have. Unless you are an absolutely perfect sewer and never ever get anything wrong, you are going to want to get yourself at least one of these. We have gazillions – that might be a bit of an exaggeration but not by much. My favourite is actually one that came with one of my sewing machines, but I also love the Clover seam ripper. Those are the two I use most often.
Our Favourite Seam Ripper
This one feels good to hold and it’s sharp!
Click here to view on Amazon
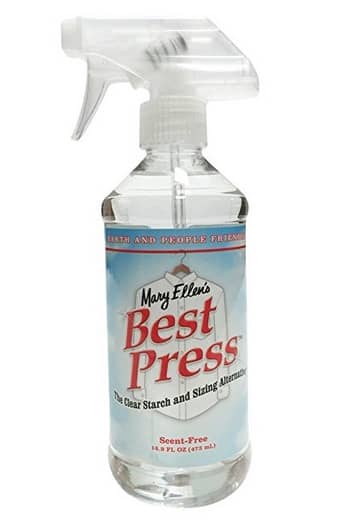
10. Spray Starch – Best Press
This is another must have. You really need to be pressing your fabric with a good spray starch. It really does help when piecing things together and you end up with a more professional look.
We use Best Press because for one thing it has a beautiful smell, there’s no flaking and it seems to last forever.
Our Favourite Spray Starch
Makes ironing easier, smells good and doesn’t flake.
Click here to view on Amazon