We were recently approached by HTVRont to see if we would like to take their Heat Transfer for Vinyl machine for a spin. Of course we said yes, thank you very much. In our review we show you what we received and how the machine performed.
(Note: This post contains affiliate links which means that if you click on any of them and make a purchase, we receive a small commission at no extra cost to you.)
Watch the video review below or scroll down for the instructions
What’s in the Box
In the box is the heat press machine, a safety stand, power cord, instruction manual and a canvas bag that can be embellished with vinyl using the machine. You can keep the machine in this handy bag for those times that you aren’t using it to keep it dust free to protect the heating plate.
Appearance
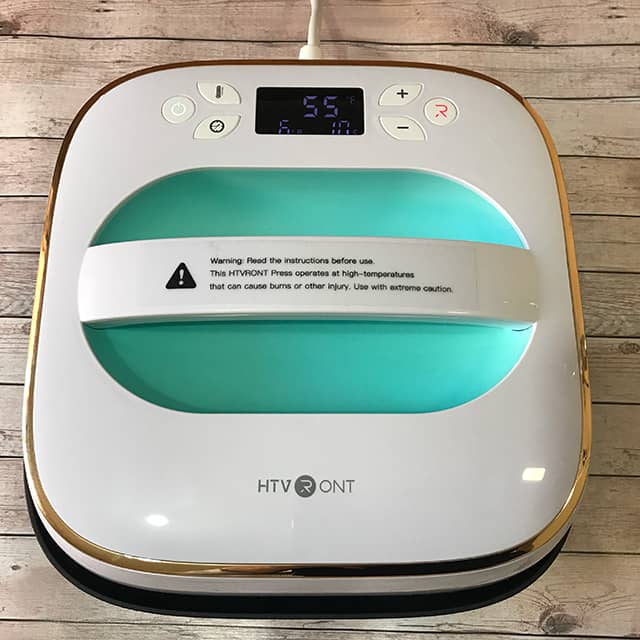
The first thing that jumped out at me was the lovely mint green color and the gold trim. So overall the appearance of the machine is quite elegant looking. It also comes in a red.
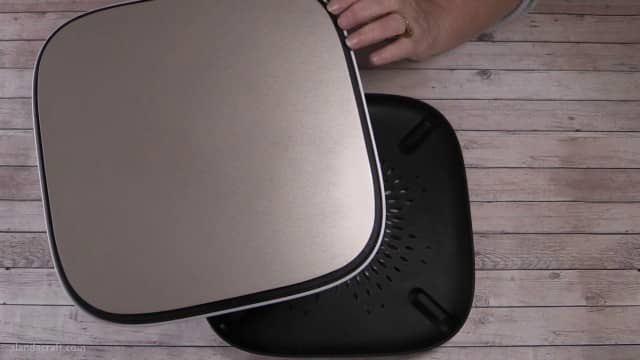
The heat plate measures 10″ x10″ so it’s a good size for most projects. If you have a larger project, simply heat and press half the design and once the timer has counted down, lift and press the other half of the design.
Understanding the Buttons
Now on the top of the machine are the on/off button, the temperature button, the timer button, the up and down buttons that allow you to adjust the temperature and time for your project and the ‘R’ button which is the start button. It also turns off automatically after 15 minutes which is a nice safety feature.
There is a handle on the top of the machine that allows you to apply light to medium pressure to your project, and you also use this handle to pick up machine to take it to and from the safety base.
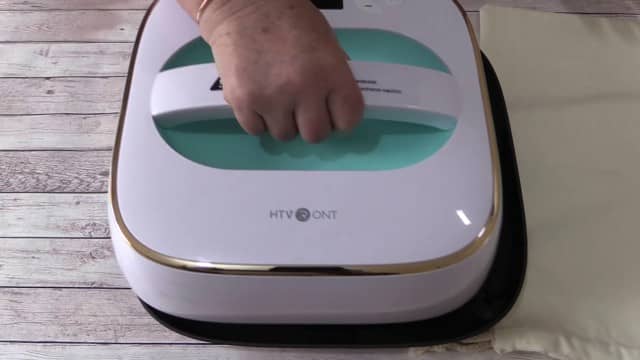
For projects that require heavy pressure, there are hand holds on the sides of the machine. These hand holds allow you to easily apply more pressure as required, and you can pick the machine up using the hand holds to place the machine onto your project and back onto the stand when you have finished pressing the vinyl. These side handles are ideal if you have problems picking things up one handed.
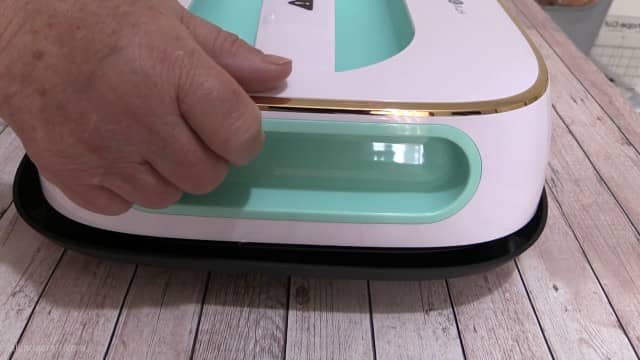
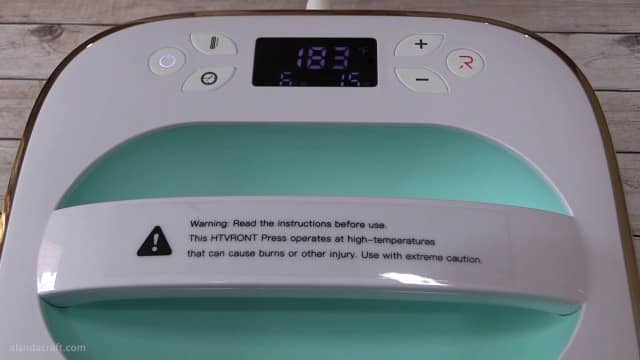
Unlike other HTV machines, the HTVRont lets you see the amount of pressure you are applying and you will see the pressure number on the LED screen change according the the pressure being applied. This only works once the ‘R’ or ready button has been pressed.
The temperature goes up to 410º which is great for sublimation and rhinestone work. So that’s a good thing to keep that in mind when you are looking to purchase a heat machine. Believe me once you master the basics of Heat Transfer Vinyl you will soon be using your machine to do more advanced projects.
The pressure settings for the HTVRont Heat Press are as follows:
- Low Pressure: 6-11 pounds (the weight of the machine without any pressure being applied can also be used where low pressure is required).
- Medium Pressure: 11-33 pounds
- Heavy Pressure: 33-50 pounds.
I read through the manual and familiarized myself with the what’s what of the machine, this is something I recommend you do. It’s not a large manual and it does give clear instructions.
Projects We Tried
Now it was time to select some items to decorate and we settled on some bags, t-shirts and some card stock. Paula download some SVG files into Brother Canvas to cut out with our ScanNCut. You can also use your Cricut or other cutting machine.
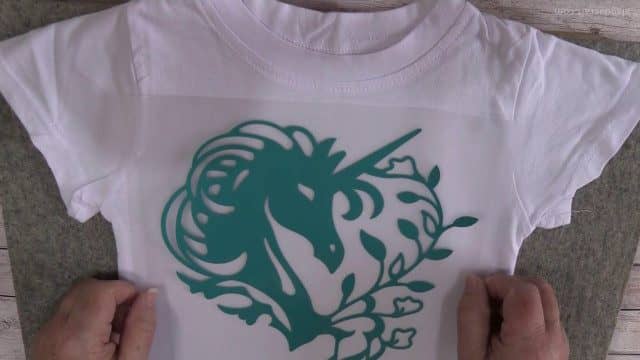
- The designs we decided on were a lovely unicorn and the Little Heart Breaker from Love SVG. They have an absolutely amazing array of SVG files available, many of them are free.
- The Love/Paw print is from our ScanNCut Dog Bundle available in our Alanda Online Store.
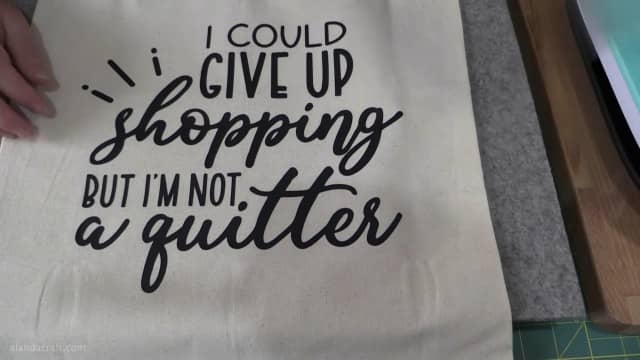
- The ‘I could give up shopping but I’m not a quitter’ quote is available from Peachy Cotton Candy on Etsy. She has lots of really great sayings and svg files available.
T-Shirts
The unicorn was made using some unnamed brand of heat transfer vinyl that we had on hand. There were no instructions on how to use it so we just went with 300º and 30 seconds with medium pressure. It is a thin vinyl and we did get a little bubbling which means we needed to change the settings. So we dropped the temperature to 280 and the time to 15 seconds and the second attempt was better.
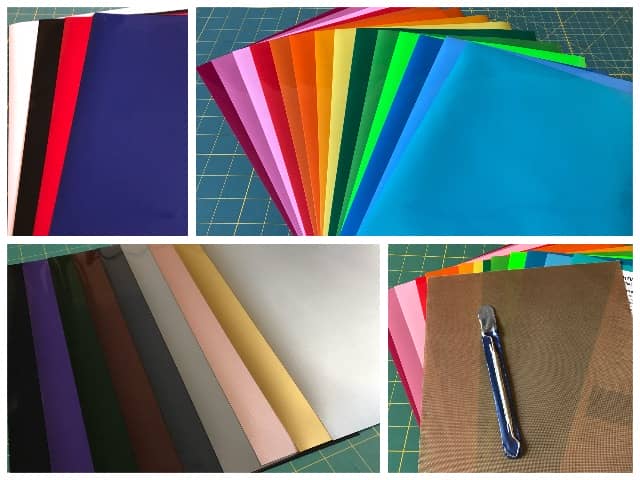
Rather than continue with this vinyl for the video, we ordered a pack of the HTVRont vinyl from Amazon. It is a good, heavy quality vinyl and our pack came with a weeder which is necessary for weeding out the excess vinyl once you have cut out your design. You know, remove the bits from the e’s and the a’s etc. You will need to check the details to see if the weeder is included with the pack you purchase.
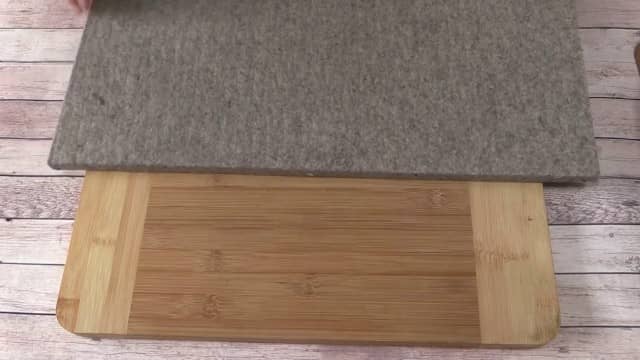
As I work on my craft mat I place a bread board under the safety base. This is just my personal preference as the machine does generate a lot of heat and I found that my craft mat buckled a little.
I have both a woolen mat and a Cricut mat that is specifically made to use when you are doing HTV. I tend to use the woolen mat most often. However, if you don’t have a specific mat you can use a towel and fold it over a few times to give you a padded surface.
Canvas Bags
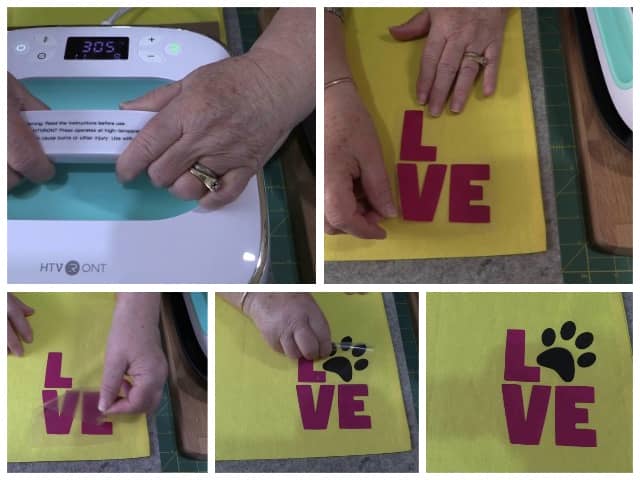
So I set the temperature and time and started with the yellow bag and the love/paw design. The letters worked perfectly first time, but I didn’t use enough pressure when I added the paw, but this is not a problem. Simply reapply the machine, turn it on and apply a little more pressure to help transfer the design. Let the project cool and then peel back the protective layer. You can turn your project over and give it a press from the back just to help set everything.
The second canvas bag we worked is our favourite.
Cardstock
- I used the same LOVE paw design on some 100lb cardstock. I set the heat machine for 10 seconds at 280F and just let the weight of the machine apply the pressure
- We also tried it with a butterfly design and it turned out great. This design is also from Love SVG
- I did have to apply the machine twice to the Christmas Tree card with the glitter vinyl. I think this is because the glitter vinyl is thicker.

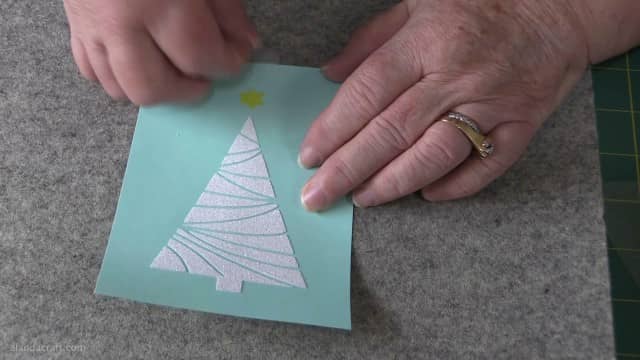
Overall, It worked great and I am looking forward to doing more cards, and to come up with other projects for junk journals.
Next was another bag. This was the thin vinyl and the unicorn design. I love the design and although there is a little bubbling (operator error – we gave it too much heat for too long) the bag is definitely usable.
I also tried some wood pieces but I need to practice a bit more. They weren’t successful for me although I followed the instructions that I found on YouTube from others that have done this. I’m thinking that maybe the wood pieces were too small for the larger machine and may work better with the mini heat press. Still, it was only our first attempt so we will need to work on it a bit more.
Where Can You Buy the HTVRont Heat Press machine?
You can buy the HTVRont from their website or from Amazon and they regularly have really good sales from both places. The machine is abut $88 dollars on special.
Now you can iron on your HTV to your projects using your regular iron, but really this machine makes using Heat Transfer Vinyl so easy to work with.
So what is our overall opinion on the HTVRont heat machine? Well I have to say we really like it! Apart from the lovely look of the machine, it performs really well and the quality is excellent. I’m definitely considering buying the mini version of this machine!


Leave a Reply