Hot Pad Tutorial using Layer Cake Squares
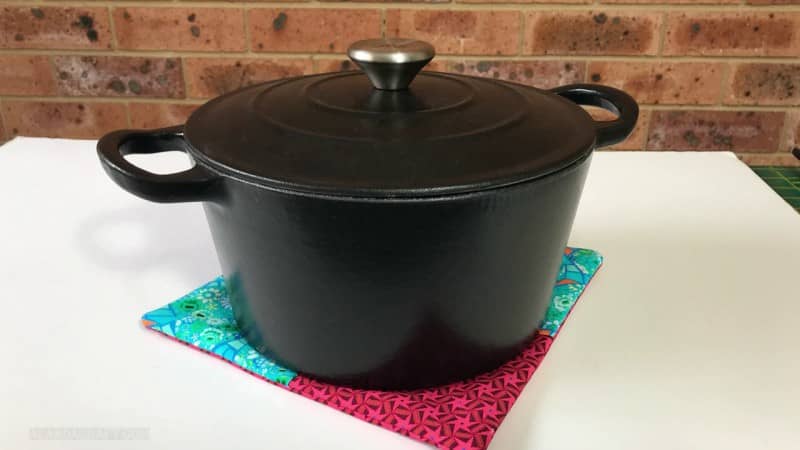
Today, we have a hot pad tutorial for you and these are super easy to make. Hot pads, also known as pot holders or trivets are ideal for protecting your bench or table from a hot pot or casserole dish. They also look pretty impressive when you have family or friends over and you bring a pot to the table for everyone to dig in to.
Let’s use up some layer cake squares
This hot pad tutorial is made using 10″ squares. You could use left over layer cake squares if you have them or simply cut your own like we did. If you are not sure how to do that we do have a tutorial for you so check that out.
Is this a beginner sewing project?
I think a beginner could tackle this….maybe not as a first project, but if you have created a few things already, this should be an easy sewing project for you.
It’s lots of fun too because the technique used is pretty unique. I always marvel at the first person to come with these sorts of ideas…anyone know who came up with this one?? Let us know in the comments.
Finished Size
We made these using 10″ squares of fabric and they ended up with a finished size of 9″ x 9″.
Can you make these hot pads in different sizes?
You could really make these any size you like so just increase or decrease the size of the squares to suit. Since we use a half inch seam they should all come down 1″ less than your original fabric size. For example, if you go with 8″ squares then the hot pad should be a finished size of 7″.
What You Need
We had some fabric left over from our Broken Blocks quilt that we made from the fabric we received from Cotton Cuts, so we thought we would use that.
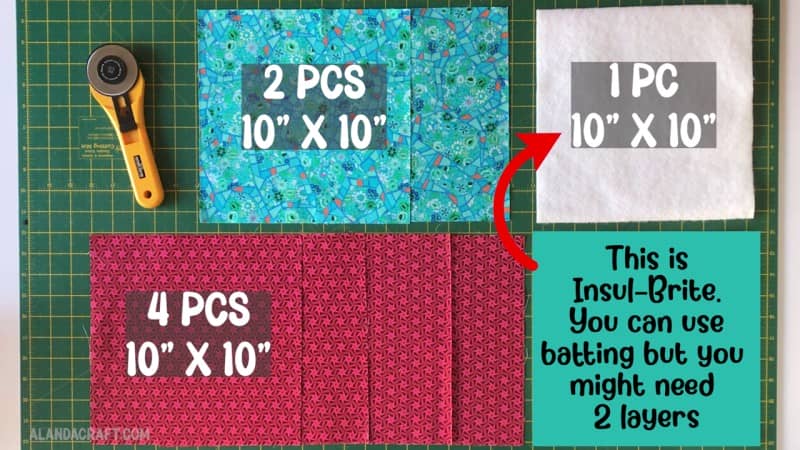
- Fabric 1 (red): – 4 x 10″ squares (this fabric will be used for the top and bottom of the hot pad as well as for the four patch design)
- Fabric 2 (blue) – 2 x 10″ squares (this fabric will be used for the four patch design)
- 1 layer Insul-Brite (or 2 layers of batting) -10″ x 10″
Note that we are using Insul-Brite which is a special type of batting that is designed to provide insulation against high temperatures and works really well for projects like this one. You could use 2 layers of Insul-Brite if you want to provide an extra thick layer or you could even use a piece of Insul-Brite and a piece of batting.
What if I don’t have Insul-Brite?
If you don’t have Insul-Brite you could use quilt batting but we recommend at least 2 layers of it. If you have a particularly thick batting, you might get away with one but you just need to be mindful of the surface you will be putting this on – you don’t want to melt it.
If I use 2 layers of batting or Insul-Brite won’t that be too thick?
It could end up being too thick which is why we went with one layer but it should still be doable depending on the thickness of the batting. It just may be a little more tricky to put together as there will be multiple layers to line up.
Choosing Fabrics
When choosing fabrics, keep in mind that that it is going to be getting a lot of heat applied to it. So stick with natural fibers like cotton or linen. We use quilting cotton which is 100% cotton. It’s more likely to cope with those high temperatures.
Also think about the look of the fabric. We are creating a four patch design for our hot pads so it will look best with contrasting colours. You also might want to think about the fabrics matching your kitchen decor or your table cloth if you are going to be using it on your dining room table.
Care Instructions
We usually don’t pre-wash our fabric before sewing and this is particularly so for pre-cuts. So if you have a layer cake and are using the squares from that then we suggest that you don’t pre-wash. However, if you are cutting your own layer cake squares from yardage then feel free to wash your fabric first if it is something you normally do or if you think that the fabric might shrink.
In terms of washing the hot pads, as of writing this post, we haven’t actually washed one yet but I would suggest doing so on a gentle cycle or maybe throw it into one of those laundry bags so it doesn’t get caught on anything during the wash and spin cycles. I don’t see an issue in tumble drying but it will depend on the fabric you have used and the batting – if in doubt just air dry.
Use a Walking Foot if you have one
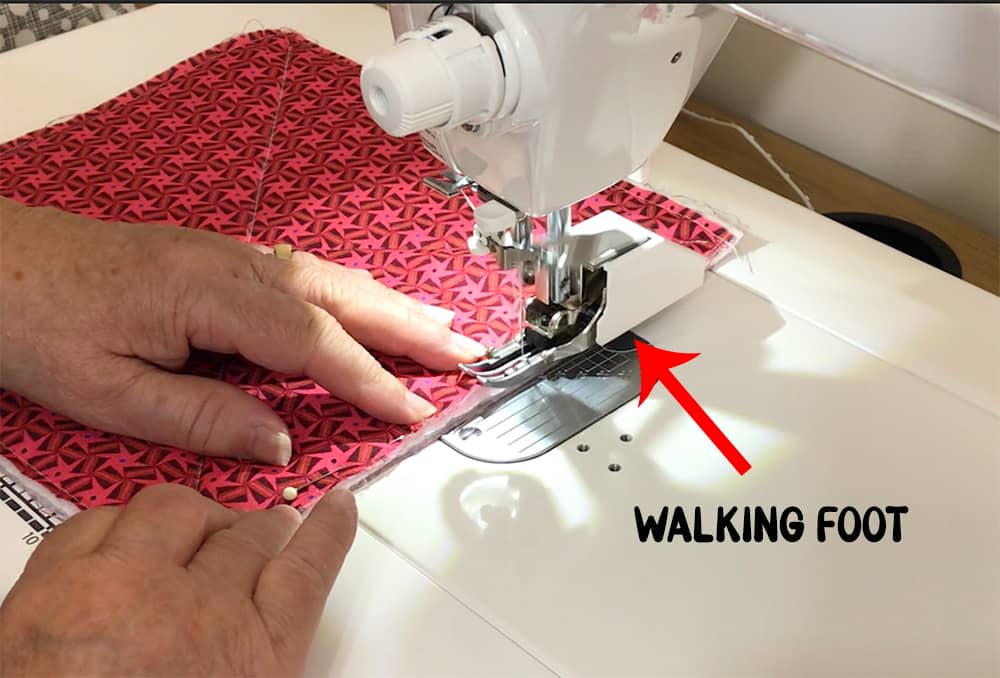
We highly recommend that you use a walking foot for this sewing project. It will help immensely with keeping all of the layers together. A walking foot is great for bulky fabrics or when sewing multiple layers. Without it, you may find that the fabric bunches up when you get to a line of sewing which is what happened to us.
We did the cross in the centre using a regular foot and fortunately it did come out okay. We then proceeded to stitch around the edge with the same foot and bunching occurred so we had to unpick. We then put the walking foot on and it worked out great. So if you have a walking foot attach it before you start so you don’t forget to change it.
Let’s Put it Together
This is such a simple tutorial, you are going to love it!
Step 1
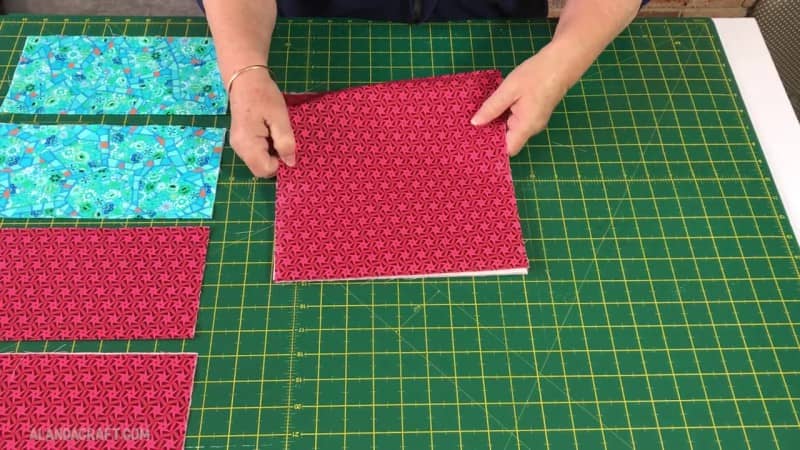
Take two pieces of Fabric 1 (red) and two pieces of Fabric 2 (blue) and fold each of them in half and press.

Step 2
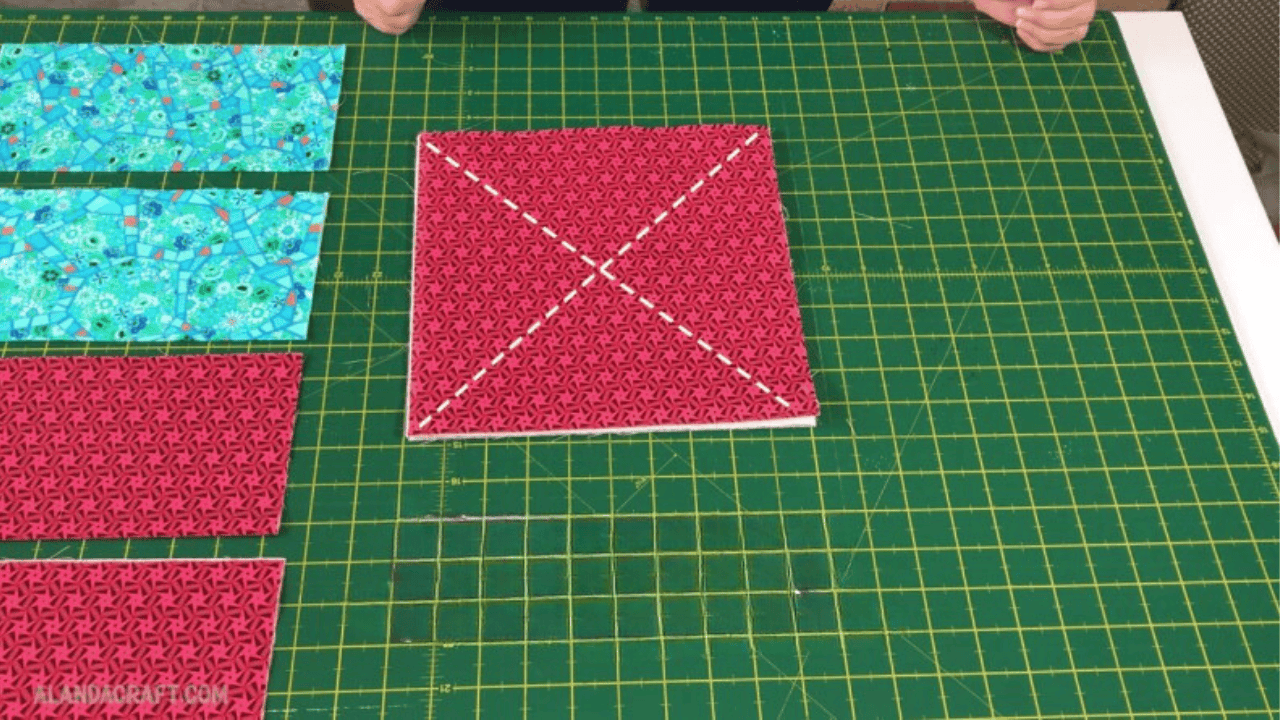
Take one piece of Fabric 1 (red) and lay it face down on the workspace.
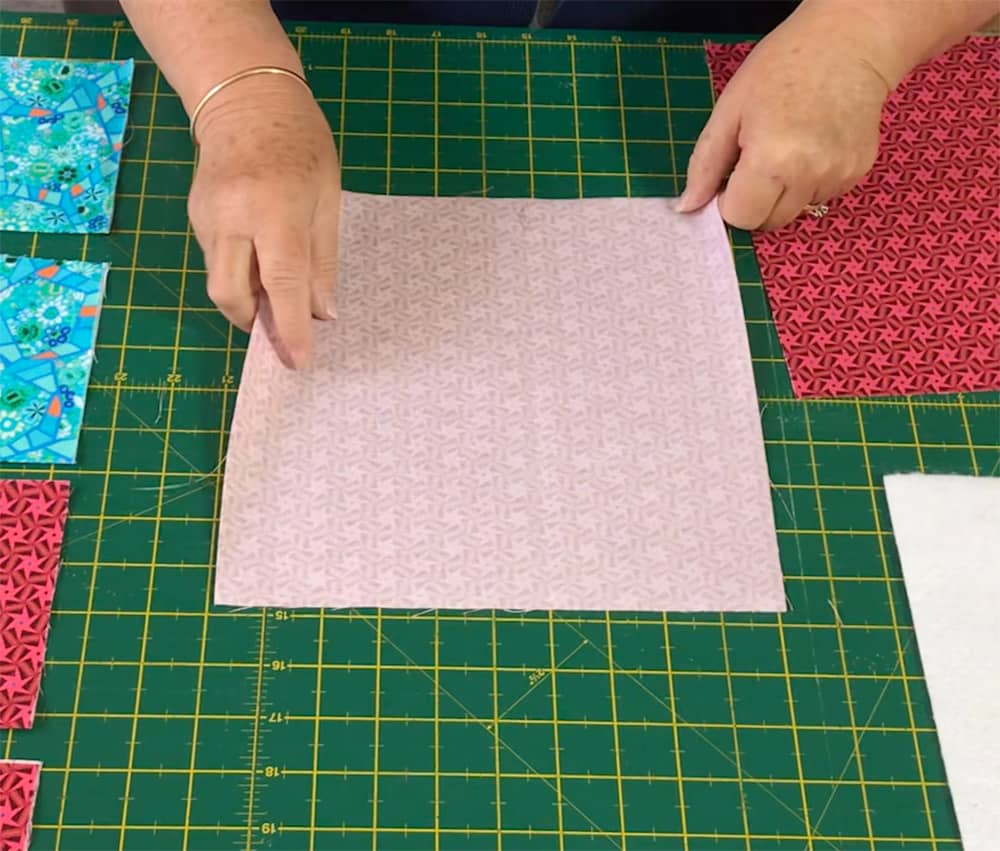
Lay the Insul-Brite (or the 2 pieces of batting if you are not using Insul-Brite), on top of the face down fabric.

Lay the other piece of Fabric 1 (red), right side up, on top of the Insul-Brite.
You have now created a nice quilt sandwich. Make sure to line the edges up as neatly as you can and pin in place.
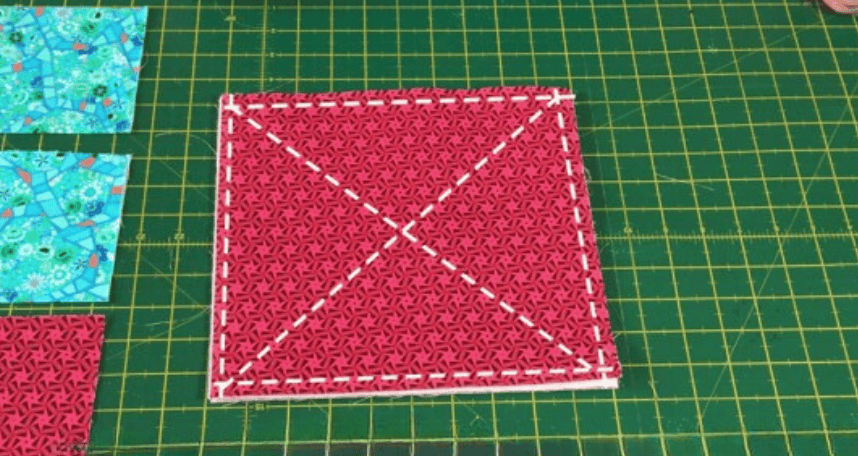
Now you need to stitch a cross through the layers. This will hold everything in place. Use a walking foot to do this.
You could add more quilting if you wish but remember that heavy quilting will pull your piece in and may make it smaller.
The next step is optional but I thought I would sew around the outside edge with a basting stitch, just to keep the layers together before we do the next step. I adjusted the stitch setting to 5 on my Juki 2010 and that worked nicely. I used a quarter inch seam for this part.
One sewn, I then gave the piece a press.
Step 3
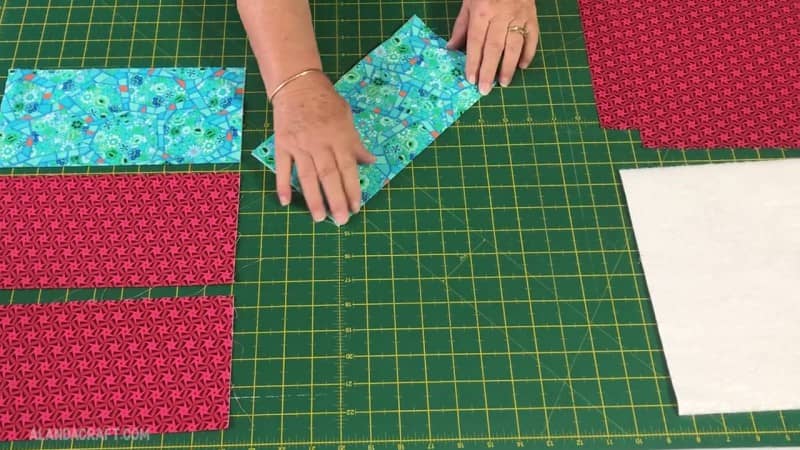
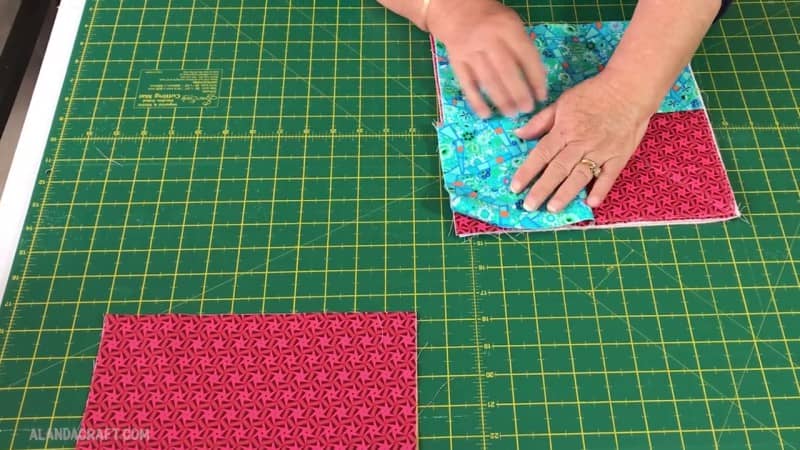
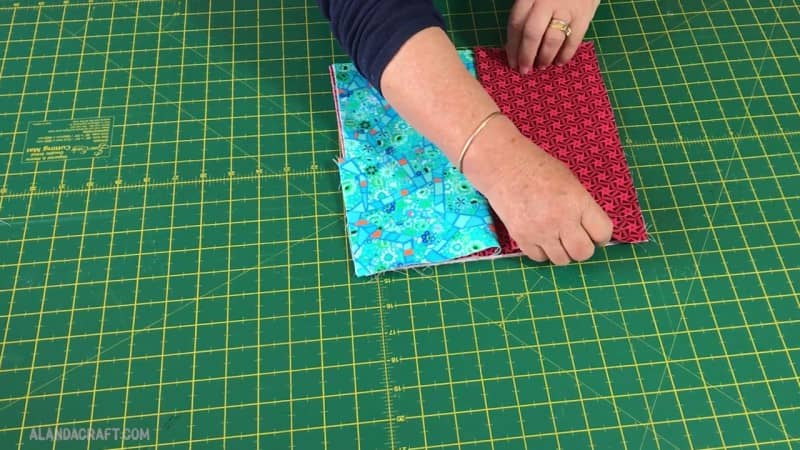
Take one of the pieces of Fabric 2 (blue) and lay it along one edge of your base piece. Have the raw edges facing towards the outside edge and line them up with the raw edges of the base.
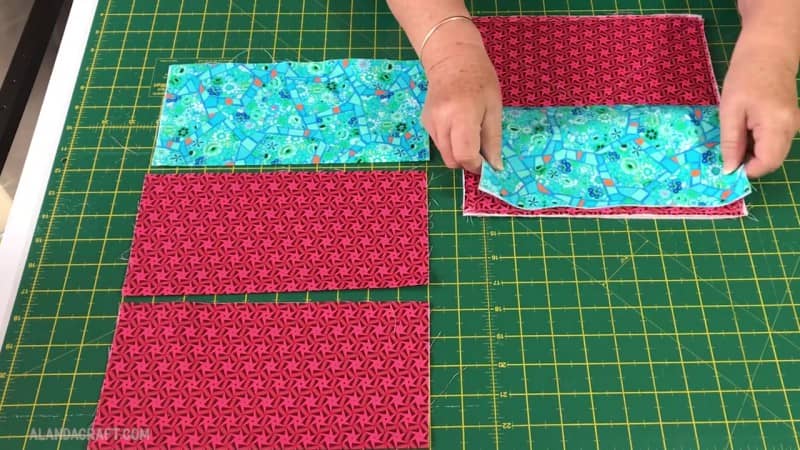
Take one of the pieces of Fabric 1 (red) and lay it along the next edge of the base as shown. Again, make sure the raw edges are facing outwards and the piece covers the contrasting piece you previously added.
Add the second piece of Fabric 2 (blue) along the next edge, remembering to have the raw edges facing out.

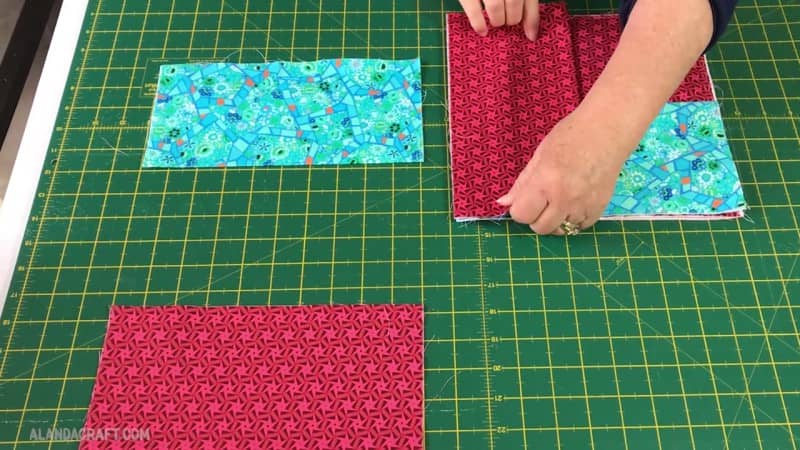
Now before we add the last piece we need to fold back the FIRST contrasting piece before adding the last piece of main fabric.
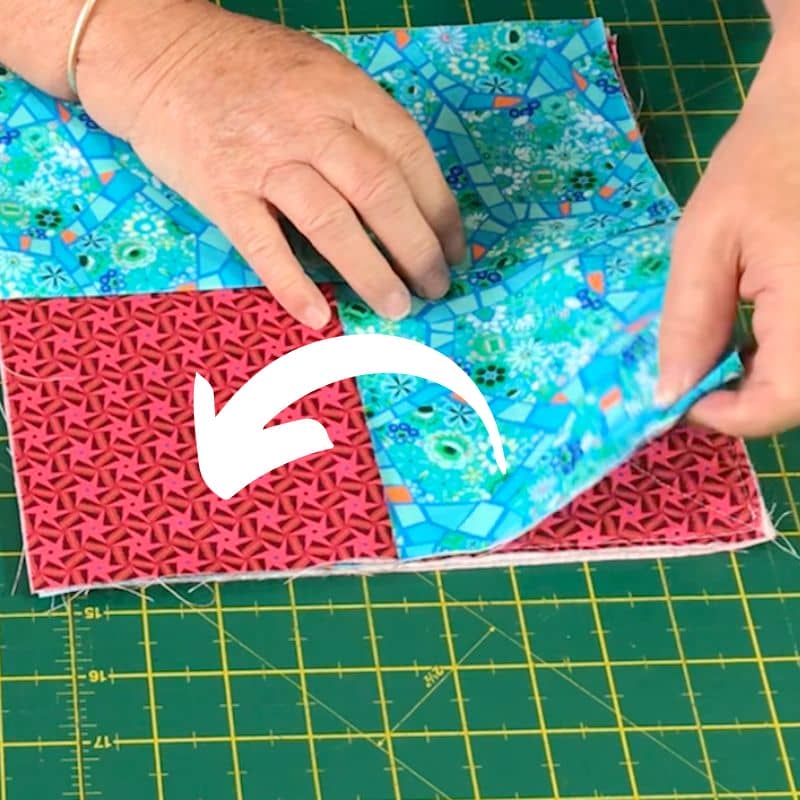
Now we can place the last piece of fabric onto the base.
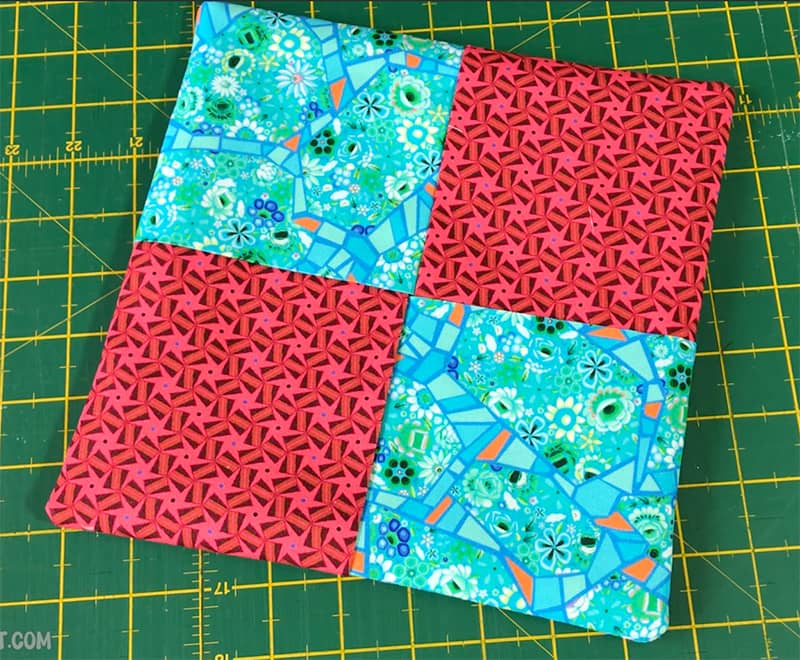
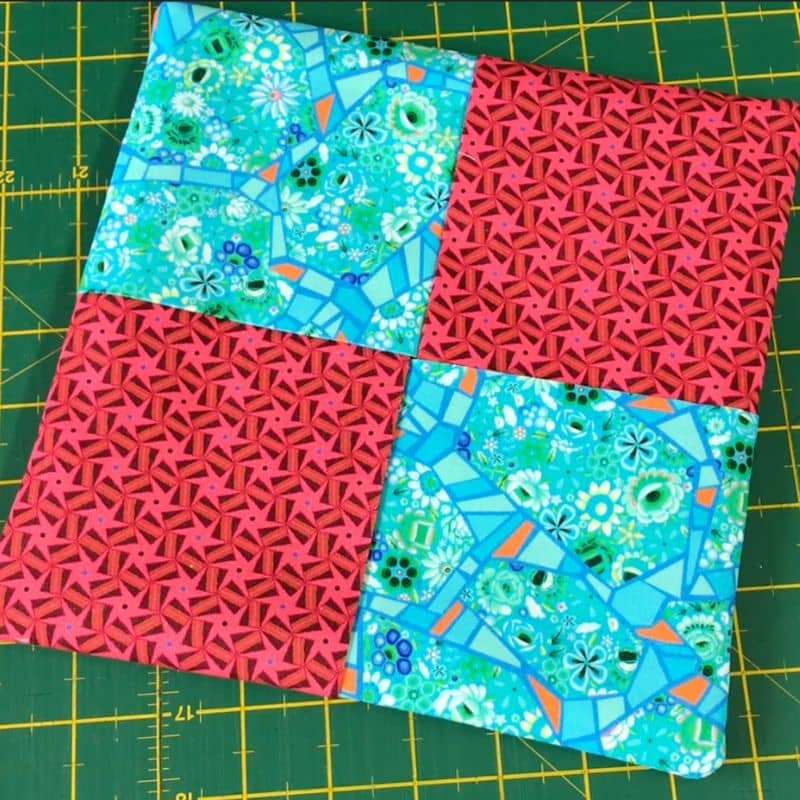
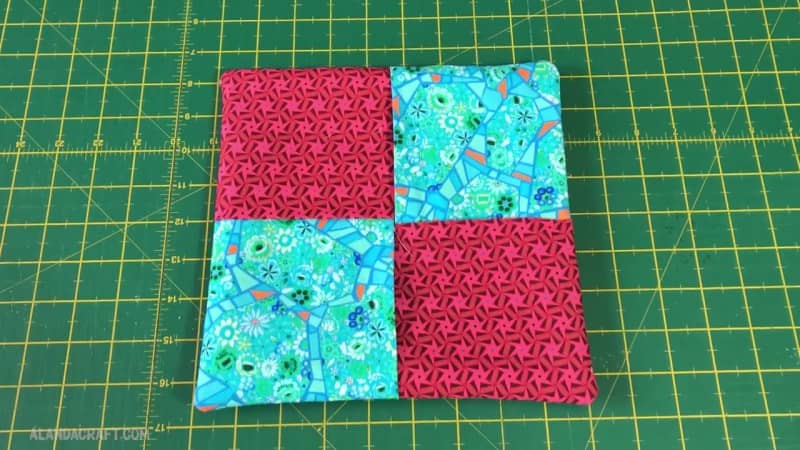
Fold back the fabric that you previously folded so that you have four contrasting squares. Hope that makes sense but it should look like the image below when done. Watch the video above to see it in action.
Step 4
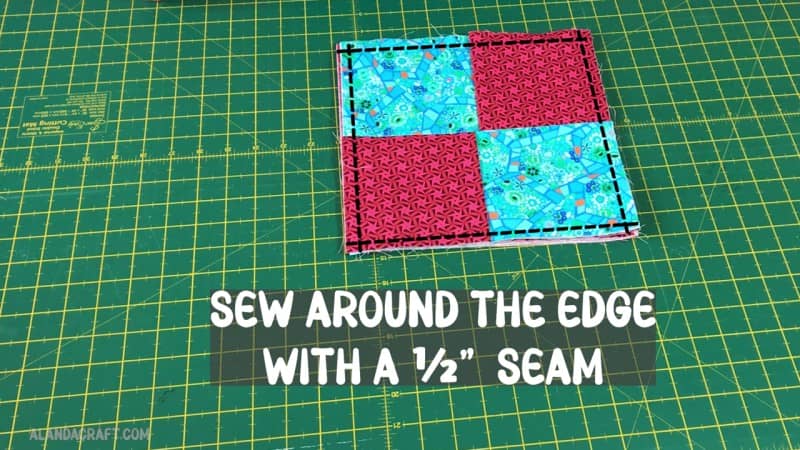
Pin everything in place and sew around the outside edge with a 1/2″ seam. And I repeat, its a half inch seam. I just say that because I know if you are a quilter you are probably used to using a quarter inch seam. A 1/2″ seam will work a lot better for this project but by all means go with a quarter inch if you prefer. It will just make the hot pad a bit bigger.
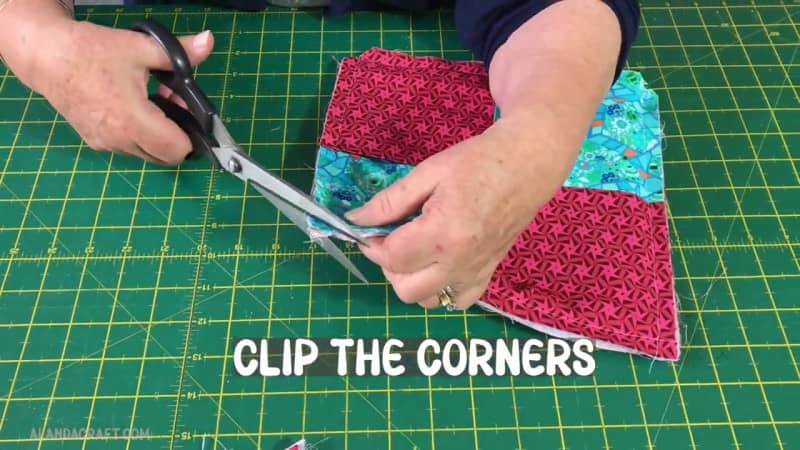
Step 5
Trim the corners and also trim some of the bulk away from either side of the corner.
Step 6
Now turn it through so that the bottom side becomes the top.
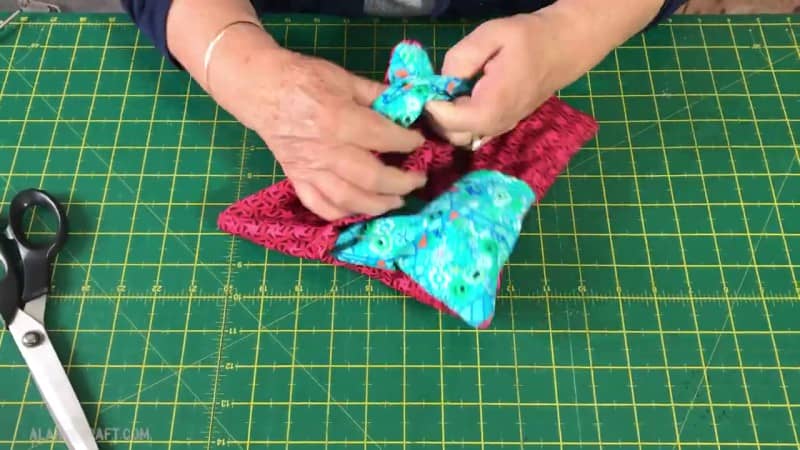
Use a chopstick or your scissors to push out the corners. Just be careful when using the scissors as you don’t want to pierce through the fabric.
You can see below, that we haven’t pushed out the corners enough on this one.
But here we have done a better job so take your time with it and if necessary turn the hot pad back through and trim a little more around the corners.