Paper Clip Embellishment Tutorial
In this tutorial, we are going to make some pretty paper clip embellishments from scraps in your stash.
I made these using some of the leftover pieces from the lovely paper strip tags that Paula made recently, and added some ribbons, lace, cheesecloth etc.These are so easy to make and you can use leftover scraps from your current project to make these embellishments to compliment your journals and albums.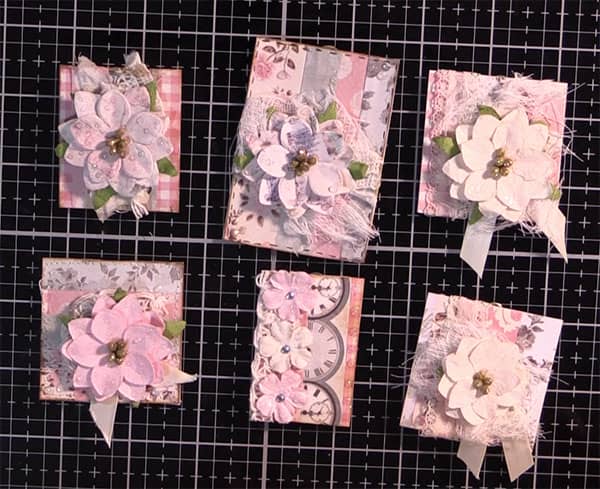
Products used in this tutorial:
- Art Glitter Glue
- Large Paper Clips (I used 2″)
- Tim Holtz Haberdashery Scissors
- Tim Holtz Tea Dye Distress Ink
- Daubers
- Glossy Accents
- Prima Flowers
- Plastic Pouches for Storing Flowers
- Nuvo Drops
- Cheesecloth (a small piece) I used one with an open weave. This is optional.
- Scraps of Lace and Ribbon from your stash
Watch the video below or scroll down to see the written instructions…
(Can’t see the video? you may have an adblocker installed)
Let’s Get Started!
You can make these quite small if you wish, and they can be rectangular or square. The one we are going to make today is a 2″ square.
- Take a piece of card stock measuring 2″ x 2″) or the size you want.
- Take some strips of paper and adhere them to the card stock. You can watch Paula’s video on how to do this – here
I skipped the previous step as I just filtched some of the finished cardstock from Paula’s tag project.

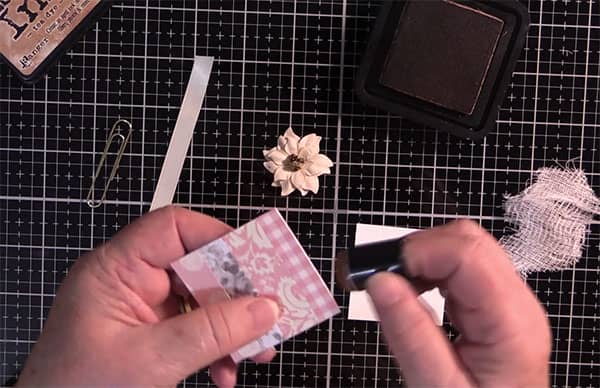
- Ink around the edge of the card with your favourite ink, I used Tim Holtz Distress Oxide -Tea Dye
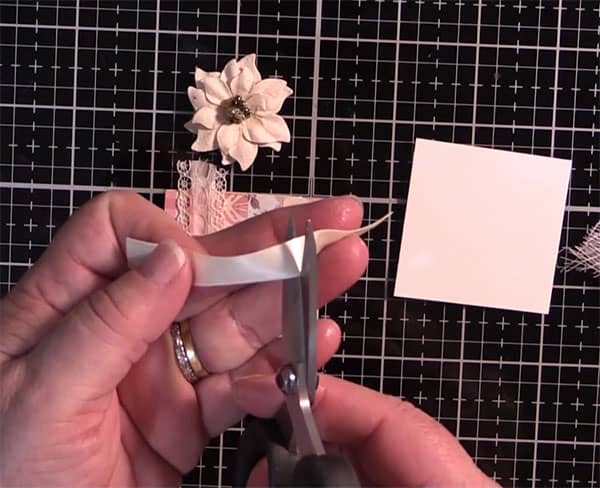
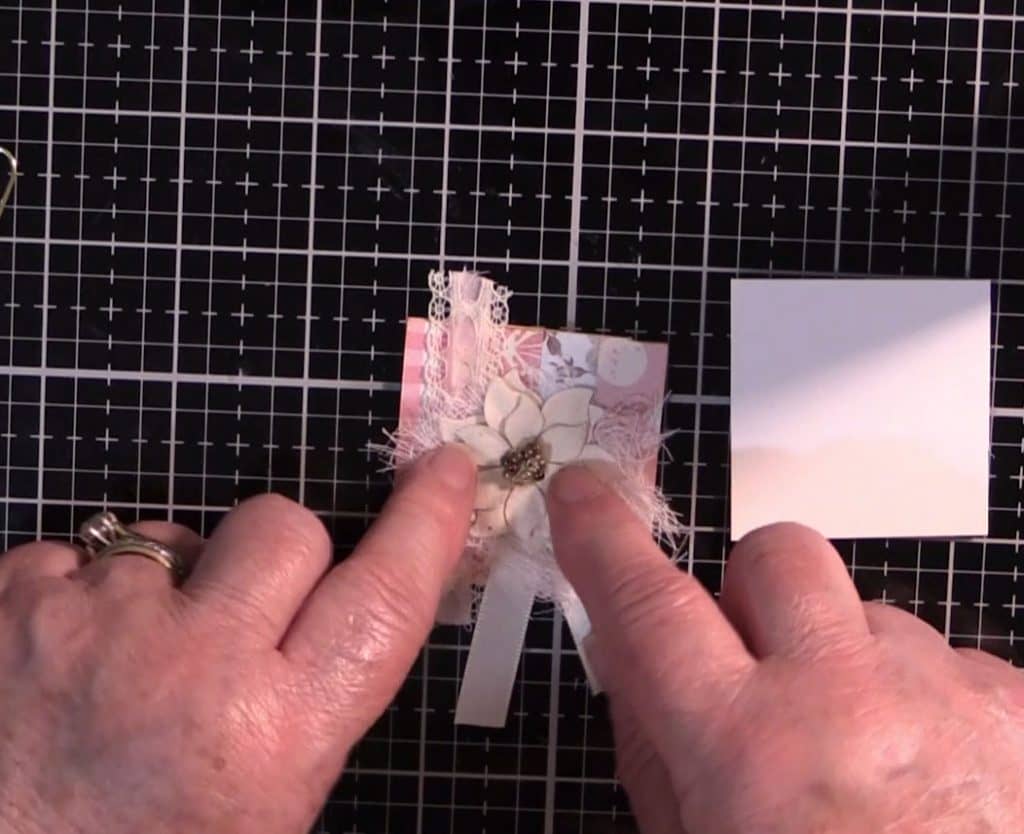
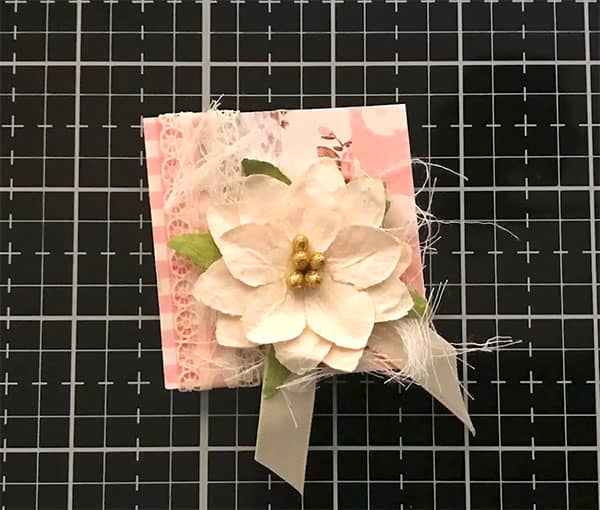
- Take your lace, ribbon, cheesecloth and flower and decide how you want to place them on the card.
- Once you have made your decision it’s time to start gluing the pieces to the card.
- ,I generally add the lace piece first.
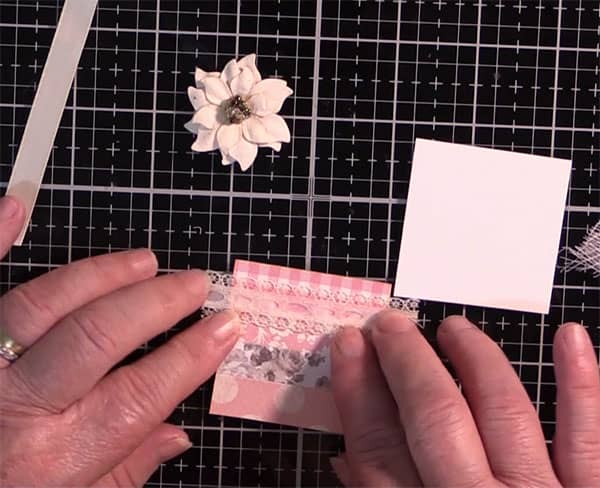
- Then I add the ribbon. You can cut the ends into a fishtail or simply snip the ends.
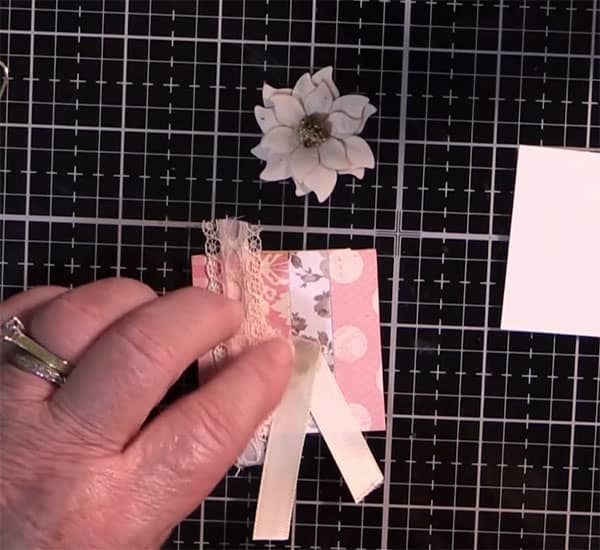
- Next comes the cheesecloth I add a drop of glossy accents to the card, add the cheesecloth and scrunch it up and pull it around until I like how it looks.
- And lastly I put some glue onto the base of the flower and pop it into position onto the top of the other pieces.
- Slip the paperclip onto the second piece of card.
- Line it up in the middle. It doesn’t have to be precise but try to get it as near to the middle as possible.
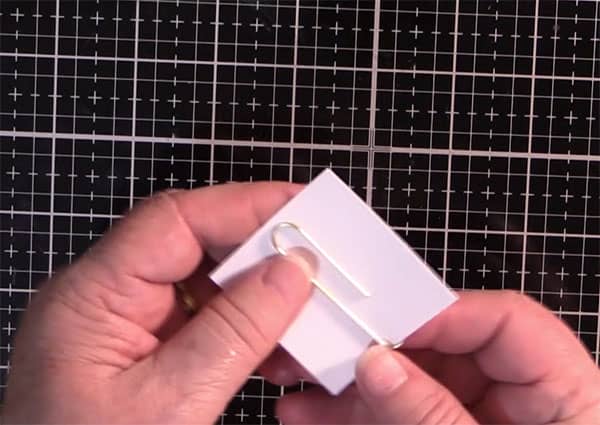
- Add some glue to paperclip to hold it in place. I used glossy accents for this part.
- Add some glue around the edges and to the rest of the card. I used Art Glitter Glue.
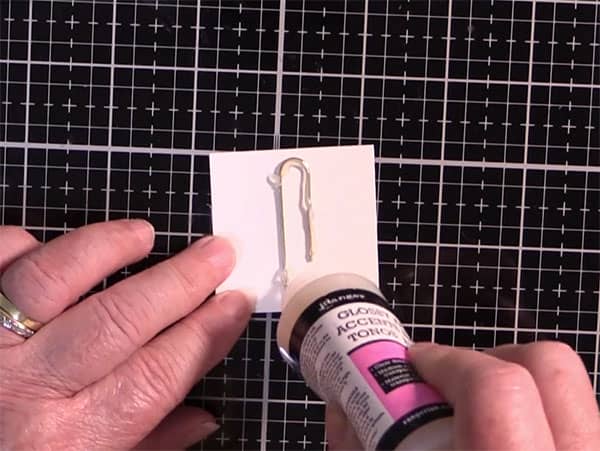
- With the small curve of the paperclip showing towards you, Glue the two pieces of card together.
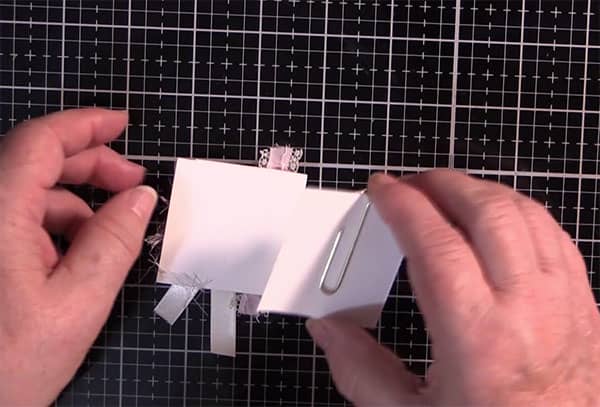
- Make sure the two pieces of card line up, and press them together so that they stick in place.
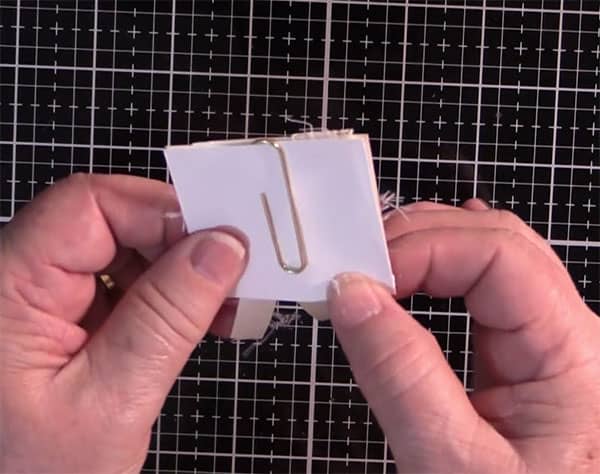
- Leave the card to dry and then add some Nuvo drops to for some added glitter and shine.
- For these embellishments I smudged the drops around the petals rather than just have the feature blobby drops as we normally do.

And there you have it. A cute little embellishment to add to your project. You can make a bunch of these to have on hand when you need to just grab one to add to a journal or album.
I