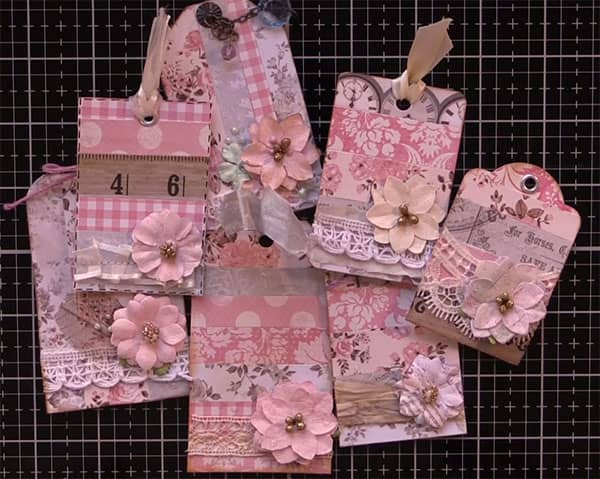
With the start of our new Paper Creations YouTube channel, we’ve decided to begin with a quick and easy tutorial on how to make some really pretty journal tags.
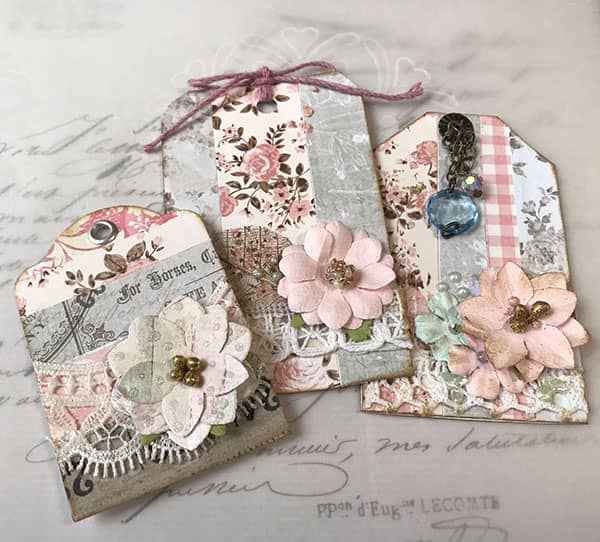
It’s a great scrap buster project since you will be using up some of your strips of paper from your stash.
I went with pink and grey papers and most came from a Kaisercraft designer paper pad called Peekaboo – Girl. I doubt they sell it anymore since we have had it in the stash for ages.
Products used in this tutorial
- Art Glitter Glue
- Fiskars Tag Punch
- Tonic Scissors
- Bone Folder
- Tim Holtz Haberdashery Scissors
- Basic Hole Punch
- Tim Holtz Tea Dye Distress Ink
- Daubers
- Glossy Accents
- Prima Flowers
- Plastic Pouches for Storing Flowers
- Nuvo Drops
Watch the video below or scroll down to see the written instructions
(Can’t see the video? You might have an adblocker installed.)
Let’s Get Started!
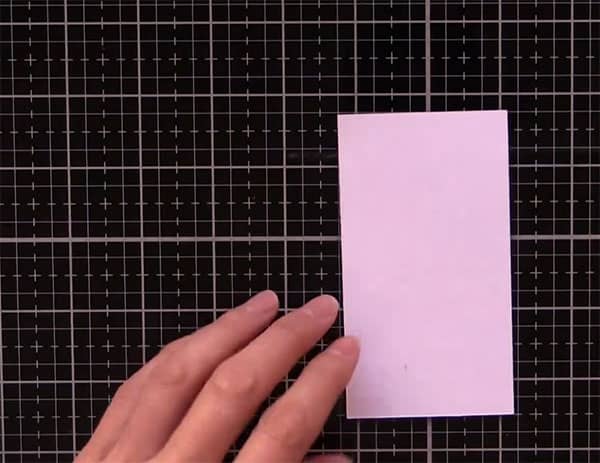
I started by taking some scrap white cardstock. You can go with anything that is firm enough to create a tag. The cardstock can be any size as you will be cutting it down to different sized tags later on.
Go through your stash and grab some strips of scraps. As I said in my opening paragraph, I used pink and grey.
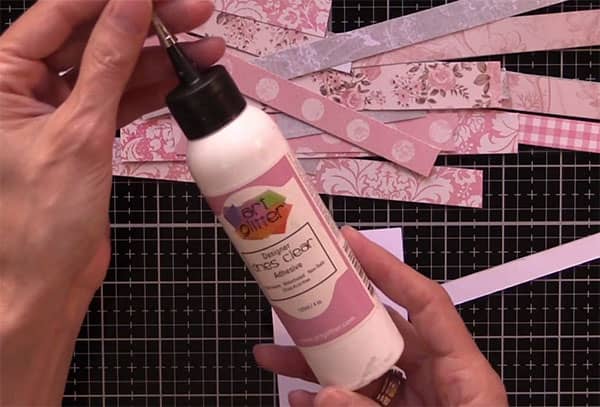
Now comes the fun part. You just need to start gluing those strips down to the card stock in any order you like.
I used Art Glitter glue for this project but you can use your preferred glue. You could also use a double-sided adhesive if you prefer.
Ensure that the strips have been cut straight otherwise as you add more strips, it will start to veer off and the final result will look crooked. Which is okay if that’s the look you want.
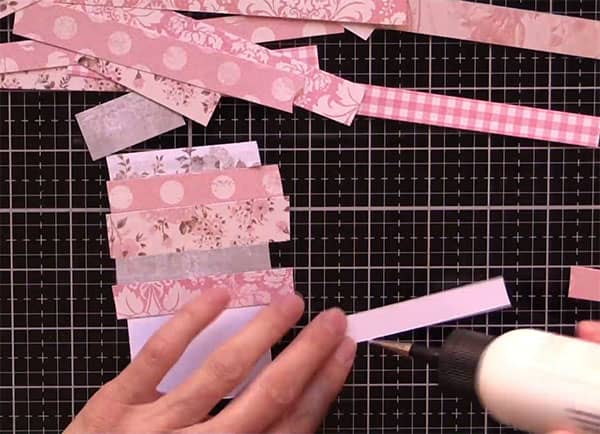
Once you have enough strips to cover the card, you need to trim off the excess pieces.
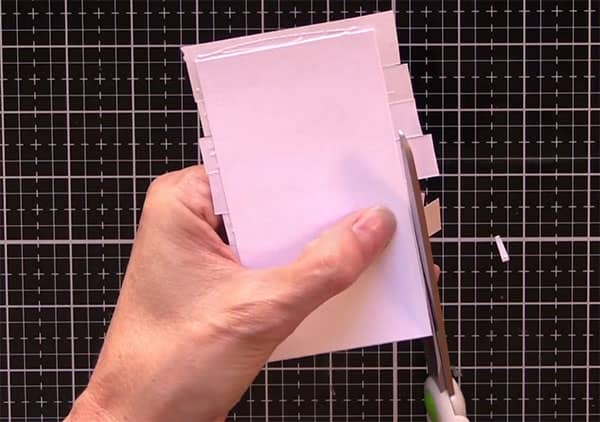
I created a number of these base pieces in all different sizes just to use up the strips.

Now you are ready to cut the cardstock into tag shapes.
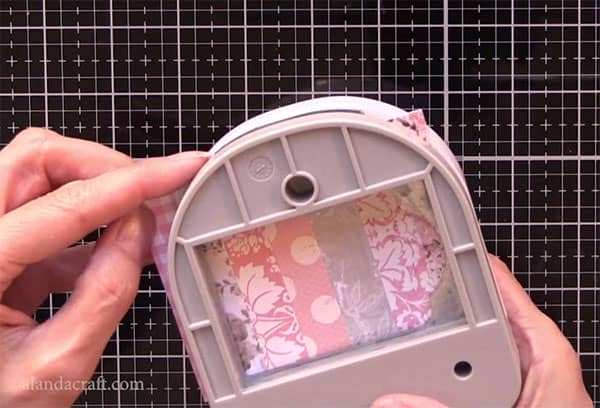
You can do this using a tag punch or you can manually cut the shape.
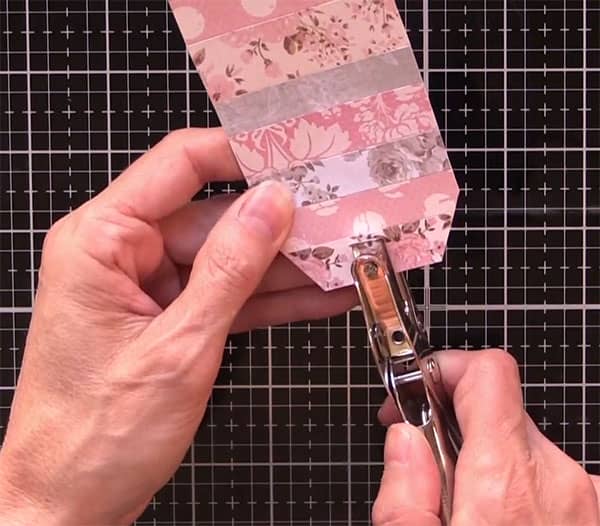
1. Using a tag punch – I created one of the tags using the Fiskars tag maker. This punch not only cuts out the shape of the tag, but also allows you to punch a hole in the tag and add an eyelet. I use it a lot in my crafting.

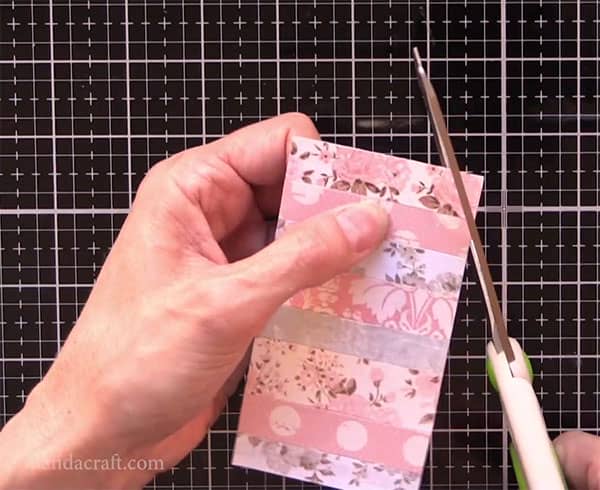
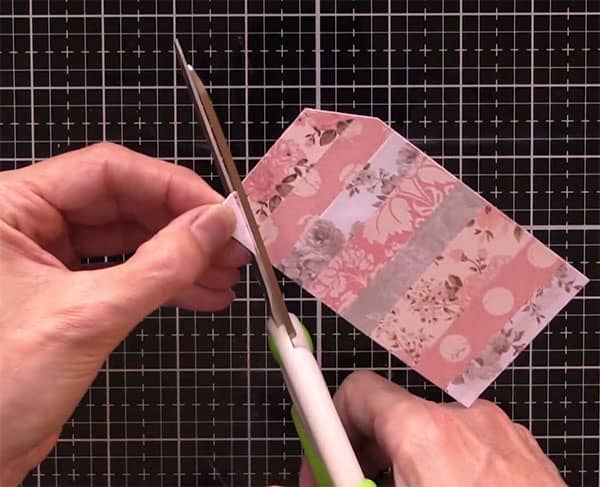
2. Manually cutting the tag – To do this, you just trim the corners on both sides to form a tag. Watch the video above for more detail on how to make the corners even on both sides.
Use a hole punch to make the hole at the top of the tag.
Once I have the basic tag shape, I add a touch of Distress Ink to the edges just to give it a more vintage look. I use Tim Holtz Tea Dye Distress Ink.

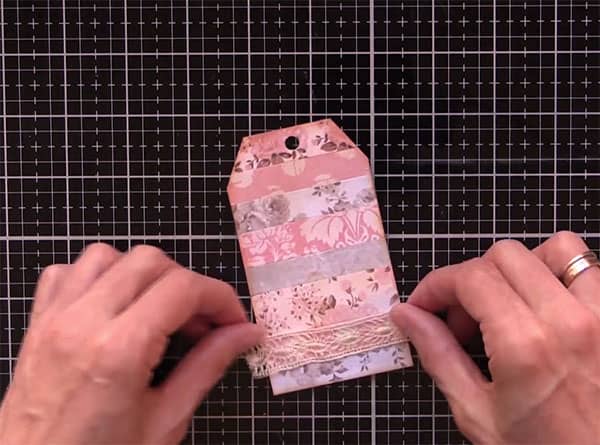
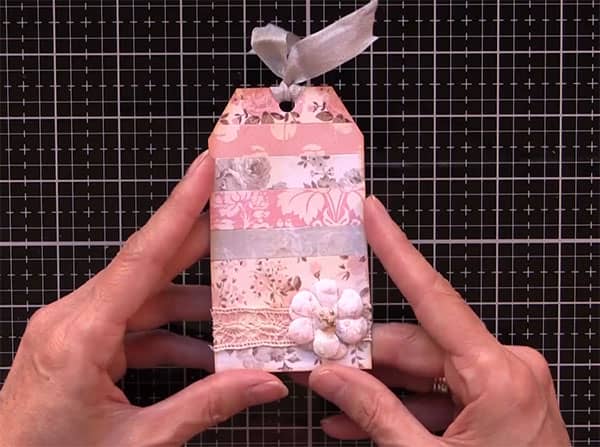
Now we need to add a bit of trim, You can use lace or ribbon or sari silk, or whatever else you might have on hand. This is a great way to use up those small bits of ribbon and lace scraps.
Just glue it on with your glue of choice. I used Glossy Accents. Trim off the lace edges or alternatively, you can wrap them around the back of the tag.
Now take a flower and glue on the top of the lace.
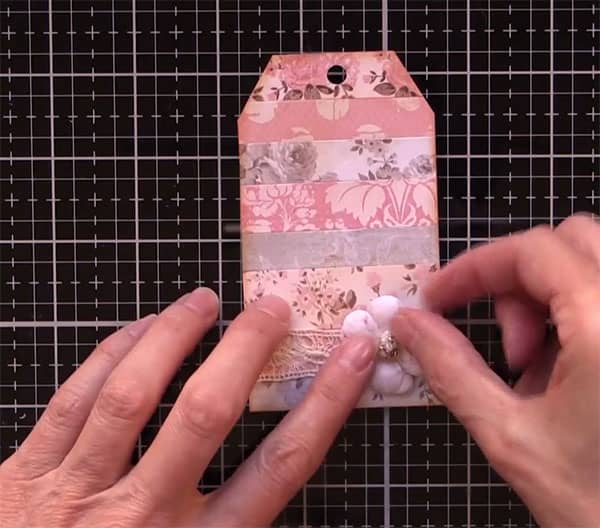
I then added Nuvo drops to the flower. Just to add some glitter and shine.
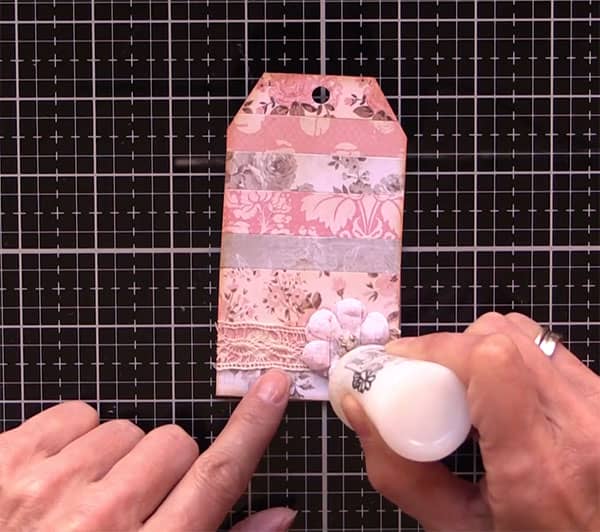
To finish off your tag, just add a ribbon tie and you are ready to use them as gift tags or add them to your journals.


Ruth says
That is such a simple but pretty project and it could be a great gift idea for scrapbookers.
Rosalind M Martz says
Very pretty tags and so quick and simple to make.