ScanNCut Engraving with the Zoom Precision Engraving Tool – Review
In this post, we are going to be taking a look at the Zoom Precision Engraving Tool for the ScanNCut. This was kindly sent to us by its creators to try out and you will be able to see it in action in the video posted below.
Bear in mind, that we tested it only on the ScanNCut 2 but the creator tells me it works on all versions of the machine.
We also only tested this on aluminium blanks but this engraver can also engrave on copper, silver, metal clay, acrylic, plastic, glass, and leather.
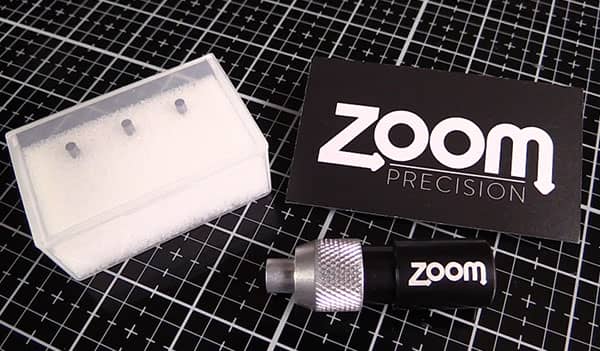
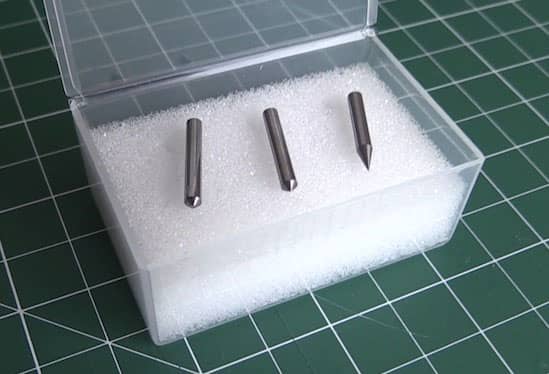
The engraver comes with three tips and you also receive some aluminium blanks to play with, but you can also buy a number of other accessories for the Zoom Precision Engraver.
There is a precision tip, a regular tip, and a blunt tip. I personally only played with the regular tip since everything seemed to work out so nicely with it.
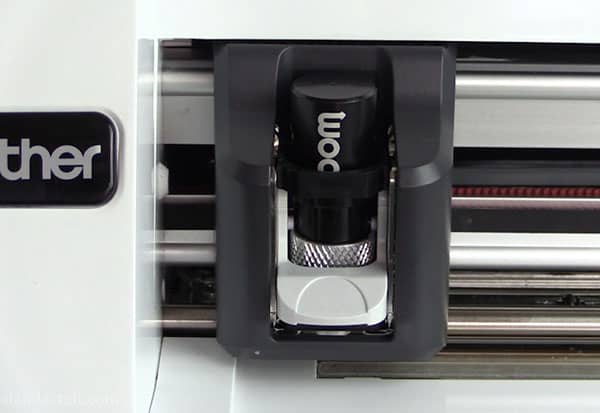
You use this tool like you would your blade holder. So you just remove the holder in your machine and replace it with the engraver.
I started by using the default settings on the machine and the result was okay but not great. It wasn’t until I played around a bit with the settings that I started to get much better results.
It also made a difference if I made multiple passes with the machine. In other words, I would leave the mat in the machine and get the machine to repeat the draw again.
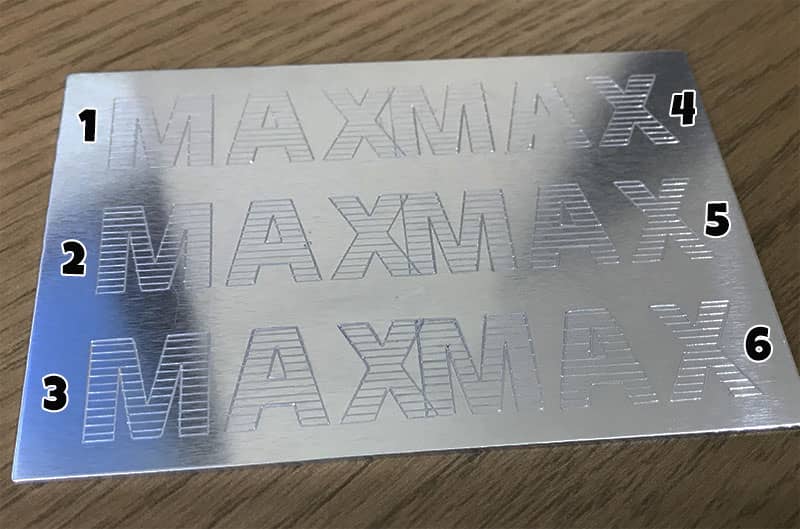
For example, in the image below, the word ‘MAX’ was engraved using different settings for each as follows:
- Draw Speed 1 – Draw Pressure 4 – 1 Pass
- Draw Speed 1 – Draw Pressure 4 – 2 Passes
- Draw Speed 1 – Draw Pressure 4 – 3 Passes
- Draw Speed 1 – Draw Pressure 8 – 1 Pass
- Draw Speed 1 – Draw Pressure 8 – 2 Passes
- Draw Speed 1 – Draw Pressure 8 – 3 Passes
To get the fill to appear, I went to the Settings in the machine and enabled the Fill Pattern option and then changed the Fill Spacing to 0.039 and the Fill Direction to 0°.
Now it may be a little difficult to see the differences in the image, but there is a difference. (Note that you don’t get these large aluminum blanks with the engraver. We purchased these separately from our local Spotlight store here in Australia.)
Eventually, I got to the point where I only used the following settings for pretty much everything.
- Draw Speed – 1 or 2
- Draw Pressure – 9
When I did that, I stopped doing multiple passes because it didn’t really need it.
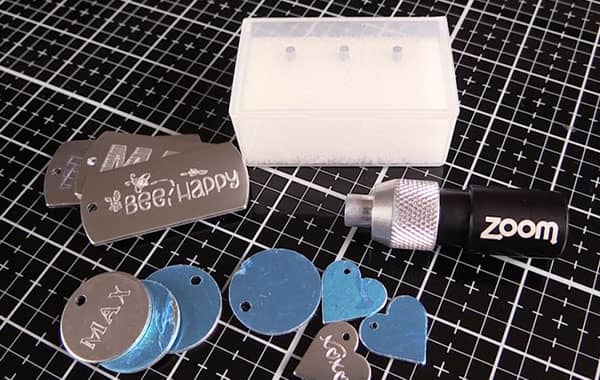
My favourite was when I used an SVG file that highlighted the FILL function. So instead of just creating an outline of a pattern, it would also add a fill.
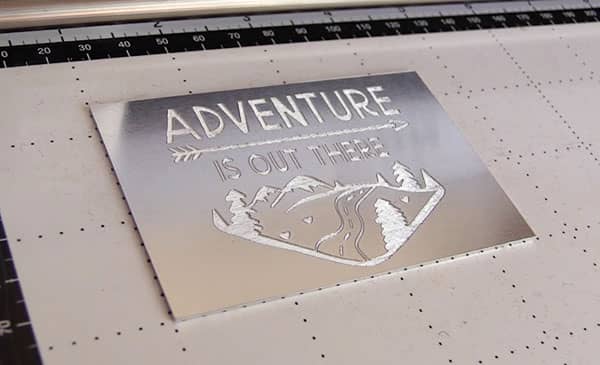
You can get the SVG file we used at LoveSVG here. It’s one of their free svg files!
These are the settings we used to create this:
- Draw Speed – 1
- Draw Pressure – 9
- Fill Pattern
- Fill Pattern Size – lowest possible
- Pass – 1
Tips for Making it Work Smoothly
Apart from the settings noted above, here’s a few things to keep in mind to make this work smoothly for you.
- Use double-sided adhesive to ensure that the blank you are using sits securely on the mat.
- Make sure that you line up the blank on the dotted lines to ensure it is straight.
- Use the Scanning option to scan through the blank so that you can easily place your image/text on the blank correctly. Use the Zoom function in the machine to better help you do this.
- Always use the DRAW function when using this tool.
Where Can You Buy the Zoom Precision Engraving Tool?
Official Website Link:
Watch the video below for the full tutorial on how to use the Zoom Precision Engraving Tool
(Can’t see the video? You may have an ad blocker on.)