Brother ScanNCut DX – Overview of the Machine – PART 2
In the video below, we go through all the features of the ScanNCut DX. We are demonstrating the SDX1200 model which is the Australian version of the SDX225 model in the US.
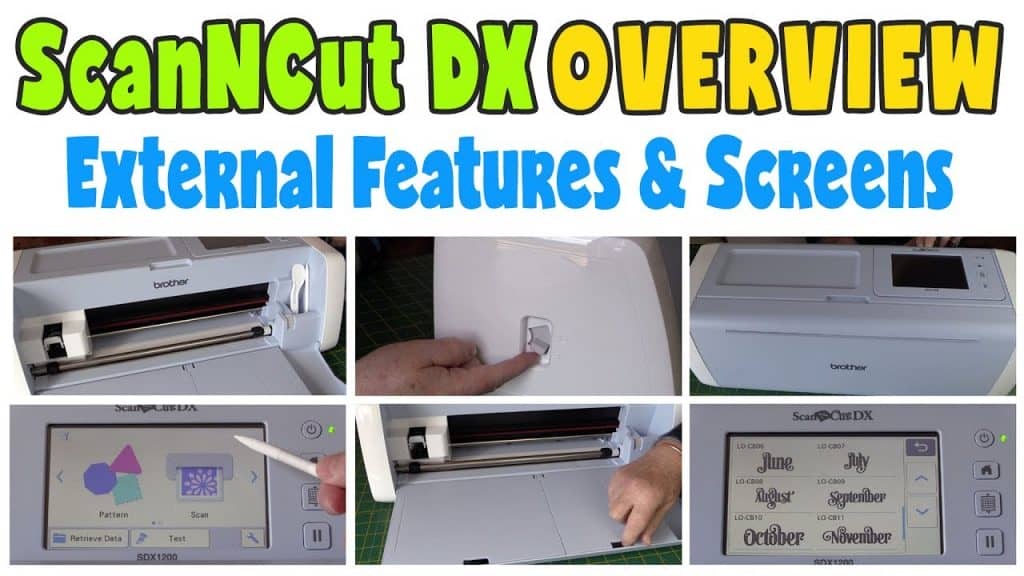
In the video, we go through the outside of the machine which includes new storage areas. These are a great addition as the old machines had not much in the way of storage and you had to store most things in a pouch separate from the machine. With the DX machines, the storage is built in so you can store your stylus, spatula, spare holders, spare blades and more in the storage compartments.
The ScanNCut DX machine also has a new control on the side of the machine for scanning purposes. There are two options, one for when scanning thin materials and one for thicker materials.
We also go through the screens on the machine. If you have the old ScanNCut 1 or 2 then you will recognize some of the screens but essentially Brother have overhauled it completely. At this stage, after only a short period of use, the screens appear to be more user friendly than the older models.
One of the biggest differences with the DX machines is the use of an auto blade. This means there is no need to adjust the blade as in the old machines. This can be good and bad. Hopefully mostly good, as it will allow the user to not have to think about what blade setting to select as the machine does it all for you.
In our initial cut, the auto blade worked beautifully. It cut the cardstock without any effort and didn’t cut through the mat. However, it will be interesting to see how it goes when it comes to cutting a variety of mediums all with different thicknesses.
Watch the video below as we check out all the features
For More information on the ScanNCut Dx Machine
-
Go to: The ScanNCut Unboxing
-
Go to : The ScanNCut Demo