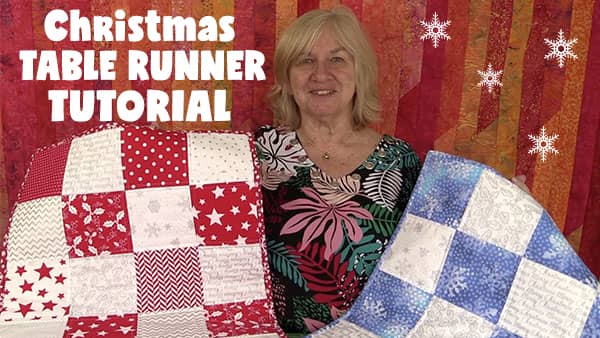
Charm Square Christmas Table Runner Tutorial
This Charm Square Christmas Table Runner is a quick and easy project to dress up your Xmas table or sideboard. These table runners also make great Christmas gifts for friends and family.
The completed table runner measures 18½” x 40½”, but you can make it longer or wider by adding more charm squares.
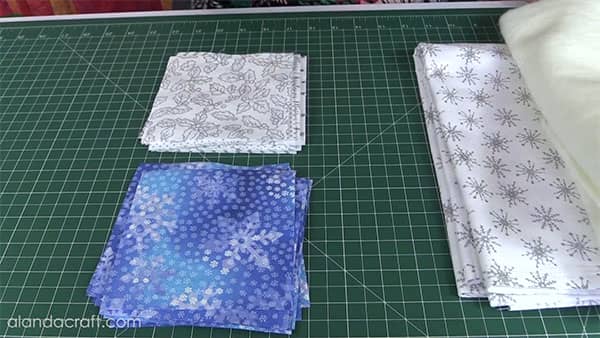
I used a charm pack for the white squares and cut my own 5″ squares from the blue fabric that I had on hand. If you need to know how to cut 5″ squares you can see our tutorial here.
Watch the video tutorial below or scroll down for the written instructions
What You Need:
- 36 squares @ 5″ x 5″ – 18 squares each of 2 contrasting colours.
Backing – 20½” x 42½” ( for light quilting – add approx 4″ for tight quilting or if you are using a longarm machine.
- If your backing fabric measures 42″ across the width of the fabric you will need 3/4 of a yard.
- If your backing fabric isn’t longer than 42″ across the width of the fabric you will need 1 ¼ yards.
Batting – 20½” x 42½”( for light quilting – add approx 4″ for tight quilting or if you are using a longarm machine.
Fabric for binding – 4 strips of fabric measuring 2¼” x Width of Fabric
TOOLS USED IN THIS TUTORIAL
You can check the latest prices at Amazon by clicking on the links below:
- Creative Grids Ruler 8½” x 24½”
- Olfa 24″ x 36″ double-sided healing mat
- Olfa 60mm rotary cutter
- Oliso Iron
- Quilters Slidelock
- June Taylor Shape Cut Pro ruler – awesome for cutting those 5″ squares.
- Gutermann Sew-All thread
- Warm Company Batting
Method:
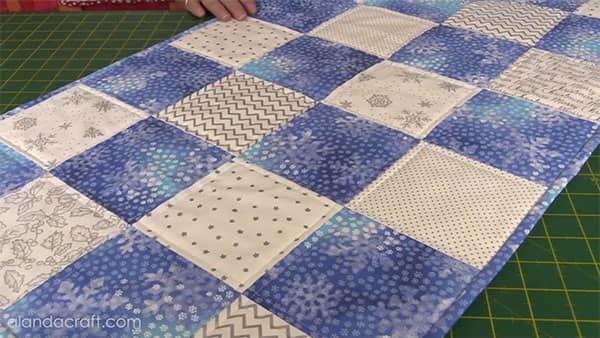
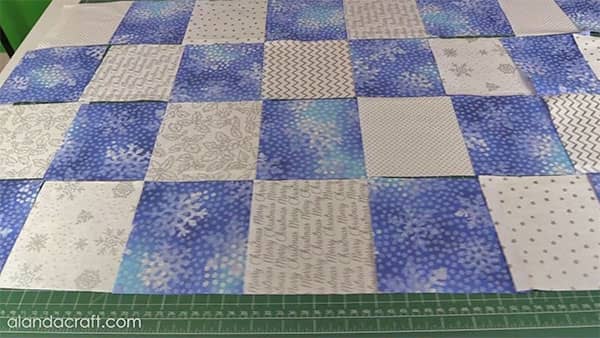
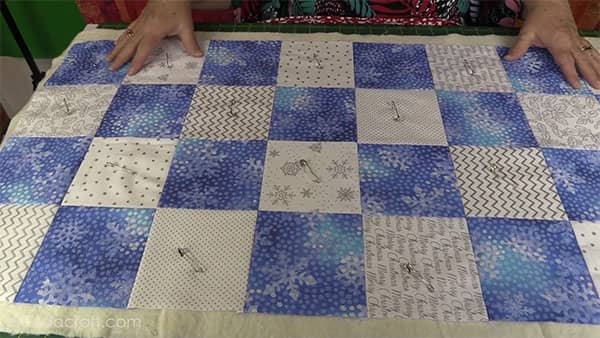
- Lay your squares out so that you have 9 rows of 4 squares.
- Arrange the squares how you want them to look when the table runner is finished.
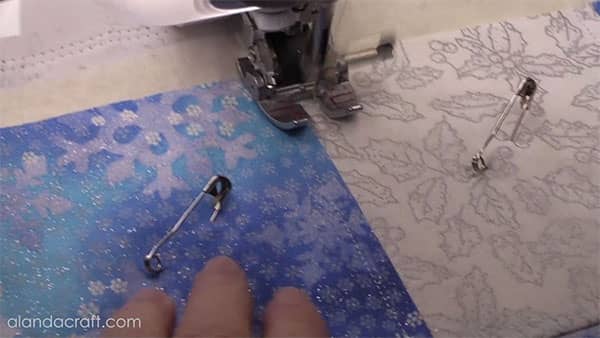
- Sew the squares in each row together.
- Sew with a ¼” seam.
- Press the seams in each row in the opposite direction to the seams in the previous row.
- Once the squares have been joined into 9 rows, it’s time to start sewing the rows together.
- I usually sew the top two rows together, then the next two rows together and so on.
- As we have 9 rows there will be one row of squares left over that will be added on to the last 2 rows.
- The rows will nest nicely because of how we pressed the seams.

- Once the rows have all been sewn together it is time to add the backing and the batting.
- I have cut the batting and the backing approx 2″ wider and longer than the quilt top. I am only going to do linear quilting. If you are going to do heavy quilting or quilt with a longarm quilter then you will want to add at least 4″ to the batting and the backing.
- Form the quilt sandwich (top, batting, backing) and spray the layers together, or you can pin the layers together with quilting pins, or you can even do both.
- Now it’s time to quilt.
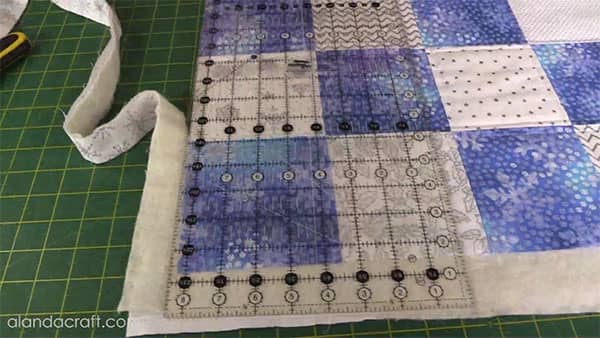
- Using a walking foot, I am going to sew ¼” down either side of the seam line.
- I start quilting on the center row and work out to the sides.
- Trim the quilt.
- Add the binding.
- If you need help with adding the binding here is a link to our binding tutorial.