Don’t you just love how a table runner just dresses up a table, sideboard or even a coffee table. I have a selection on hand that I use to change up the decor, and they are so easy to make, especially when you use this turn through design.

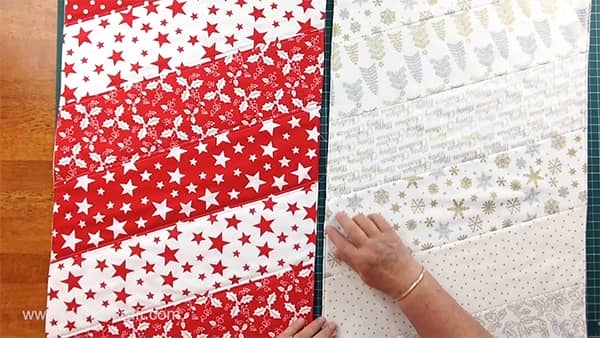
I made these quilt as you go table runners using fat quarters but you can use fabric from your stash. There is such a great range of Christmas fabric available, in fact, I found it hard to choose just one bundle of fat quarters.
And of course, you don’t have to just use this technique for Christmas table runners, it would look just a lovely in fall or summer colors, or in a nursery fabric for a child’s dressing table.
Watch the video tutorial below or scroll down for the written instructions
What You Need
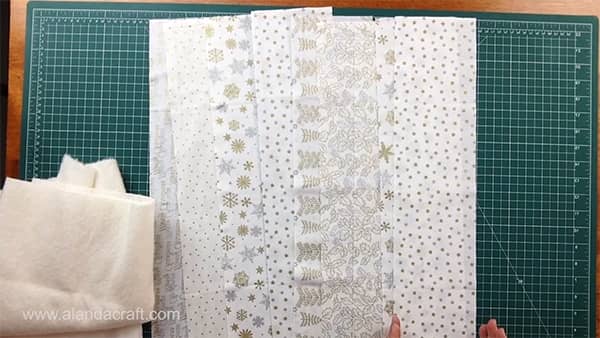
- 9 strips of fabric 5″ x 22″
- a piece of batting measuring 40″ x 17″
- a piece of backing fabric measuring approx 40″ x 17″. We will cut this to size once our top piece has been put together.
TOOLS USED IN THIS TUTORIAL
You can check the latest prices at Amazon by clicking on the links below:
- Creative Grids Ruler 8½” x 24½”
- Olfa 24″ x 36″ double-sided healing mat
- Olfa 60mm rotary cutter
- Oliso Iron
- Gutermann Sew-All thread
Method
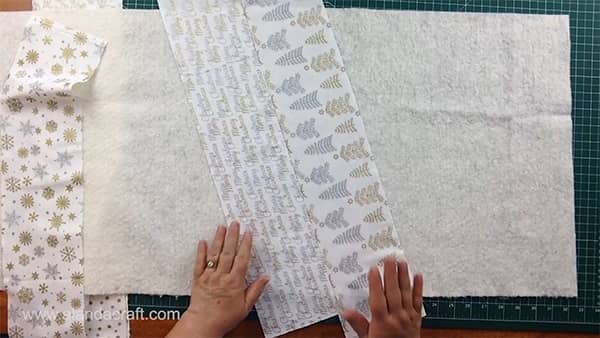
- Lay your strips down and sort them into the order that you want them to be, and then stack them so that the middle strip is on the top. This just makes it easy for when you pick up the strips to place them on the batting.
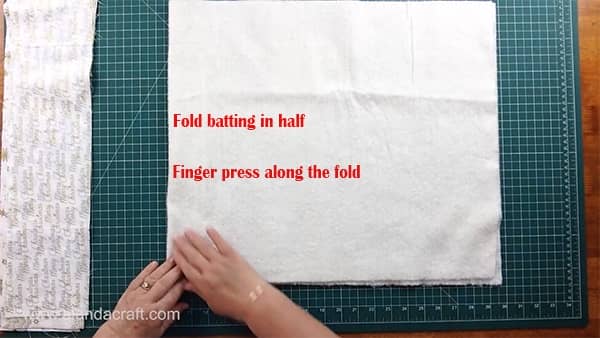
- Take your piece of piece of batting and fold it in half.
- Finger press along the center fold. It doesn’t need to be a dramatic fold line, just visible enough to be a guide to place down your first strip of fabric.
- Lay your first strip down making sure that it completely covers the batting on either side.
- Take your second piece of fabric and lay it down on the batting along side the first piece.
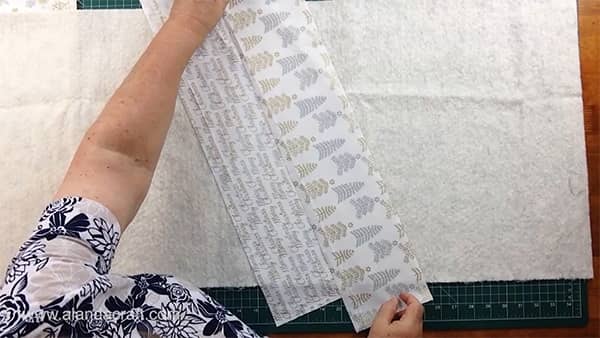
- Make sure that it is going to cover the batting.
- Adjust the placement of the strip if you find that you have batting showing on one side.
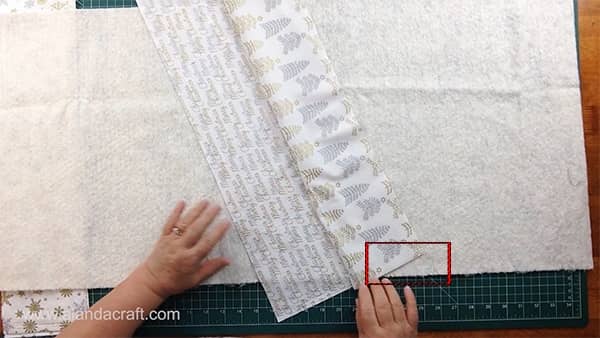
- Lay the second piece on top of the first piece, right sides together.
- Sew the pieces together with a ¼” seam.
- Press along the seam line on the wrong side.
- Fold the second piece back and press in place.
- Now add each of the other pieces until you have added all the strips to one side.
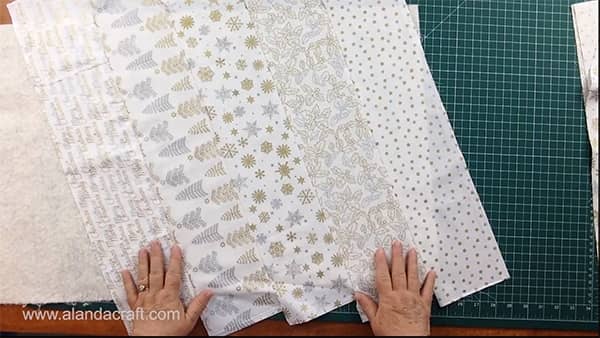
- Turn the runner around and start adding more strips from the center out.
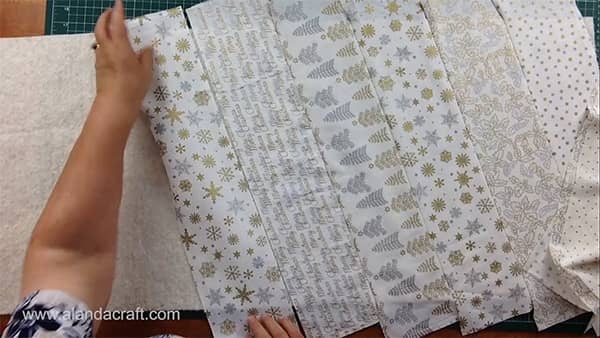
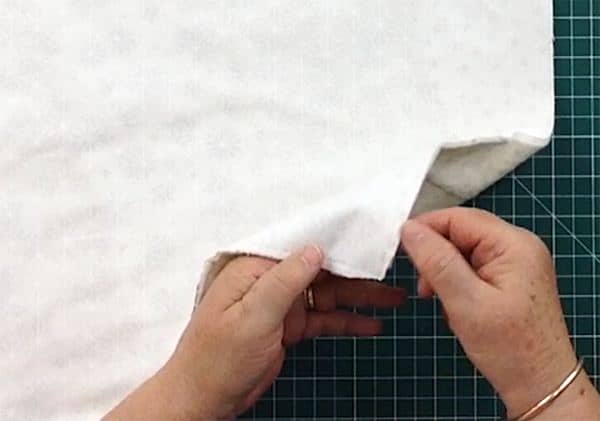
- There may be a small area that isn’t covered by fabric. You can either trim your runner back to remove that area or you can simply take a piece of your waste fabric and just attach it in the same manner that you attached the other strips.
- I generally add a piece of fabric so that the batting piece is completely covered, but you can trim the piece back if you wish, the option is yours as to what you do here.
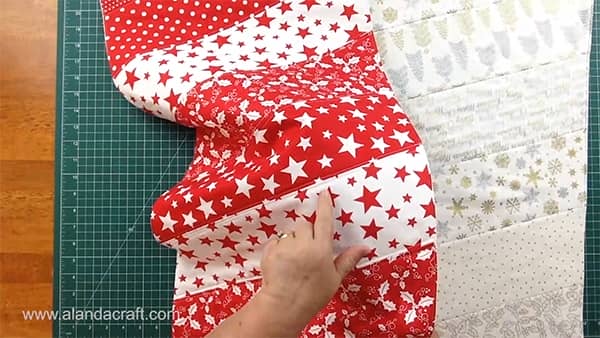
- Turn the runner so that the reverse side is facing up, and trim around the batting so that all the sticky out bits of fabric are removed.
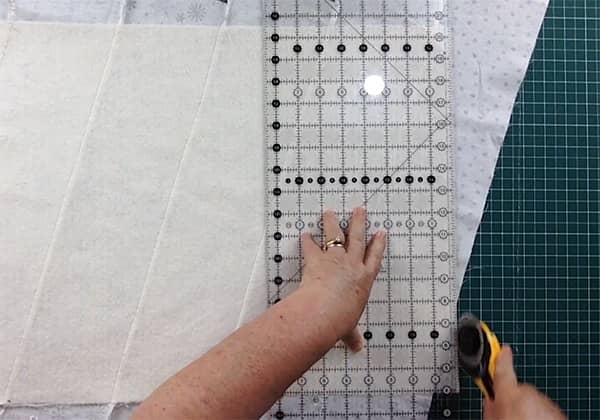
Now let’s just do a final check to make sure our runner is in alignment.
- Fold the runner in half,
- Match up the two short ends and one side. If you are lucky all the sides will all match up. but sometimes one side will be out a little bit.
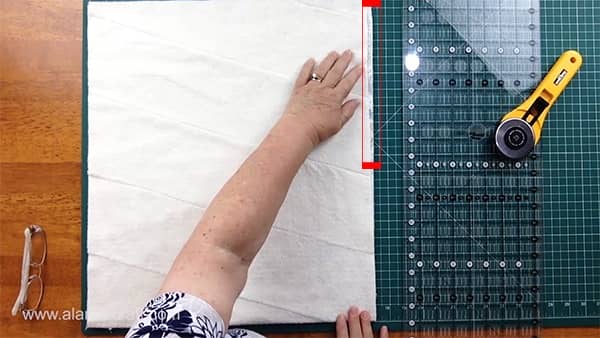
- My runner was out by about ¼” on the sides so instead of 17″ I trimmed it back to 16¾”.
- I also trimmed along the edge where the fabric didn’t cover the corner. On the other end I added an extra piece of fabric to finish it off.
- So after my runner was trimmed it turned out to be 16¾” x 39″.
- Now it’s time to cut the backing.
- I cut my piece 16¾” x 39″ as you want it to be the same measurement as your top piece.
- Lay the backing on top of your top piece so that the edges all meet up nicely
 .
.
- Pin the backing in place.
- Start and stop the pins so that there is approximately a 5″ opening at one end. I make sure that the opening is on a flat piece of fabric and not where there is a seam line. We will be turning the open ends in and we don’t want a lot of bulk when we do.
- Starting with a backstitch at the pin on one side of the opening, sew all the way around the runner until you reach the pin on the other side of the opening
- Sew with a ¼” seam.
- Finish with a backstitch.
- Clip across the corners and trim back a little of the bulk on either side of the corner taking care not to cut your stitching.
- Press your runner, making sure to neatly press in the seams of the opening.
- Topstitch all the way around the edge of the runner with about an 1/8″ seam. This will give you a nice edge and it will also catch in the open seams where we turned through the runner.
Now it’s time to do some quilting.
- What I do on something like this is just sew a line ¼” on either side of the seam line.
- If you do a lot of heavy quilting will pull your runner in and make it smaller and it may pucker, so it’s best to keep it simple.


June says
I am new to quilting and have found your tutorials really easy to follow.. I love the Christmas table runners and am looking forward to testing my new skills. Thank you for making these tutorials so accessible and easy to understand.
Alanda Craft says
Thank you, June!
Lorraine Hird says
Just watched this as I have a lot of scraps and wondering what to do with them. Great tutorial. Many thanks. Rather than a runner, I will try making some table mats. Many thanks!
Alanda Craft says
Yes, this would work perfectly for table mats as well. It’s a great way to use up strip scraps and a lot of fun too.