Jelly Roll Race Baby Quilt – Tutorial
In this tutorial, we are going to make a baby quilt using the jelly roll race quilt method. This is a fun way to make a quilt and involves sewing lots of strips of fabric together into one very, very, very long strip. When we make these, we tend to go at a slow pace and forget the race part but either way way these are super quick to make.
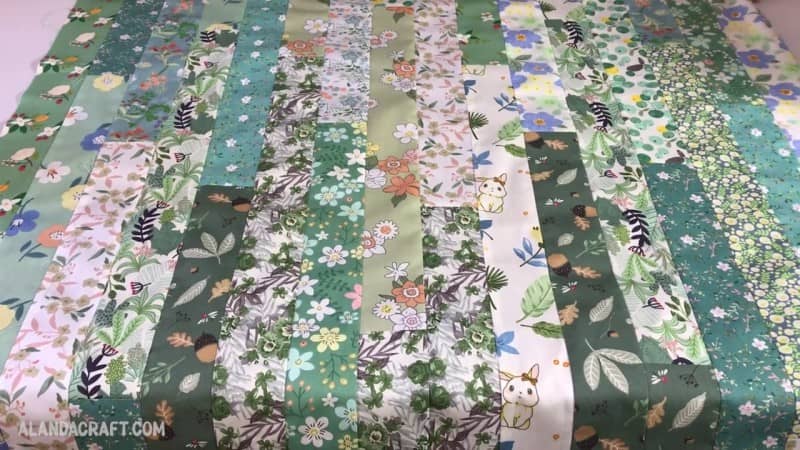
For this baby quilt top I am using the fabric I received in my Temu Haul. I’ve never used Temu fabric before and found it to be much better quality than I thought it was going to be and it sewed together nicely.
I also made another baby quilt and a toddler quilt top using strips from my stash, and I cut them to the same size as the Temu strips. Normally when I am not using a Jelly Roll and I am using yardage I will cut my strips across the width of the fabric, but also in the past I have made Jelly Roll Race quilts using 2 ½” scrappy strips from my stash.
Items Used in this Project
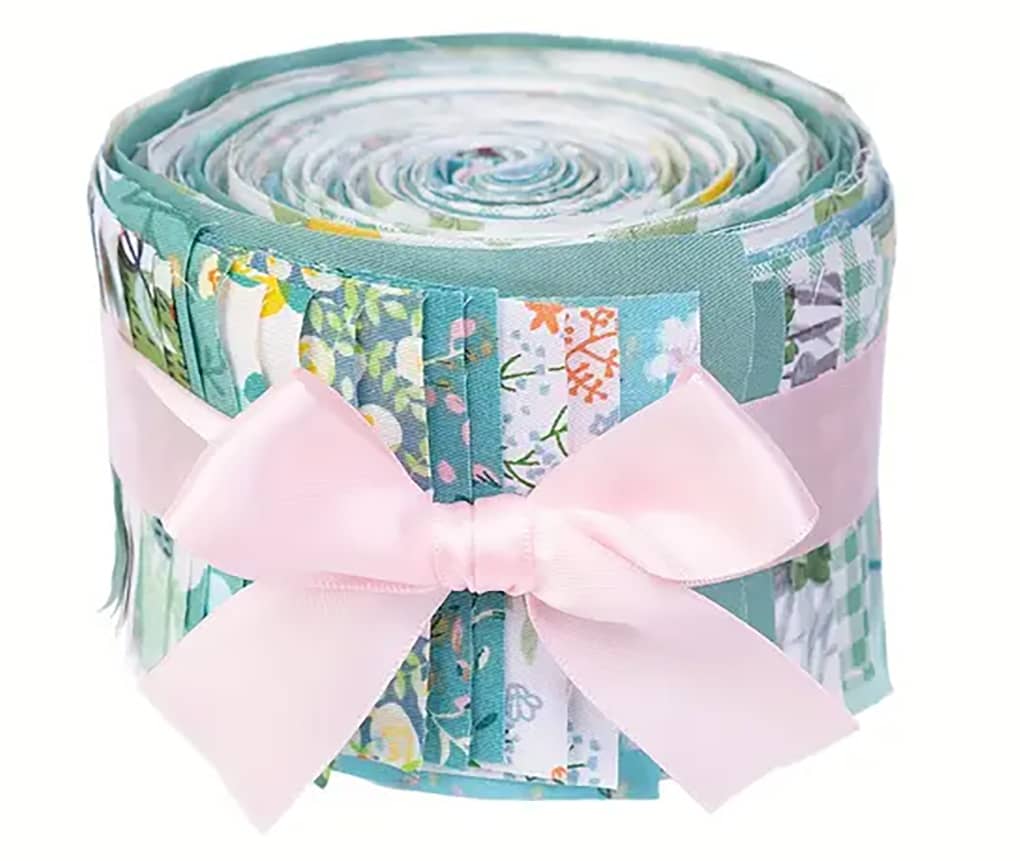
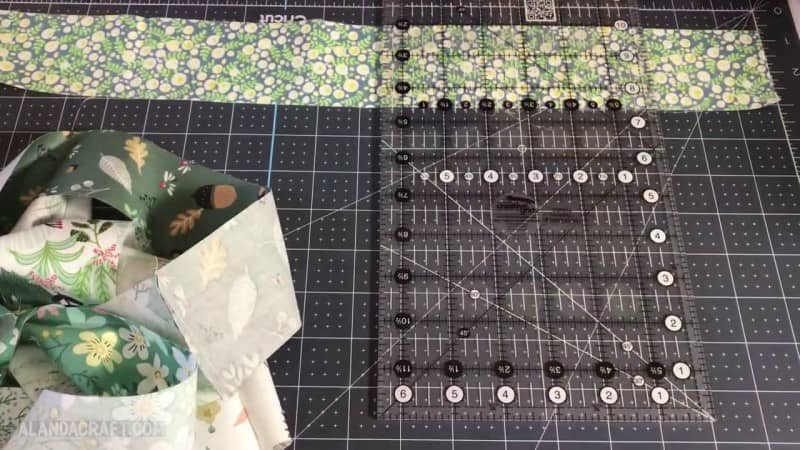
- The cotton pre-cut fabric roll I received from Temu has 40 strips that measure 19 ¾” x 2½” and there are two strips of each pattern.
- Quilting Magnet
- Quilting Seam Guide Ruler
- Wrist Pin Cushion
- Creative Fabrica 8″x24″ Ruler
Baby Quilt Top
Size
The quilt top measures – without borders (strips only)
- approx 34” wide and 37” long
You will need:
- 34 strips measuring 19 ¾” x 2½”
Toddler Quilt Top
Size
The quilt top measures – without borders (strips only) approx 31½” ” x 47½”
You will need:
- 40 strips measuring 19 ¾” x 2½”
Watch the video tutorial below or scroll down for written instructions
Method
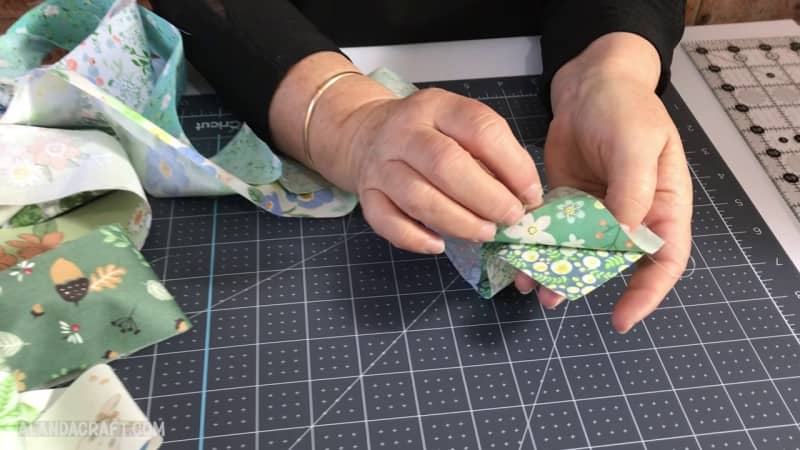
The pre-cut fabric roll that we received had 40 strips and had two strips of each pattern so I separated the strips into two piles and turned one upside down. This was to ensure that when we are sewing the strips they are as random as possible and if you come across strips that are similar as you are sewing them together, simply move the strips around and take another strip instead.
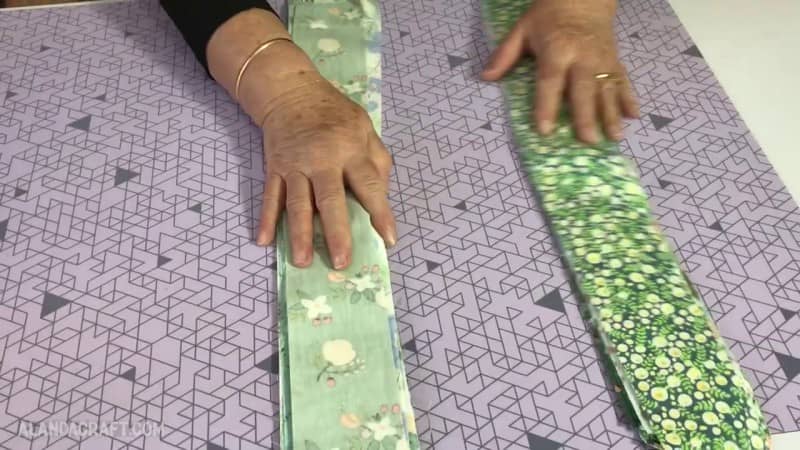
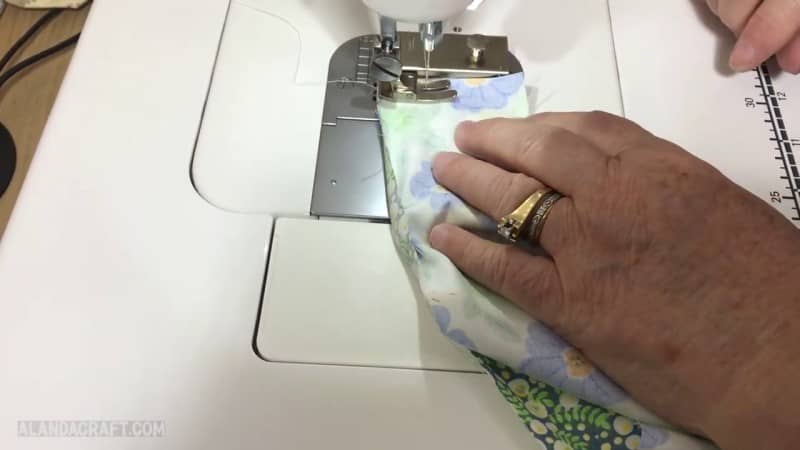
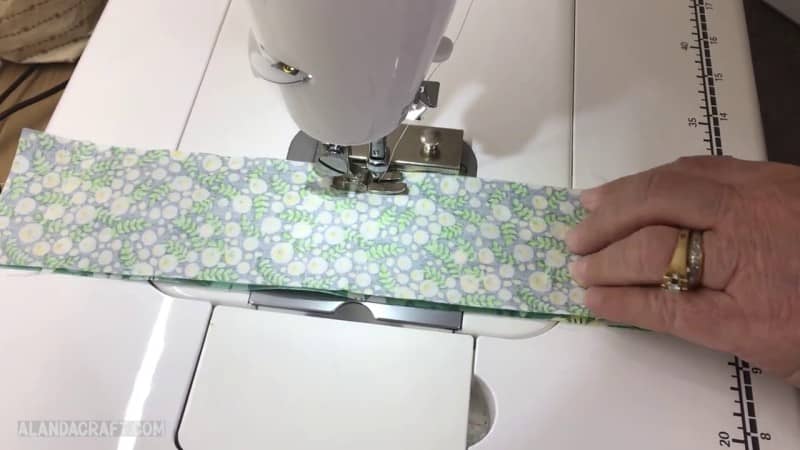
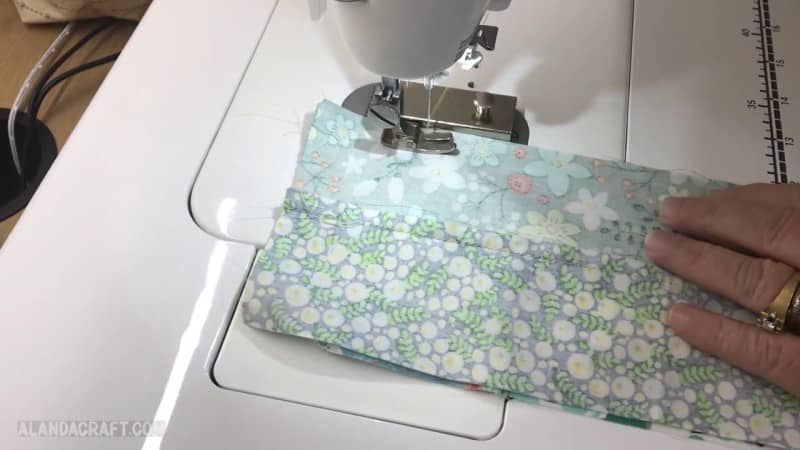
We are going to sew the strips together into one long strip. Take one strip from each pile, place the short ends together with the right sides facing and sew them together with a ¼” seam.
Pick up another strip and line up the edges with the last strip you sewed, and once again join them together with a ¼” seam. Keep doing this until all the strips are joined together in one very, very long strip.
You can either cut the thread as you go or you can chain stitch the strips together. (Watch the video above to see this in action). If you choose to chain stitch the strips make sure you have the previously sewn strip facing right side up and the strip you are adding, right side facing down.
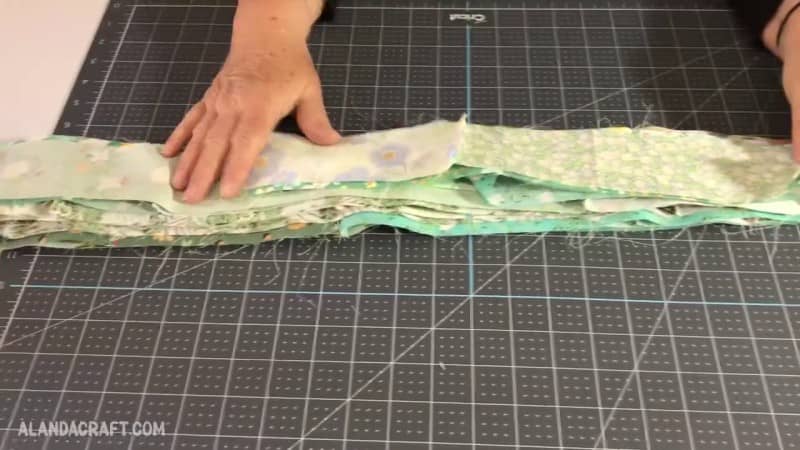
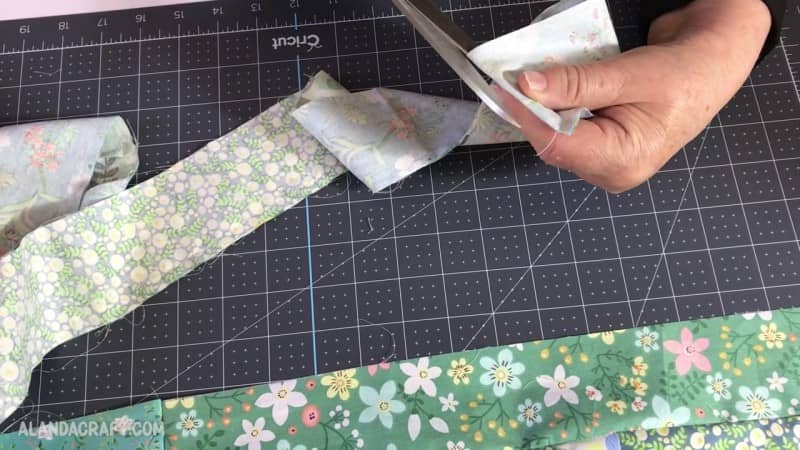
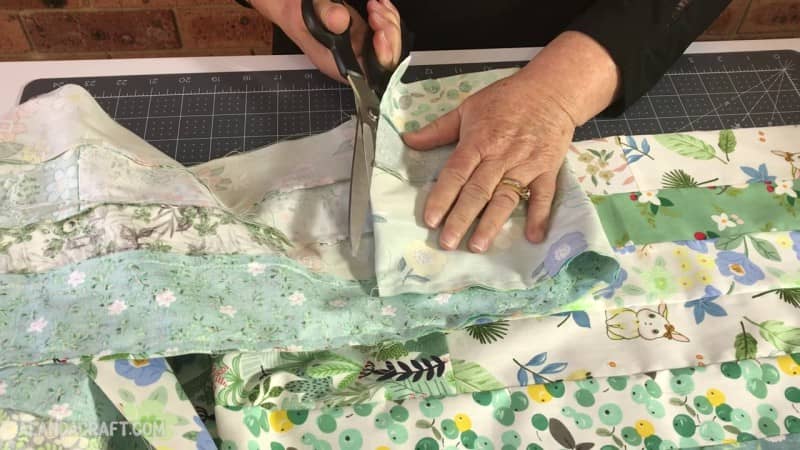
Once you have sewn all the strips together, take one end and cut approx approx 9½” off one end. This will give us a staggered result as we sew the strips together. We don’t want the strips to line up uniformly.
The next part helps if you have a friend or family member to help as we want to straighten out the strip so that there are no twists or tangles. However, I know that you are very innovative people and will come up with a way of making sure the strip is flat.
Take each end of the very long strip and place them right sides together, matching up the edges and then line up the whole strip so that there are no tangles.
Now we are going to sew all the way down the strip with a ¼” seam. There will be a fold at the end when you have finished sewing.
Once, you have finished sewing, find the end with the fold in it and take your scissors and carefully cut along the folded edge.
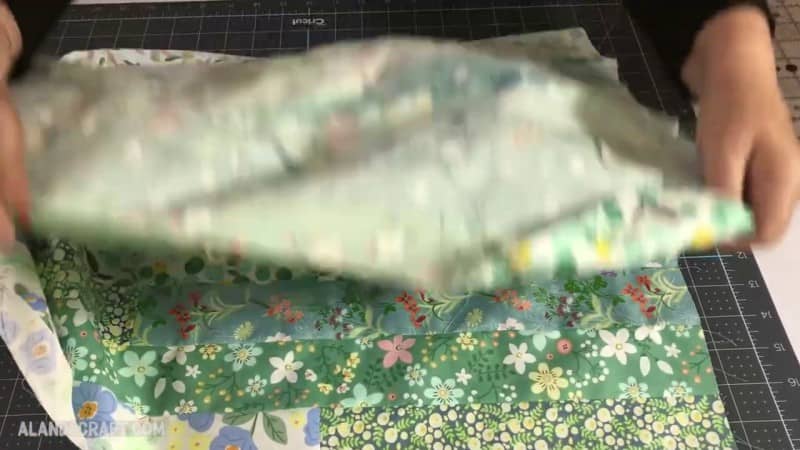
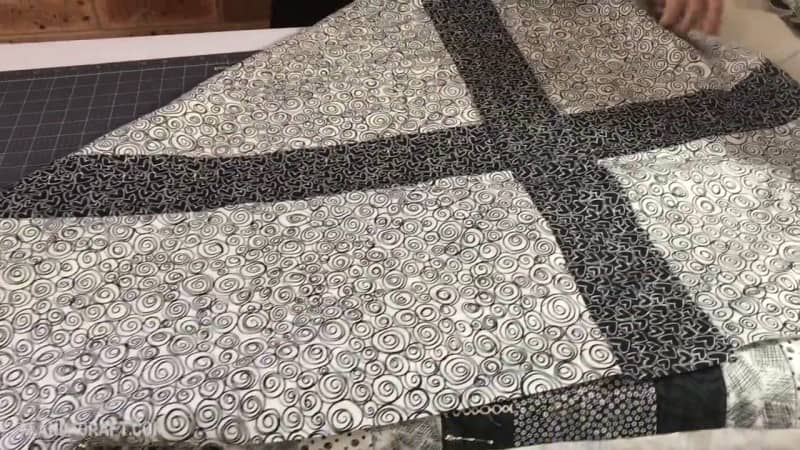
Open the strip and admire your handiwork so far.
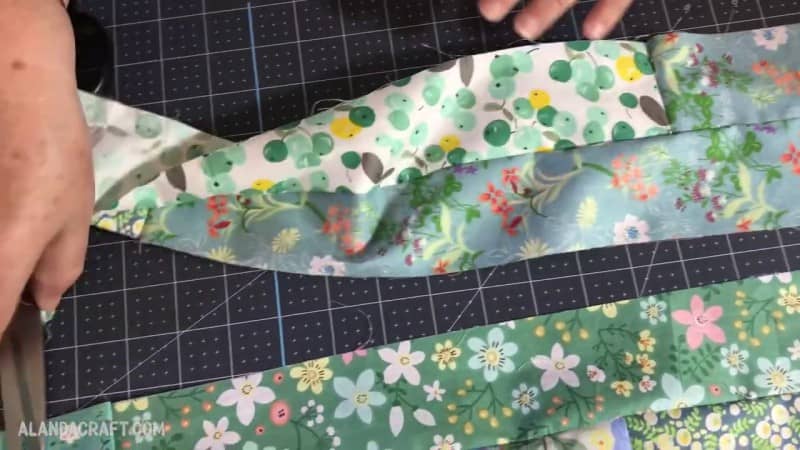
Most people who make jelly roll race quilts don’t press the seams as they go. I like to press everything flat as I’m in no hurry to complete this. So I press the seam to set it and then press the seam to one side….all the way along the strip. Yes, it takes a bit of time but trust me it will make it easier to do it now than do it later when the whole quilt top is completed. You will find you have less mess to deal with on the back of the quilt.
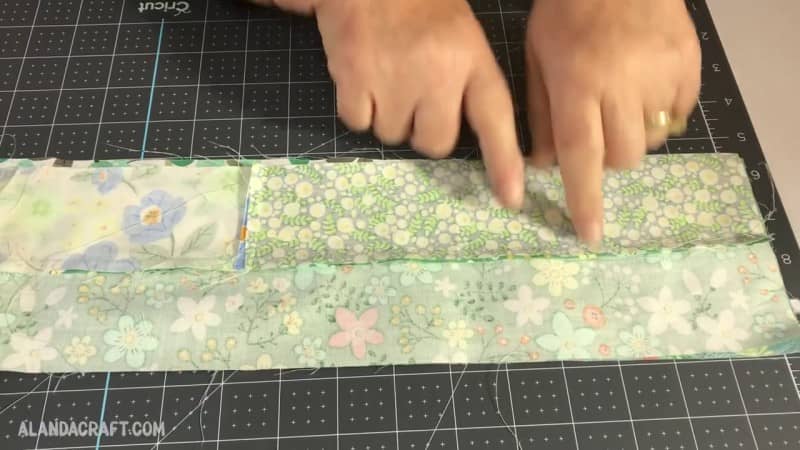
Now, we bring the two short edges together once again. Lay one set of strips over the other with the right sides facing.
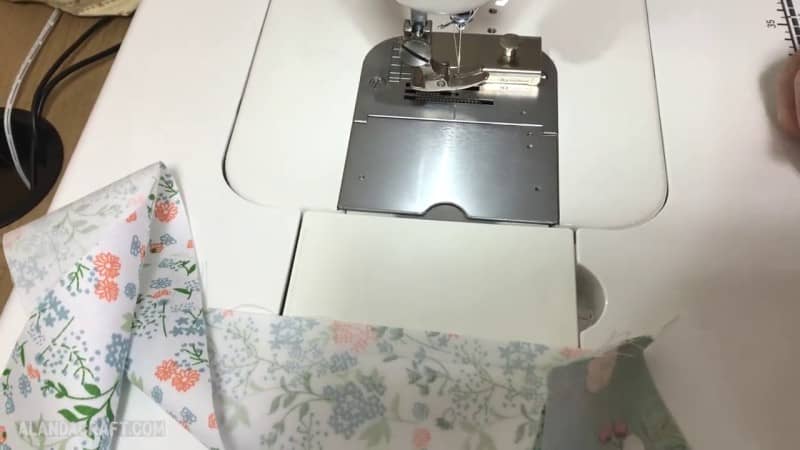
Sew along the long edge with a ¼” inch seam.
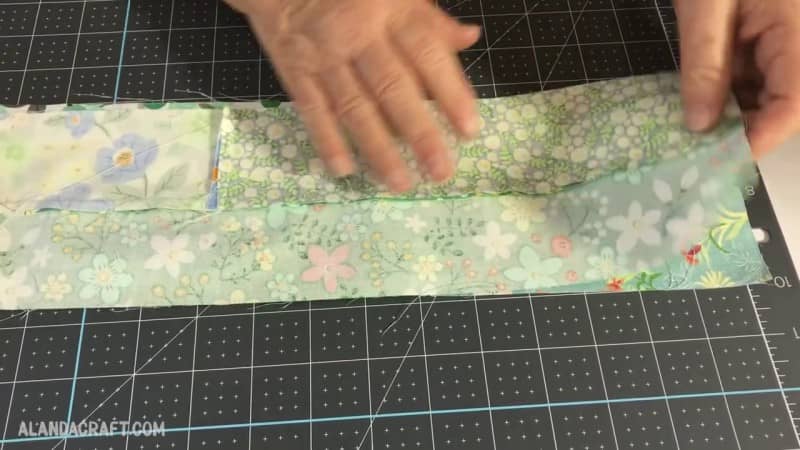
And again, we need to find the end with the fold and cut through it to open up the quilt.
Now, press your seams flat again bring and then place the two ends right sides together. Make sure everything is untangled, and then sew along the long edge with a ¼” seam.
We just continue in this manner until the quilt is at the right size. (Watch the video tutorial above to see this in action.)
Now to finish you just need to add some borders, batting and batting.
Borders
For the borders I added a 1½” white border and a 3″ contrasting border with fabric I purchased from my local quilting store, for the quilt border and quilt backing.
- I cut a white strip at 2” inches so that I had a 1½” finished border strip.
- I cut the outer border at 3½” so that the finished size of the border is 3″
And that’s it. Easy isn’t it?
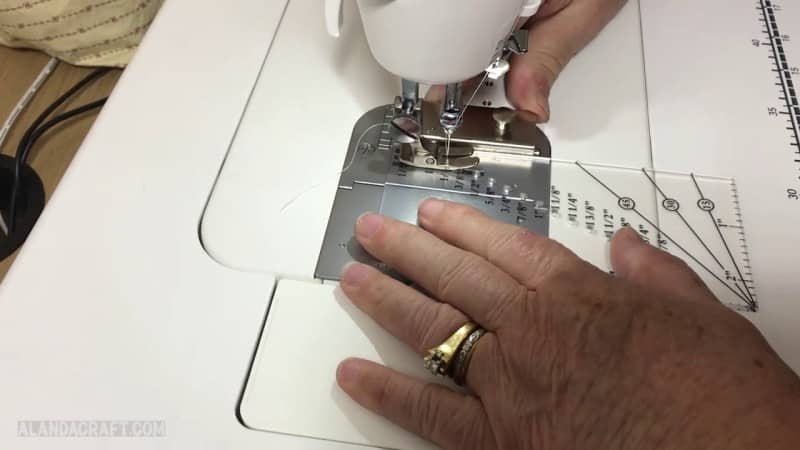
Using My Sewing Magnet and Sewing Guide Ruler
You may have noticed the sewing guide magnet on my sewing machine. I have to say that I love this guide. The magnet is really heavy duty and once in place it doesn’t move at all. In fact there is a bit of a knack to removing it (which I have yet to master). It’s longer than most other magnets I have used in the past which keeps the fabric running nicely along the edge for a longer time so there is no veering off.
I set it up using a seam guide ruler that came with another smaller magnet. I really like this ruler as it has all the seam variations that I use, marked on it. Simply place the ruler under your presser foot and bring the needle down through the hole of the seam amount you require. Lower the presser foot to hold the ruler in place and push the magnet so that it runs along the side of the ruler.
These two little gadgets make it super easy to get straight seams of the perfect size.
Black and White Jelly Roll Baby (Lap Quilt)
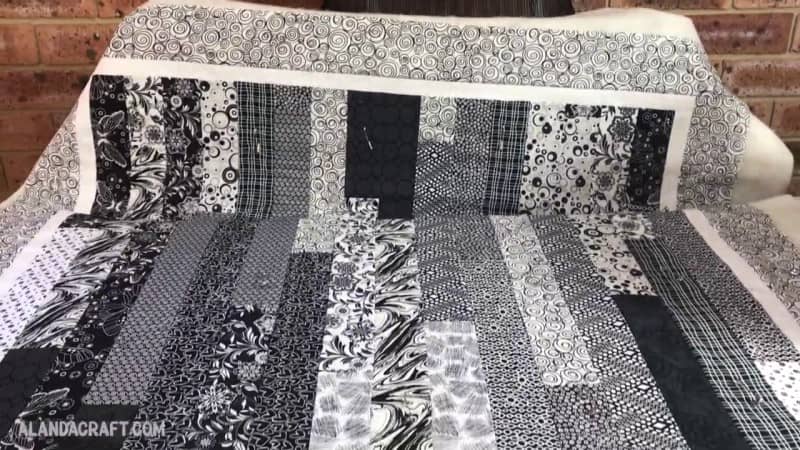
For my black and white quilt I added a 1″ white border and a 3″ outer border.
- I cut a white strip at 1½” inches so that I had a 1″ finished border strip.
- I cut the outer border at 3½” so that the finished size of the border is 3″
I didn’t have enough of any one fabric to make a full backing so I pieced together a backing from my scraps.
Colourful Jelly Roll Toddler Quilt
I added the borders to the quilt top that measures approx 47″ x 31″
For the toddler quilt top I used 40 strips.
- I cut a yellow strip at 1½” inches so that I had a 1″ finished border strip.
- I cut the outer blue border at 3½” so that the finished size of the border is 3″
