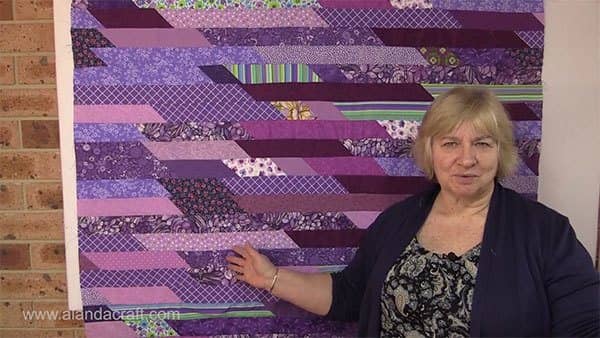
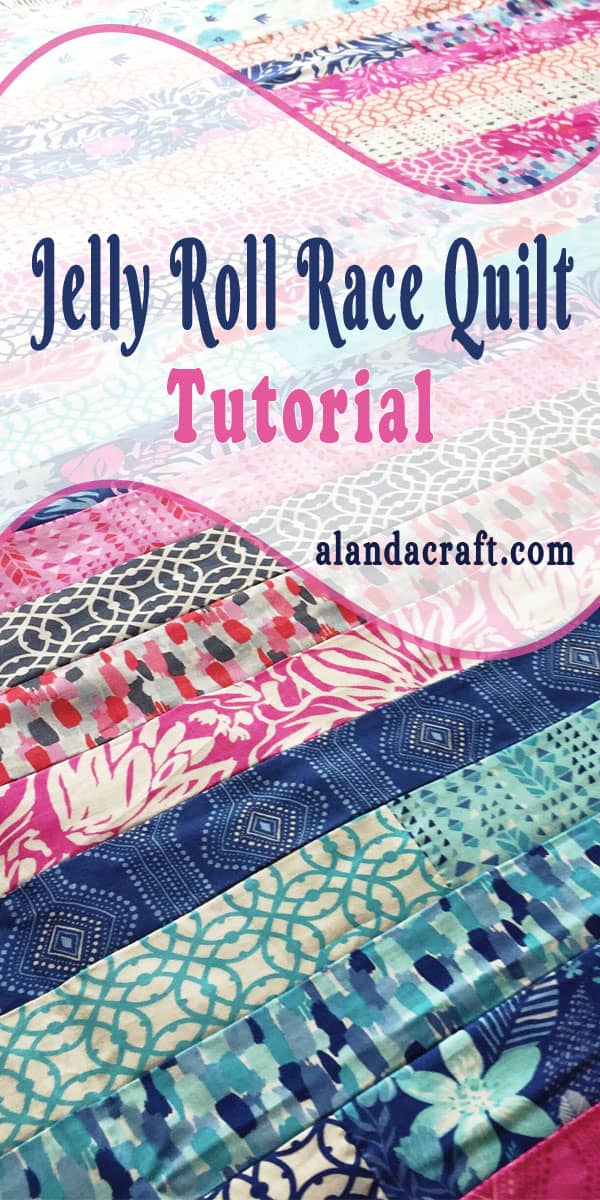
What do you do with all those pretty left over pieces of fabric from your projects that you just can’t part with? I have made bags, runners, and all manner of other projects with my scrap stash, and finally, I decided to make a variation on the Jelly Roll Race quilt using my scraps. I’m delighted with how it turned out.
Watch the video tutorial below or scroll down for the written instructions
TOOLS USED IN THIS TUTORIAL
You can check the latest prices at Amazon by clicking on the links below:
- Creative Grids Ruler 8½” x 24½”
- Olfa 24″ x 36″ double-sided healing mat
- Olfa 60mm rotary cutter
- Oliso Iron
- Gutermann Sew-All thread
Method:
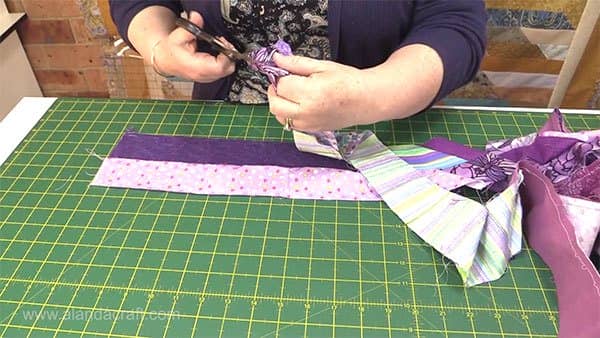
- Take your scraps and leftover fat quarters and cut a number of strips 2½” wide. The length doesn’t really matter but I wouldn’t go below 5″. It just makes it easier if you are going to sew the quilt with the 45º angle seams. If you are just going to lay one strip on top of the other and sew a straight seam then you can use smaller strips.
To make a quilt that measures approx 50″ x 60″ you need a super looooooooong, strip that measures approx 1600″.
Sew the Strips Together Randomly:
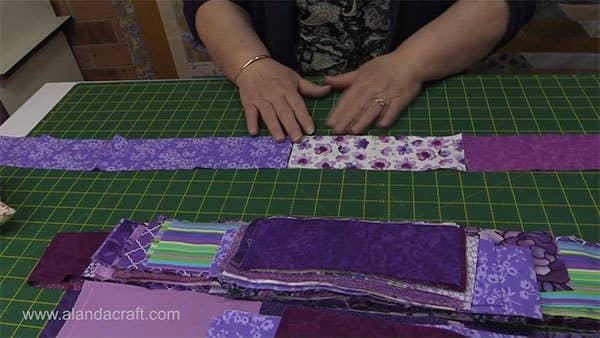
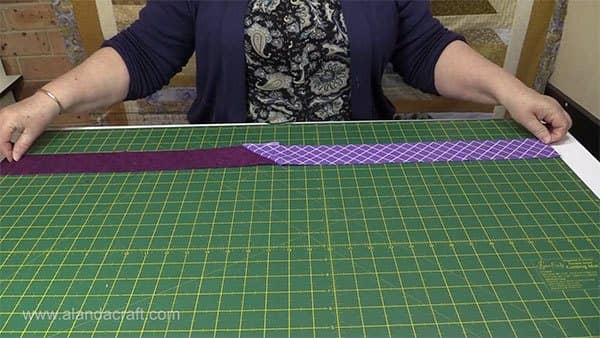
- Take your first strip and lay it right side up, on the work surface.
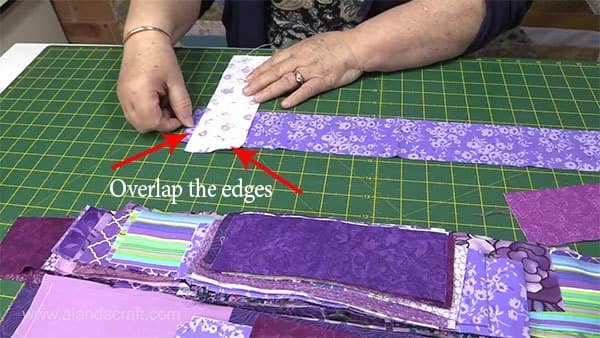
- Take the next strip and place it right side down, across the first strip so that it forms an inverted L shape.
- Leave an overlap of fabric as shown below.
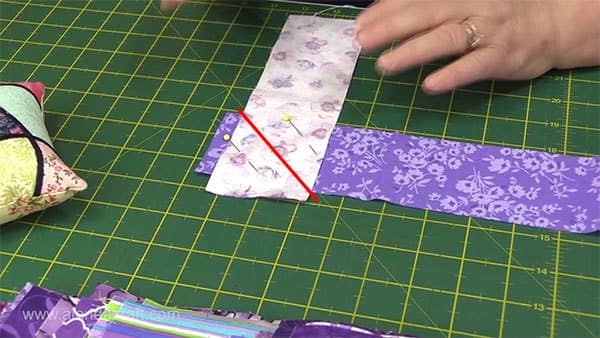
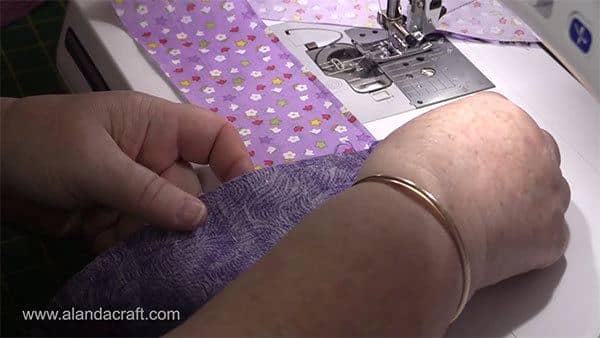
- Place a couple of pins pointing in the direction you need to sew. This can help when you are starting out.
- Put your needle in the down position and place the needle in the center of the V of your two pieces of fabric.
- Sew diagonally across the strips and make sure you start and end your sewing in the middle of the V at the opposite ends.
- The piece you have just added will be face down at the moment, so before you add the next strip, turn the strip so it faces right side up.
- Place the next strip across the last strip, right side facing down.
- Sew from V to V as you did with the first piece.
- Continue in this manner until all the strips are sewn together.
- You can chain stitch the strips together.
- When you think you may have a long enough strip. Remove it from the machine and cut all the chain stitches.
- You now have one long strip.
- Measure your strip. I have a 36″ mat so I just measured the strip across the mat to see how long my strip was. On the first go, I found that I had 39 passes of the mat, this meant I only had approximately 1400 inches of fabric. ( 39″ x 36″ = 1404″). I need at least 1600″ so off I went back to the machine to sew on some more strips.
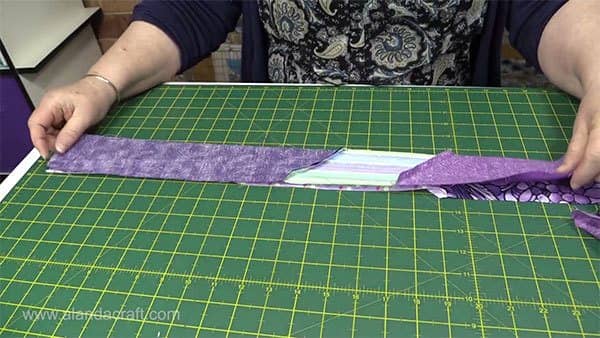
- Once you have the required number of inches, trim off the excess fabric where the strips join. Make the cut about ¼” from the seam. It’s not critical but don’t trim it too close.
- Trim off the dog ears as well.
- An easy way to measure the strip is to anchor it by popping one end under your cutting mat, it helps to keep it secure. Run the strip through your hand to make sure all the strips the right way up. If you find any strips that have been sewn on with the wrong side facing up, then just unpick those strips and resew them correctly.
- Continue running the strip through your hands to un-kink any tangles.
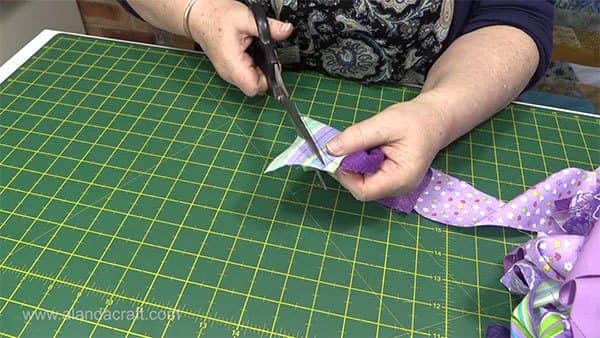
- Bring the two ends together and lay one on top of the other. Sew the two strips together with a ¼” seam. Sew all the way down to the end where you will find the strip folded.
- Cut across the fold.
- If you have ended up with a tangle at the folded edge, simply cut across as close as possible to where the fold would be and sew the ends of the strips together if required.
- Now anchor the strip again and run it through your hands to take out any tangles and bring the end of the strip up to join the beginning of the strip. Lay one strip on top of the other and sew together with a ¼” seam.
- When you get to the other end, cut across the fold.
- Repeat this process until your quilt has 32 strips in length.
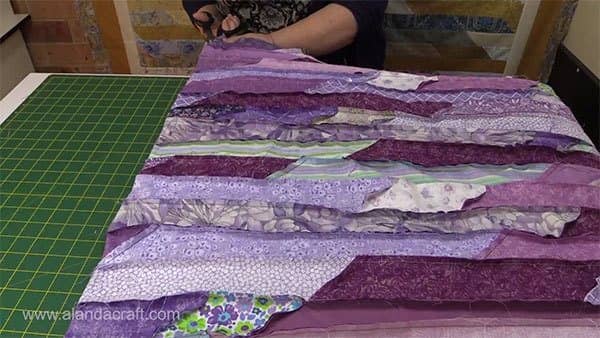
Your quilt is now ready to trim.
You can finish it how you want. Either adding the batting and backing and using the same method as our ‘Easiest Quilt Ever‘ tutorial or add your batting and backing and have the quilt quilted, then add a binding.
These quilts look lovely and as I mentioned before, they are an ideal way to use up your fabric scrap stash.


cyn says
Why do you have to have an overlap when sewing the strips together diagonally? It would seem to be easier to line them up, then sew.
Alanda Craft says
I personally like the 45 degree angle for joining the strips, however, you can certainly join the strips by sewing straight across. Here is the link to the jelly roll race quilt that we sewed together in that manner. It just comes down to personal preference.
Annie says
Did anyone do the math on this? A strip 1600 inches long is about 133 feet!! oh my!
Alanda Craft says
LOL, yes it’s super long.