Easy Beginner Patchwork Baby Quilt Tutorial
We love making quick and easy quilts and this would have to be one of the easiest to make. And if you are a beginner, it’s a nice one to start with (although if you want an even easier one than this, then you could always try our Easiest Quilt Ever instead).
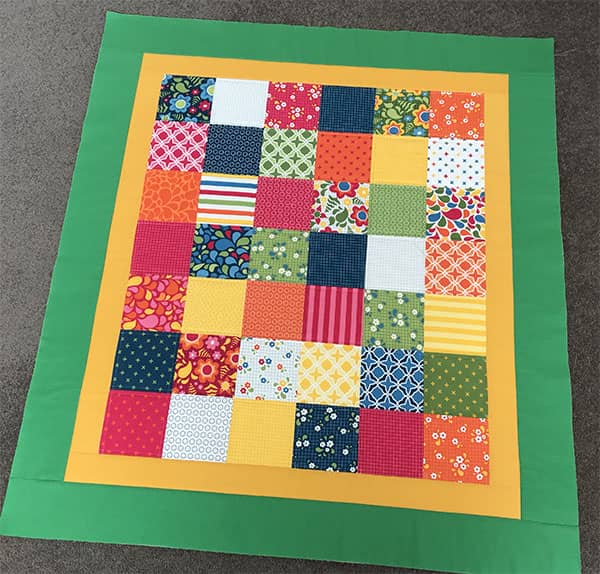
This charm square quilt is a perfect size for a baby quilt but you could always cut more squares to make it bigger.
We used the BEST.DAY.EVER! charm pack by April Rosenthal for Moda for this tutorial.
And we also made another using the Simply Colorful charm pack.
We used 42 charms squares, and if you don’t have a charm pack on hand, you can always cut your own 5″ squares. Check out our tutorial here on how to cut 5″ charm squares. Charm squares do make it so much easier as you don’t have to worry about matching fabrics or cutting the squares – it’s all done for you.
Quilt Size
This quilt measures approx 38½” x 42½”
What You Need
- 1 pack of charm squares (42 @ 5″ x 5″) squares (or cut your own)
- ½ yard for inner border
- ½ yard for outer border
- backing fabric – 1½ yards
- batting – (we use Warm and Natural)
- binding – 1/3 yard
Tools used in this Video
- Cutting Mat
- Rotary Cutter
- Gutermann Sew All Thread
- Creative Grids 8½” x 24 ” Ruler
- Mary Ellens Best Press
- Curved Quilting Pins
- 505 Temporary Adhesive Spray
Quilt Cutting Instructions
- Centre quilt – 42 – 5″ x 5″ squares
- Border 1 – 2 strips measuring 32 ” x 2½” (long inner border pieces)
- Border 1 – 2 strips measuring 31½” x 2½” (short inner border pieces)
- Border 2 – 2 strips measuring 36″ x 4″ (long outer border pieces)
- Border 2 – 2 strips measuring 38½” x 4″ (short outer border pieces)
- Backing – cut @ 43″ x 49″ (you may need larger if you are going to get this quilt professionally quilted)
- Batting – cut @ 43″ x 49″ (you may need larger if you are going to get this quilt professionally quilted)
- Binding – cut into 5 strips measuring 2¼” each
Watch the video below or scroll down for written instructions
(Can’t see the video? You may have an ad blocker installed)
Let’s get started!
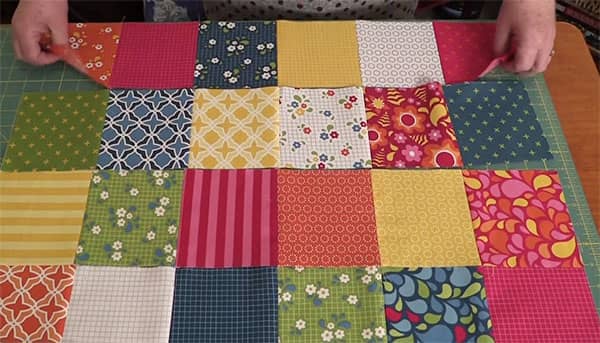
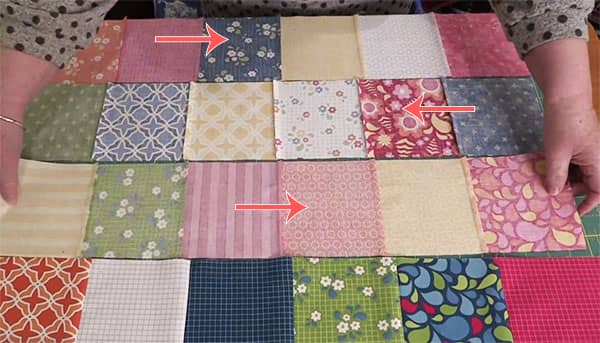
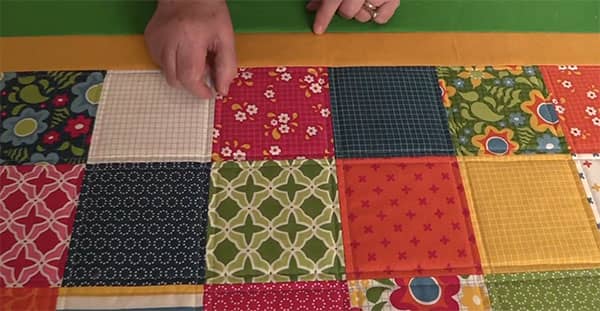
The first thing you will want to do is lay out your charm squares in rows of 6 squares across and 7 squares down. Now mix ‘n’ match the squares into a design that appeals to you.
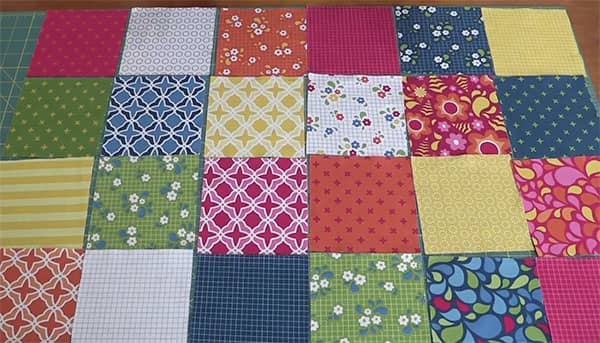
Once you have decided how you want the squares to look, it’s time to start sewing the squares together.
- Start with the first row and place the first two squares right sides facing, and sew them together with a ¼” seam.
- Sew the next two squares together in the same manner until you have completed the row.
- Now sew each set of two squares to the next set of two.
- That is row 1 completed.
- Continue to sew each of the rows in the same manner.
- Press the seams for the first row in the same direction.
- Press the next row of seams in the opposite direction.
- Continue with each row making sure you alternate how you press the seams.
Now it’s time to sew the rows together
- Lay the top row over the next row, right sides together.
- Check that the seams nest together nicely and pin (Watch the video to see how we pin to ensure that your seams line up perfectly.)
- Sew all of the rows together with a ¼” seam.
Because of how we have pressed the seams, the seam will nest together and ensure that all your seams are straight.

At this point, the quilt top should measure 32″ x 27½”.
Now we need to sew on the borders
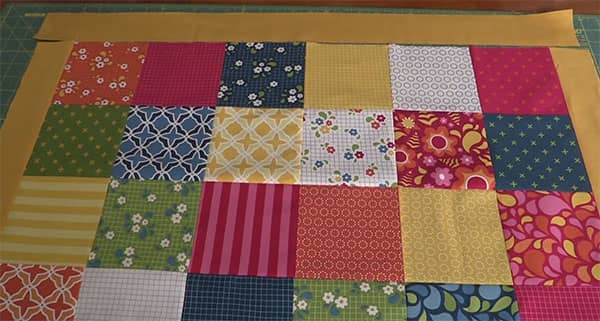
Border 1
- Pin the long inner borders to the quilt first. (Watch the video for more detail on how to pin the borders.)
- Sew these borders to the quilt top with a ¼” seam and press open.
- Then pin the short inner borders to the top and bottom and sew with a ¼” seam and press open.
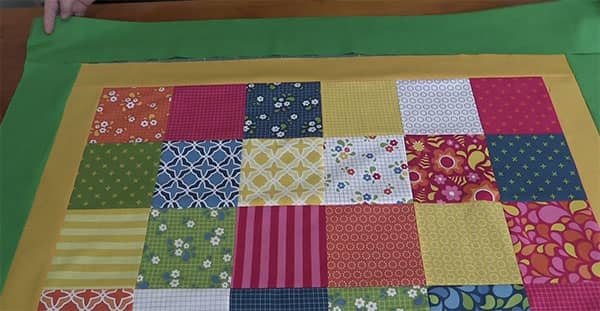
Border 2
Attach in the same manner as you attached the first border.
- Attach the long border strips first.
- Then add the short borders.
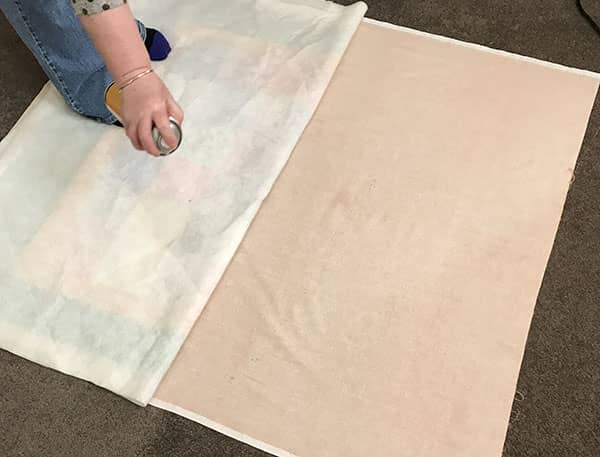
Add the Backing and the Batting
- Lay the backing piece, face down, on your floor or table.
- Lay the batting on top of the backing fabric.
- Spray the backing piece with 505 temporary adhesive spray and smooth out the two pieces so that there are no wrinkles or bubbles.
- Lay the quilt top, right side up, on top of the batting.
- Fold the quilt top back in half and spray the back of the quilt top with 505 temporary adhesive spray
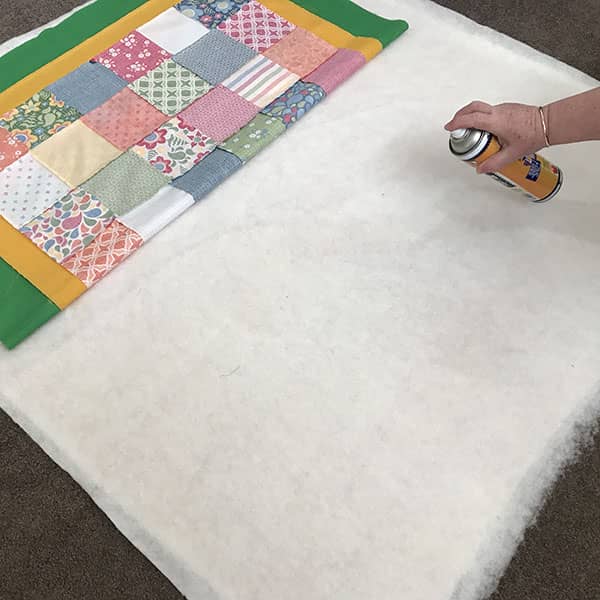
- Smooth the quilt into place on the batting and repeat with the lower half of the quilt.
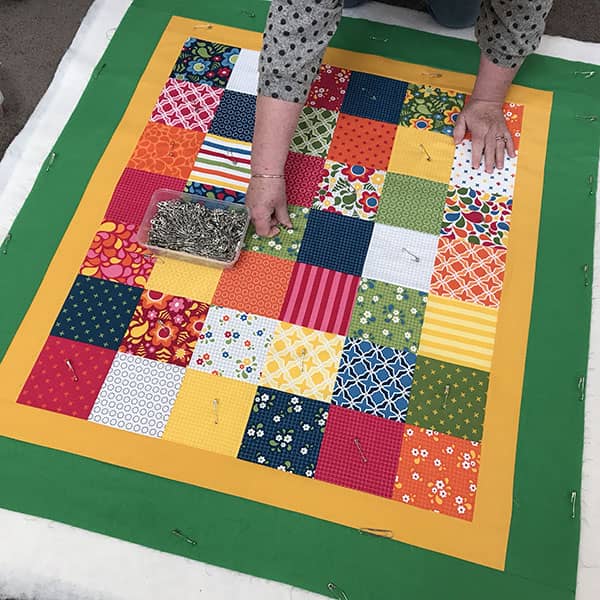
- Pin the layers together.
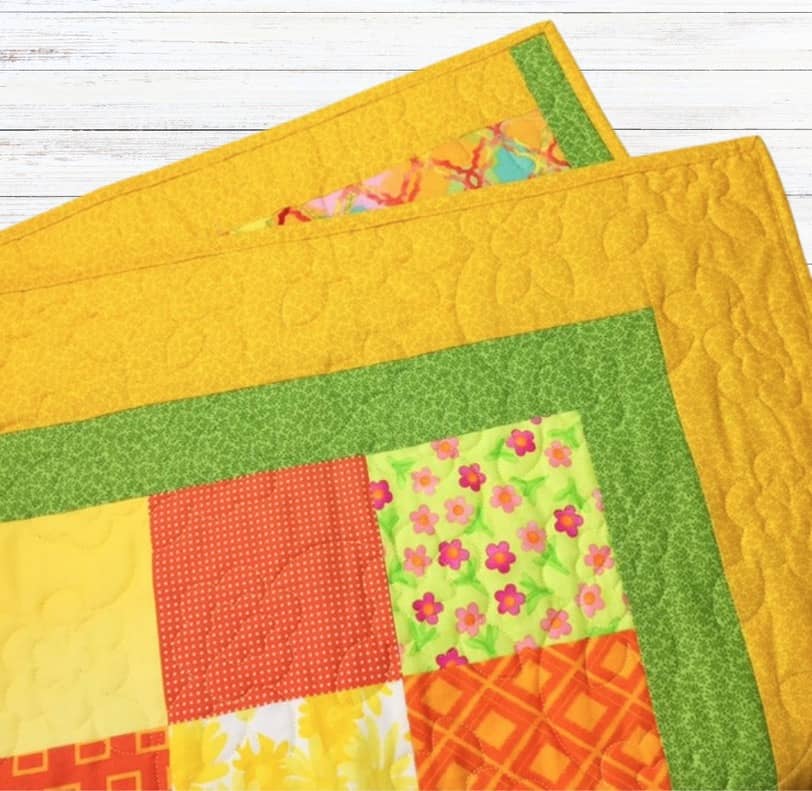
Finishing the Quilt
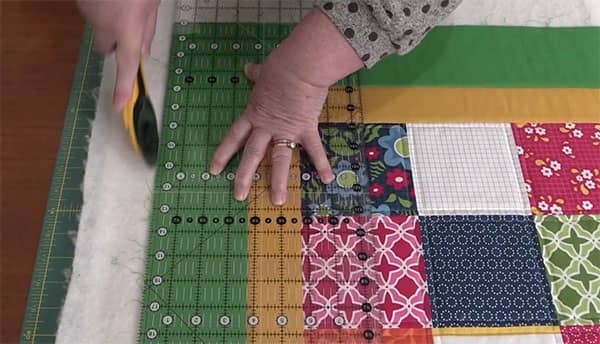
- Quilt as desired. I have simply sewn a line ¼” on either side of the seam line, and ‘stitched in the ditch’ around the borders. (Watch the video above to see how we did this).
- Trim the quilt.
Add the binding
- Add the binding. You can see how to machine bind a quilt – HERE