Christmas Table Runner Tutorial – Super Easy Method
Here we are again, nearing the end of yet another year so of course, we have to have our obligatory Christmas table runner tutorial. We have created a Christmas table runner for quite a few years now although we missed last year for some reason. If you would like to check the ones we have done in the past, I have listed them below:
Our goal with these table runners is to make them as simple as possible since most of our readers are from the US and you already have a lot on your plate, what with Halloween, Thanksgiving and Christmas all happening so close together.
For this year, we have a super simple table runner that is made even easier by the technique that we use to put it all together. You really only need to sew some strips together, slice them up and twist them around and you end up with a checkerboard effect.
This is really super fast to put together.
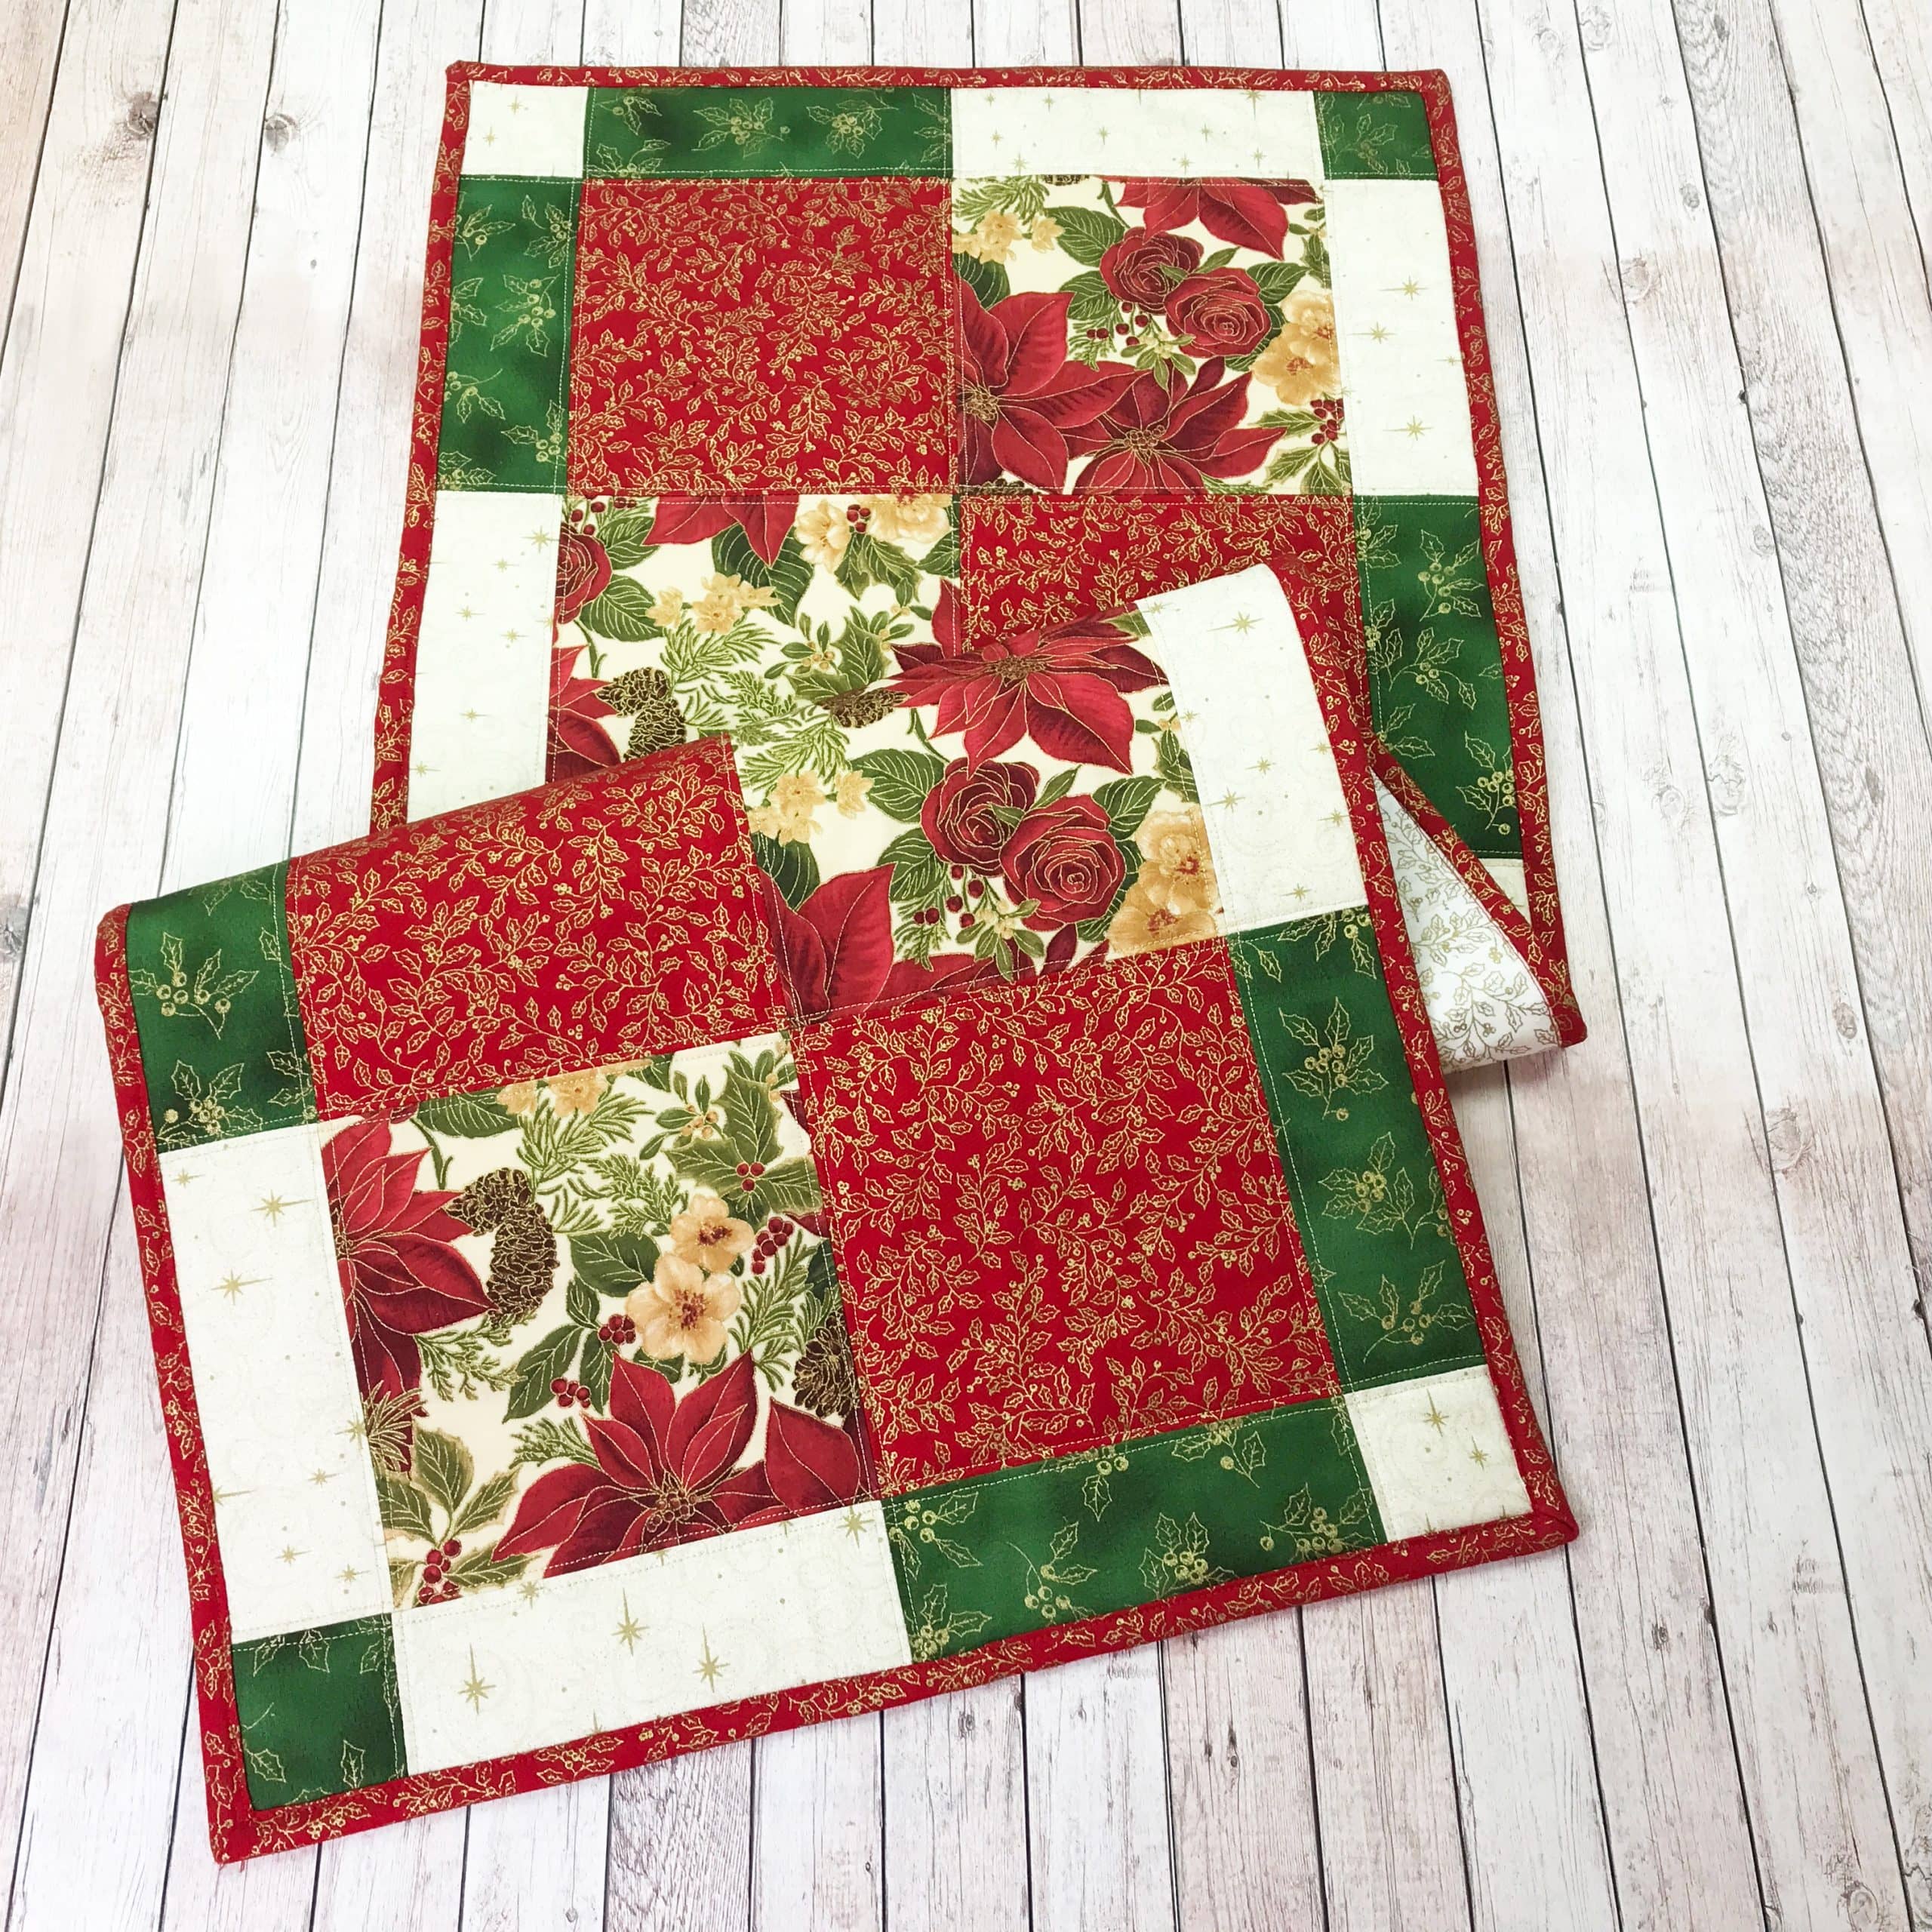
And here’s one we made in traditional Christmas reds and greens.
So let’s get started.
Watch the video tutorial below or scroll on further to see the written instructions.
(Can’t see the video? You may have an ad blocker on)
Here’s what you’ll need
Main Fabric 1: ¼ yard
- Cut 1 strip at 6½” x WOF (width of fabric)
Main Fabric 2: ¼ yard
- Cut 1 strip at 6½” x WOF
Border Fabric 1: ¼ yard (or you can use 2 jelly roll strips)
- Cut 1 strip at 2½” x WOF
- Cut 2 strips at 2½” x 6½”
- Cut 2 strips at 2½” x 2½”
Border Fabric 2: ¼ yard (or you can use 2 jelly roll strips)
- Cut 1 strip at 2½” x WOF
- Cut 2 strips at 2½” x 6½”
- Cut 2 strips at 2½” x 2½”
Backing fabric – ½ yard
Batting – you will require a piece of batting that measures a couple of inches larger on all sides than the finished piece so cut a piece approximately 20″ x 44″.
Binding Fabric – ¼ yard. We also have a tutorial on binding a quilt.
Tools We Used in this Tutorial
OLFA Cutting Mat
OLFA Rotary Cutter
Creative Grids Ruler
Step 1: Sew the strips together
- Trim the selvage edge off each of the long strips. You will only need to do this on one end of each strip.
- Using a ¼” seam, sew the two main center strips together
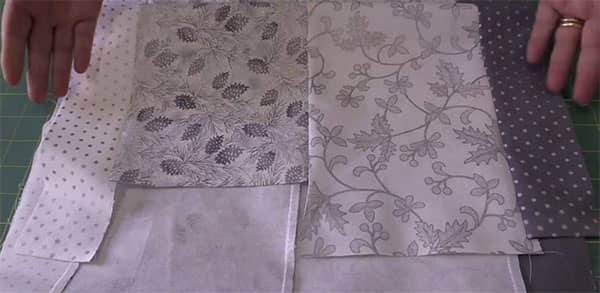
- Sew the long border strips to each side of the main strips. Your piece should look like the image below when done.
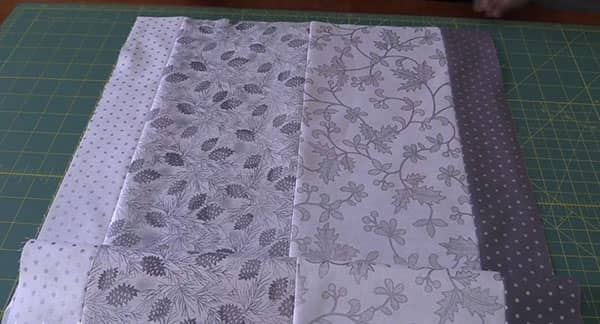
- The other end will look like this, but don’t worry we won’t need that end to be even.
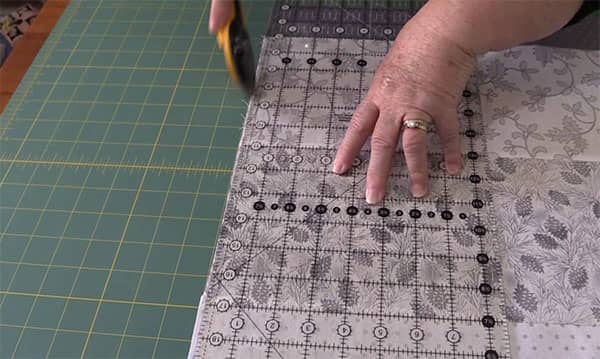
Step 2: Trim the top edge
Before we continue on, we want to straighten up the top edge. It looks pretty straight since we matched the edges when sewing but even so, we want to make sure that it is perfectly even.
- Line up your ruler and trim off the edge to straighten.
Step 3: Pressing
- Press the seams all to one side. This will help when we start to sew the pieces together.
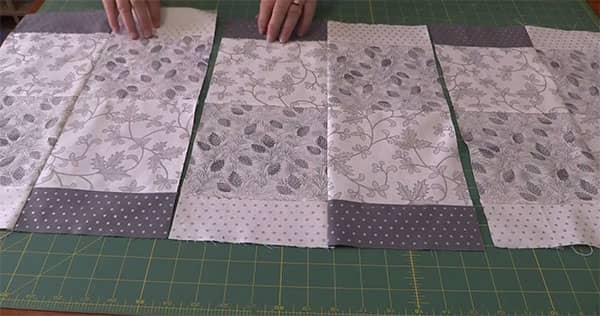
Step 4: Let’s start slicing
- Line up the ruler placing the 6½” line along that nice edge we just straightened and cut.
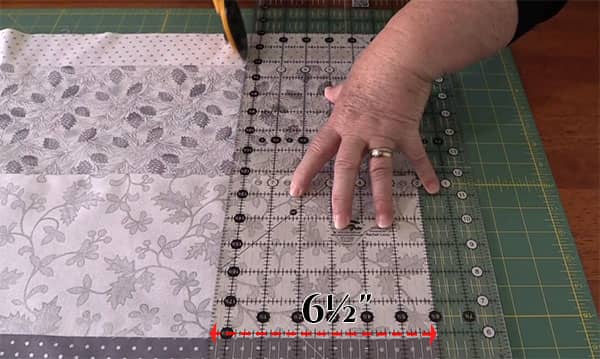
- Continue to do this until you end up with six pieces each measuring 6½”.

- You will end up with a bit of scrap at the end that you can throw into your scrap bin. Great for your next crumb quilting project.
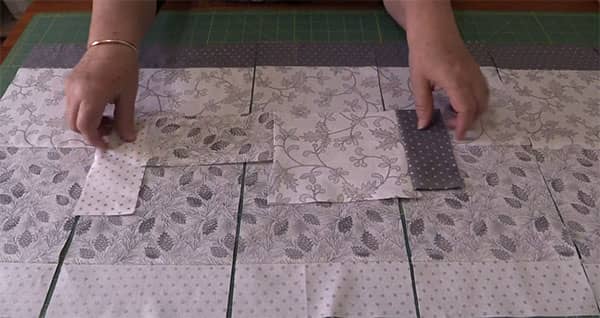
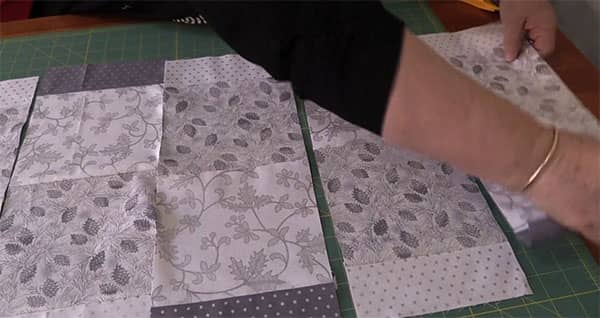
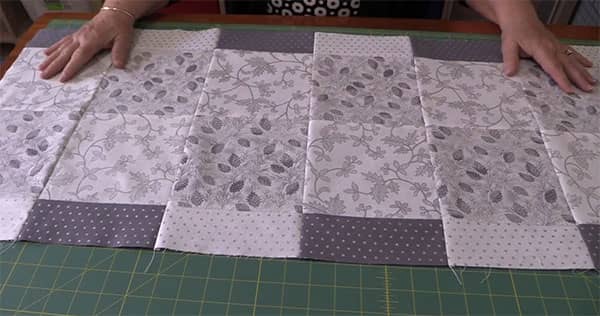
Step 5: Creating the Checkerboard Effect
- To create the checkerboard effect we just need to flip every second piece around. (Note, I couldn’t get a good image of this since I was moving the camera around but you can watch the video above to see how this works if needed.)
Step 6: Sew the pieces together
- Sew each of the pieces together to form the main part of the quilt. We sewed the strips together in lots of two.
- And then sewed the remaining pieces together.
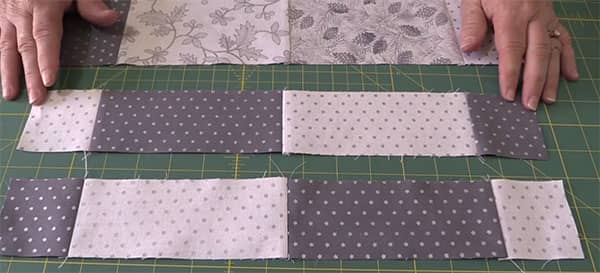
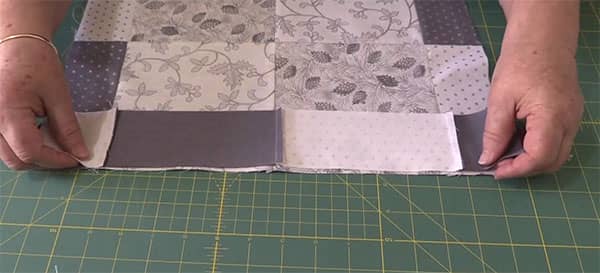
Step 7: Add the end borders
We now need to finish both the border ends of the table runner.
- Sew the remaining pieces as per the image below.

- They will look like this when done.
- Sew these strips to the top and the bottom edges of the table runner.
- The top of your table runner is now complete. Now you can add your batting and backing to finish your quilt.
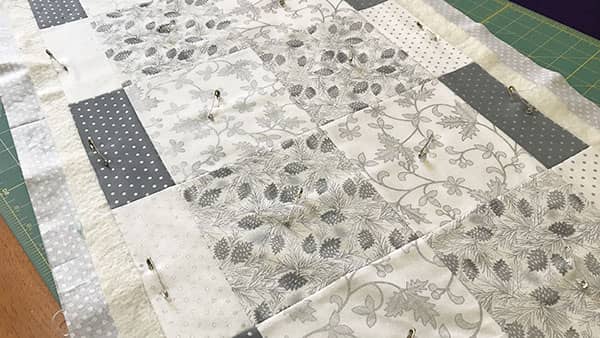
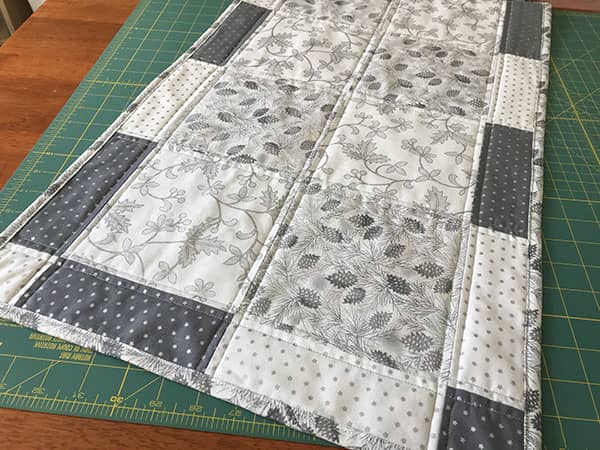
I simply sewed down each side of every seam line to sandwich the quilt together as you can see in the picture below.
When you are ready to bind your quilt, you can head over to our tutorial on how to do that here – How to Bind a Quilt.