Crumb Quilt Technique Tutorial – Crumb Quilting
You might also be interested in some other ways to use up your fabric scraps…


If you are anything like us, you probably have loads of small scraps of fabric that you just don’t know what to do with. You don’t want to toss them out but they are too small to actually do anything with. That’s where the crumb quilt technique comes into play. With this technique you can use up all of those small bits of fabric to make beautiful, colorful fabric that you can use to make quilts, cushion covers, applique, bags, table runners and more.
Watch the video below or scroll down for the step-by-step written instructions
Our crumb quilt tutorial video goes through the steps in detail but in a nutshell it involves sewing together all of those little bits of fabric together to form one big piece of fabric that you can then cut down to size to suit your project.
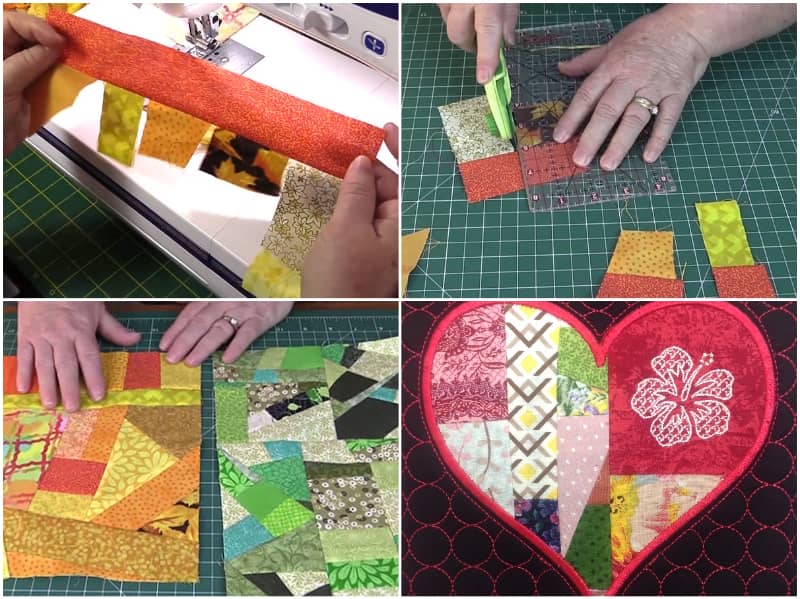
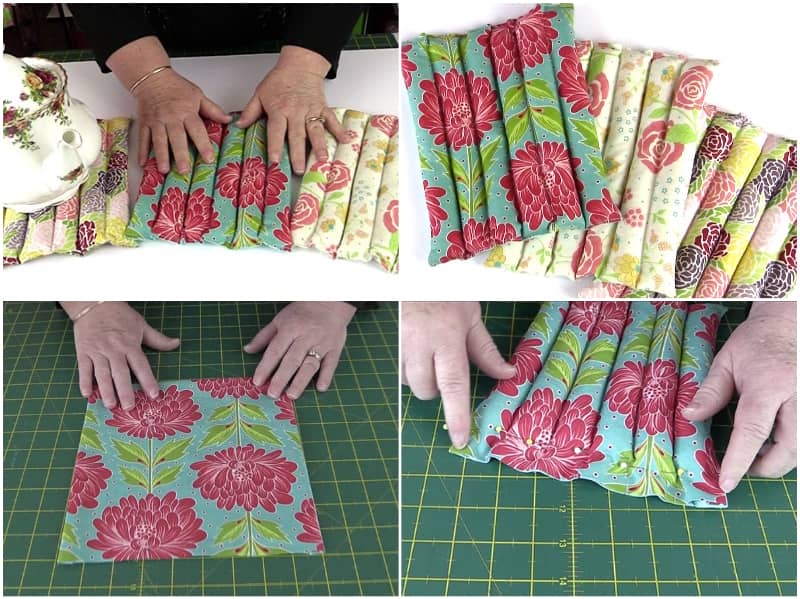
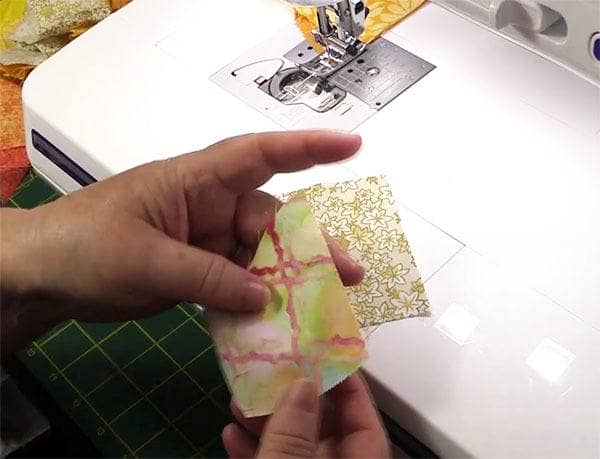
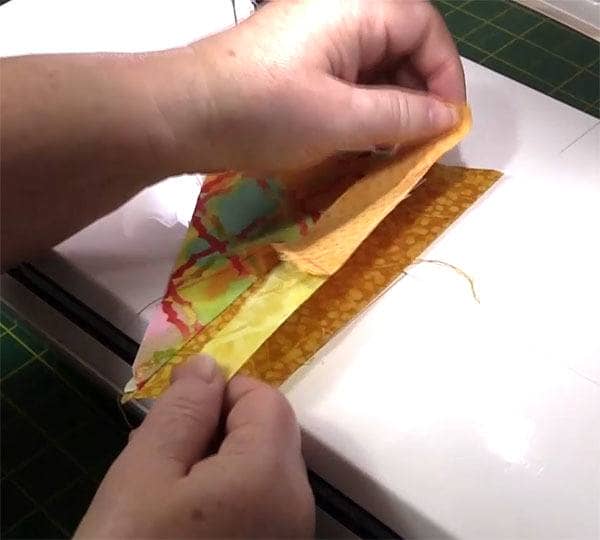
- You start by taking two bits of fabric and as long as both of those bits of fabric have at least one straight edge, you simply sew them together. You can see in the image below that the two pieces both have a straight edge, so I can sew the two together. It doesn’t matter if they aren’t the same length so don’t think too much about lining things up perfectly. I also don’t worry about ironing the fabric at this point.
- Continue to sew two pieces together until you have around 10 to 20 pieces. To speed things up make sure you chain piece.
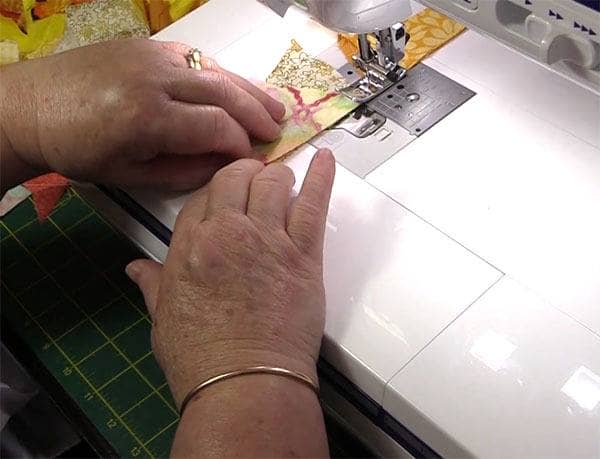
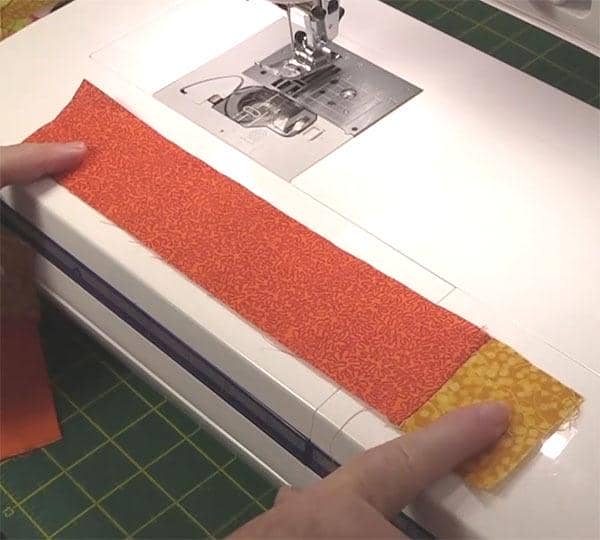
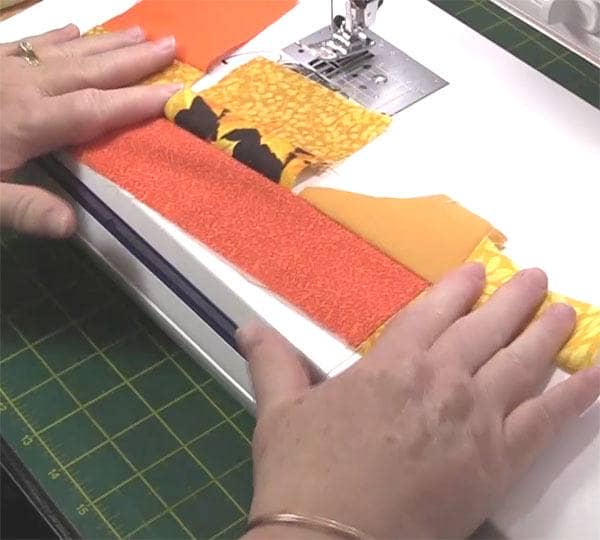
- You can also sew multiple scraps onto one long strip.
- You can see an example of this in the image below. It looks a bit odd at the moment but we will trim these up further on in the process.
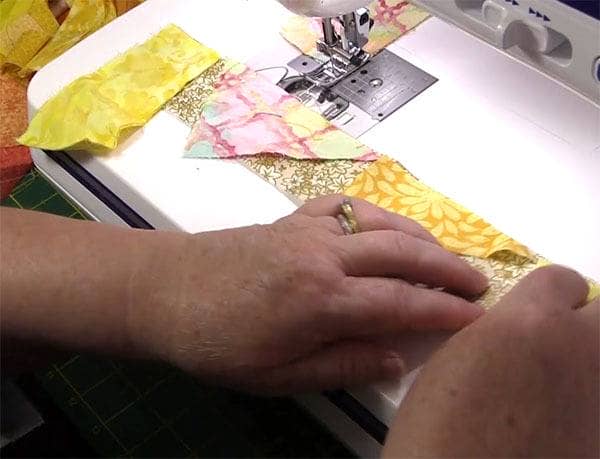
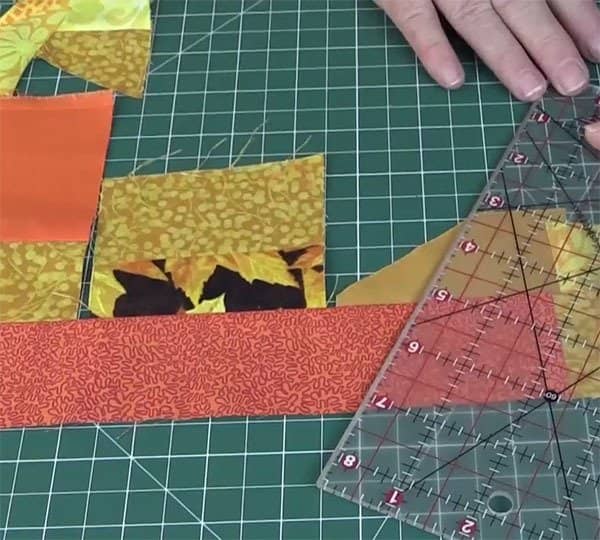
- Now you just need to take those pieces your just sewed and trim them. (I do press the seams to one side before trimming.) The goal is to form as straight line that will allow you to sew it to another piece. You can trim along the side like in the image below.
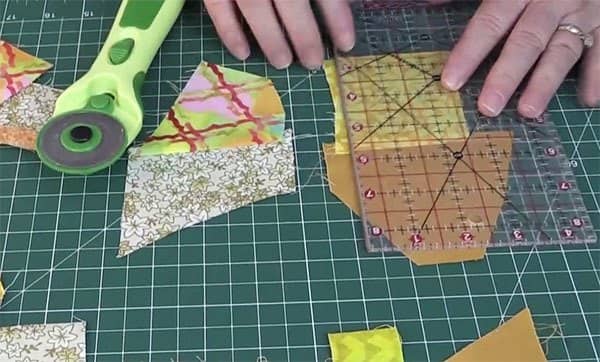
- Or you can cut straight through the middle. This will give you two crumb pieces to sew to use.
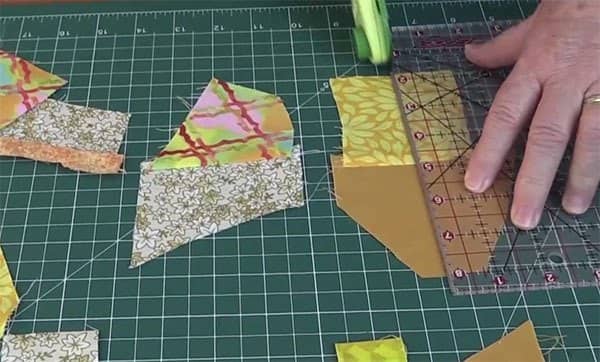
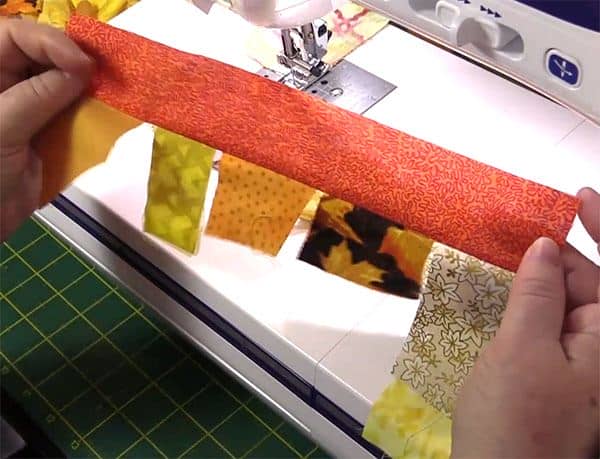
- For the long piece of fabric, you can see below how I trimmed this piece.
- I even cut some on an angle to create interest.
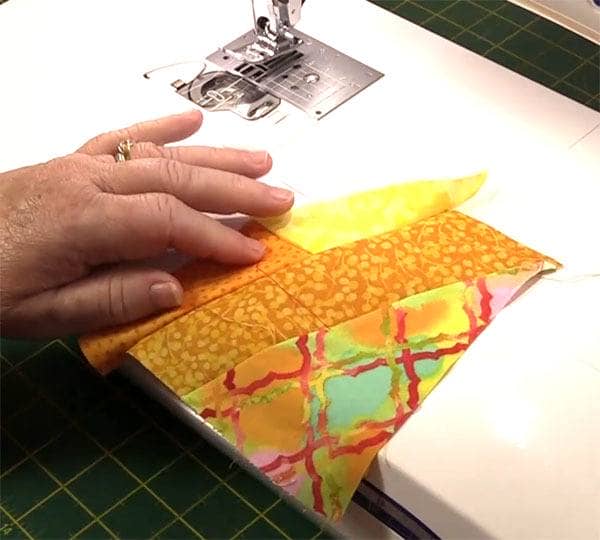
- Once you have trimmed each of these two patch pieces, you are ready to sew them together. Back at your sewing machine, simply take one piece and sew it to another. Again, you don’t need to worry that they aren’t the same size or length. As long as you have two straight edges, you can sew them together.
- See how nice it is starting to look already with just four pieces of fabric sewn together.
- You can even use a long strip again, like in the previous step. Simply lay out the strip and attach pieces to it.
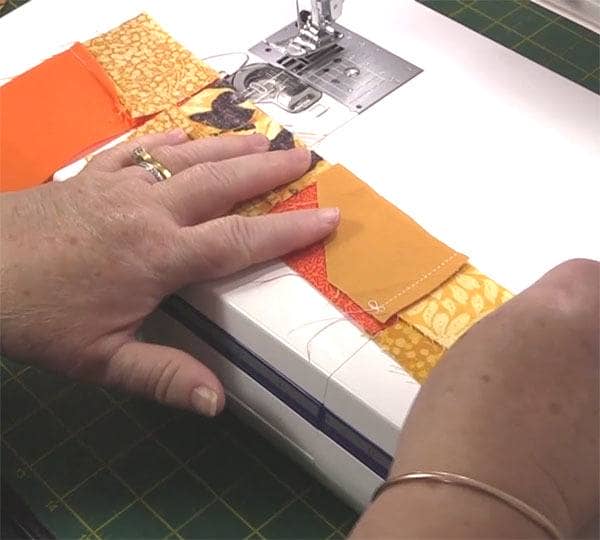
- This is what it looks like once the pieces have been sewn on.
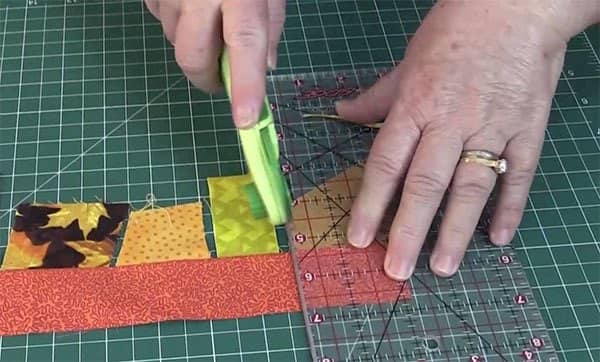
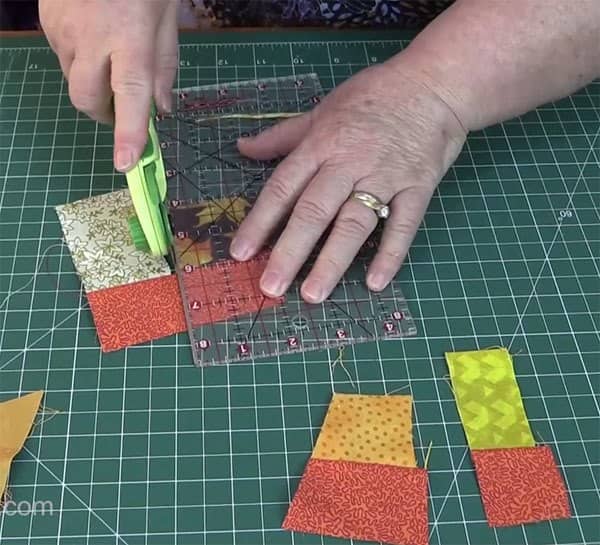
- Once you have finished sewing the two patches into four patches, come back to your cutting table and trim them all once again to form a straight edge, just like you did with the first lot of pieces. You can also cut on an angle – just go with what suits you but don’t think too much about it as you cut.
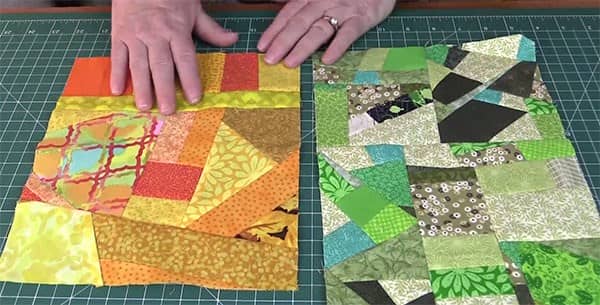
- The goal is to keep sewing the pieces together until you form a piece of fabric big enough to use in a project of some sort.
Here’s some ideas for what you can do with the crumb quilt fabric:
- Iron on some fusible adhesive to the back and cut applique shapes.
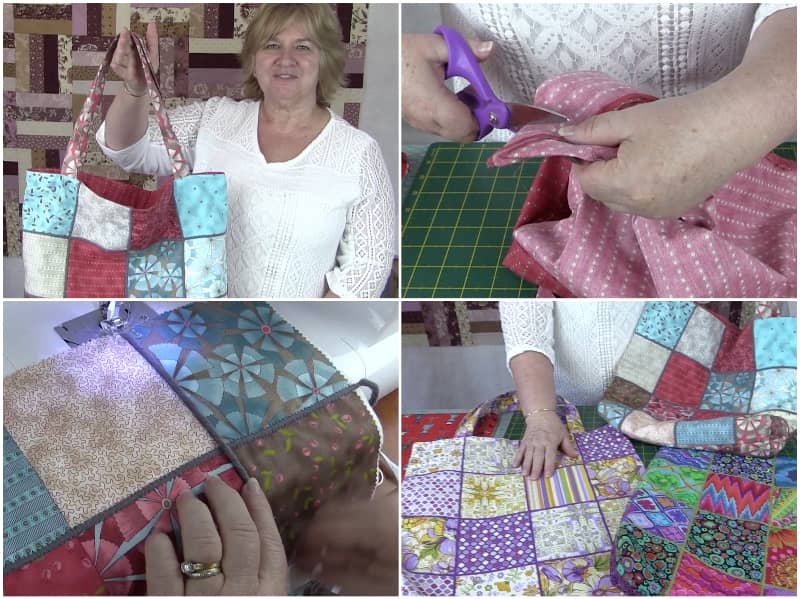
- Cut the crumb fabric into squares to create a quilt.
- Create a cushion cover.
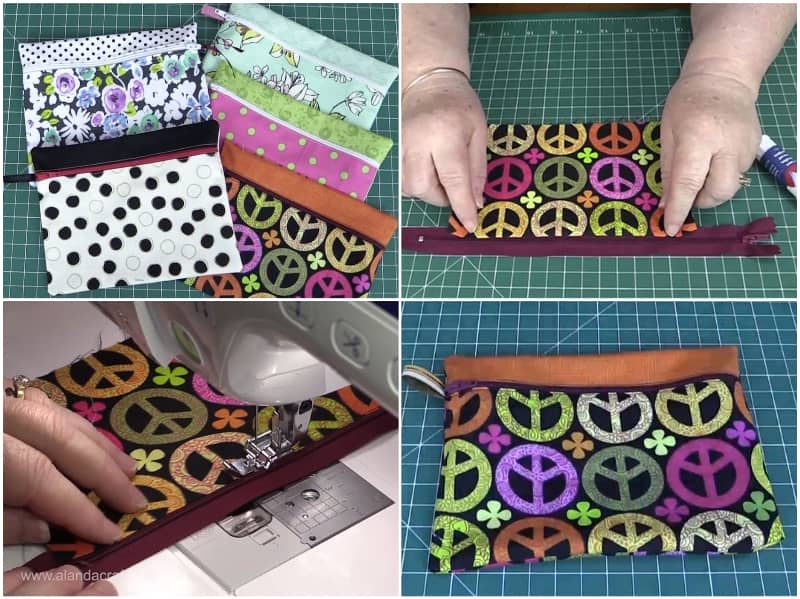
- Use the crumb fabric to create a tote bag.
- Create a dog bed.
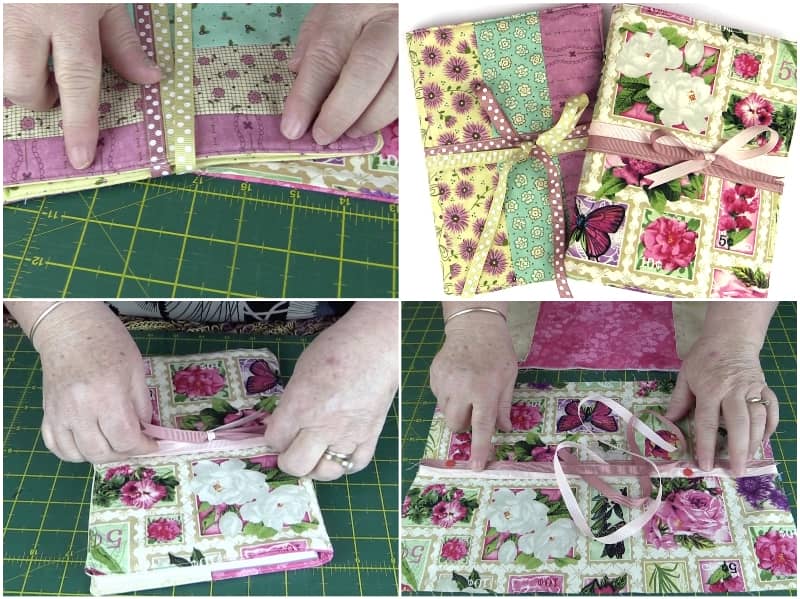
- Create a table runner, placements or coasters.