For our latest tutorial, we wanted a quick and easy project and this needle holder fits the bill perfectly. It uses just a few scraps of fabric and some batting and it can be whipped up in no time at all.
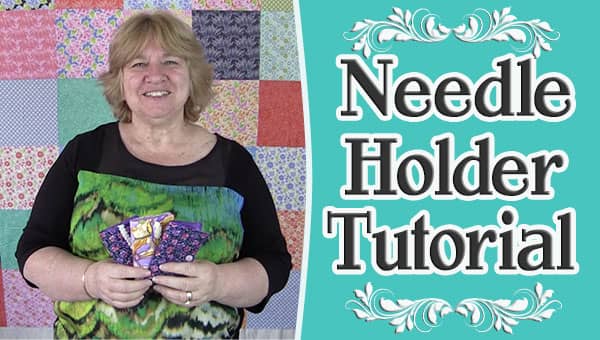
We made the basic version in our tutorial but you can embellish this in so many different ways to make it your own. They make great little gifts for your quilting and sewing friends.
Watch the video tutorial below for step by step instructions
What You Will Need
- 1 pc fabric for the main piece measuring 6½ x 5 ½
- 1 pc fabric for the lining measuring 6½ x 5 ½
- 1 pc batting or fusible fleece measuring 6½ x 5 ½
- 1 pc felt measuring 4″ x 4½”
- 1 pc batting measuring 4″ x 4½”
- snaps of your choice (see video for different options)
TOOLS USED IN THIS TUTORIAL
You can check the latest prices at Amazon by clicking on the links below:
- Olfa 24″ x 36″ double-sided healing mat
- Creative Grids 4.5″ x 8.5″ Rectangle Quilting Ruler
- Olfa 60mm rotary cutter
- Oliso Iron
- Warm Company Batting
- Gutermann Sew-All thread


Gail S. Erskine says
Thsnk you very interesting . Enjoyed it very much!
Linda Duensing says
Very nice and I am going to make one this week. Thanks for sharing.
Linda D.
Alanda Craft says
That’s great Linda. These are quick and easy to make.
Dianne says
A nice ribbon on the outside would also be nice to tie the needle holder closed. You could stitch it on the back when you are stitching the felt into place.
Alanda Craft says
That’s a lovely idea Dianne. Thank you for the suggestion.🙂
Mary Beth says
I read the supplies list, etc. but cannot find the actual tutorial for this project. Can you direct me to it?
Alanda Craft says
Unfortunately, there are no written instructions for this little project, Mary. There is only the video tutorial. Here is the link https://youtu.be/tOcT1pN0kIk. This takes you through all the steps. These are quick and easy to make. and they do make great stocking fillers for Christmas.
Amber says
Thanks for this. A lovely video and a lovely presentation. 🙂
Alanda Craft says
You’re welcome Amber.