let’s get started…
If you have been wanting to create a zippered purse or pouch but have been a little too hesitant because you haven’t sewn a zip into a pouch before, then this is the tutorial for you. This is a super easy zippered pouch and once you have created your first one, you will fly through them. You can make these zippered pouches from your fabric stash and they make great gifts.
Watch the video tutorial below or scroll down for the written instructions
What You Need
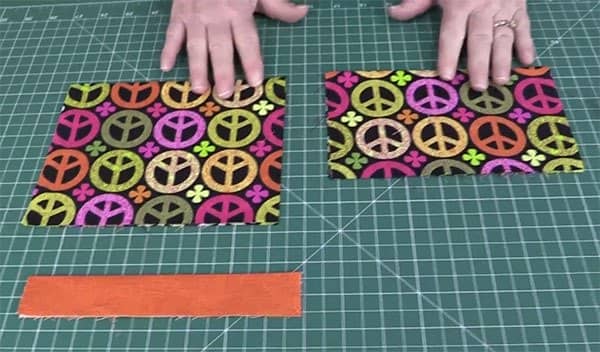
- 1 pc fabric @ 7 ½” x 9″ (front bottom piece)
- 1 pc fabric @ 7 ½” x 2 ½” (front top piece)
- 1 pc fabric @ 7 ½” x 12″ (back piece)
- 1 zipper @ 10″
- A small piece of ribbon – approx 3 or 4 inches.
TOOLS USED IN THIS TUTORIAL
You can check the latest prices at Amazon by clicking on the links below:
- Olfa 24″ x 36″ double sided healing mat
- Olfa 60mm rotary cutter
- 10″ Zippers
- Make-A-Zipper
- Oliso Iron
- Gutermann Sew All thread
-
American Crafts Grosgrain Ribbon
Method
- Start by folding each piece of fabric in half and press.
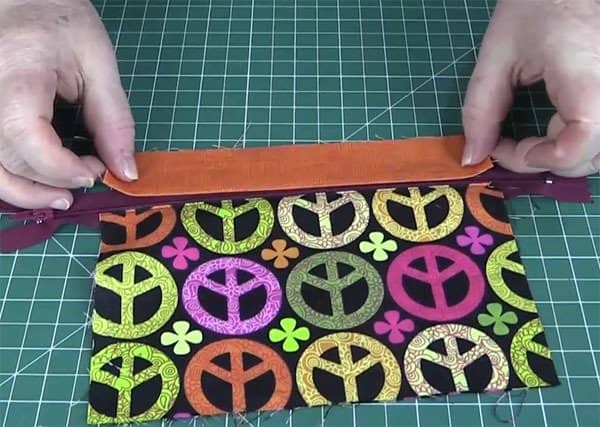
- Take the front bottom piece and place the folded edge up against the teeth of the zipper on one side. You can pin this on to hold the zip in place or use a fabric stick which makes things sooo much easier. We use a Lapel Stick and love it.
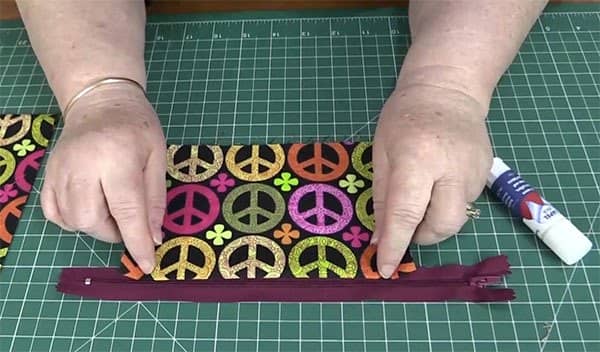
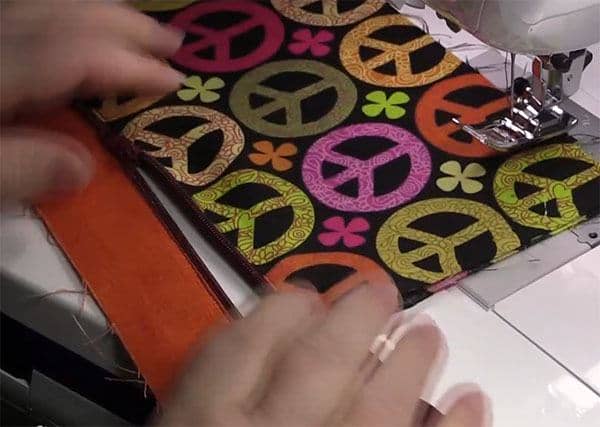
- Sew along the edge using your sewing machine zipper foot.
- Check the video below on how to use a zipper foot if you have never used one before.
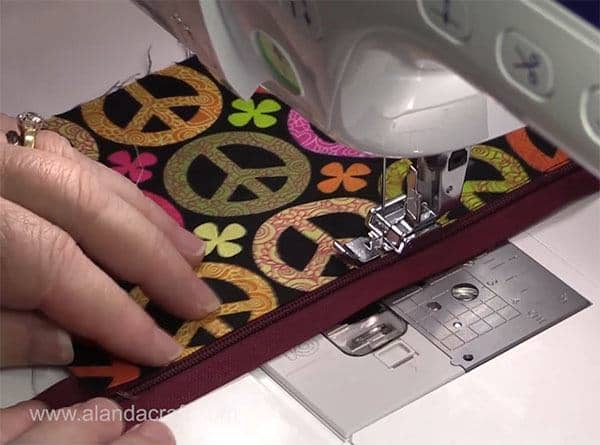
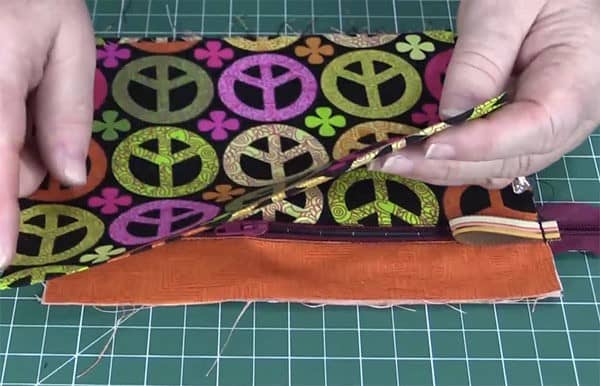
- Now attach the front top piece to the other side of the zip and sew down.
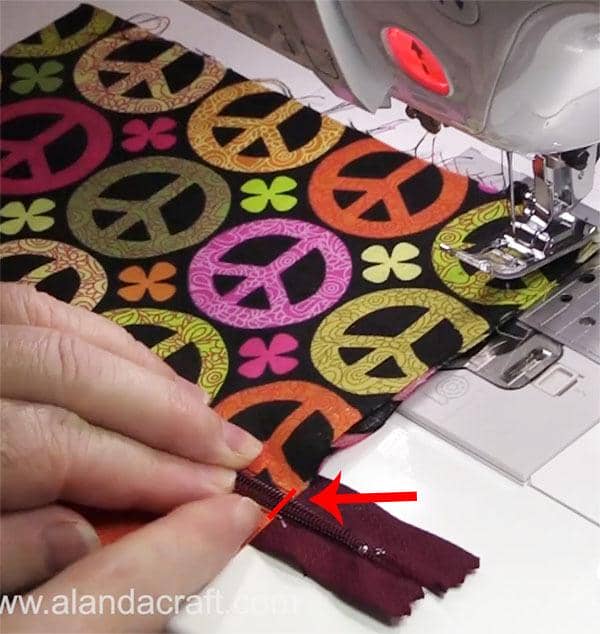
- Open the zipper pull down to about the middle of the pouch.
- Bring the two open ends of the zip together and sew back and forward 2 or 3 times over the top in order to keep the two sides of the zip together.
- See the image below for where you need to sew.
- Check the video below if you need further clarification.
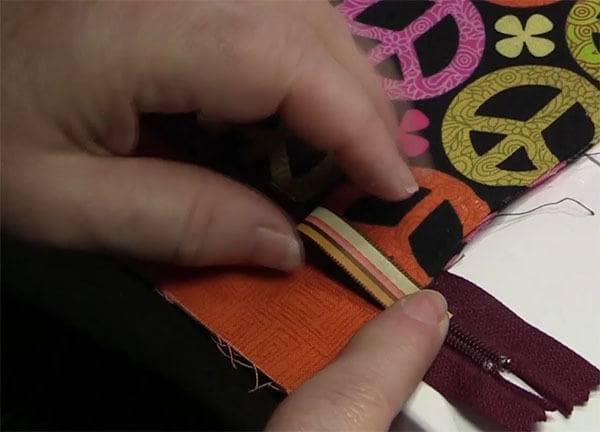
- Take your piece of ribbon and fold it in half. Place it facing in towards the purse and sew to tack in place.
- Place your back piece over the front of the pouch and sew all around the edge using a quarter of an inch seam and sew back and forth over the zip areas on both sides to reinforce the zip.
Make sure you have that zipper opened first as you will not be able to turn the purse through.
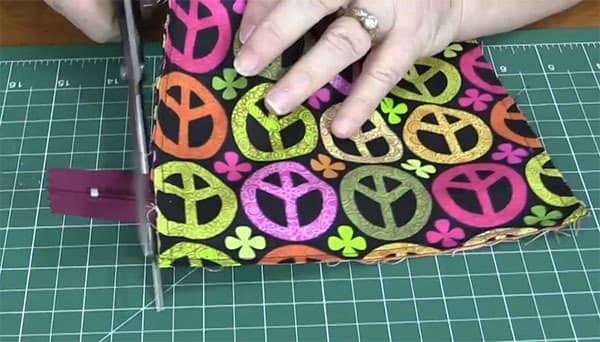
- Once you have sewn the back on, you can trim off the overlapping zip and also trim the corners to reduce the bulk.
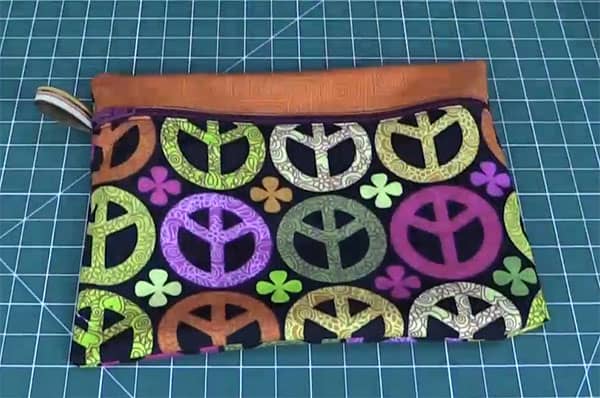
- Now turn the pouch through the opening in the zipper. User a pencil or chopstick to push the corners through nicely and give it a good press. You are done!!
Note: Take care to use an ironing cloth or Teflon sheet if you are using a non-metal zipper as the zipper teeth may melt during the ironing process.


MONICA CRADDOCK says
These are so cute for my teenage daughter and her friends as Christmas gifts with a matching tote!
Alanda says
My grandaughter just made one for herself and was delighted at how easy these are to make. Would love to see photos, after Christmas of course, we don’t want to spoil the surprise. Here is the link if you would like to share photos with us /submit-your-project/
Suha Osman says
these are so great . If a want to make a bigger one can I just multiply the size or there is a specific proportion?
Alanda says
No Suha there are no specific proportions. You can increase it to whatever size you want.
Kelly says
I love these!! I am so excited I can’t wait to sew these and it will be the first time I have sewn a zipper! What a find!
Alanda says
That’s great to hear Kelly. Zippers are a breeze once you know how. Have fun creating lots of zippered pouches 🙂
Betty says
I am so glad I found you! I first saw a you-tube with the simple Christmas runner and just looked around from there. I have an open house and sale in November of sewing/quilting and home baking so I am always looking for different simple ideas to add to my display. Your directions are so clear and then with the video I am thrilled. Thank you for your ideas and directions.
Alanda says
So glad we could help Betty. We have a Quick Projects section here that might give you some ideas – /category/sewing-projects/quick-projects/
babyhornet24 says
I know this should be easy to figure out but say I want the whole thing 2 inches bigger (length and width, finished); what would I cut dimensions to? Thank you so much in advance and for all of your hard work in these tutorials ??
Alanda says
You should be able to just add 2″ to the width and the height that we have given in the tutorial. I would leave the top section the same unless you want to make it wider. In this case you will need to adjust the length of the backing piece so that is is the same length as the total length of the 2 front pieces and the zip. I hope this makes sense. Take a look at the iPad case tutorial where we have used the same method and made it bigger. /2018/10/21/diy-ipad-case-tutorial/.
Josie says
I just love how simple yet detailed your tutorial is; to the point. I wondered if I could use fusible fleece with this pouch. Thank you so much for sharing am excited to make these pouches as gifts for my granddaughters.
Alanda says
I don’t see why not. As long as it isn’t too thick, it should work.
Lillian says
I enjoyed enjoyed your tutorial on making pouches I just love it, made 30 since I started two weeks ago, they are greatt and everyone I gave them to just loved them
Alanda Craft says
Wow, 30! That’s awesome. We have another version of a zippered pouch but really this one is the quickest and easiest.
Here’s the other version: /2015/08/14/easy-beginners-zippered-pouch-tutorial/
TD says
nicely done thank you
Rosi says
Dear Alanda – I love your tutorials – stunning and so easy.
Betsy says
Hi Alanda…how difficult is it to sew a lining for this? Should I just cut the lining fabric the same size and sew through the 2 layers? By the way,I love your videos and how concise and easy they are to follow. I’ve already made 2 of the origami bags and have gotten compliments on them from fellow shoppers.
Alanda Craft says
It really doesn’t require a separate lining, Betsy, The material is folded in half, which in effect creates a lining, however, the seams are exposed. Take a look at this video and see if it helps /2015/08/14/easy-beginners-zippered-pouch-tutorial/
Ronda Rose says
About how much fabric should you buy for the main fabric?
How much fabric to buy for the small front top?
Thank you!
Ronda
Alanda Craft says
The pouch was made from 3 x 10″ squares. Assuming you buy quilting fabric, a 1/2 yard of the main material (18″) will give you enough materialto make 2 pouches, and you will have an 8″ strip left over for another project. The decorative strips are 2 1/2″ inches so you will need to buy an eighth of a yard. I hope this makes sense Rhonda.
Susan Sabers says
Great video! And you make it look so EASY! What size needle do you recommend using? I’m assuming when you sew over the zipper this does not damage the needle?
Susan
Alanda Craft says
Thank you Susan 😊. I use a standard 90/14 needle. The zippers I use have plastic teeth and they haven’t given me any problems with the needle. If you have a zipper with metal teeth will more than likely damage or may even break the needle.
Nark Royer says
Im sorry – but I cant find any of your videos – am I missing something?? I actually emailed you about this earlier. I wanted to put it with the information on the little zippered pouches.
again thank you for sharing. N
Alanda Craft says
If you aren’t seeing the videos, it could be that you have an ad blocker installed. If you turn that off, they should show up. Otherwise you can go to our YouTube channel and watch the videos there. Here is the link for that: https://www.youtube.com/alandacraft
Connie says
I LOVE your videos, so easy to follow. Thank you!
Alanda Craft says
Thank you Connie 😊