
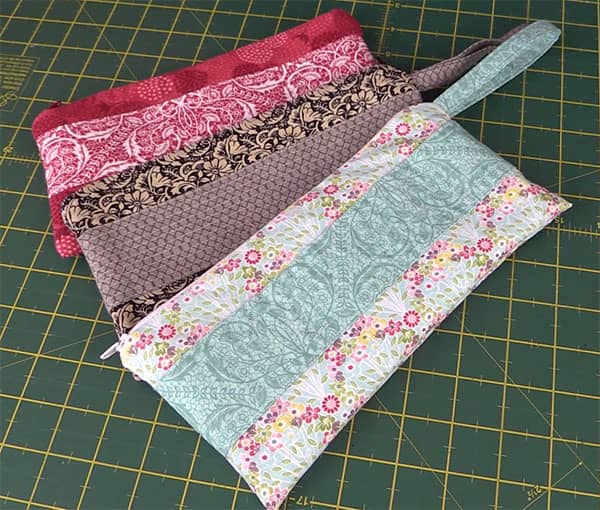
We had quite a few Moda layer cake squares in our stash that we have been wanting to use on a project for a while now, so we thought it was time to finally do a zippered pouch tutorial for you.
We know a lot of people have trouble inserting a zip but really it’s just a matter of practice and this is a great project for you to get that practice because you can make lots of these really quickly. Plus, because it only uses small amounts of fabric it doesn’t cost a lot to make them.
These pouches are fully lined and you have the option of adding batting or interfacing if you wish.
Watch the video tutorial below or scroll down for the written instructions
We used the following Moda fabrics for the pouches shown in the video:
- Moda Little Black Dress Layer Cake
- Moda Chantilly Layer Cake
But you can use any spare layer cakes or fabric you have on hand.
What You Will Need
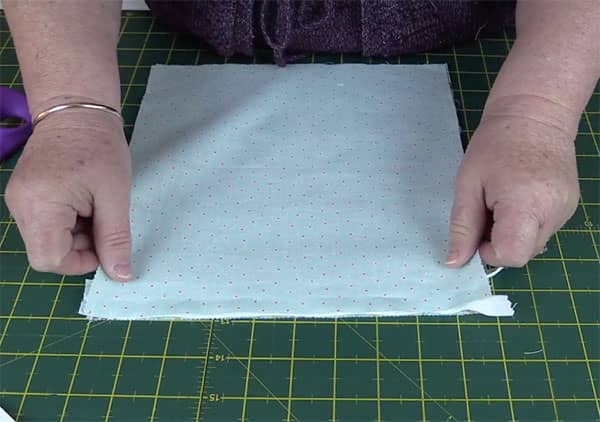
- 3 layer cake squares (or 3 @ 10″ x 10″ squares)
- 1 zip (at least 10 inches or more)
- Make-A-Zipper – You can also use the Make a Zipper if you have a roll on hand.
TOOLS USED IN THIS TUTORIAL
You can check the latest prices at Amazon by clicking on the links below:
- Creative Grids Ruler 8½” x 24½”
- Olfa 24″ x 36″ double-sided healing mat
- Olfa 60mm rotary cutter
- Oliso Iron
- Gutermann Sew-All thread
- FriXion Pens or, Water Soluble fabric Marking Pen
Method:
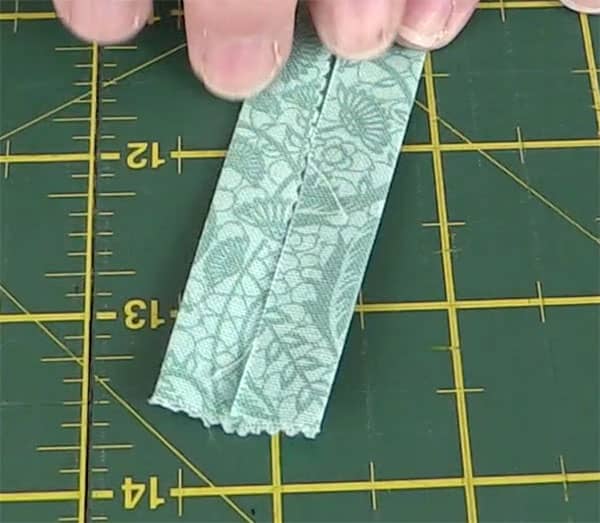
Step 1: Decorative Strips
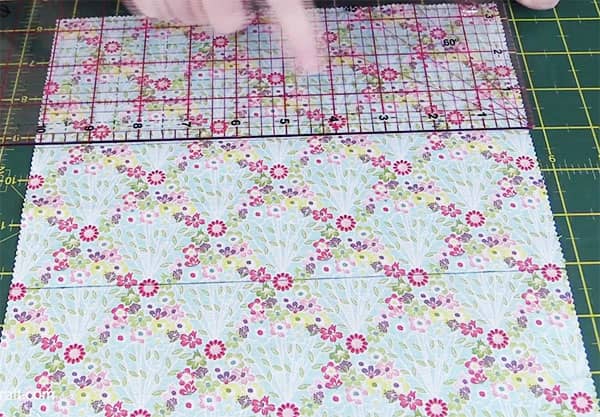
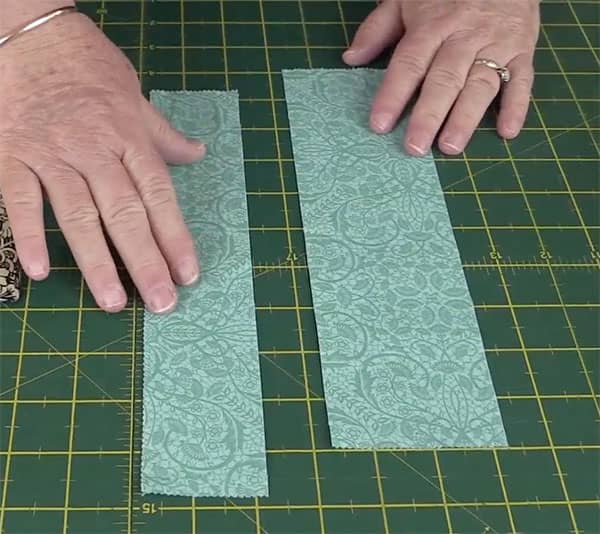
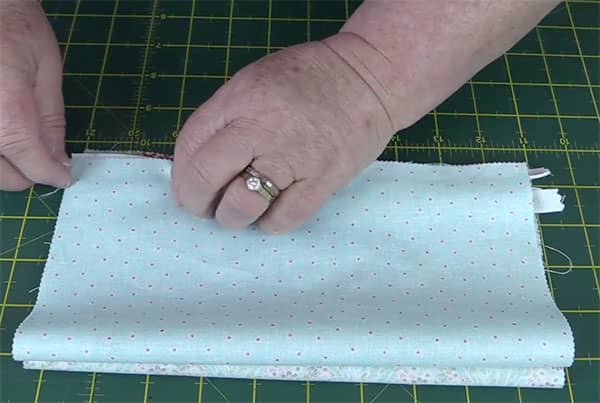
Take 1 layer cake square and cut:
- 2 @ 2 1/2″ x 10″ strips (decorative strips)
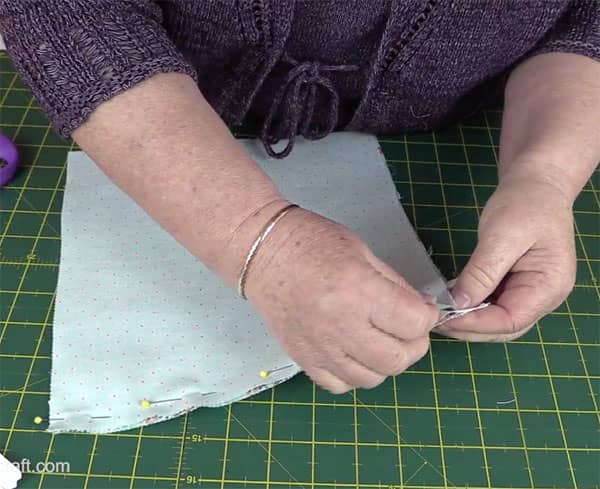
Take the decorative strips and fold in a quarter of an inch on each of the longest sides and press.
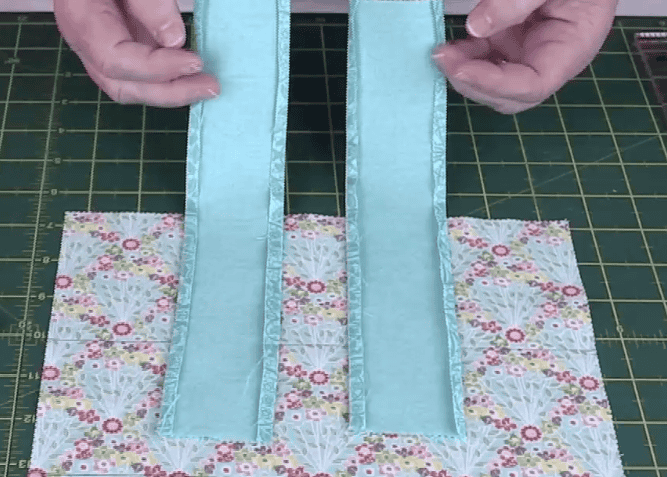
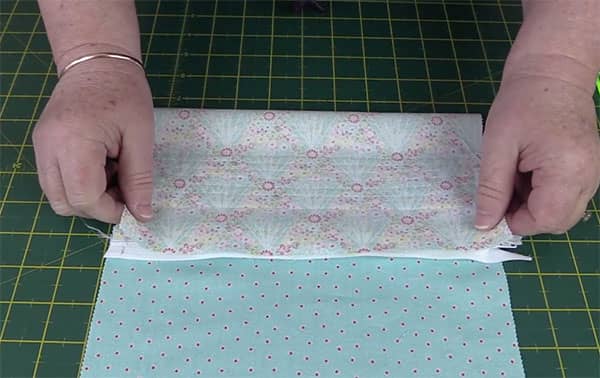
- Take your main fabric piece and measure down 3 1/2 inches from both the top and bottom edges.
- Mark with a Frixion Pen or water-soluble pen/chalk pencil.
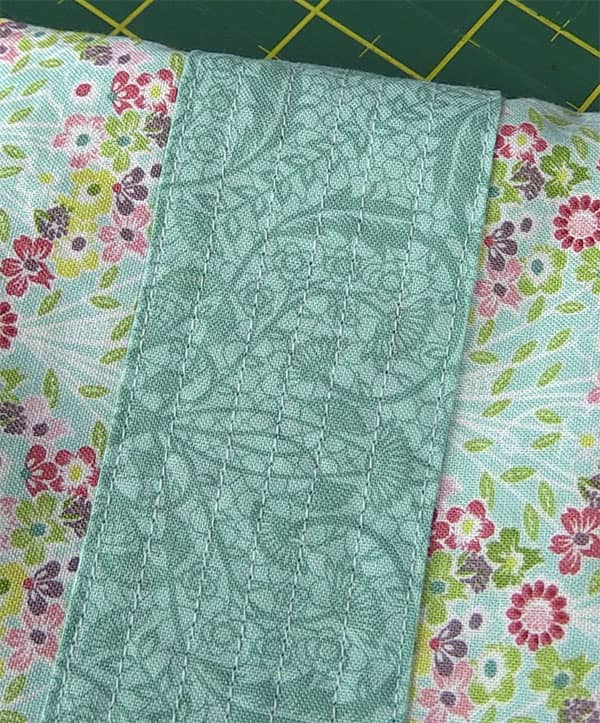
- Place each of the decorative strips on those lines.

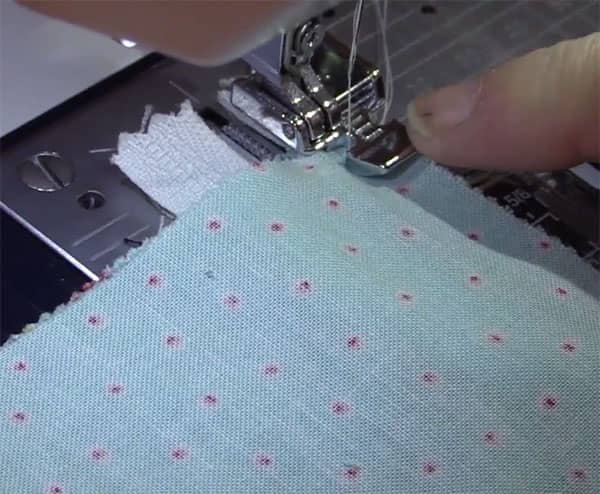
- Now, topstitch each of the decorative strips on to the main fabric piece and add some decorative stitching to each strip.
- You can use a decorative stitch from your sewing machine or simply use a straight stitch as we did in the video.
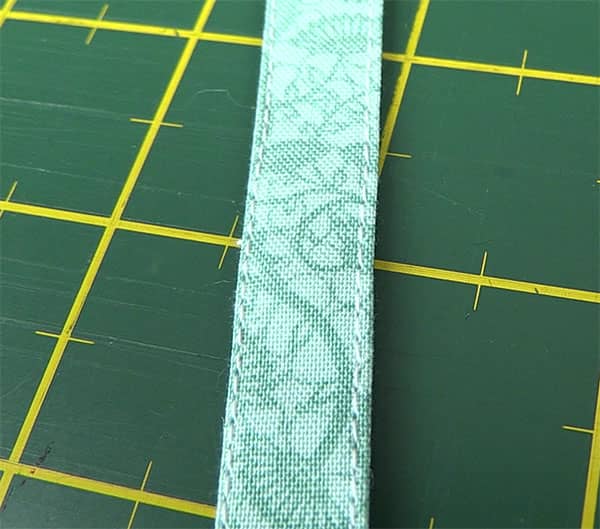
Step 2: Handle Tab
- Take the piece of fabric left over after cutting the decorative strips and cut a piece 2 inches by 10 inches.
- We used the full 10 inches but if you want your handle to be a little shorter just cut to size.
- Fold the fabric strip in half lengthwise and press.
- Then open out and fold each long side into the center and press.
- And then fold in half lengthwise.

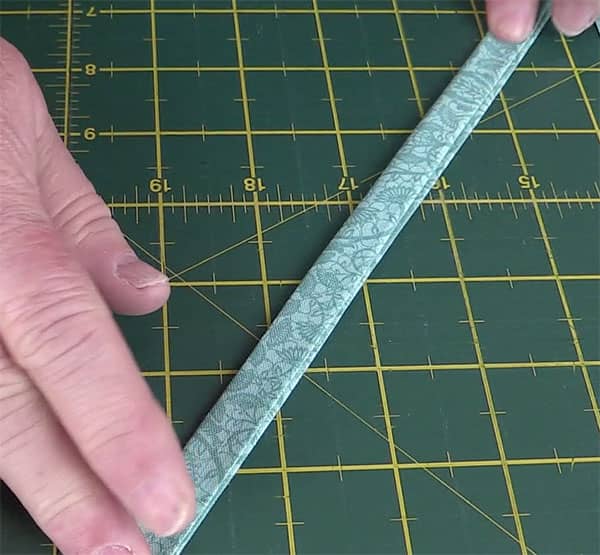
- Now topstitch each side of the handle quite close to the edges.
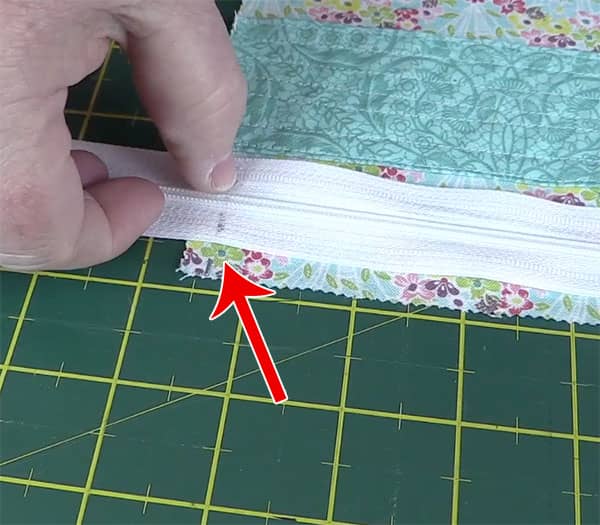
Step 3: Getting the Zipper Ready
- Take your main fabric piece and place right side up and measure 1/4″ at each end of the top.
- Mark each with a Frixion pen or water soluble pen or chalk pencil.
- Place the zip so that the metal stop at the open zip end lines up with the first quarter inch mark.
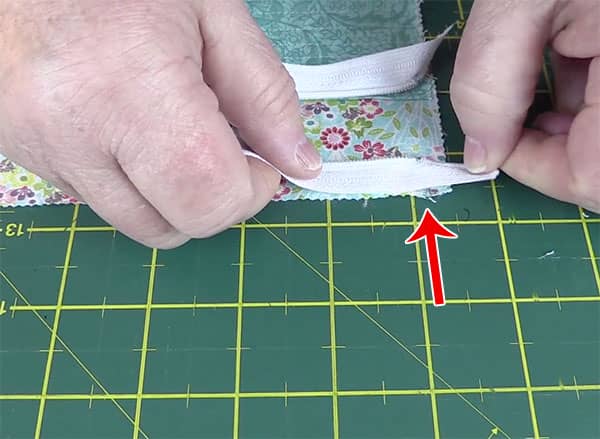
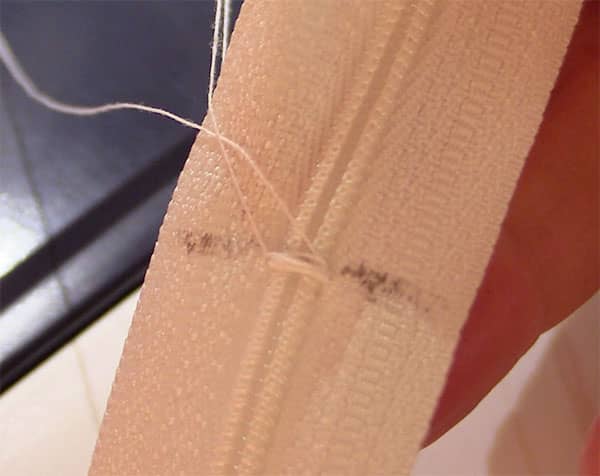
- You will notice that the other end of the zip is too long for the fabric so we need to create a new end stop.
- To do this, we draw a mark on the zipper that lines up with the quarter-inch mark at that end.
- Take the zipper to the sewing machine and zigzag across the mark you just made on the zip.
- To do this ensure you use your zigzag foot (this is usually the standard foot on your machine).
- Set the stitch to zigzag and reduce the stitch length to as low as you can to ensure the stitch sews in place.
- Adjust the width of the zigzag stitch to make sure the needle won’t hit the zipper teeth.

Step 4: Inserting the Zipper
- Place the main fabric face up on your table.
- Place the zipper face down at the top edge of that main fabric piece
- Make sure that you line up the zipper with the 1/4″ marks we made in the previous step.
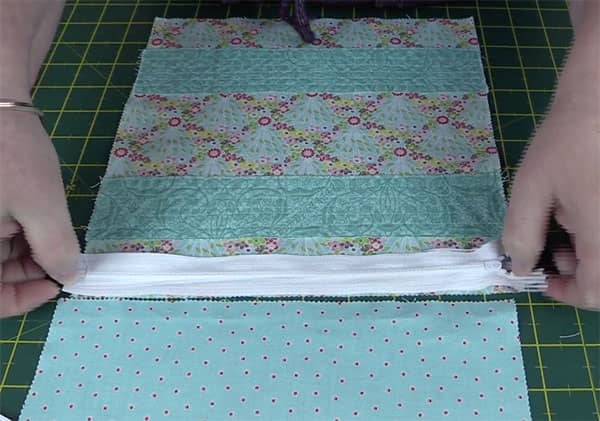
- Place the lining piece face down over the main fabric piece.
- You are essentially sandwiching the zipper between the main fabric and the lining fabric.
- Pin the layers together to ensure the zipper stays in place.
- Now you are ready to sew the zipper.
- Before you start to sew, unzip the zipper about a quarter of the way along.
- Sew along until you get close to the zipper pull.
- Put your needle in the down position and open up the fabrics and pull the zipper back to its original position.
- Continue to sew to the end.
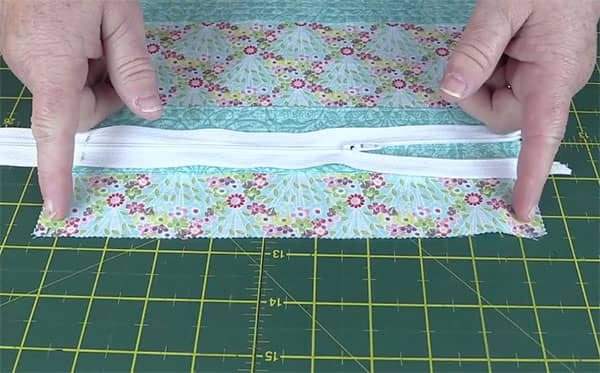
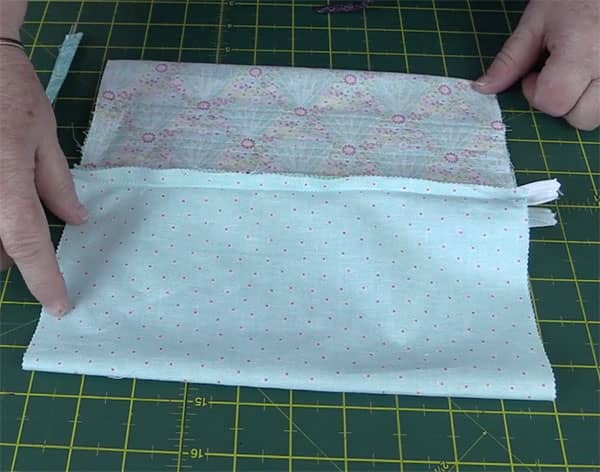
Once you finish sewing open up your fabric pieces as shown below.
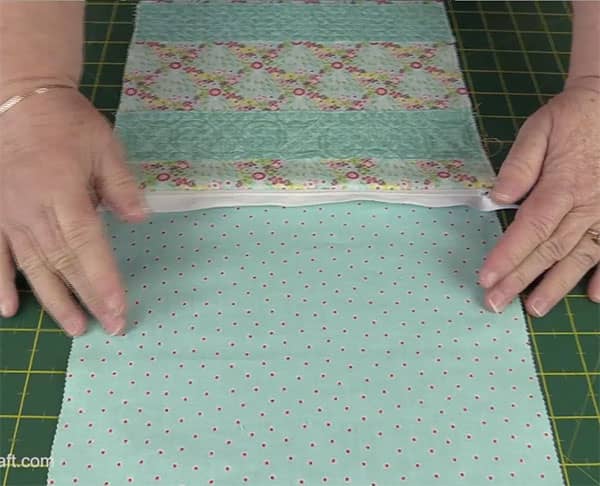
We now need to attach the other ends of the fabric to the zip.
- Fold up the main piece to meet the zip.
- Do the same with the lining fabric.
Step 5: Adding the Handle Tab and Sewing the Side Seams
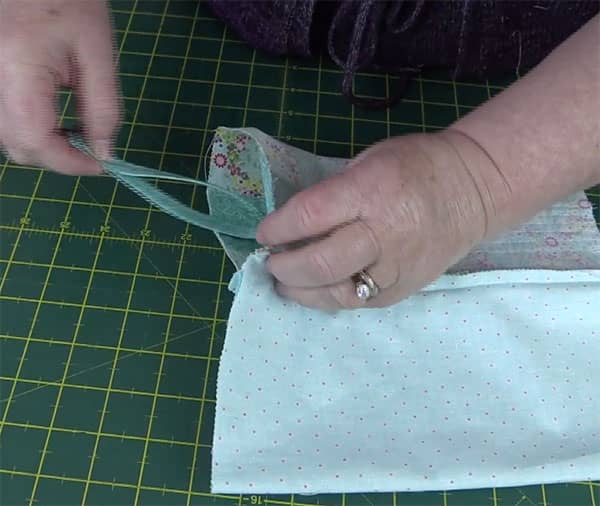
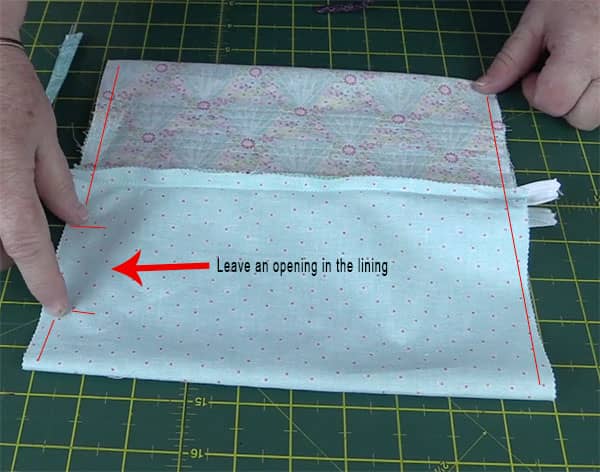
- Open up the pouch on your table as shown in the image below and open the zipper about half way.
- Take your handle tab and fold it in half.
- Insert the tab into the side seam of the main fabric.
- Pin in place.
- Now sew up each of the side seams ensuring you leave an opening in the lining to turn the pouch through.
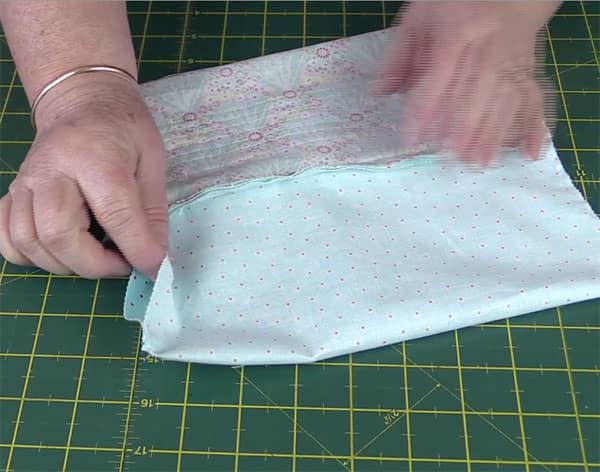
Step 6: Turning the Pouch Through
- Turn your pouch through the opening you left in the side seam.
Step 7: Sew the Lining
- The last step is to sew the opening in the lining. You can hand stitch it closed or do what we do and use the sewing machine and just topstitch over it.
- We figure the opening is in the lining and you don’t see it anyway…although let’s be honest, we are just a bit lazy when it comes to hand stitching and will use the machine wherever we can.

And we are done!


Ronda Rose says
What size seams do you use when sewing around the bag?
1/2” ?
Thank you!
Ronda
Alanda Craft says
I sewed it together with a quarter inch seam Rhonda, but you could certainly sew a 1/2” if you wish. If you use a 1/2” the pouch will be a little smaller.