This is a nice easy DIY iPad case using just two fat quarters, or 3 if you want to use 3 contrasting colors.
These iPad covers will suit most iPads, including the iPad Pro, but probably not the larger version. But they certainly fit Paula’s iPad 4 and my iPad Air. They may also fit some android tablets.
Watch the video tutorial below or scroll down for the step by step written instructions
(Can’t see the video? You may have an ad blocker installed)
Measurements
- These iPad covers measure 8½” x 11 ¼” when finished.
What You Need
To make this DIY iPad case, you will need two fat quarters. If you want to use 3 different colors, then you would need 3 fat quarters or you can just use yardage or scraps you have on hand.
Fabric
- Back – 1 piece 12″ x 18½”
- Bottom Front – 1 piece 12″ x 13½”
- Top Front – 1 piece 12″ x 4½”
Fusible Fleece or Batting
- Back – 1 piece 12″ x 9¼”
- Bottom Front – 12 x 6½”
- Top Front – 12″ x 2″
Accessories
- 14″ Zipper or you can use Make-A-Zipper
- Tassel to finish.
TOOLS USED IN THIS TUTORIAL
You can check the latest prices at Amazon by clicking on the links below:
- Creative Grids Ruler 8½” x 24½”
- Olfa 24″ x 36″ double-sided healing mat
- Olfa 60mm rotary cutter
- Oliso Iron
- Gutermann Sew-All thread
Method
- Fold all 3 pieces of fabric in half along the short width.
- Press each piece so that you have a nice crease along the folded edge.
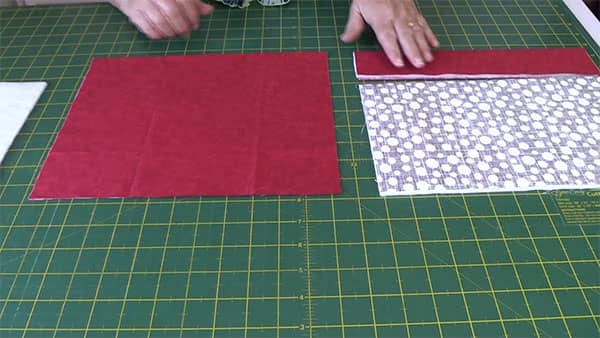
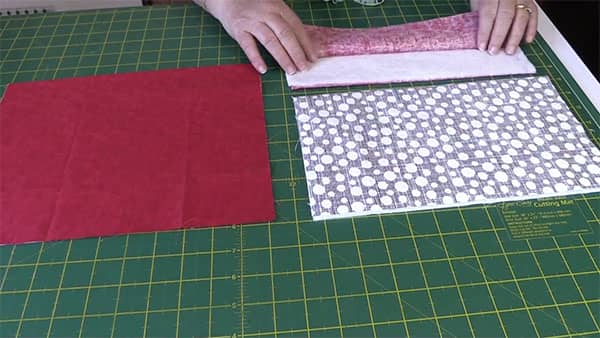
- Place each piece of fusible fleece/batting in between the folded fabrics.
- If you are using fusible fleece you will need to iron into place. You won’t need to do this if you are using batting.
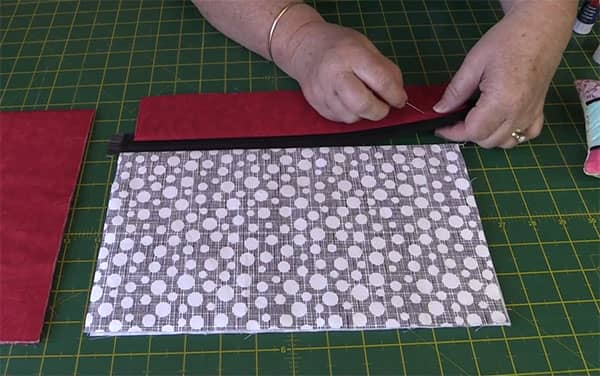
- Lay the zip on the mat, zipper pull facing up.
- Place the top front piece of fabric and place it along the zipper teeth.
- Don’t butt it up too close to the zip as it may get caught in the fabric when zipping and unzipping the pouch.NOTE:We used a Lapel Stick to hold the fabric in place along the zipper (watch the video to see this in action) however you can just use pins. We used both.
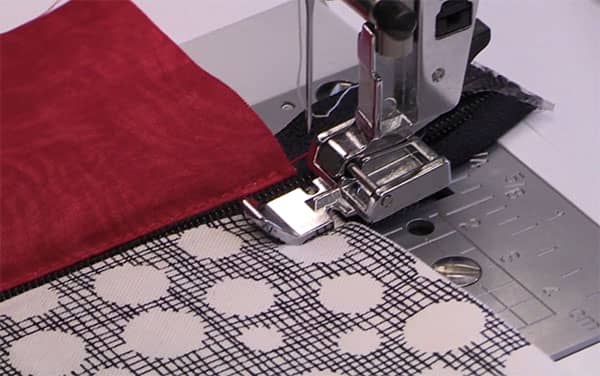
- Sew along the fabric with a zipper foot.
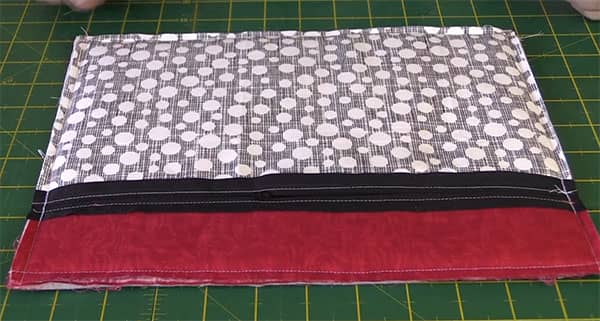
- Repeat the process with the front bottom piece of the fabric.
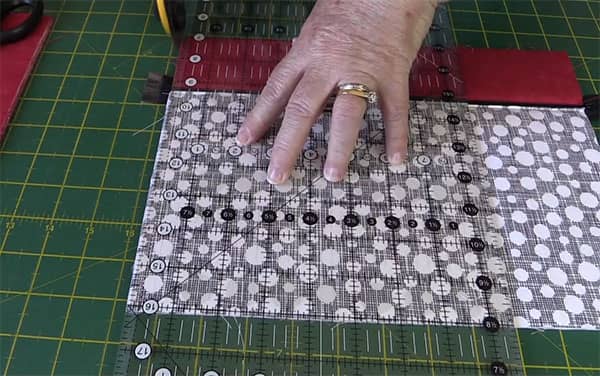
- Now we need to trim the excess zipper from each end. We will start on the side that has the end of the zip.
- Also, make sure the pieces of fabric line up. If you do have a slight difference like we did, you can trim the side.NOTE:If you have a lot of difference then you need to unpick one side and resew it. You don’t want to trim too much as your tablet may not fit the pouch.
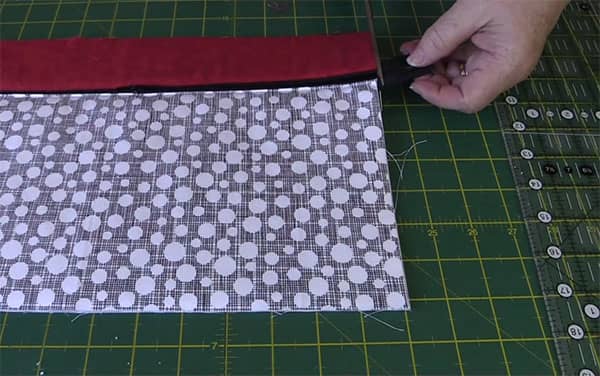
NOTE- IMPORTANT:
Before you trim the other end of the zip, open up the zipper about halfway or slightly more.
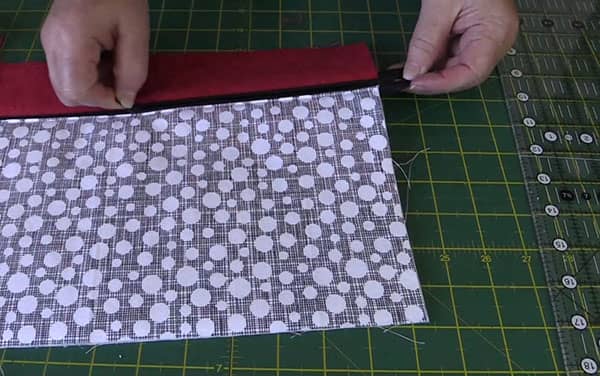
- Now you can trim the other end of the zip. We used scissors here.
- Now grab your backing fabric.
- You can place this whichever way you want as it looks the same either way. It also doesn’t matter whether the folded end is at the top or the bottom.
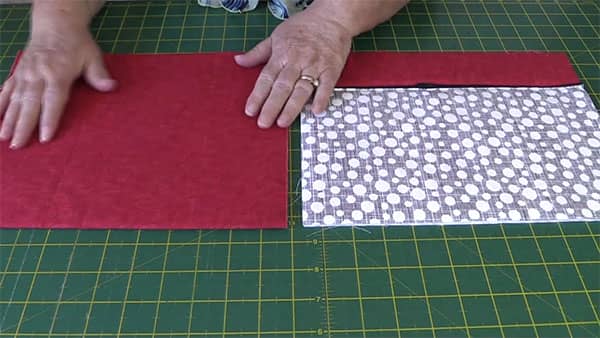
- Place the front piece face down over the top of the backing piece.

- Pin in place.
- Sew all around the outer edges with a ¼” seam. Back-stitch over the zipper parts to help reinforce them.
- Note that you don’t need to leave an opening as you will be turning the bag through the open zip. This is why it is so important that you leave the zip open.
- Use a walking foot if you have one as it will help to keep the layers together whilst sewing.
- Carefully trim the excess away from the corners, to reduce the bulk.

- Turn the pouch through and carefully ease out the corners.
- Press the pouch.
- Add your tassel or bag handle or you can leave it with just the zipper pull


Dany says
Merci
Steve says
Great little ipad pouch tutorial.
Thank you
June says
love it!! thanks for sharing
Elly Van oirschot says
This is great and so easy to follow, thank you. elly V O
Rosemary says
You make putting a zip in less terrifying and so easy to understand. Thank you for a wonderful tutorial
Alanda says
Thank you Rosemary. We also did one on making a zippered cushion cover that is really easy as well. Here’s the link: /2018/10/30/zippered-cushion-cover-tutorial/
Patricia says
Hi there , I just made the i-pad cover!!! Your tutorial was the VERY BEST AND I have ever tried. Thanks so much
things don’t come easy for me- I loose concentration and my mind gets to confused and foggy. I pick out a lot- but I don’t quit .I just love the way you teach Happy holidays…
Alanda Craft says
Thank you for your lovely comment, Patricia. I’m happy to hear that you finished your i-pad case. Maybe you would like to share some photos on the website, we would love to see it. Here is the link /submit-your-project/. Wishing you a Merry Christmas and a fun filled New Year.
Ona Courville says
I really enjoyed watching you make the Ipad pouch. You make it look so easy fun to make. I have to try for myself. Thank you.
Alanda Craft says
These are fun to make Ona, and they are really easy to do. I do hope you make one and share some photos with us, Here is a link /submit-your-project/.
Susan says
I love this bag, but have a question. How do you start out with cutting the back piece 12×18.5 and end up with a finished bag that is 8.5×11.25 using 1/4 inch seems? I am not getting how that all adds up. What am I missing??Thanks.
Helen says
Where is the video tutorial?
Alanda Craft says
If you can’t see the video, it may be that you have an ad blocker installed. You can turn that off or you can head over to our YouTube channel and watch it there. Here’s the link: https://youtu.be/bWD4csMbqw0