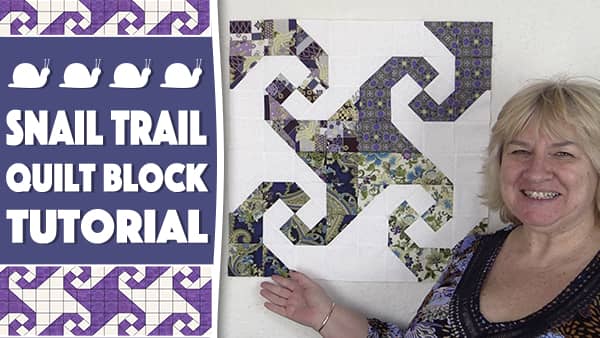
The Snail Trail quilt block is a little more tricky than some of the blocks we have done previously, so it’s probably more suited to someone with a bit of experience in putting quilt blocks together. Having said that, if you follow our video and instructions you should be able to manage just fine.
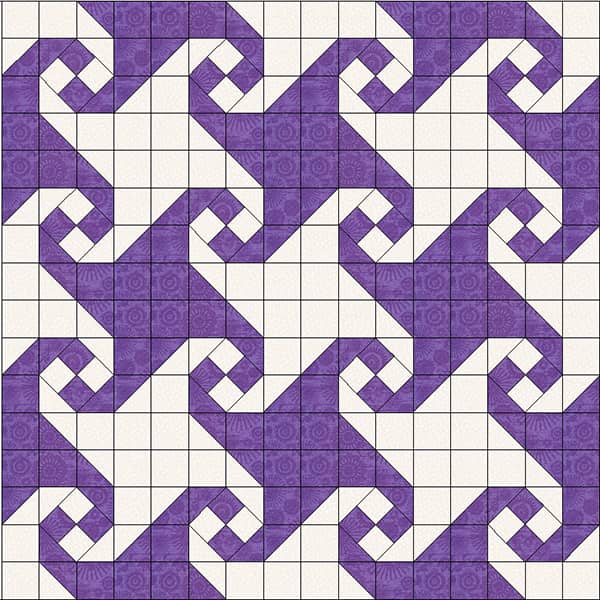
I am going to give you the instructions to make one block, but to get the full effect of the Snail Trail block you need to make a minimum of 4. This block will make an awesome quilt.
We used one light and one dark fabric for each block, but we also used different fabrics for each block. There are no rules, you can make this up however you like. You may like to use the same two fabrics for the whole quilt whereas we have used different colors for each of the contrasting fabrics in each block.
Watch the video tutorial below or scroll down for the written instructions
Tools used in this project:
- Olfa 60mm Rotary Cutter
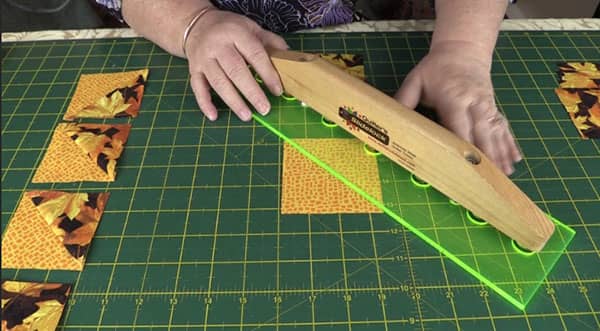
- Sew Easy 4.5″ Square Ruler
- Olfa Rotary Cutting Mat
- Quilters Slidelock
- Oilso Pro Smart Touch Iron
- Janome MC7700QCP Sewing Machine
What You Need to Make One Block:
This makes a 10″ finished (10 1/2″ unfinished) block
- 2 x 5″ squares – 1 light fabric, 1 dark fabric
- 8 x 3″ squares – 4 light fabric, 4dark fabric
- 4 x 2¼” squares – 2 light fabric, dark fabric
- 2 x 3 3/8″ squares – 1 light fabric, 1 dark fabric

Method:
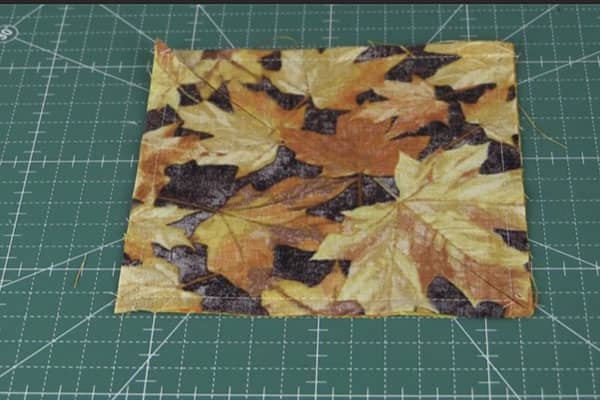
- Take the two 5″ blocks and place them one on top of the other, right sides together.
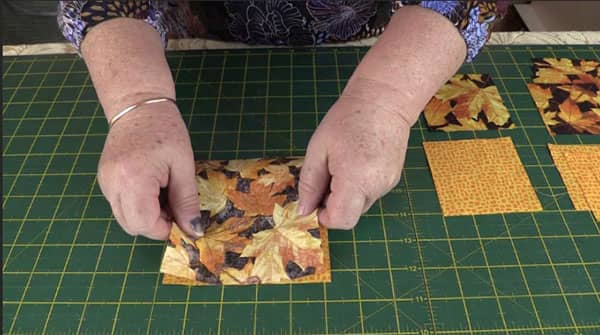
- Sew around the edge of the squares with a ¼” seam allowance.
- Slice the square diagonally in half from point to point. Turn the block and slice diagonally in half again.
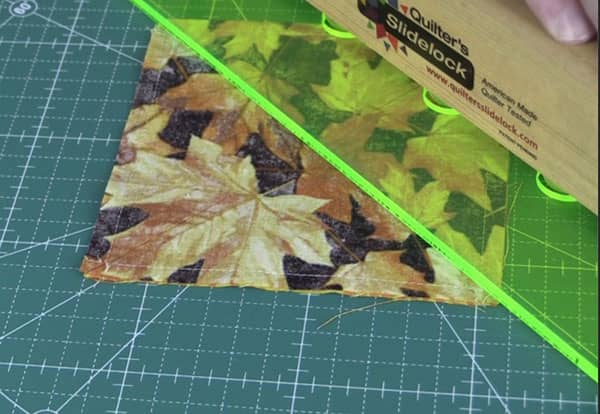
- You now have 4 Half Square Triangles.
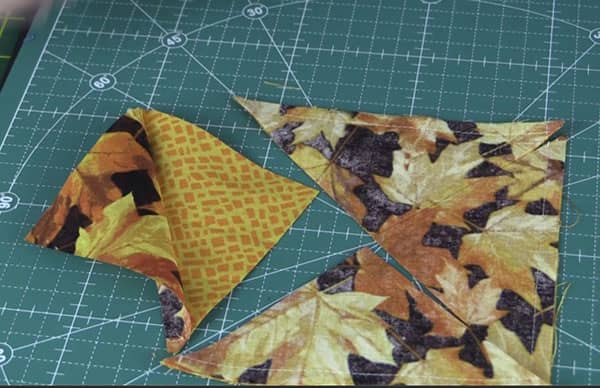
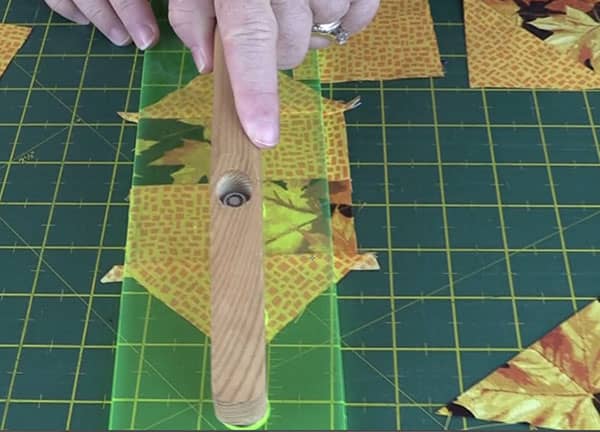
- Trim the half square triangle squares to 3″. If you are not sure how to do this, you can see our tutorial here
- Put the half square triangles aside for now and take your two pieces of fabric that measure 3 3/8″.
- Slice both pieces in half diagonally.
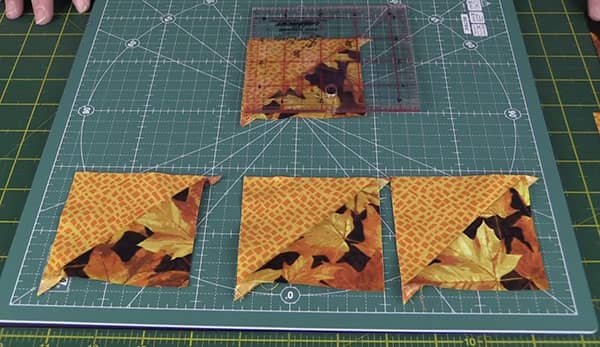
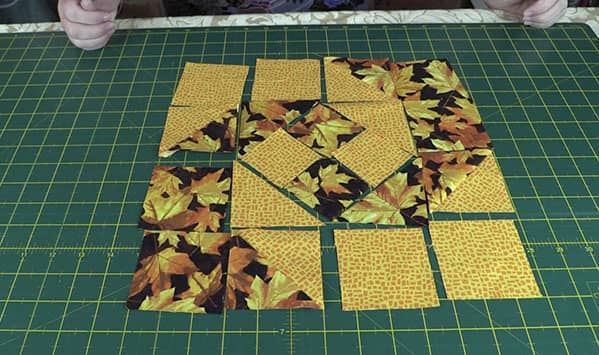
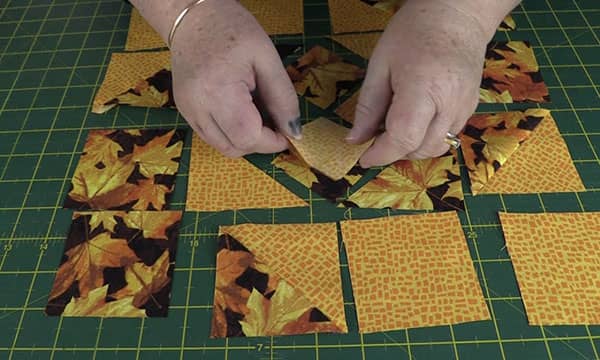
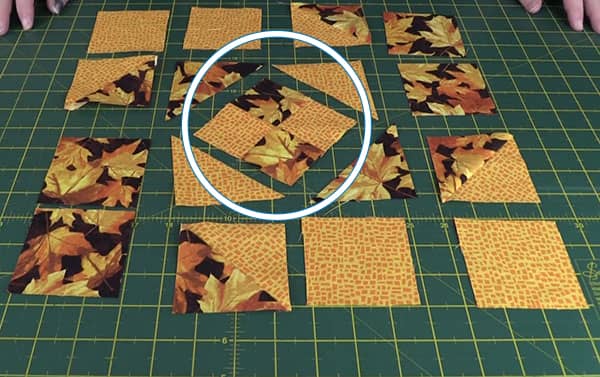
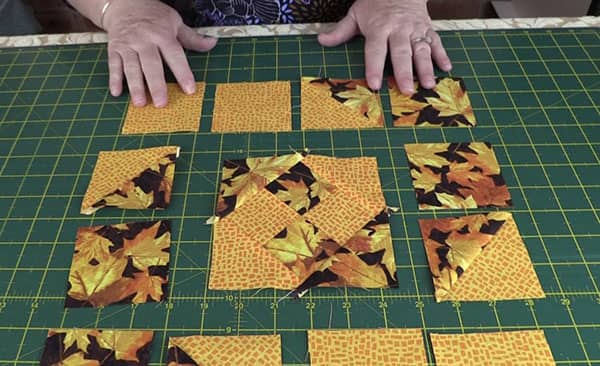
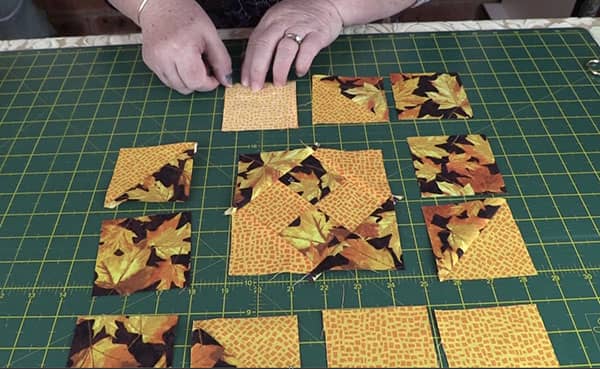
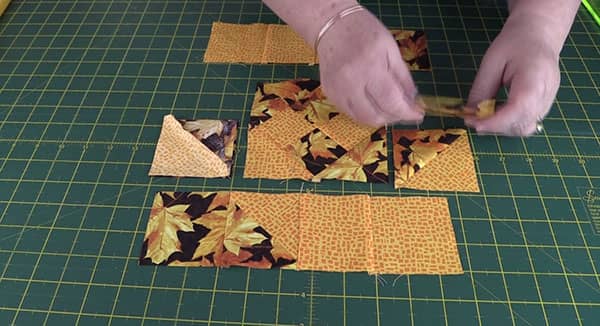
- Lay your squares out as shown below.
Time to start sewing your squares together.
We start with the 4 center squares.
- Place 2 squares together, (1 light, 1 dark) right sides facing and sew together with a ¼” seam.
- Repeat with the other two squares.
- Sew the two sets of squares together.
- Check the video to see how we pressed the seams.
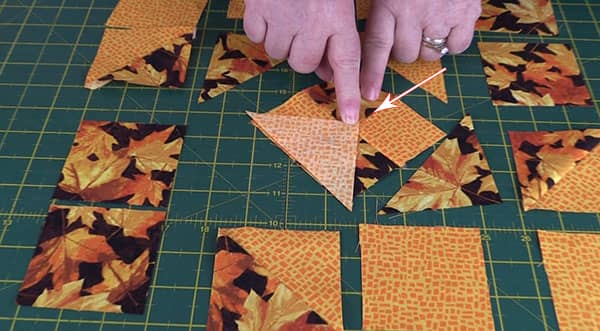
Take your time with the next part.
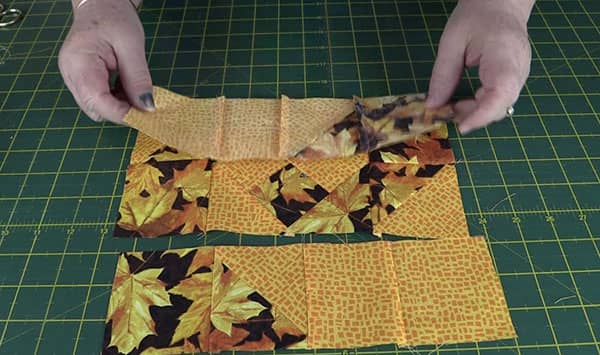
- Take one of the triangle pieces and lay it on top of the square you have just created, right sides together.
- Match the edges
- Now make sure the point of the triangle lines up on the seam line.

- Once the piece is in place, pin it and do the same with the opposite triangle piece.
- Sew with a ¼” seam.
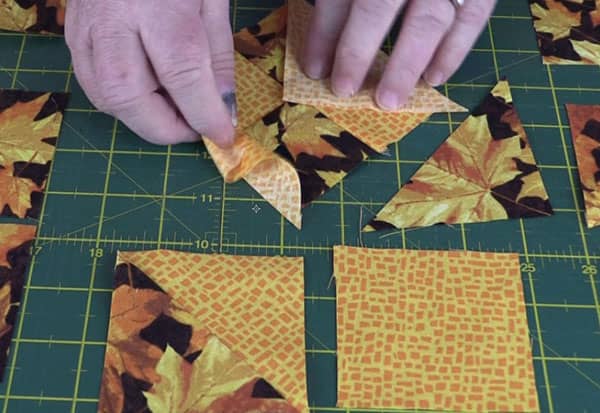
- Press the piece and you will see that there are 4 tags. Simply cut these tag pieces off.
- Now add the other triangles to the square block in the same manner. Cut off the tags.
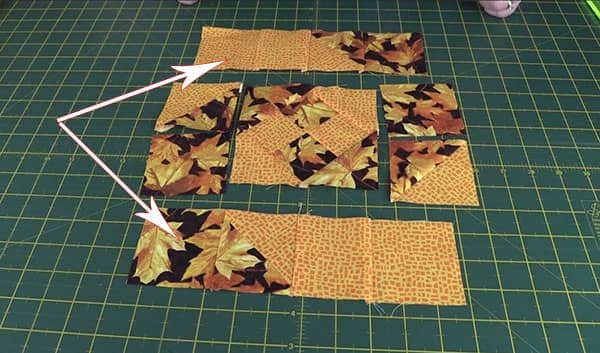
It’s now time to sew together the top and the bottom rows.
- Take the first square and lay it on top of the next square.
- Sew together with a ¼” seam.
- Sew that other top and bottom squares into rows.
- Sew the side blocks together.
- Lay one square on top of the other, right sides together and sew together with a ¼” seam.
- Now we sew the rows together in the same way, place one row on top of the other, right sides together and sew together with a ¼” seam.
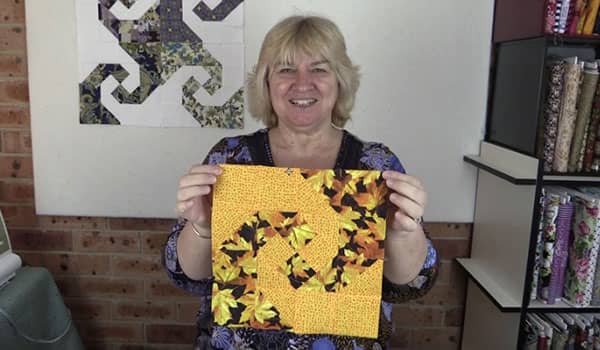
- And there you have it. The Snail Trail Quilt Block.


Esther Smith says
This is a great block! You explain it so clearly, too.
Alanda says
Thank you Esther. One of our lovely readers asked for this one, and I’m so pleased she did, I think it would make a lovely quilt.
Cindy Sockwell says
Thank you. Easy to understand instructions.
Alanda says
You are most welcome Cindy.
Angie in SoCal says
Very straight forward. Thank you!
Elle says
Easiest instructions I’ve seen! Will be making my next snail trail blocks using your method. Is there a way to scale your pattern to different size blocks?
Alanda says
I’m sure it can be adapted, Elle. I use 10″ for my blocks as I like to have a standard size when I make up a quilt using the blocks from our tutorials. I’m really sorry but I don’t have the calculations for other sized blocks.
jane says
I wanted to make a 8inch snail trail block using your same method. Couldcu provide the measurements for an 8in doing it the same method. This id so easy. Thank you
Alanda Craft says
We’d love to help Jane but we just don’t have the time to provide individual requests.
Sandra Greke says
Your tutorial is awesome. Thank you so much
Alanda Craft says
Thank you Sandra 😊
Kathy Helms says
What is the dimensions of the center square? When I tried to sew the top and bottom row to it for some reason it was a bit larger than the top and bottom.
Alanda Craft says
The centre square should measure 5 1/2″.