Watch the video tutorial below or scroll down for the written instructions
What you need:
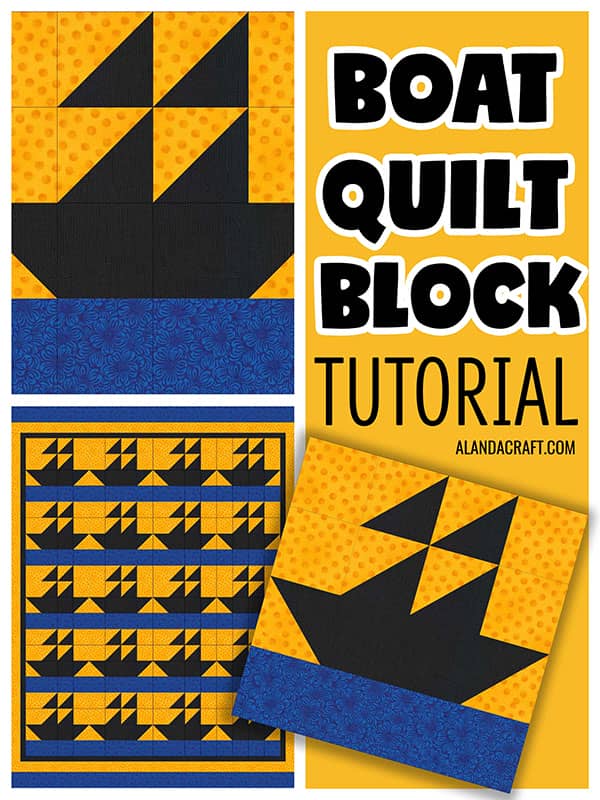
This block measures 10″ x10″ finished (10 ½” x 10 ½” unfinished)
- 4 @ 3″ x 3″ squares for the water or one strip of fabric 3 x 10 ½”
- 2 @ 3″ x 3″ squares for the body of the boat
- 4 @ 3″ x 3″ squares for the sky
- 2 @ 7″ x 7″ squares for the stern and the bow of the boat plus the sails. We make our half square triangles from these squares.
TOOLS USED IN THIS TUTORIAL
You can check the latest prices at Amazon by clicking on the links below:
- Creative Grids Ruler 8½” x 24½”
- Olfa 24″ x 36″ double-sided healing mat
- Olfa Rotating Cutting Mat
- Olfa 60mm rotary cutter
- Oliso Iron
- Gutermann Sew-All thread
Method
The first thing we need to do is make our half-square triangles.
NOTE:
We do have a video tutorial on how to make a half square triangle, but I will quickly outline the steps below.
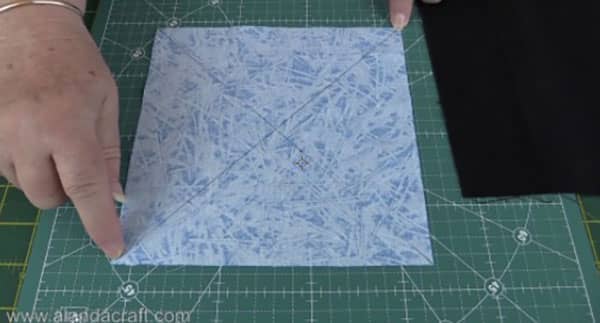
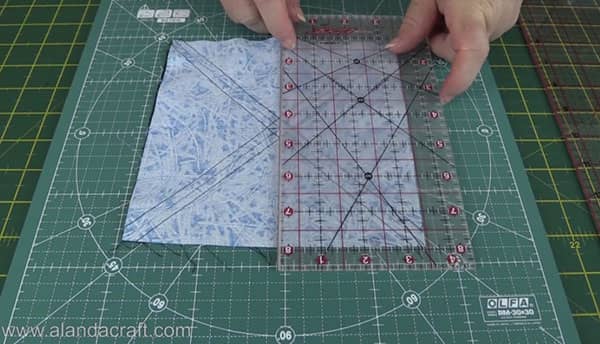
- Take one of the 7″ pieces of fabric and turn it right side down on your mat.
- Draw a line from point to point on the diagonal – both ways.
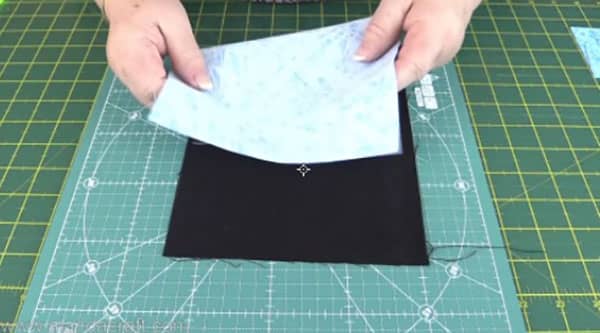
- Place the two 7″ pieces together, right sides facing.
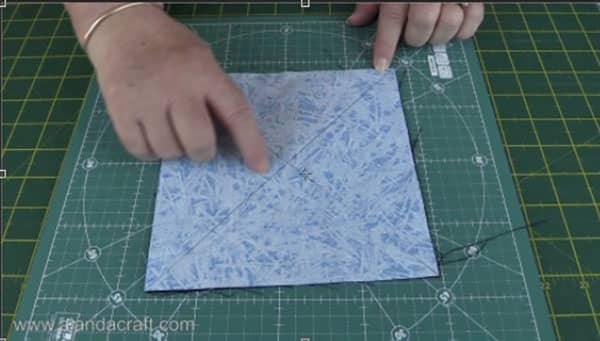
- Sew 1/4″ on either side of one of the lines, then turn the block around and sew 1/4″ down each side of the other line that you drew previously.
- It’s time to cut out our half square triangles and to do this we find the middle of the block, which in this case is 3 1/2″ and make our first cut. Then we rotate the cutting board if you have one or we change the position of our ruler and make the next cut through the middle once again.
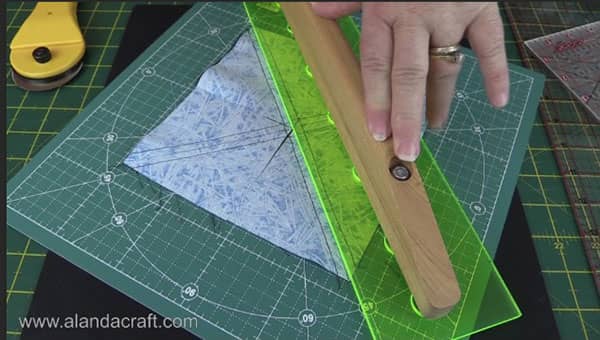
- Now we turn our block and cut along one of the diagonal lines that we drew previously, turn the block again and cut along the other diagonal line that we drew.
- Trim up your hst blocks to 3″. Here is a link to our video tutorial on how square up a half square triangle . Press the seam to the dark side of the square.
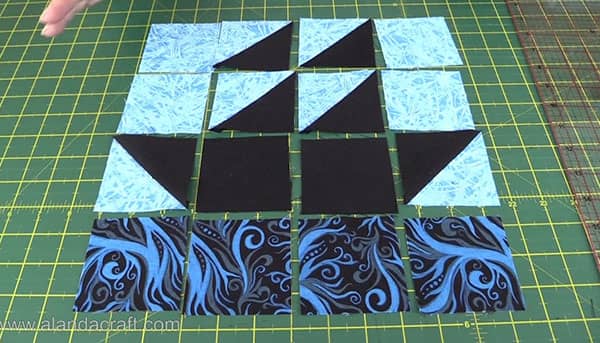
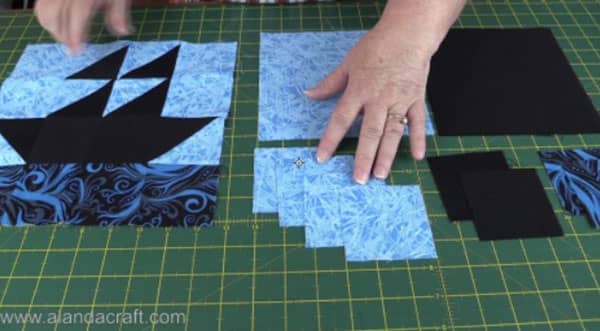
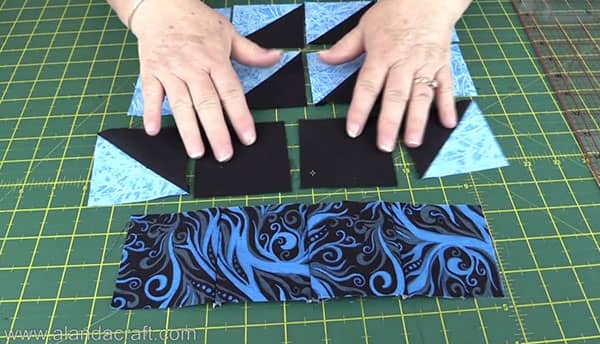
- Now we need to lay out our pieces to get them ready for sewing together.
Starting from the bottom row.
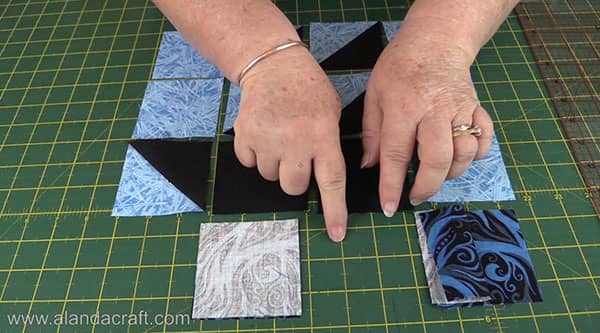
- Sew squares 1 and 2 together
- Sew squares 3 and 4 together
- Sew the 2 lots of 2 blocks together.
If you are using one strip for this section the you will skip this step
- Continue to sew the squares together in rows until the squares in each of the rows are joined.
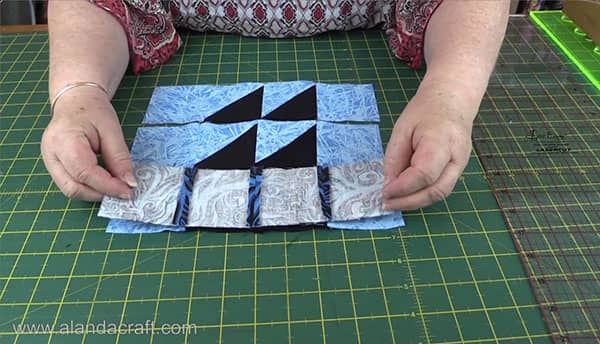
- The next step is to join the rows. I generally join the bottom two rows first. Place one row on top of the other, right sides together. And sew them together with a 1/4″ seam.
- Then I sew the top two rows together. Place one row on top of the other, right sides together. And sew them together with a 1/4″ seam.
- Next, sew the bottom rows to the top rows.
Press
Give your block a good press. For this one, I have pressed the seams open but if you wish to press them to one side, it is entirely up to you. Do whatever you feel comfortable doing.
And hey presto, our boat quilt block is finished.
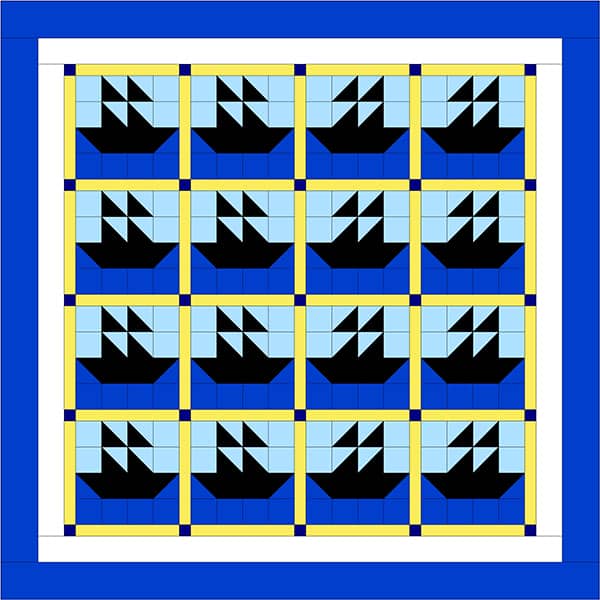
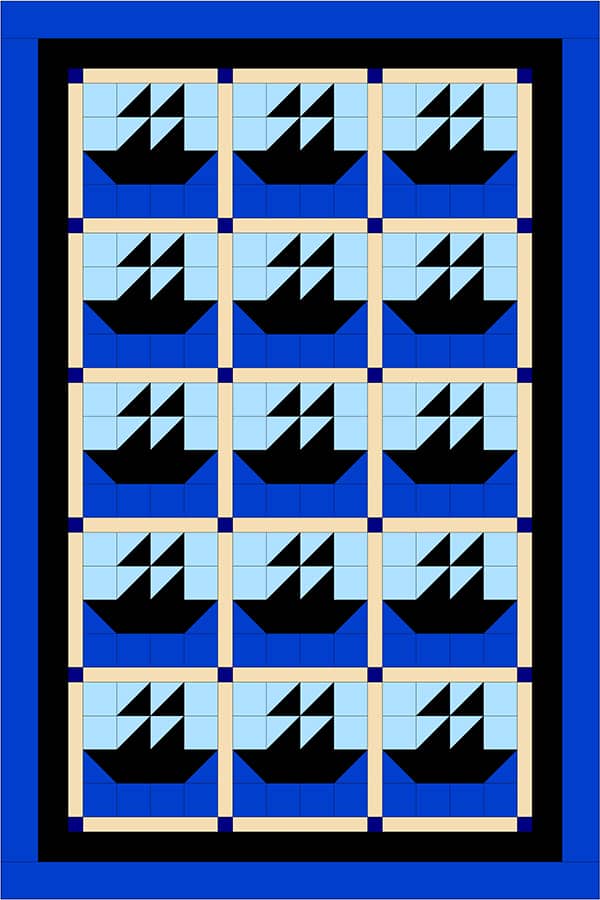
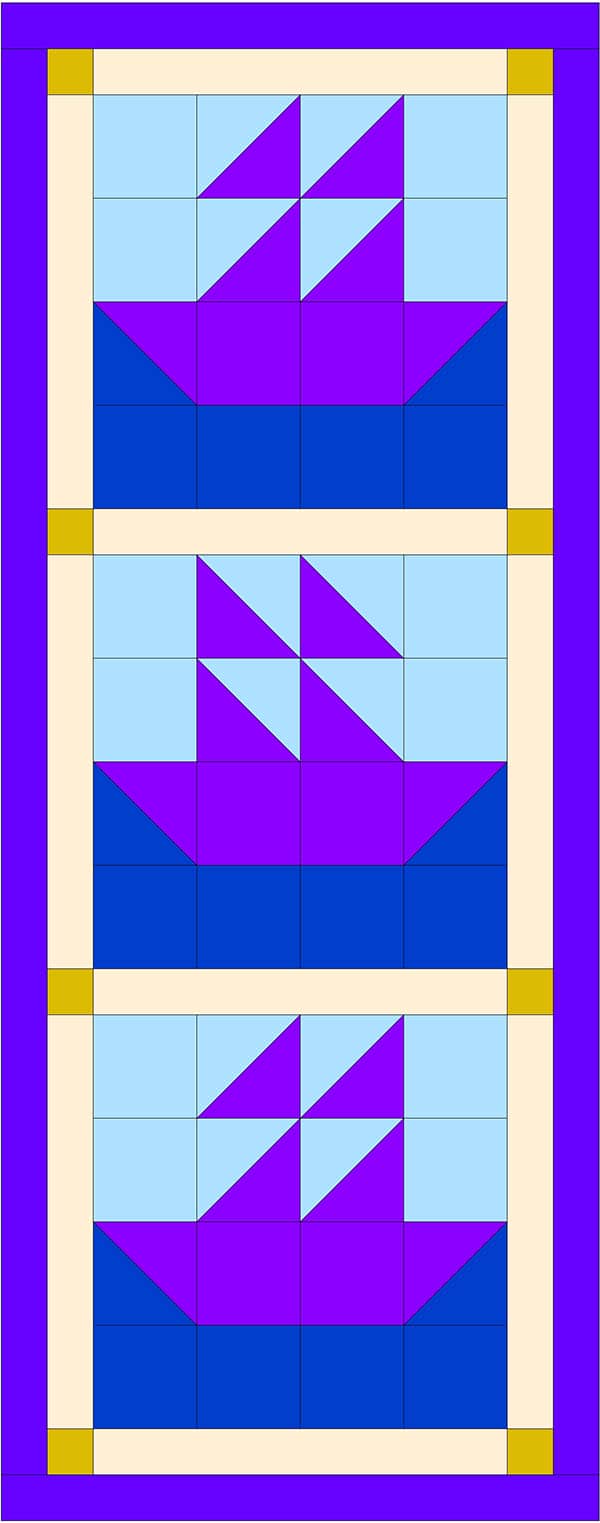
Now you can use this block to make a quilt, but even a wall hanging would look nice. And it doesn’t have to be just for boys, you can add to a nautical theme for your girls, just change the colors to pretty pinks and purples.


NARGIS says
Thank you for the great tuts and the video tuts l enjoy them all.
Alanda says
Thank you for the lovely comment Nargis.
Celine says
very easy to understand tutorial on the sail boat block.
What is the finished size of this block
Alanda Craft says
Thank you Celine. The block measures 10″x10″ finished.