Over time we have used so many different methods of trying to keep our 12″ x 12″ scrapbooking papers neat and tidy, but each of the methods was flawed. Often it meant pulling out stacks of papers and pads to find what we were looking for to work on. It wasn’t ideal and we knew we needed something better. That’s when we found out about pizza boxes!
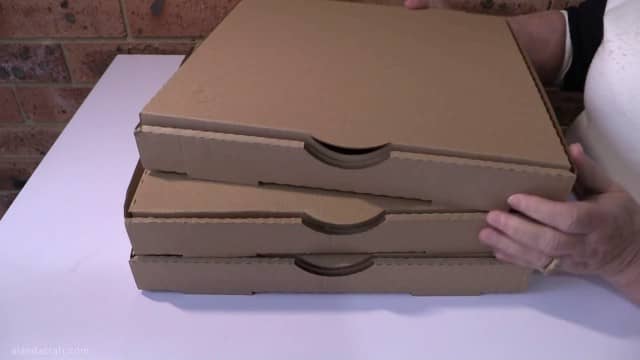
We got this idea when some of our scrapbook order were delivered. We order from places like Bev’s Cross Crafts and PaperMaze Scrapbooking Supplies here in Australia and the papers came in white pizza style boxes. So when it came to doing yet another work around with our paper storage, we had one of those light bulb moments and thought ” Yes, lets order some pizza boxes for storage”. And that’s exactly what we did.
How great are we to think of this brand new, totally unique way of storing scrapbook paper…..well maybe not. As we later found out, it’s been done before but we thought that many of our readers may not have seen it, since we hadn’t, so thought we’d share it regardless.
Watch the video below to see how I put them together…
(Can’t see the video? You may have an ad blocker installed)
After doing some searches on the web, we decided to purchase 40 pizza style boxes on eBay Australia. We couldn’t get white so had to settle for the kraft colour, which is fine as it goes nicely with the Ikea Kallax unit that we are storing them in.
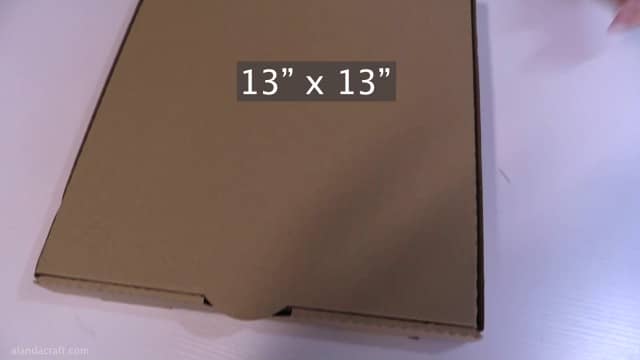
The boxes measure 13″ x 13″, which is the size you need to hold your papers, scrapbooking kits and any die cuts and ephemera related to your kit.
Now although we ordered 40 pizza boxes, we only used 30. We can keep those to store more papers that we buy or we can use them to store loose papers that we have on hand. You know those single sheets you just have to have and then never get around to doing anything with them. (Guilty as charged, your honour)
Putting the boxes together is really easy. Simply fold along the scored lines and fold everything into place.
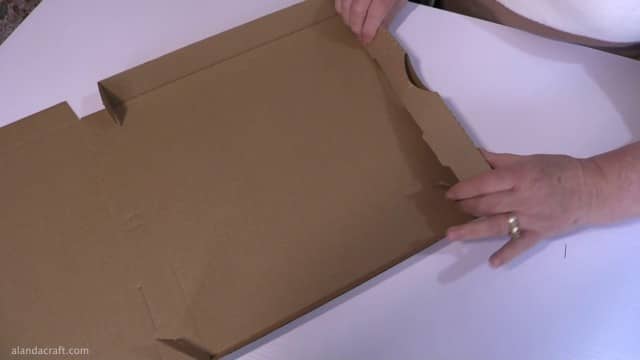
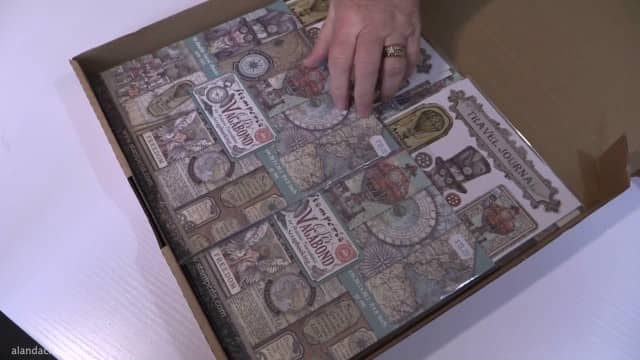
Once you have finished folding the box, it’s time to add your papers.
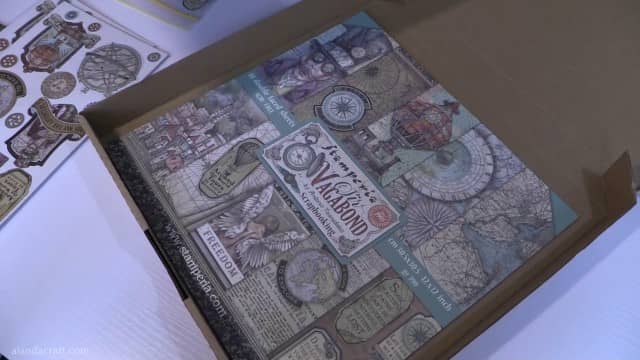
We have 2 full sets of the Stamperia ‘Sir Vagabond’ kit, and all the papers and ephemera fit nicely. So you can easily add 2 kits to each box. Just make sure to label the boxes so you know where everything is.
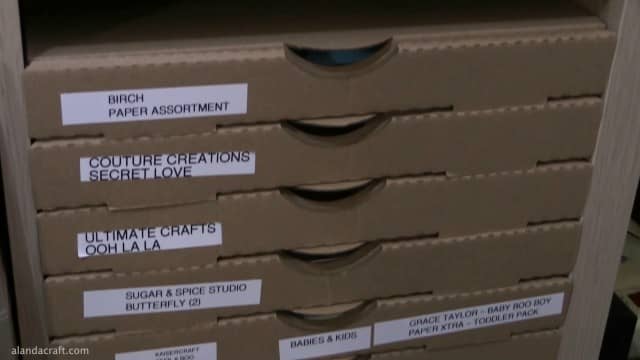
We have a Brother P-touch label maker and believe me it is one of the best purchases we have made. I label everything, nothing in my house is safe, and boy does it make it easy to find stuff.
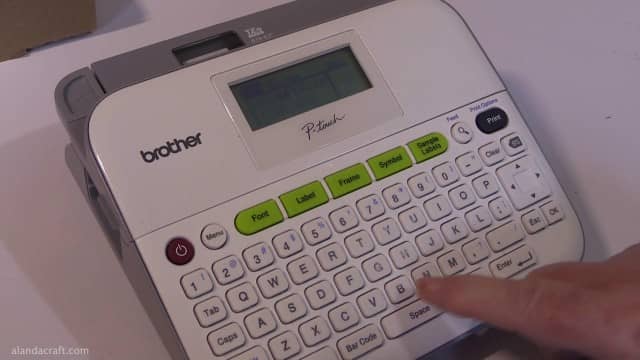
Once you have labelled the box, and you don’t have to have a label maker, simply write on the box with a pen or sharpie, or make a label on your computer or die cutting machine. Just make sure you add a label.
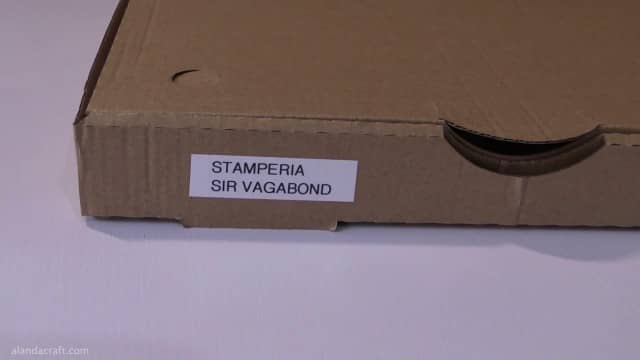
Then pop the box, with the label facing out so that you can see it, into the space where you have decided to store your papers.
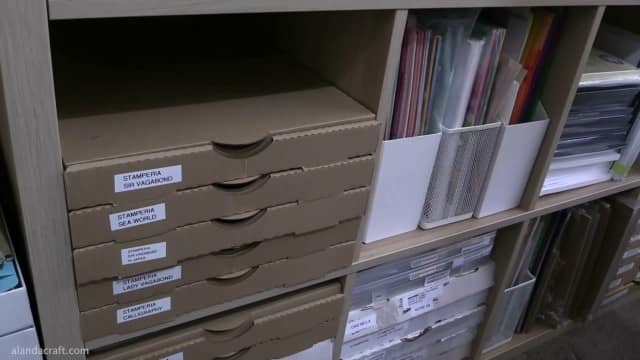
I found that the middle sections of my Kallax wouldn’t comfortably hold the boxes. It was a tight squeeze to push them in and an even bigger epic to get them out. So I settled to placing them in the outside squares which takes the boxes nicely.
We both stood back and admired our handiwork and are confident that we have finally found the solution we had been looking for.
Why not give it a go and see how quick and easy it is to tidy up your scrapbooking papers, and have them beautifully labelled so that they are conveniently on hand when the urge to create comes upon you.


Leave a Reply