The 3D bow tie quilt block is so much easier to make than you might think. And if you use a charm square pack then there is no cutting needed. However, you can also cut your squares from fabric in your stash.
Watch the video tutorial below or scroll down for written instructions
Can’t see the video? You may have an adblocker installed.
TOOLS USED IN THIS TUTORIAL
These are items we use all the time when we are quilting. You can check the latest prices at Amazon by clicking on the links below:
- Creative Grids Ruler 8½” x 24½”
- Olfa 24″ x 36″ double-sided healing mat
- Olfa Non-slip Ruler 6½” x 6½”
- Olfa 60mm rotary cutter
- Oliso Iron
- Gutermann Sew-All thread
What You Need
FINISHED SIZE – 9 1/2″ x 9 1/2″
You will need 5 squares of fabric each measuring 5″ x 5″ squares. Charms squares are great for this.
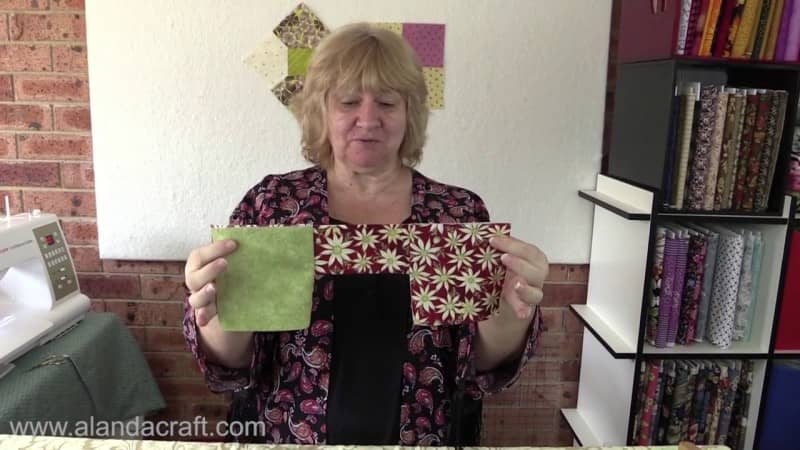
- 2 squares for the background.
- 3 squares for the bow tie or you can use 2 squares of the same color for the bow tie and a contrasting square for the middle section of the bow tie. Both look great.
This is one quilt block that is easy to do but difficult to explain in writing. It really is better if you watch the video for the technique, however I’ll give it a go.
Method
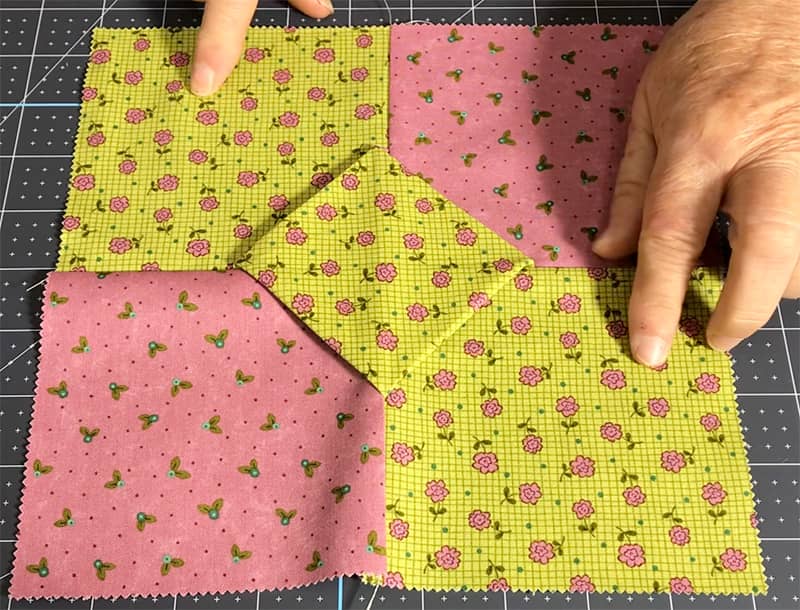
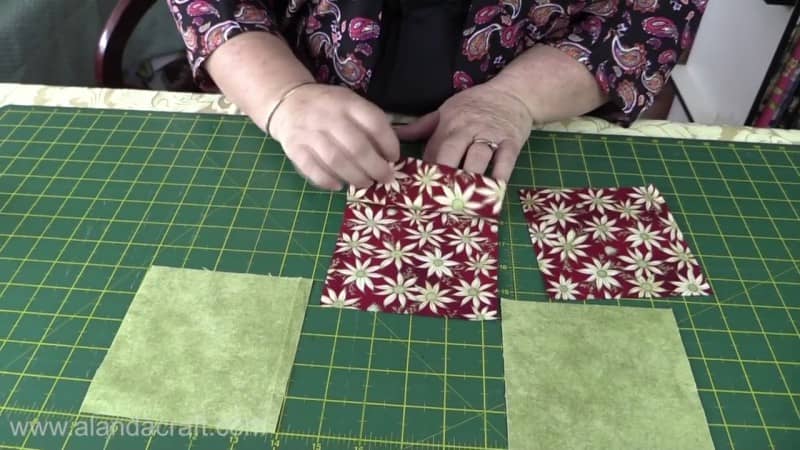
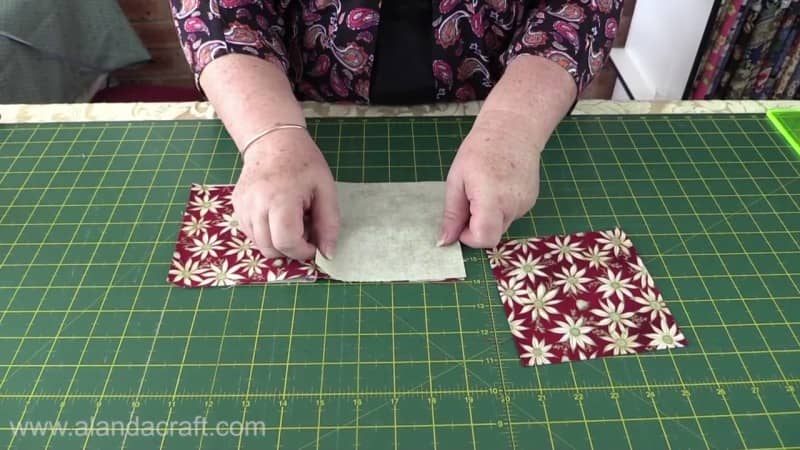
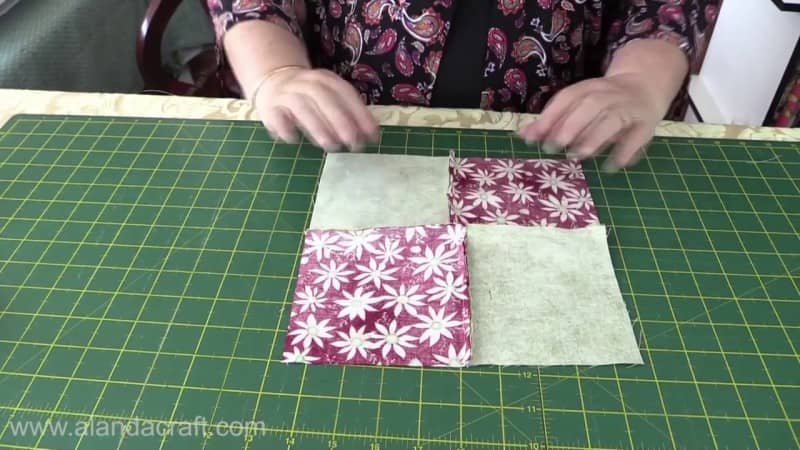
Lay out your squares on your worktable as shown. Remember that I am making my bow tie in one colour, if you are making the centre of the bow tie in a different colour then your middle square will be in that colour.
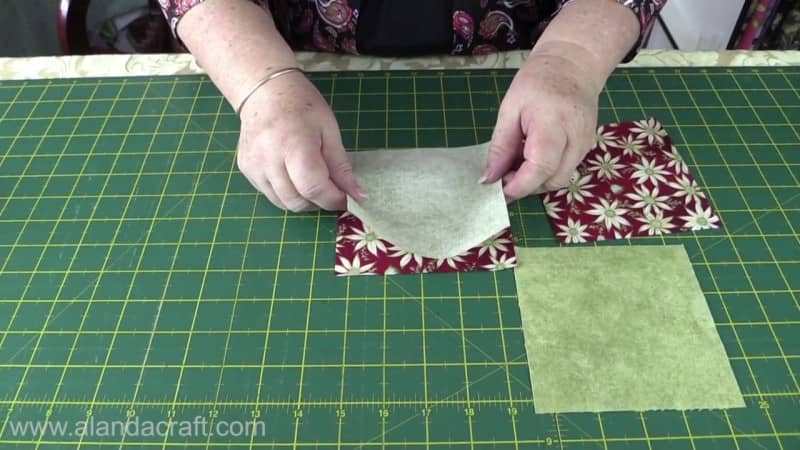
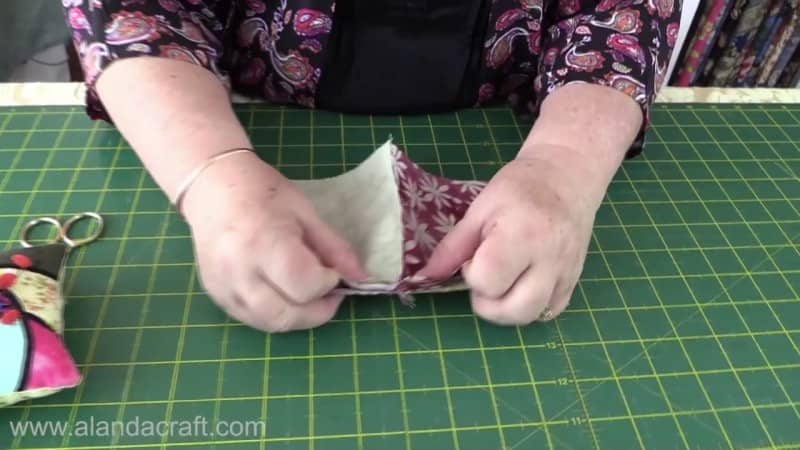
Fold the centre square in half with right sides facing out towards you. So wrong sides together.
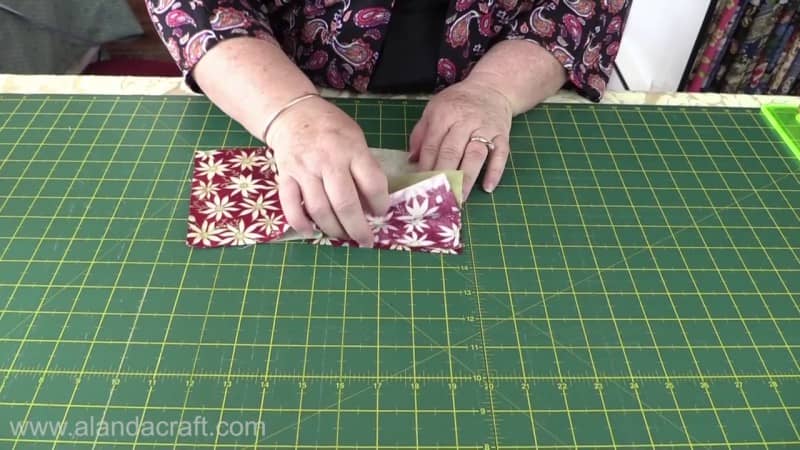
Take another square of the bow tie color and place it on top of the folded square.
3d bow tie quilt block tutorial
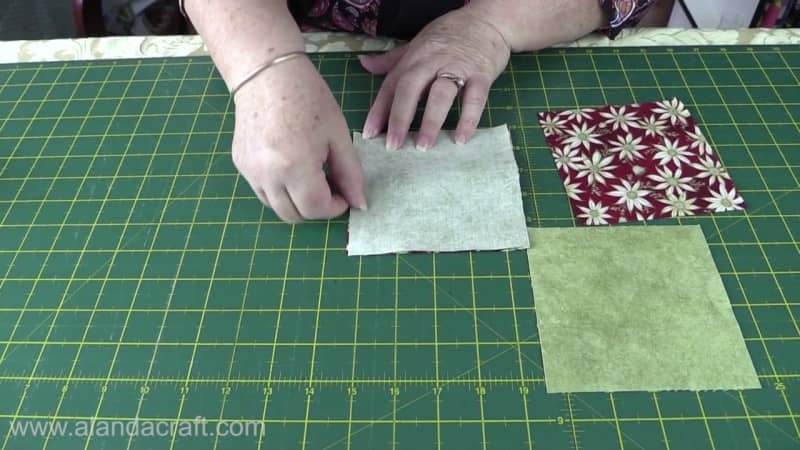
I’ve turned the piece over so you can see what it looks like. Make sure the raw edges all line up.
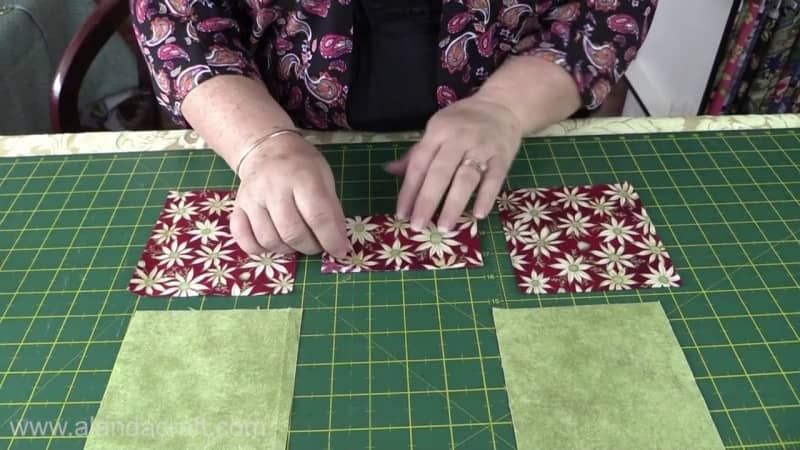
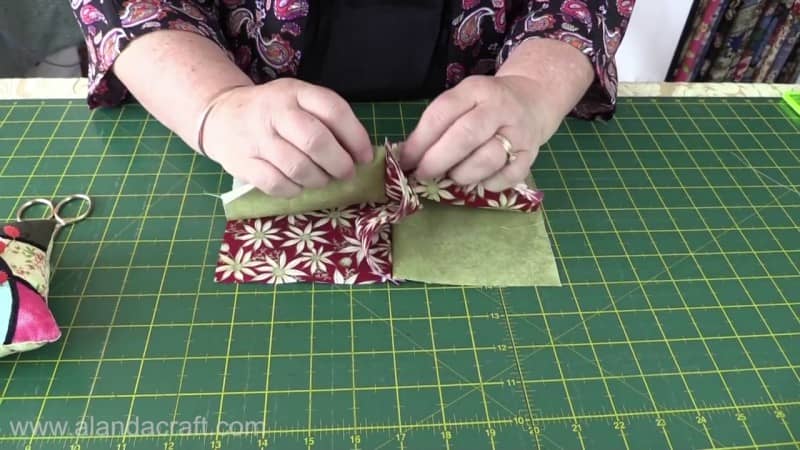
Now take one of the backing pieces and lay that on top of the other two squares
Line up the raw edges and this is what you have – one backing piece, one folded piece and one bow tie piece.

Sew the pieces together down one side with a ¼” seam.
This is what we now have. Our folded piece is sandwiched between our bow tie fabric and our backing fabric.
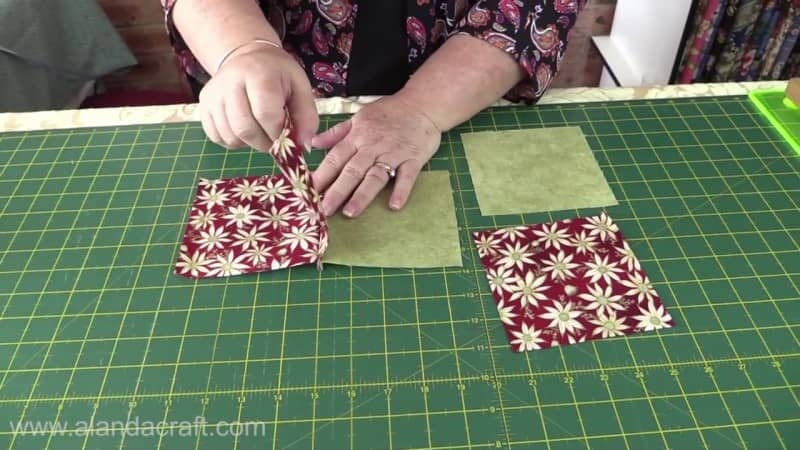
Fold the piece out as shown in the image below.
3d bow tie quilt block tutorial
Now take the other backing piece and lay it on top of the folded piece, right side facing down.Pla
Place our bow tie piece to the bottom side so that the folded piece is sandwiched between the backing and the bow tie fabric.
Line up the raw edges along the top and down the side. Now we are going to sew down the edge with a ¼” seam.
3d bow tie quilt block tutorial
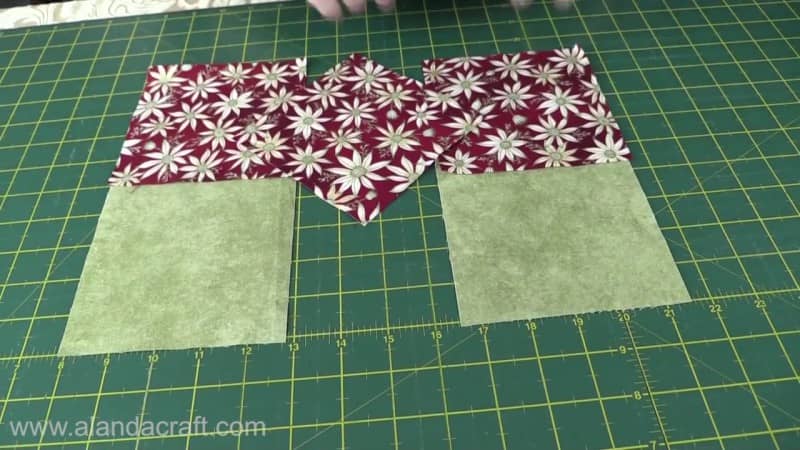
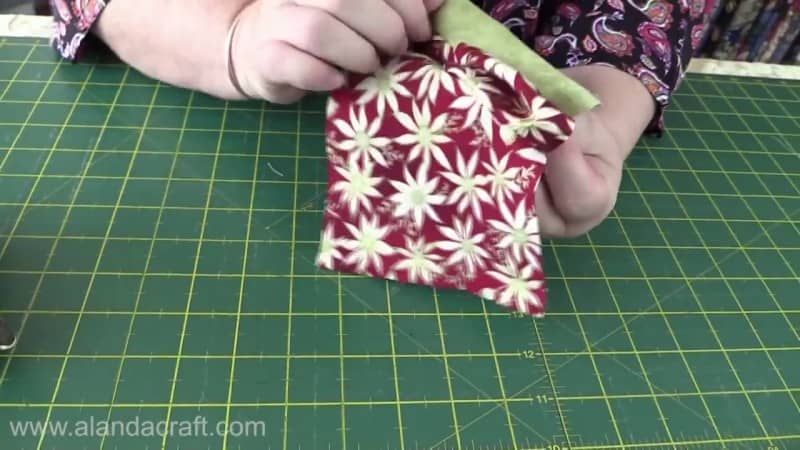
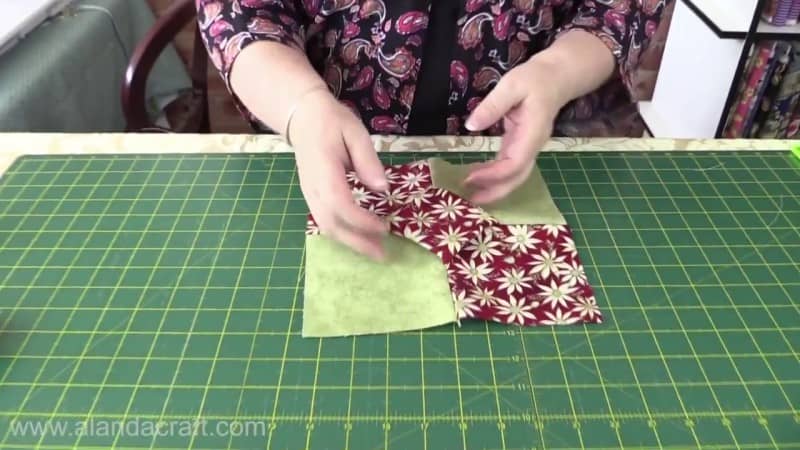
And this is what we end up with a funny looking piece that looks like this.
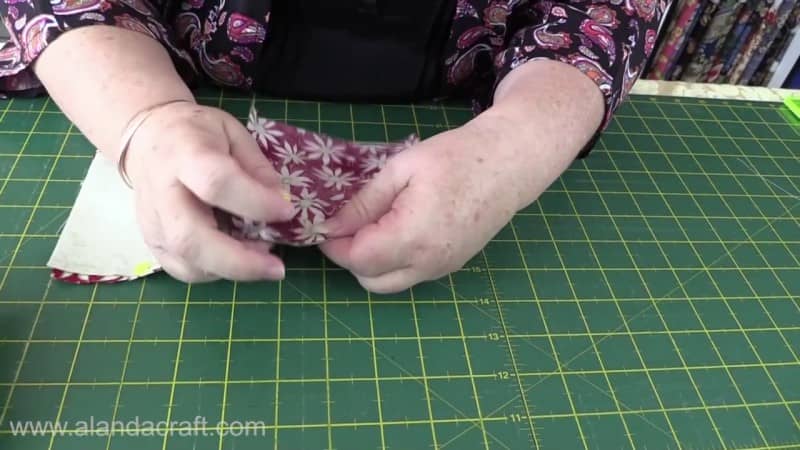
Next we are going to lay the piece down flat on the workspace. and we end up with a bulge in the middle.
Pop your fingers into the bulgy part to flatten it out as much as you can.
3d bow tie quilt block tutorial
Keep pulling and adjusting until the seams line up.
Pop in a pin to keep everything together.
3d bow tie quilt block tutorial
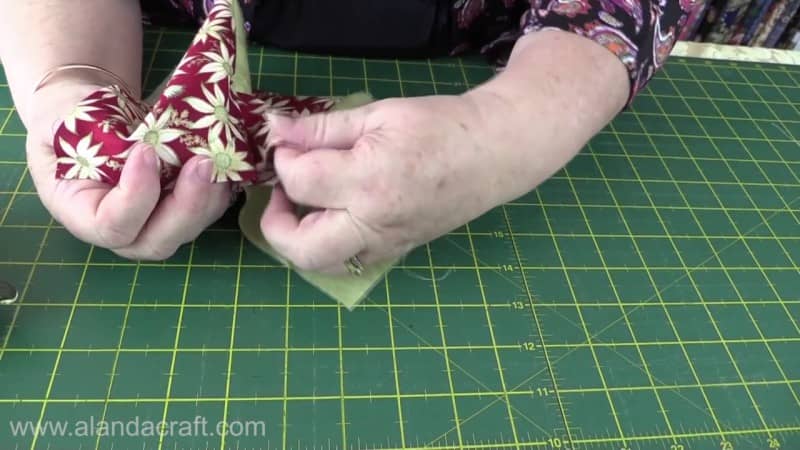
You will find that the middle folded tends to want to bunch up, so once again just tease it out so that the edges lay flat.

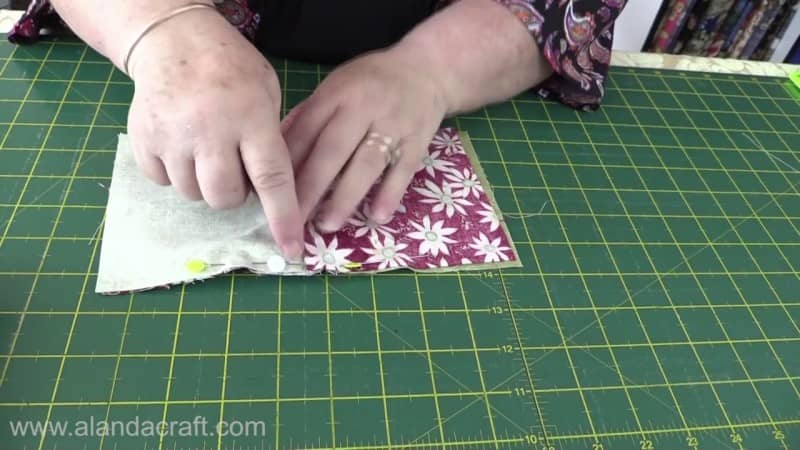
Lay the backing piece down over the folded piece and pin in place.
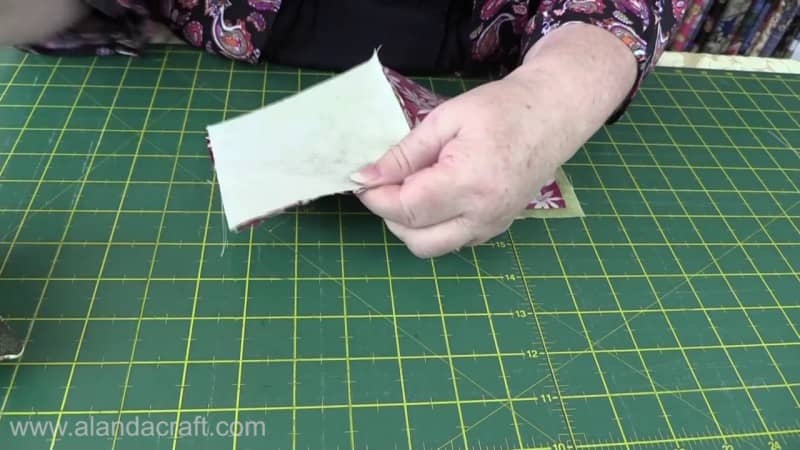
Now when you look at the folded piece on the other side you will see that it really doesn’t want to lay flat.
Straighten it out as best you can by putting your finger into the gap and pulling the material until it is as flat as you can get it.
Line up all the raw edges as best you can. We will do a further adjustment as we sew the pieces together.
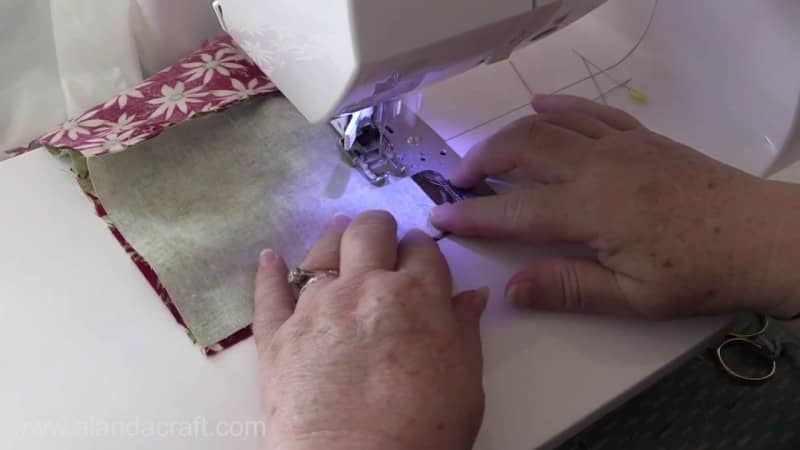
Sew up to the seam line and stop. Leave your needle in the down position and now you will easily be able to make more adjustments to the folded piece so that it lays flat properly.

After making the adjustments, continue sewing to the end.
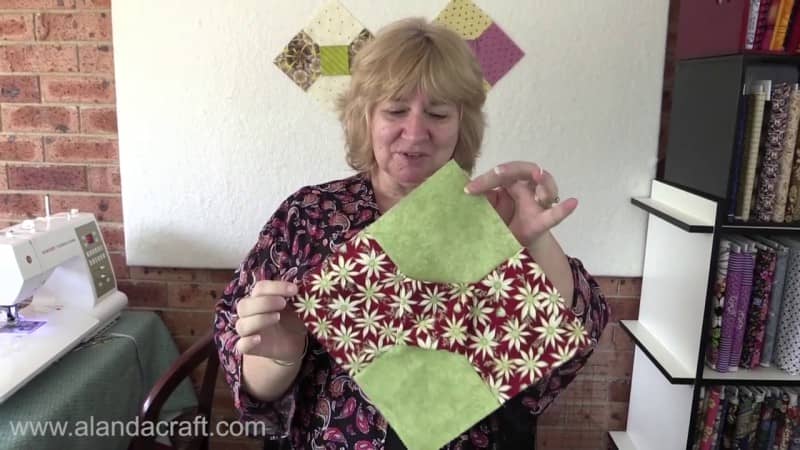
And here is the final result.
The last step is to press the seams. Just press them as they want to go. Make it a light press as you don’t want to flatten the 3D effect of the centre of the bow tie.
Now as I said at the beginning this is not complicated or difficult and it’s much easier to see what’s going on in the video than it is to write about it.
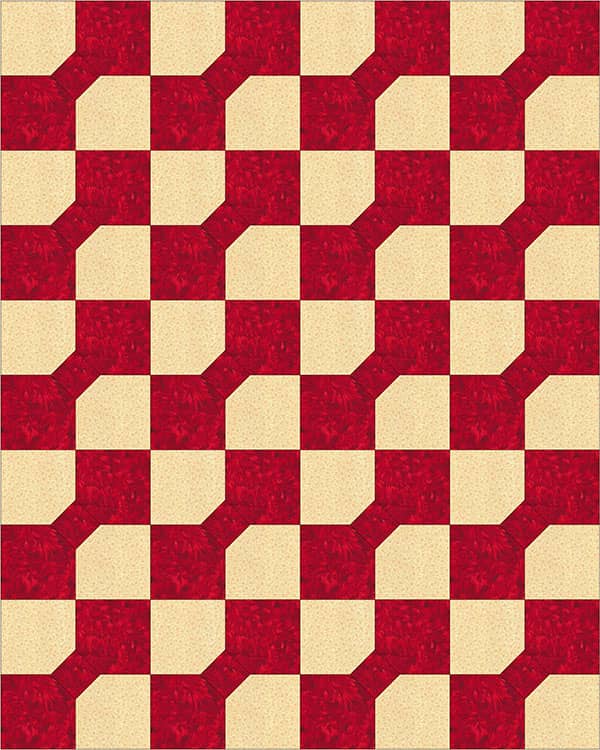
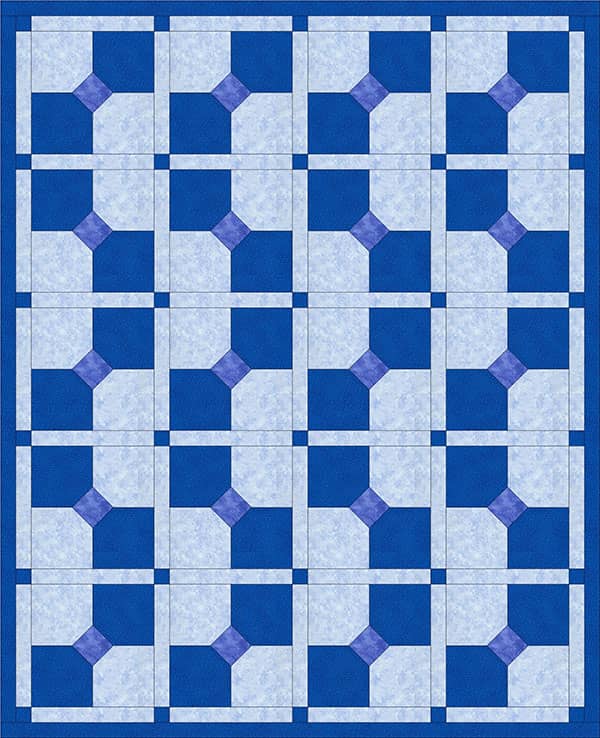
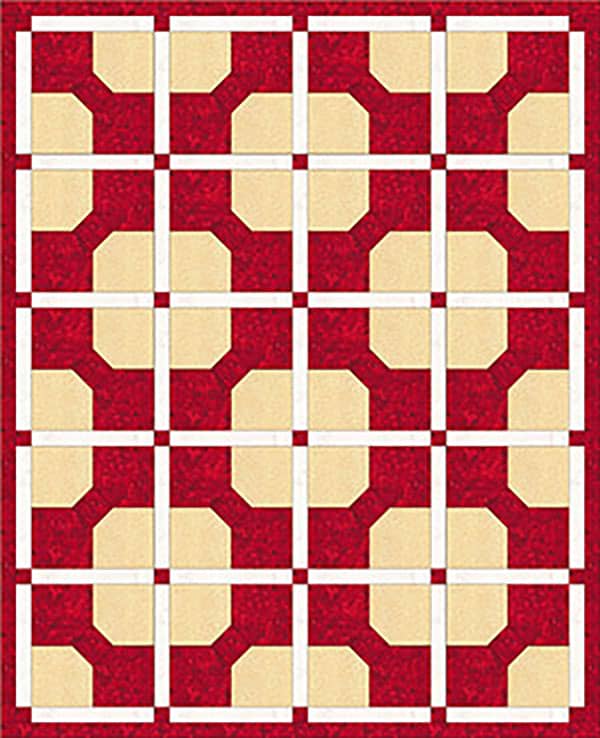
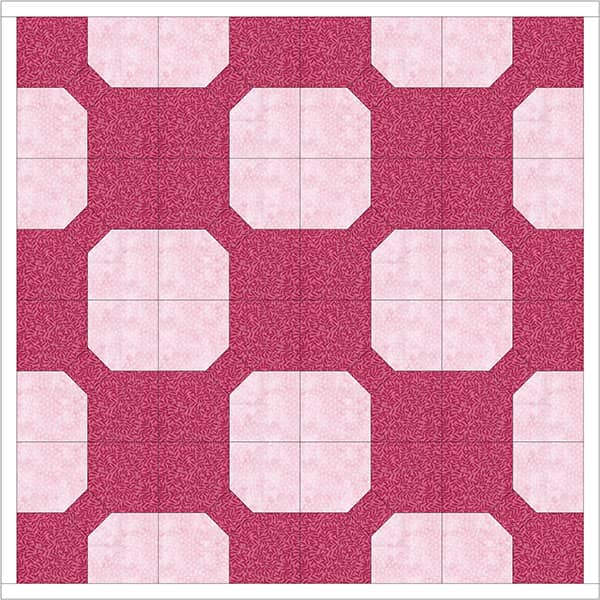
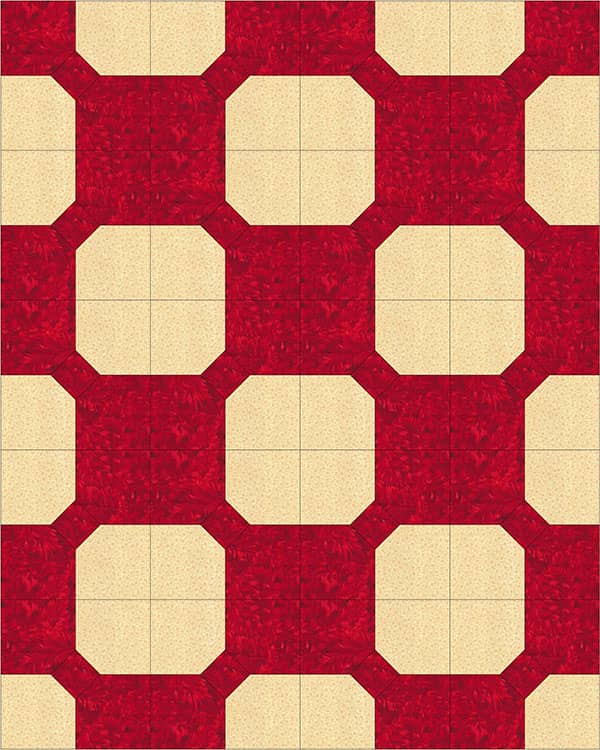
The 3D bow tie is a really nice block and it’s ideal for a quilt, table runner, cushion cover or other project.
Here are some examples of how the block will look like when used in a quilt


Barb says
Too much trouble
Janet says
How can I get a PDF print without all the ads. They make it hard to follow the instructions.
Alanda Craft says
We’ve added a print and PDF option to the very bottom of each post to enable you to download the instructions. Just look for the little icons at the bottom of the post.
Kathy Davis says
I love it. Thanks for the great tutorial on making this block.
Alanda Craft says
Thank you Kathy 😊. When I first saw this block I thought it would be difficult to make, but it’s really not that difficult at all, and it looks great in a quilt.
Vicky says
I just finished putting these together now I just have to put the blocks together in a row I laid them out first I am a beginner and I wanted to step out of my comfort zone and I used up some Christmas 5 inch blocks I had I’m pleased with my work so far
Alanda Craft says
That’s excellent Vicky 😊. It’s always a little daunting when we tackle something new, so good on you.