To make this couched patchwork tote bag I have used a Charm Pack. I love using 5″ squares to make bags. Everything is precut and you don’t have to think too hard about matching fabrics as it’s all done for you. That is of course, if you are using Moda Charm Squares or another brand of precut squares.
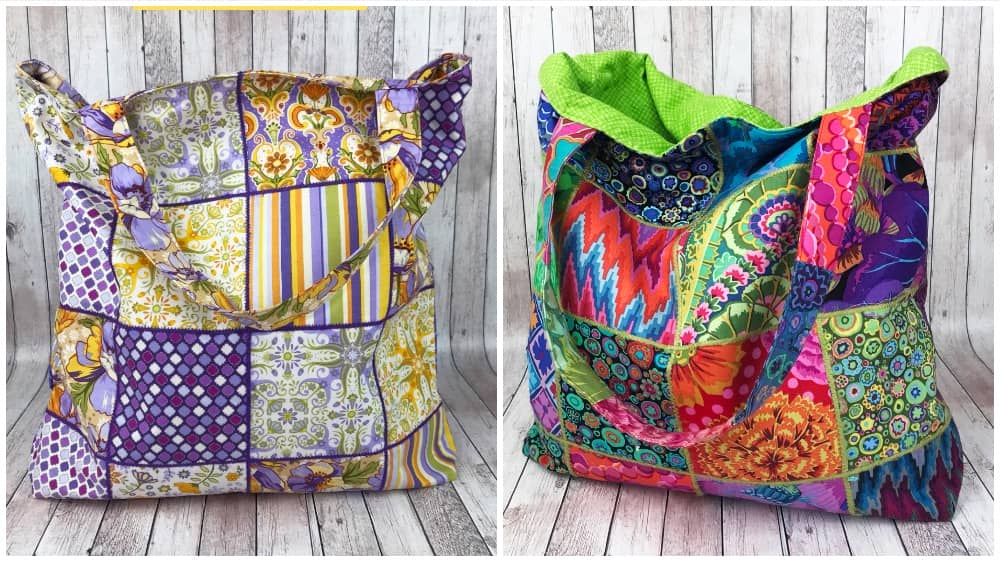
We made three variations using charm squares – my favourite is the vibrant Kaffee Fassett version you can see in the image above. However, for this tutorial, I have used Suzani by Michelle Marvig for George Parsons. I just love the colours. And there are so many lovely charm packs available so we are really spoilt for choice. You can find a range of Moda Charm Packs at Fabric.com and Amazon also have a wide range.
Watch the video below or scroll down for the step-by-step written instructions
WHAT YOU NEED
- 16 x 5″ squares
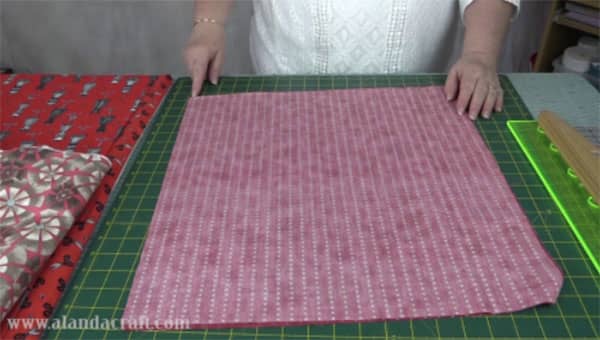
- 1 piece of fabric for the backing – ours is 18½” by 18½”
- 2 pieces of batting or fusible fleece – depending on the look you want – our two pieces each measure 18½” by 18½”
- 2 pieces of fabric measuring 18½” by 18½” for the lining
- 2 pieces of fabric measuring 5″ x 22″ or the length you want for your handles.
- 2 pieces of batting 2½” wide by the length of your handle
- 1 ball of thick wool (you don’t need much so you may have some in your wool stash)
TOOLS USED IN THIS TUTORIAL
You can check the latest prices at Amazon by clicking on the links below:
- Creative Grids Ruler 8½” x 24½”
- Quilters slidelock
- Olfa 24″ x 36″ double sided healing mat
- Olfa 60mm rotary cutter
- Oliso Iron
- Gutermann Sew All thread
Method
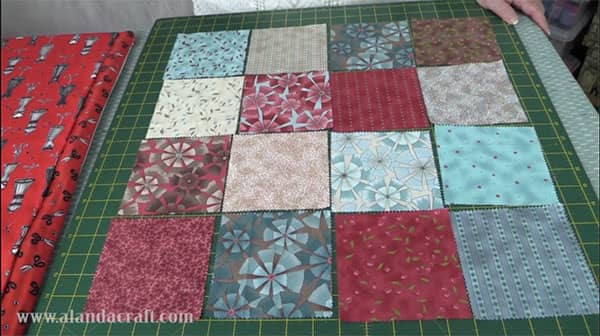
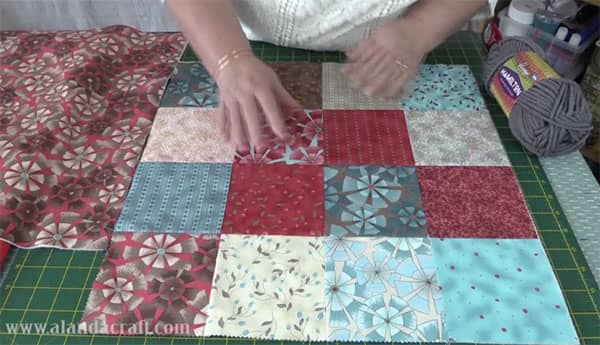
Step 1:
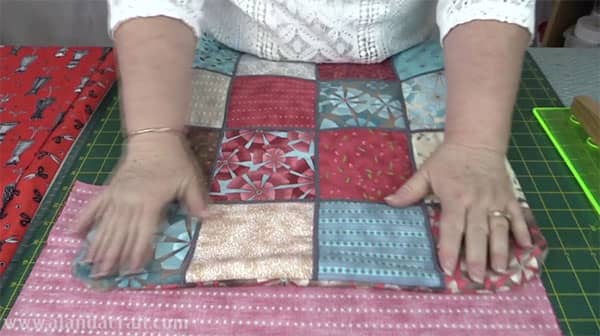
- Lay out your squares
Step 2:
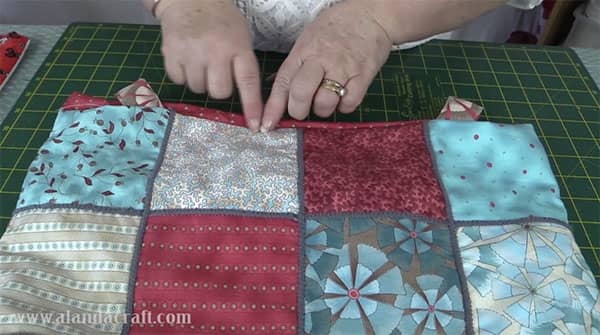
- Sew the squares together in rows
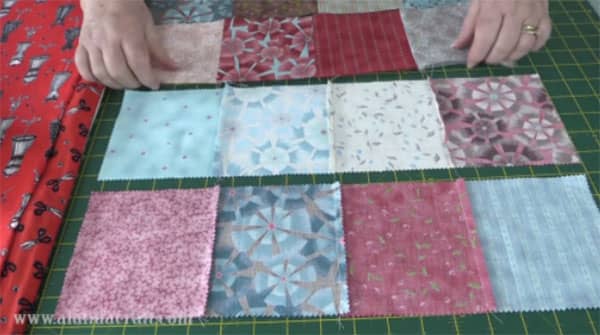
- Press the seams in opposite directions for each row, as pictured above.
Step 3:
- Sew rows together
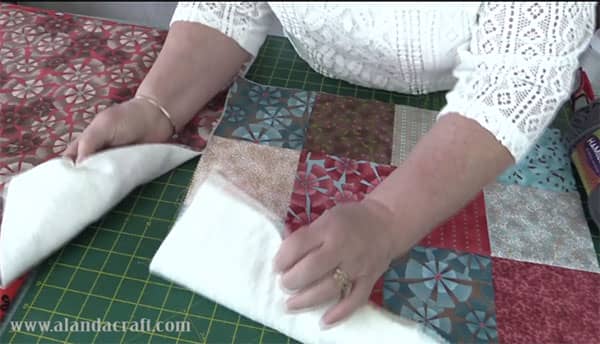
Step 4:
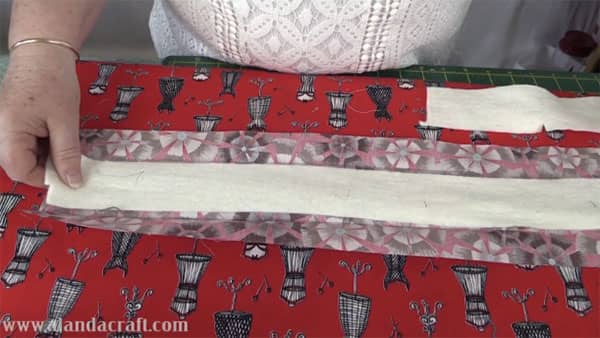
- Add batting to back of main piece and wrong side of back piece. Put backing piece aside.
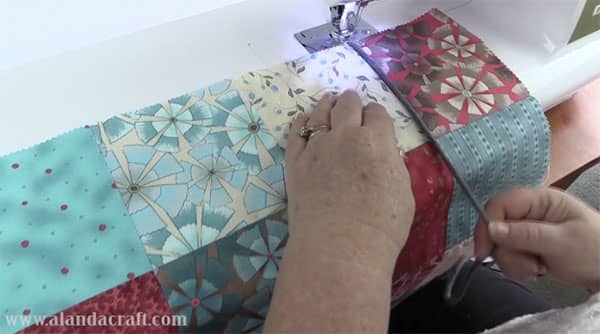
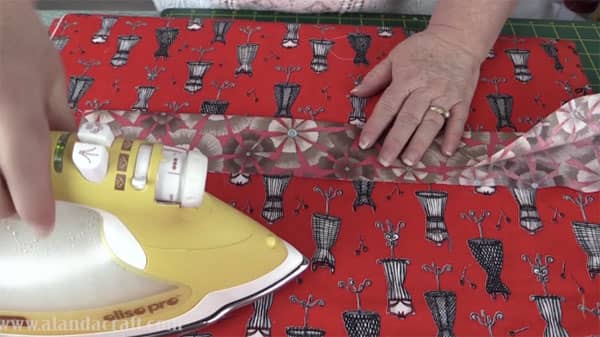
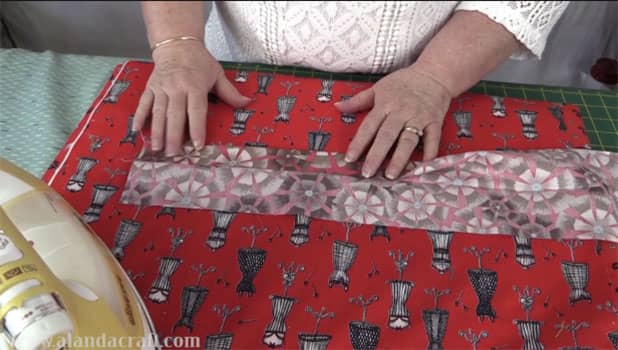
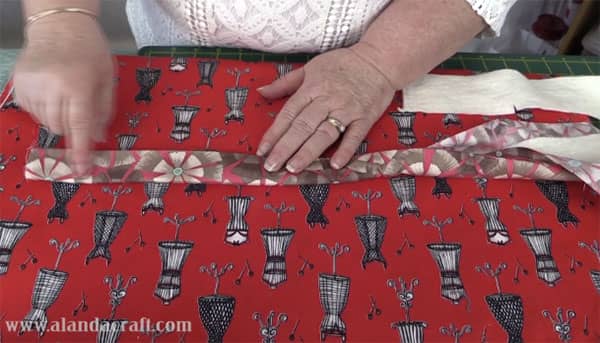
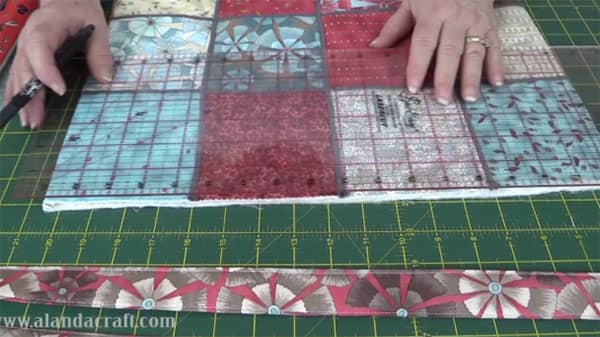
Step 5: Couching
- On a piece of scrap material test the size of your zig-zag stitch. You want it to go right across the yarn and not split it.
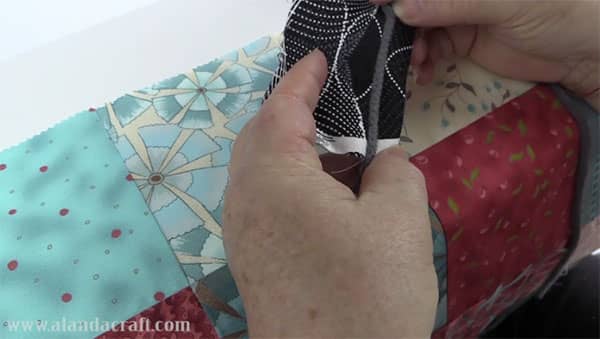
- When you are happy with the width of your zig-zag then you are ready to attach the thread to the seam lines of your squares. We sew the thread across all three rows then turn the bag and couch down the other three rows, just running the thread over top of the thread you have laid down previously.

- Trim off the threads

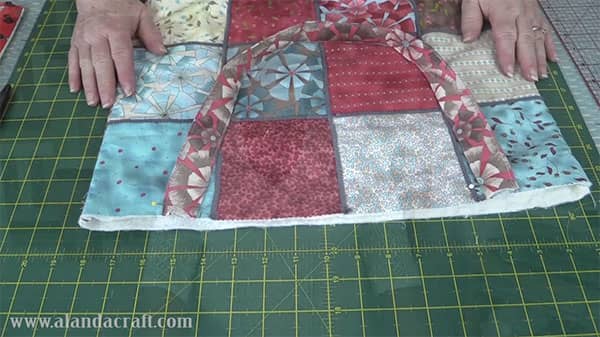
Step 6: Sew Main Piece to Backing Piece
- Place the main piece and the backing right sides together and sew around 3 sides with a ¼” seam.
- Leave the top end open.
- Pivot at the corners.
- Backstitch at the start and the end.

- Turn bag to right side. Put aside for now.
Step 7: Lining
- Take your two lining pieces and join them on 3 sides using a ¼” seam allowance.
- Leave the top end open.
- Pivot at the corners.
- Backstitch at the start and the end.
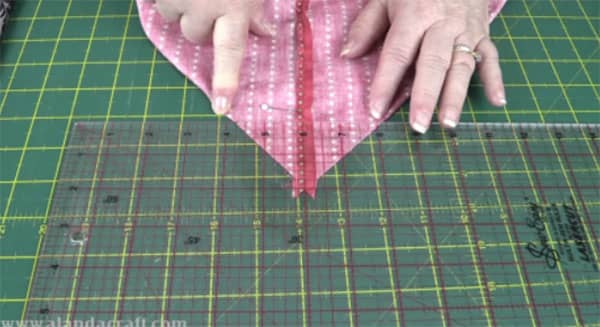
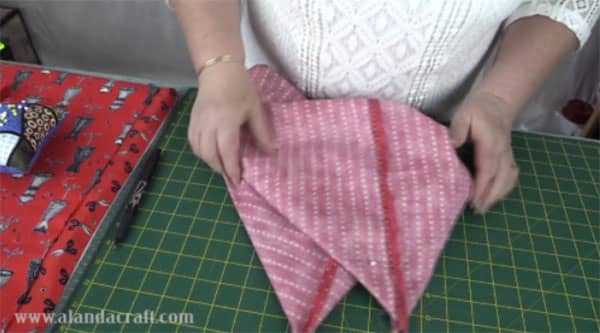
Step 8: Box the Corner
- I wanted a four inch base on this bag so I measured down 2″ from the base of the ‘V ‘at the corner where the bottom and the side seam meet. Make sure the bottom and side seams line up perfectly as you want to have a continuous look to your seam line when you finish.
- We have a tutorial on “How to Box Bag Corners” where you can see this process in detail.
- You need to box all four corners – 2 on the lining and 2 on the main piece of the bag.
- Trim the excess fabric from the boxed corner when you are happy that the seams line up. Leave about a ¼” seam.

- Put all the pieces aside and make your handles.
Step 9: Handles
- Fold your handle pieces right sides together and press down the length of the fabric
- Open out and fold each edge to the middle – the fold line that you have just made down the middle – and press
- Open out and lay your batting down the middle.
- Fold the edges back into the middle over the batting.
- Topstitch down both sides of handle ⅛” from the edge.

- Measure in 4″ from each side seam and draw a small line with a water erasable or Frixion pen.
- Pin the handles in place, with one side on the mark you have just drawn. Make sure they are not twisted and pin with the bulk of the handle out towards the side seam.
- I like to stitch them in place before adding the lining so that they don’t move and I know that they are sitting correctly.
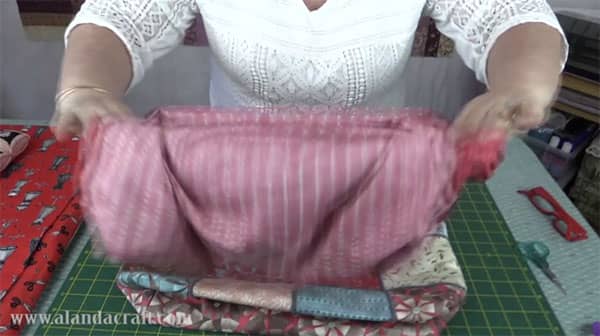
Step 10: Putting the Bag Together
- Turn the lining inside out and place the bag inside the lining so that the right sides are facing. Make sure the handles are pushed down towards the bottom of the bag. We don’t want to catch them up in the seam we are going to sew around the top.
- Line up the sides seams from the lining piece and the main bag piece and pin

- Give the bag a bit of a shake (hold on to the top edge), you want the whole thing to lay relatively flat.
- Pin the two pieces together and join with a ¼” seam. Make sure you leave about a 4″ to 5″ opening on the back side of the bag so that you can turn the bag through once you have sewn it together.
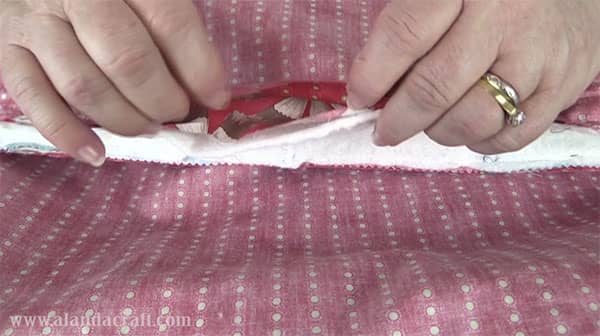
- Turn the bag through. Push lining to the inside of the bag. Make sure it’s nice and neat by giving it a bit of a press.
- Topstitch around the top of the bag about ⅛” from the edge.
And here we have it – our couched patchwork tote bag is finished.
Don’t forget to check out the video for the full instructions.


Janet Peckens says
You are so helpful and I love all that you share. May you have a Blessed Thanksgiving and Christmas Holiday.
Thank you for all your ideas and help.
Alanda says
Thank you so much for your lovely comment Janet; and a happy Thanksgiving and Christmas to you and your family.
Linda Malyan Rickard says
Thank you so very much for your time and effort in explaining how to do these lovely totes! These will make lovely Christmas gifts for sure. You are such a wonderful teacher, I am new to quilting but am excited to see more of your videos. Once again, thank you!
Alanda says
Thank you so much for your lovely comment Linda. These totes are so quick and easy and will make really lovely gifts.
Mindi says
This was so much fun that I’ve made three totes this weekend! Thank you ever so much….
Alanda says
That’s great to hear Mindi. It’s amazing how creative you can get using different threads to couch with.
Annie says
Awesome tutorial. Cute,Cute,Cute. The couching realoly makes this bag. Is there something else you can use for the couching besides yarn? I am not a knitter so I don’t have scraps of yarn.
Alanda says
You could try using ribbon but to get the right effect you really do need the yarn. We pick it up from charity shops or a couple of balls when they are on sale at our local craft store. One of those balls of yarn that have variegated colours works well. If you do buy some yarn it won’t go to waste as you could make one of our no knit scarves to use it up. /easy-no-knit-scarf-tutorial-soft-and-cuddly/
Shirley says
Is this wool yarn? I’ve never use daily this. Do I buy it where they sell yarn?
Alanda says
Yes we have used wool. You can use any fibre medium as long as it is quite thick otherwise it will meld into the background and you want something that stands out. You could even use rope as long as its not too thick. Yarn is available in most haberdashery stores or online – eBay, Amazon. The only thing with buying online is that you won’t be able to gauge how thick it is. Depending on where you live, you will find wool at Joann’s, Walmart etc.
Ruth Van Hoose says
Excellent tutorial. You made it look very easy. Thank you.
Nancy Mills says
What happened to step 7? I do not see it.
Alanda says
The steps were mis-numbered, I have fixed it now. Thanks for letting me know.
Joe says
Nice tutorial, thank you. We made this tote bag using Crazy Quilt Block squares. It turned very nice
Alanda says
Thank you Joe. We would love to see some photos of your finished bag. Here is a link to our ‘Submit Your Project’ /submit-your-project/ if you would like to share some photos on our Readers Project page. It’s always interesting to see how different each project turns out.
betty johnson says
when do you add the wood to the bag
Alanda says
After you have sewn the squares together, Betty. Just check Step 5 “Couching” in the written tutorial.