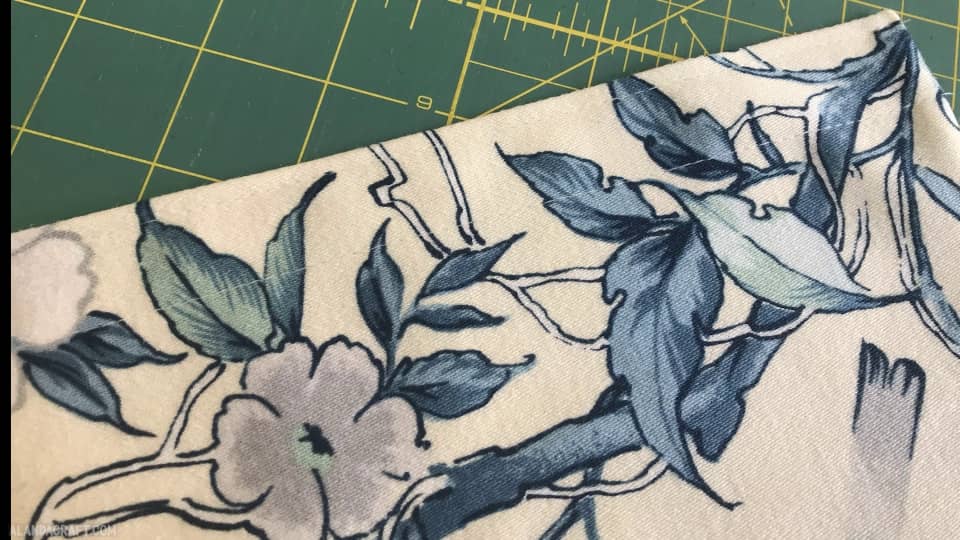
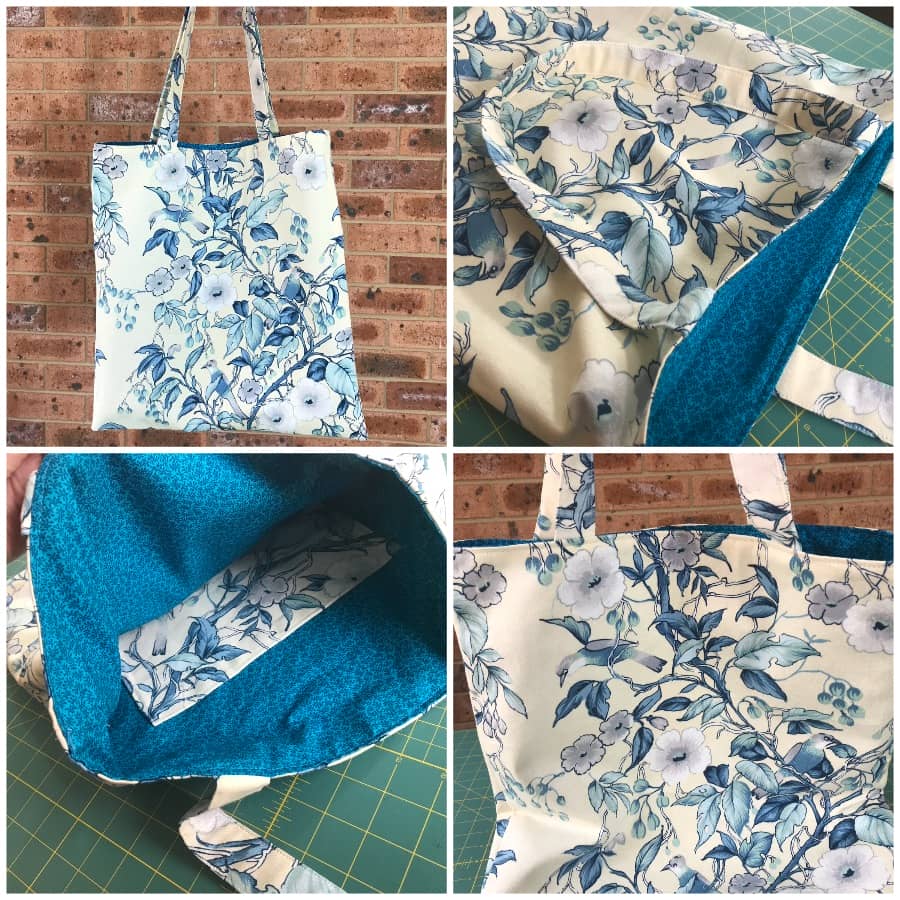
This is a quick and easy tote bag that I made from an old curtain that I bought from an opp shop which is like a thrift or goodwill store. My granddaughter CeNedra was visiting and she loves visiting op shops. While we were browsing we found an old curtain that we both liked and thought it would make her a nice bag. The material is a nice cream with a blue design featuring birds, leaves and flowers. We all love to repurpose treasures we find at op shops.
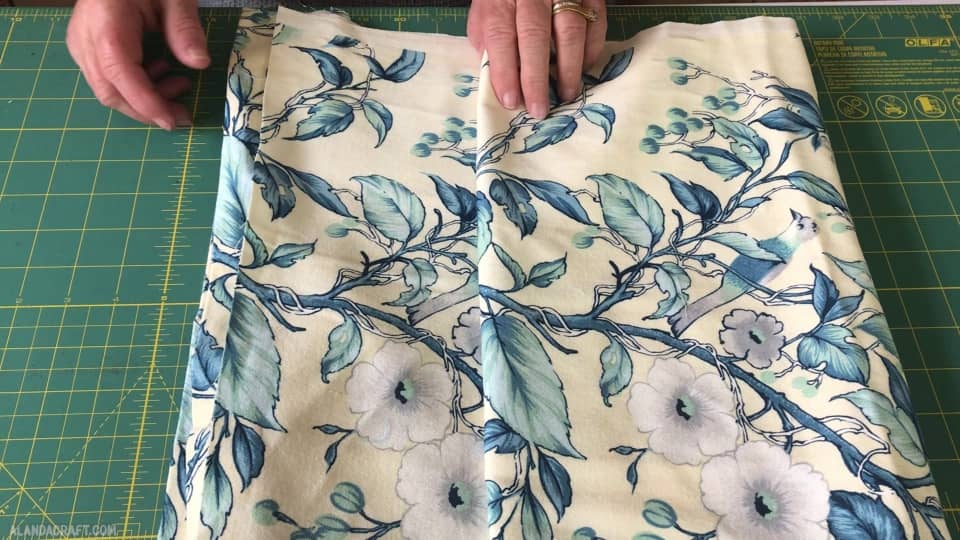
I unpicked the hems because it’s such a lovely fabric and I don’t want to waste any of it. I can and will be using it for multiple projects.
WHAT YOU NEED
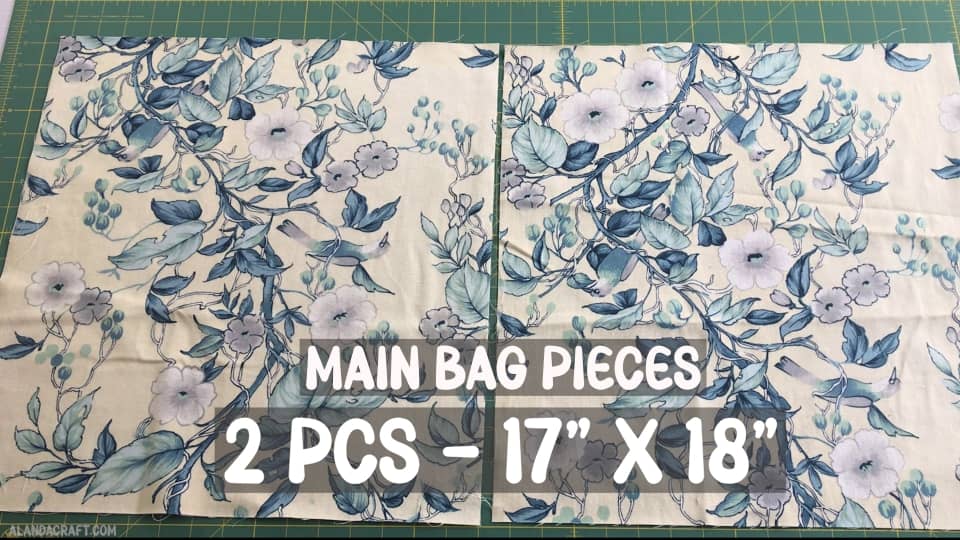
Main Fabric
- 2 pcs – 17″ x 18″ – bag pieces
- 2 pcs – 5″ x 26″ – handles
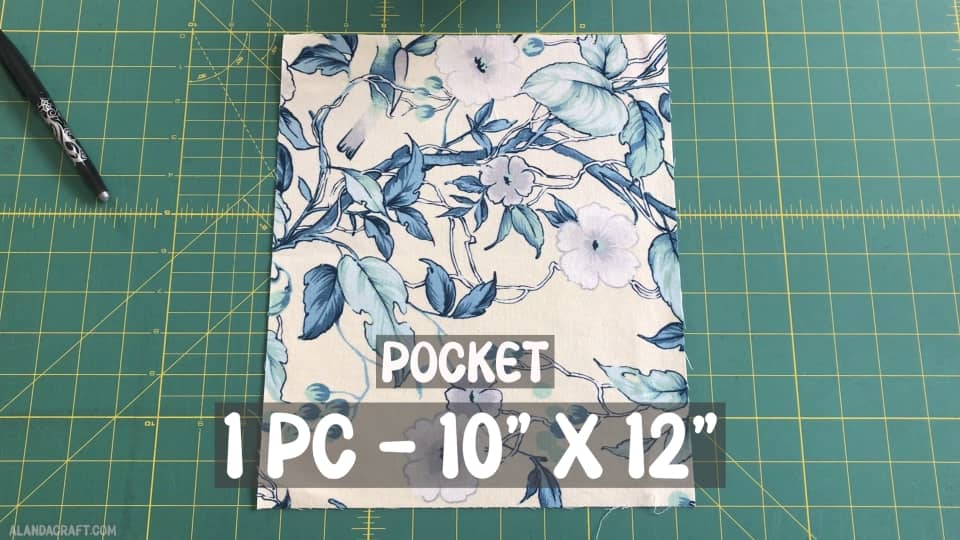
- 1 pc -10″ x 12″ – pocket
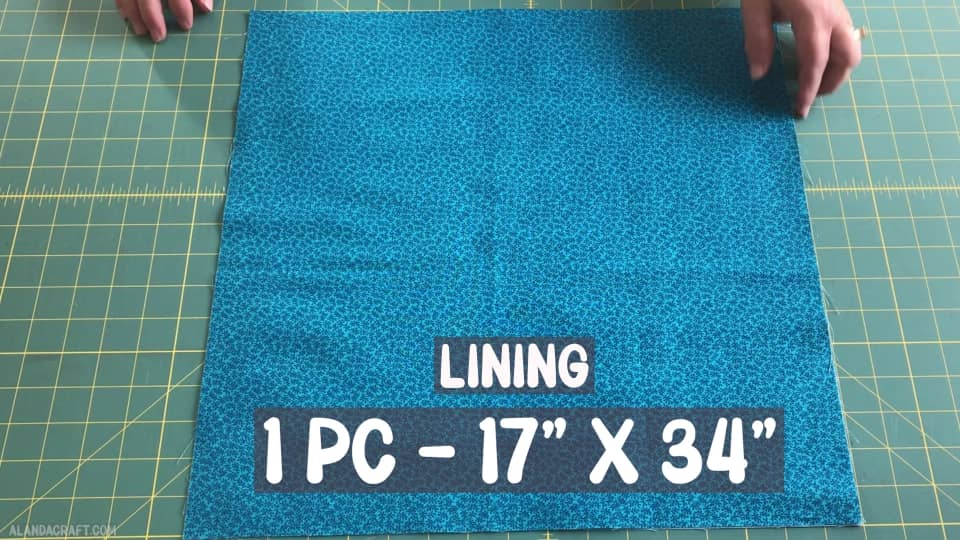
Lining
- 1pc -17″ x 34″ or you can cut two pieces 17″x 18″. If you cut two pieces you will need to join the pieces together. However, for this bag I am just going to fold the fabric in half.
FINISHED SIZE
The finished size of this tote bag is approximately 16″ (wide) x (16 1/2 ” (height)
TOOLS USED TO MAKE THIS PROJECT
Watch the video tutorial below or scroll down for written instructions
(Can’t see the video? You may have an ad blocker installed)
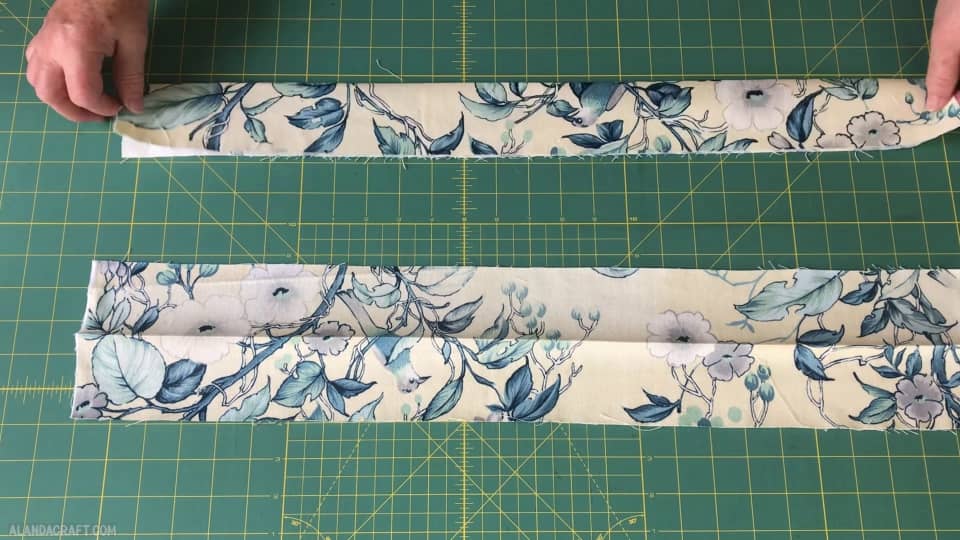
MAKING THE HANDLES
Take each piece of the 5” x 26” fabric and fold it in half. Press along the fold line to form a nice crisp crease down the centre.
Take one strip and open it up.Fold one half into the centre on one side and press all the way down the strip.
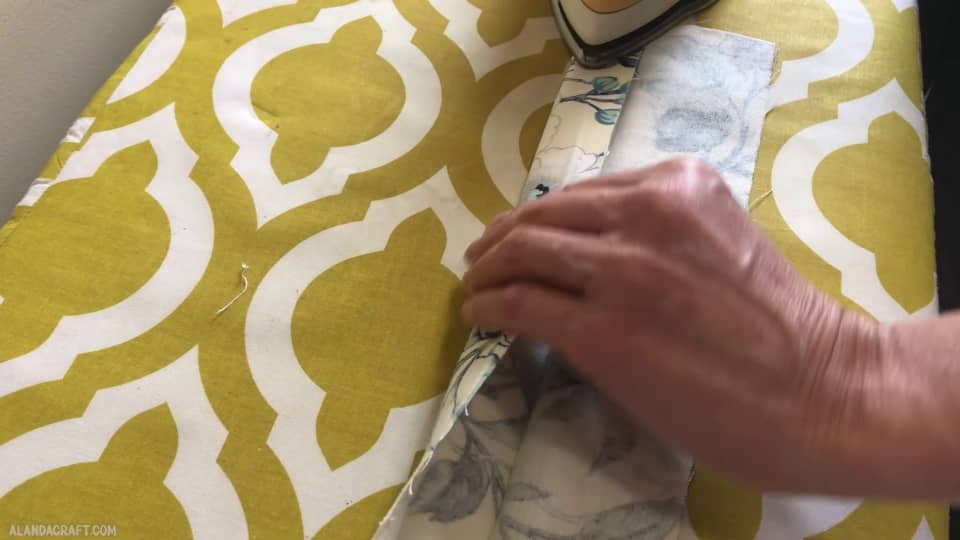
Do the same on the other side.

Fold the piece in half again and give it a good press.

We’ll do exactly the same with the other strip.
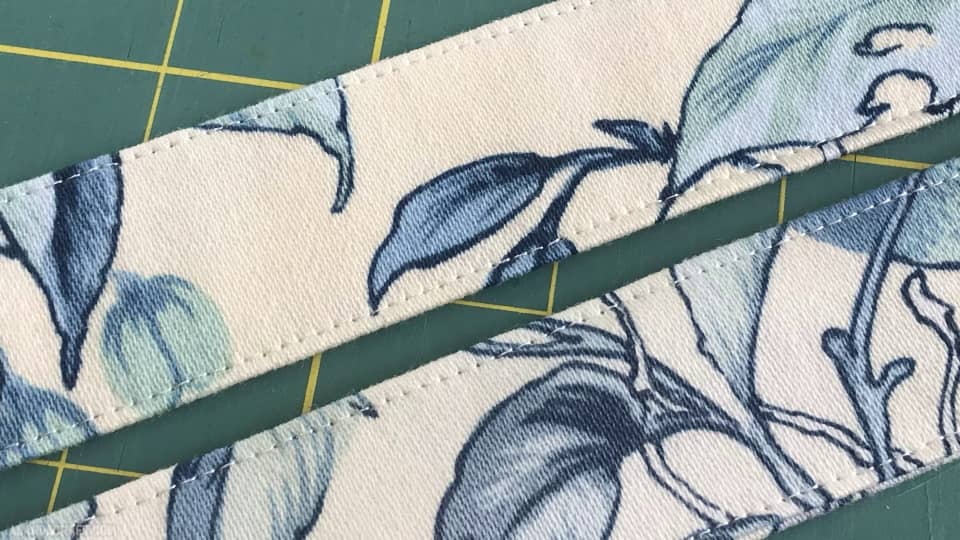
To give the handles a nice finish we topstitch along both sides of the handle at about an ⅛” from the edge. Do that for both handles.
Here’s a close up what that looks like.
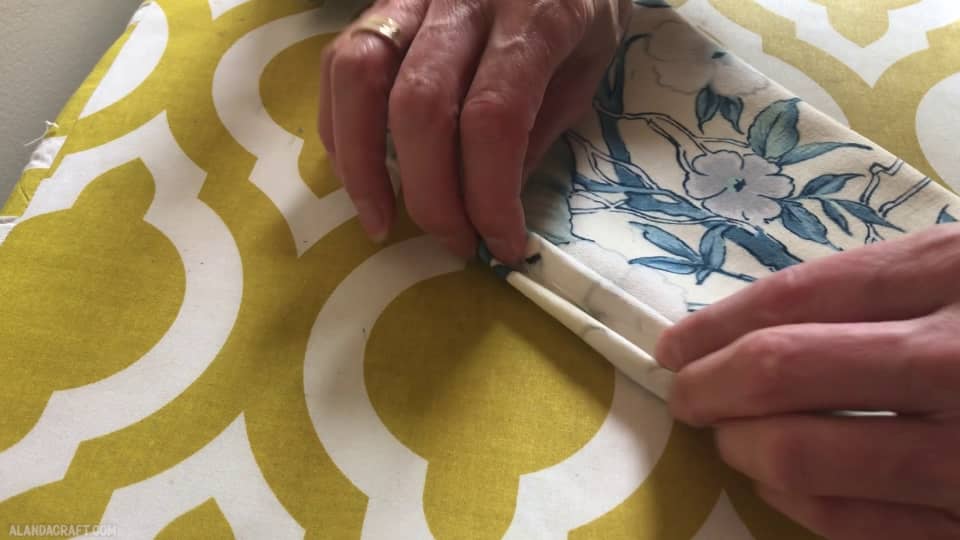
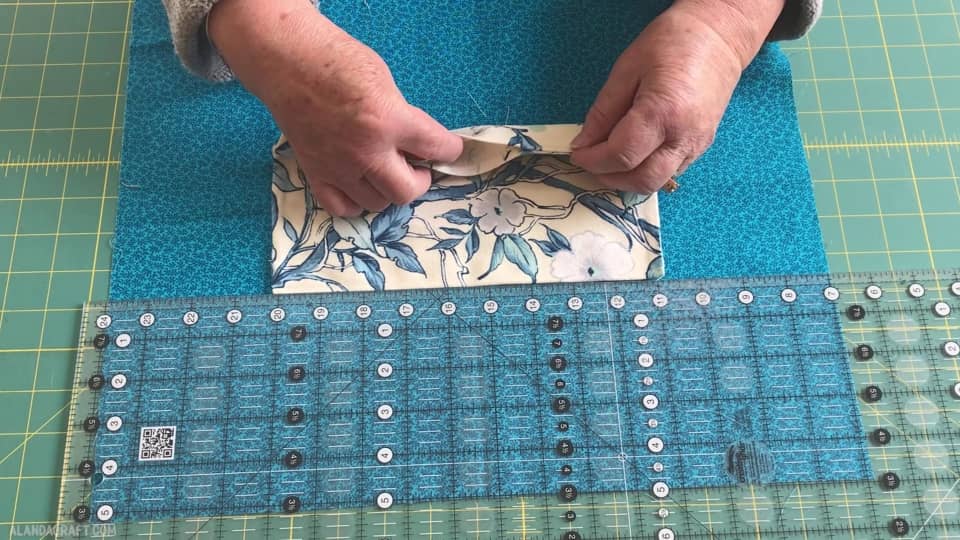
MAKING THE INSIDE POCKET
To make the pocket you need a piece of fabric measuring 10” x 12”.
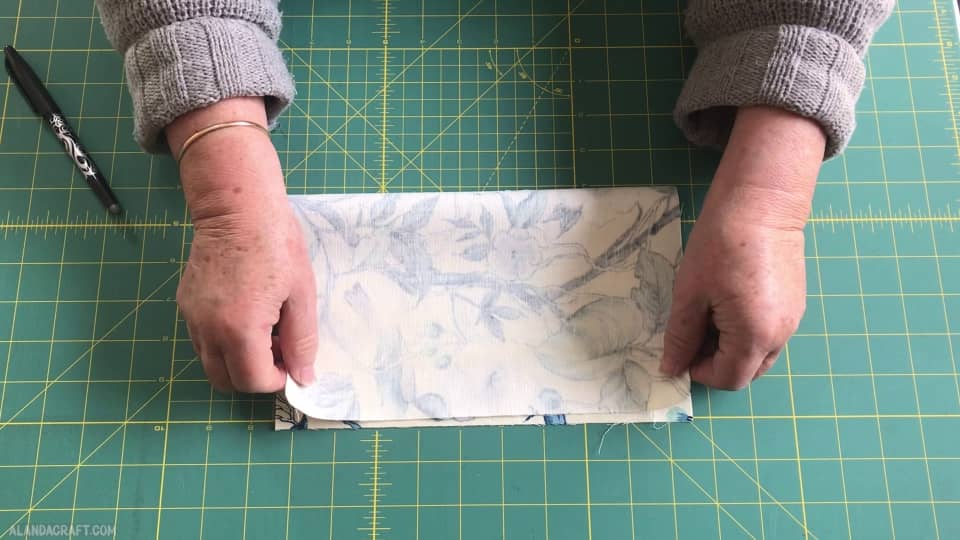
We start by folding the fabric in half.
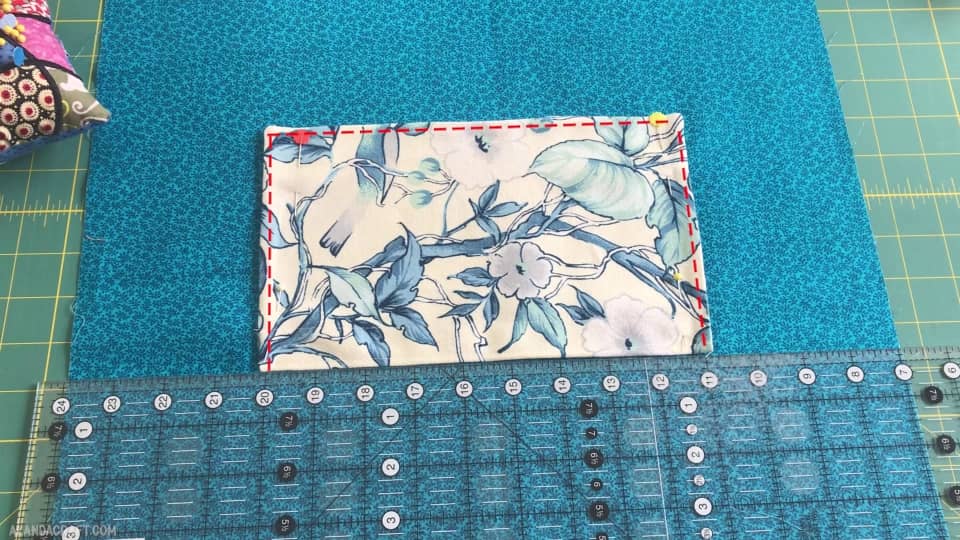
Draw a couple of marks along the top edge for the opening because we need to turn this pocket through after we have sewn it. So you will want to leave an opening of about 3” wide.
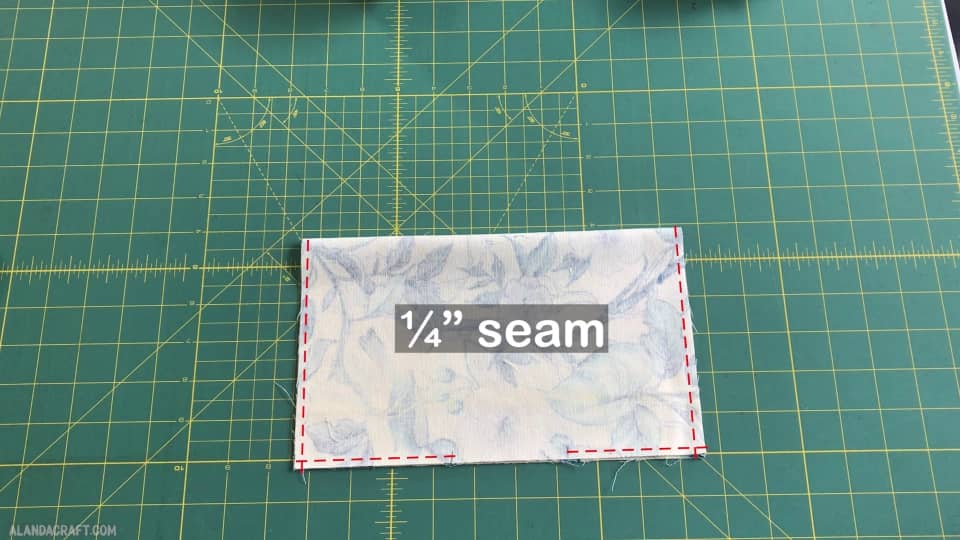
We are going to stitch along the top and sides and we will start and end with a backstitch at those marks that we drew.
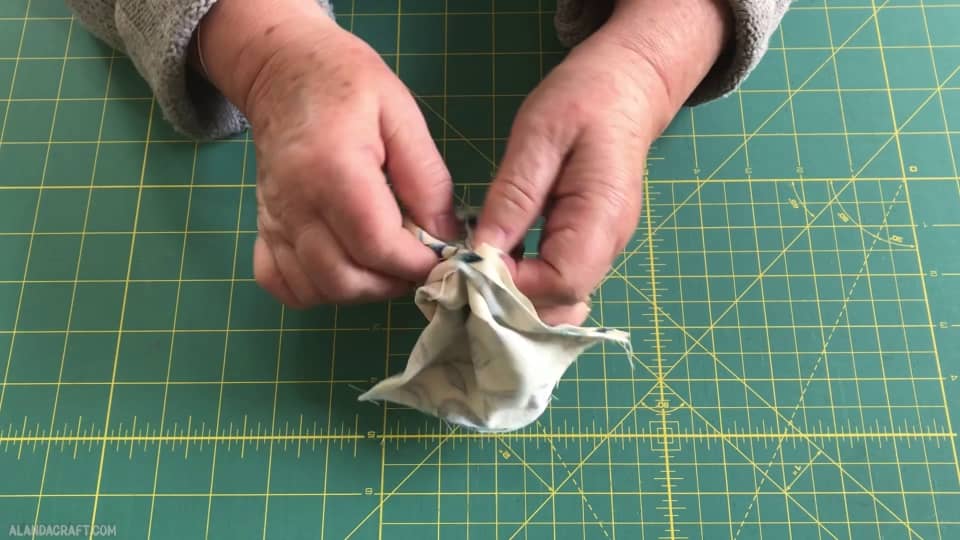
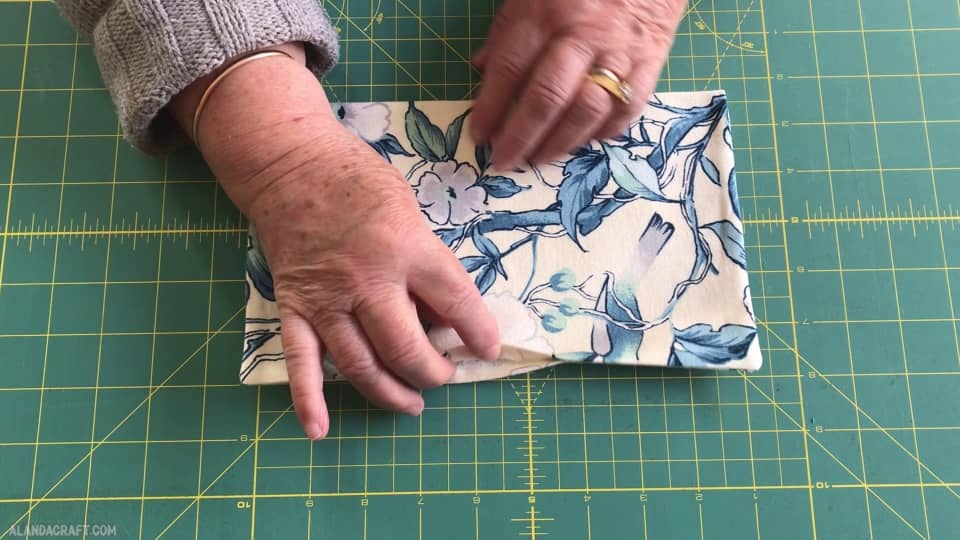
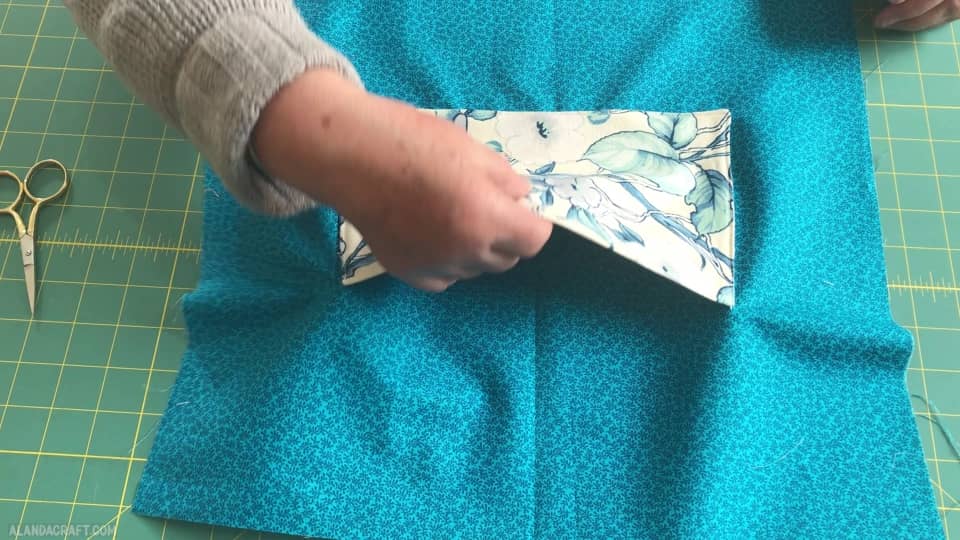
Now we just need to turn it through that opening.
Push out those corners using your tool of choice. I’m using an apple corer but you can use a chopstick or your scissors. Just make sure it’s something blunt so you don’t tear through your fabric. And if you do use scissors be very careful not to push too hard as apart from the possibility of tearing the fabric you could also rip you stitches.
Take the pocket piece to the iron and press it taking care to fold in that opening so that the sides are nice and even.
So you can see that this is the opening which is the bottom of our pocket and we want to sew along the top here and here to give the pocket a nice finish.
I’m going to add a couple of stitches to the pocket just to add a little bit of an embellishment. So I am sewing along the the pocket about an ⅛” from the top for the first line and then moving down about an inch to sew the second line.
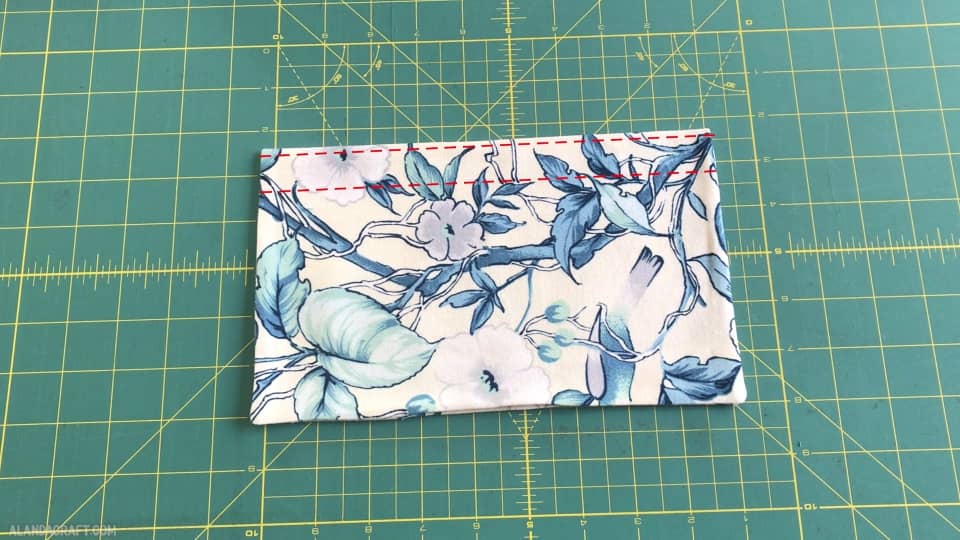
And you can see how that looks there.
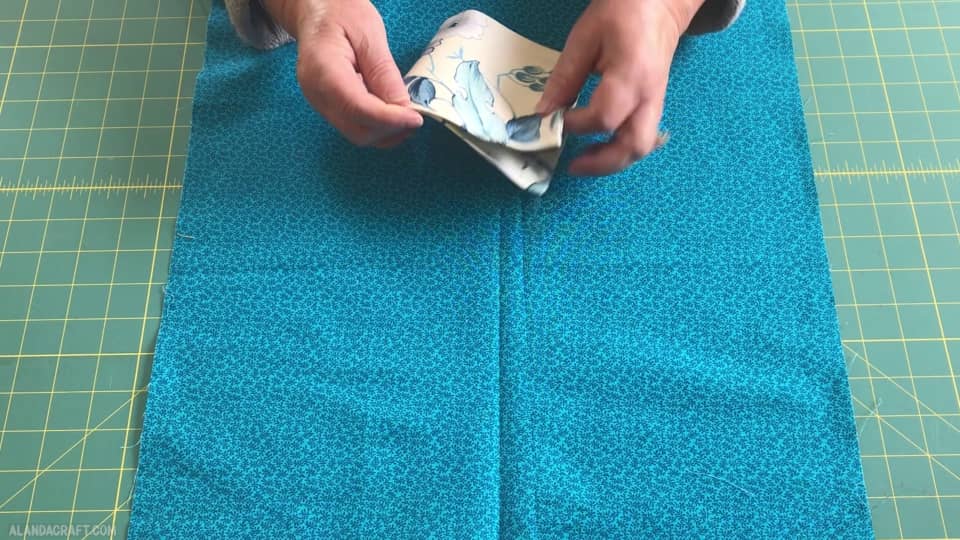
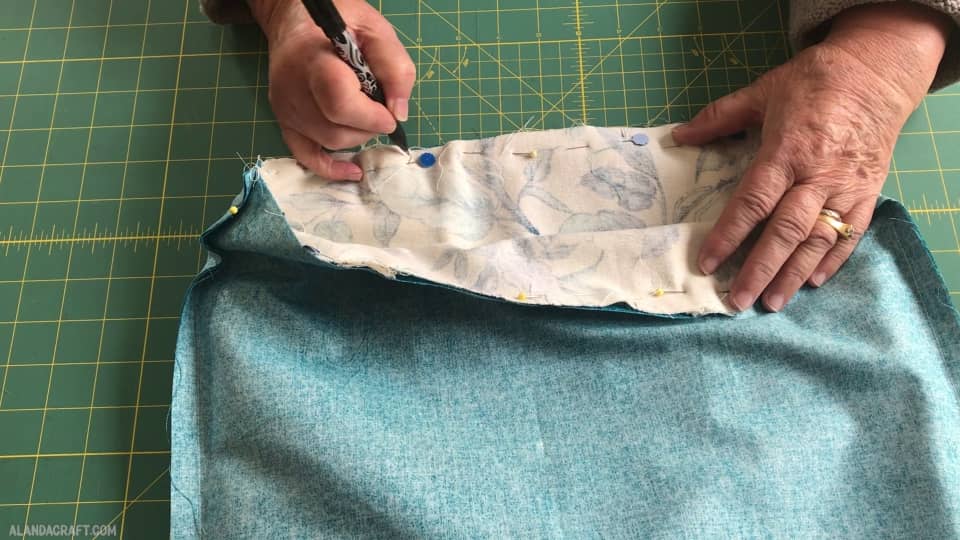
SEWING THE POCKET TO THE LINING
The next step is to sew our pocket to our lining fabric and I have a piece of fabric here that measures 17” x 34”.
I’m going to open it up and then turn it over and I am going to fold it in half and create a crease in the centre. The reason I’m doing this is that it will help me easily centre my pocket piece on the lining.
So I’m just finger pressing it and then I’ll open it up again and take my pocket piece and do the same. So I’m folding it in half to create a crease in the centre.
Now I can place the pocket on that crease line so that it lines up nicely. I’m also going to grab my ruler because I want the pocket to be 5” from the top of the bag like so.
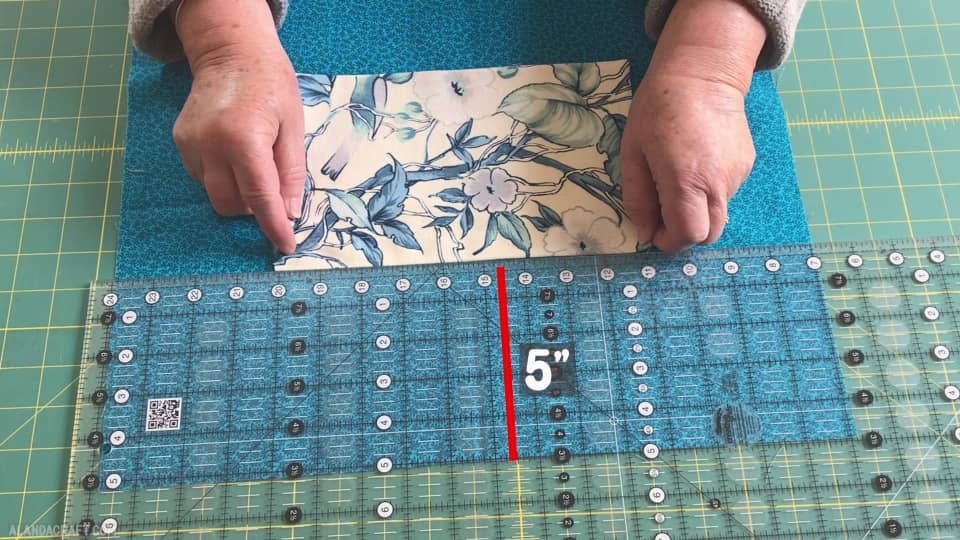
NOTE – Make sure to place the pocket with the opening side along the bottom.
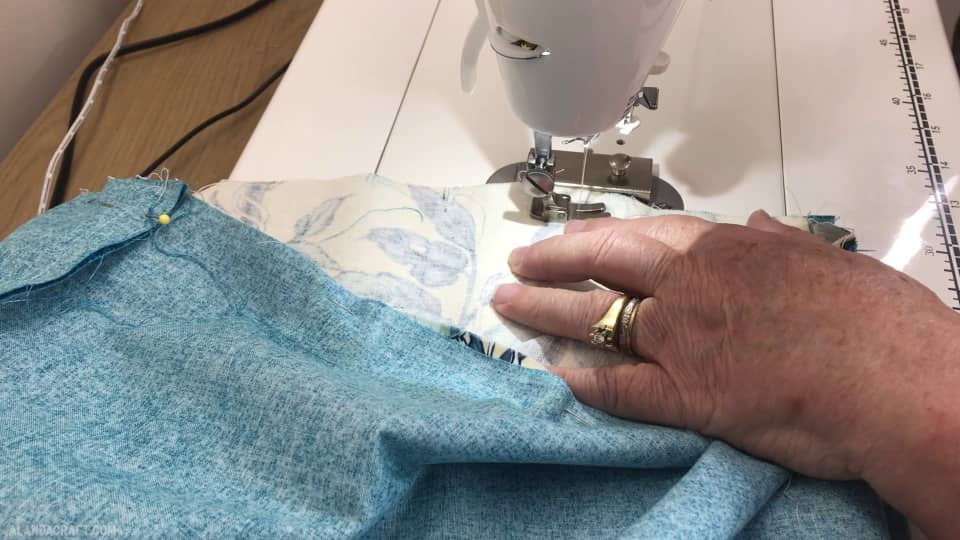
Pin around the pocket to hold it in place and we are going to sew it to the lining about an ⅛” seam.
NOTE : Remember not to sew along the top edge. That is our pocket and needs to be kept open.
I started with a backstitch and I had my needle in the down position at the corners so that I could pivot around the edges. We don’t want to sew off the edge. And I ended with a backstitch.
And that’s what I pocket looks like.
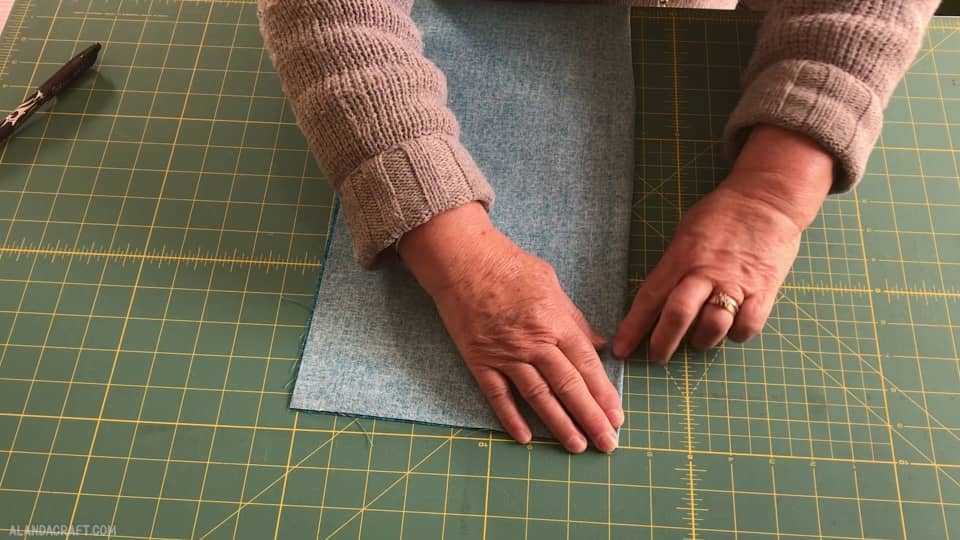
SEWING THE LINING
We are ready to sew up our lining piece and this is pretty easy. Fold the bottom end up and over and line it up along the top edge.
Pin down each of the sides, just to keep everything in place.We are going to sew along each of the edges with a ½” seam. And we are to start and end with a backstitch on each side.
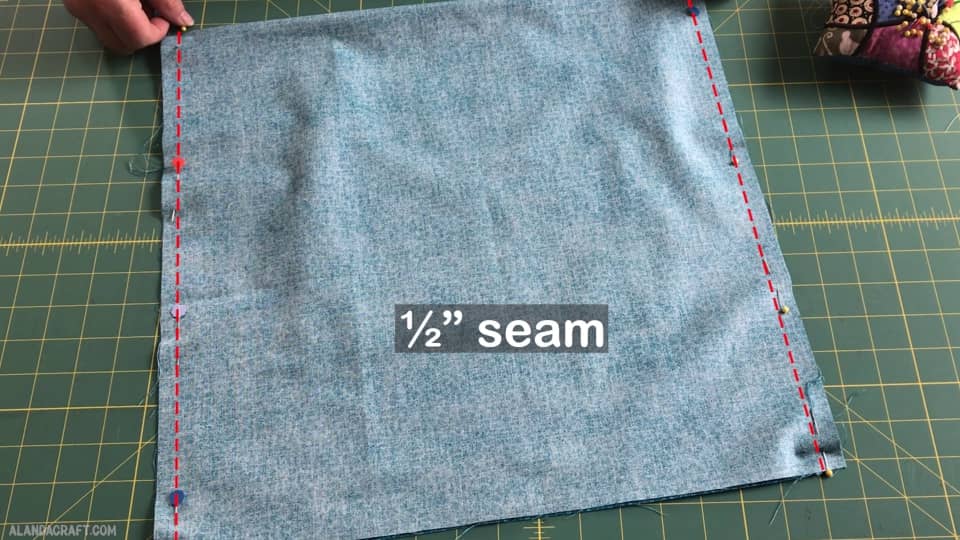
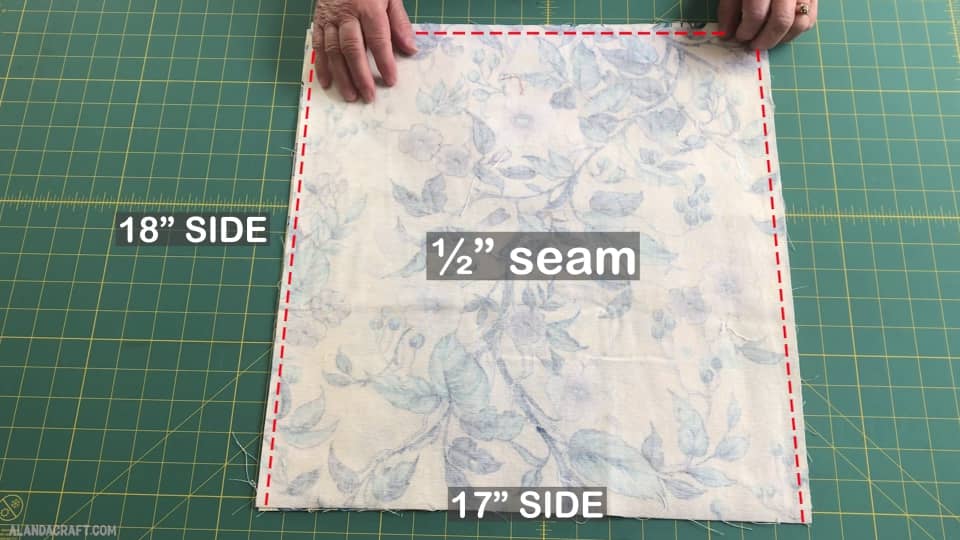
SEWING THE BAG PIECES
The next thing we are going to do is sew the main bag pieces together. I have my two pieces of curtain fabric that each measure 17” x 18”.
What I am going to do is place one piece of the fabric on top of the other piece with the right sides facing each other. Take your time to line them up nicely. And if you are using a directional print as I am, make sure the prints are facing the right way.

I am going to sew along the edges a ½” seam.
Starting with a backstitch, I’ll sew down one side and sew right off the edge, then I’ll start again and sew along the bottom, again sewing off the edge, then back up the other side and finishing with a backstitch.
CLIP THE CORNERS
At this point, I decided to clip the corners of the bag piece just to reduce a bit of the bulk in the corners, but that is completely optional.
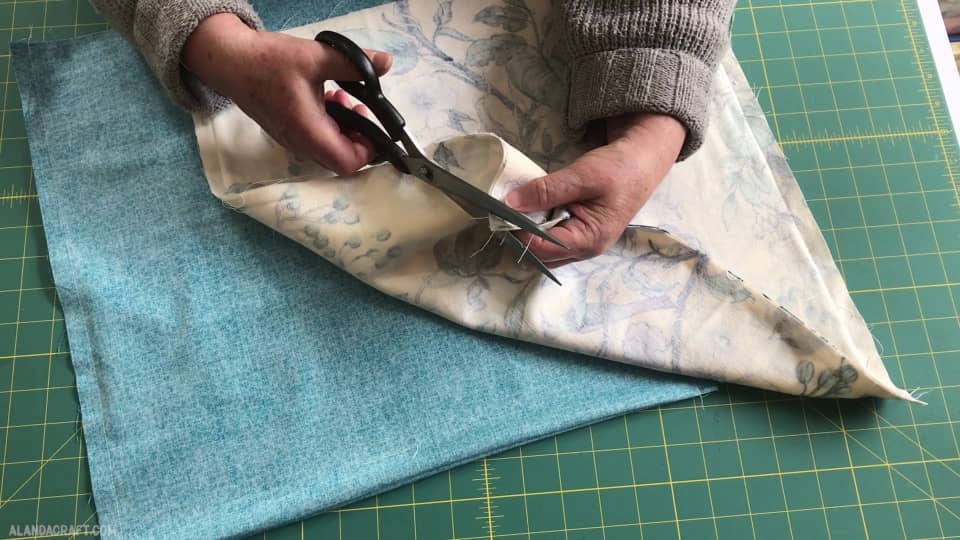
Then I turned it though in readiness for the next step.

ADDING THE HANDLES
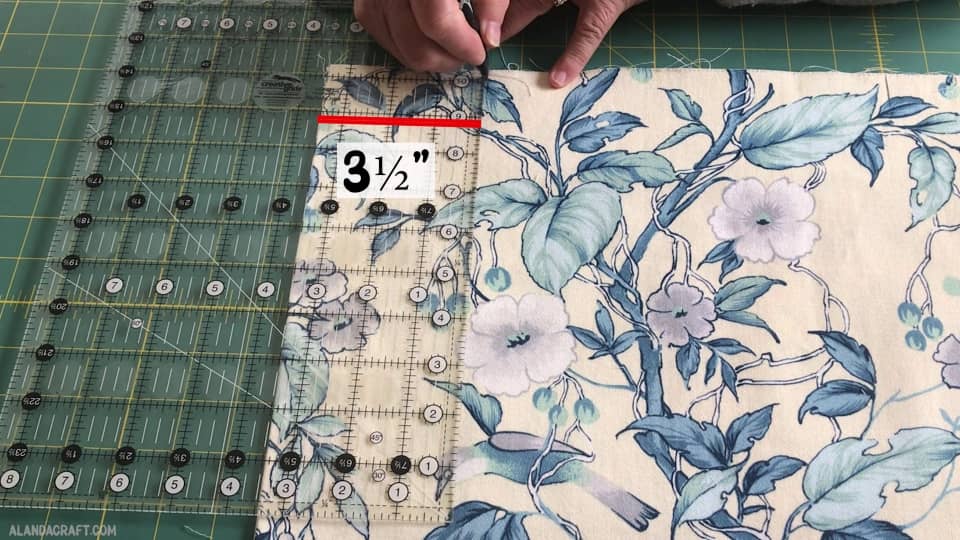
We are ready to add the handles and to do this I am going to make a couple of marks on the fabric to help me align them.
Draw a mark 3½” from the side seam on one side of the bag.
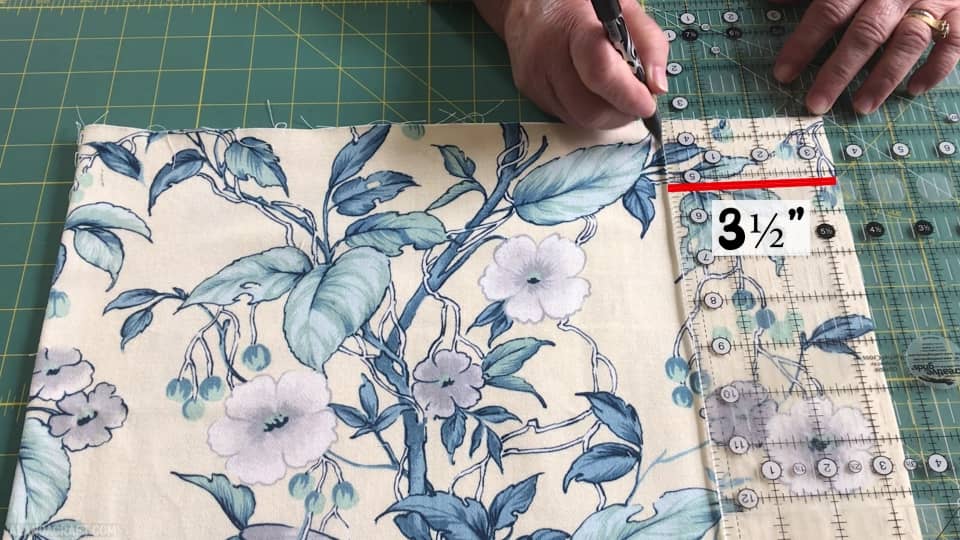
Do the same on the other side.
Repeat the same process on the back of the bag. You can flip the bag over and use your ruler to make the 3½” mark, but I am taking the easy way out by folding back the top to line it up with the previous marks I made.
Now we just take one of our handles and line it up along the mark that we made, and pin the handle in place.
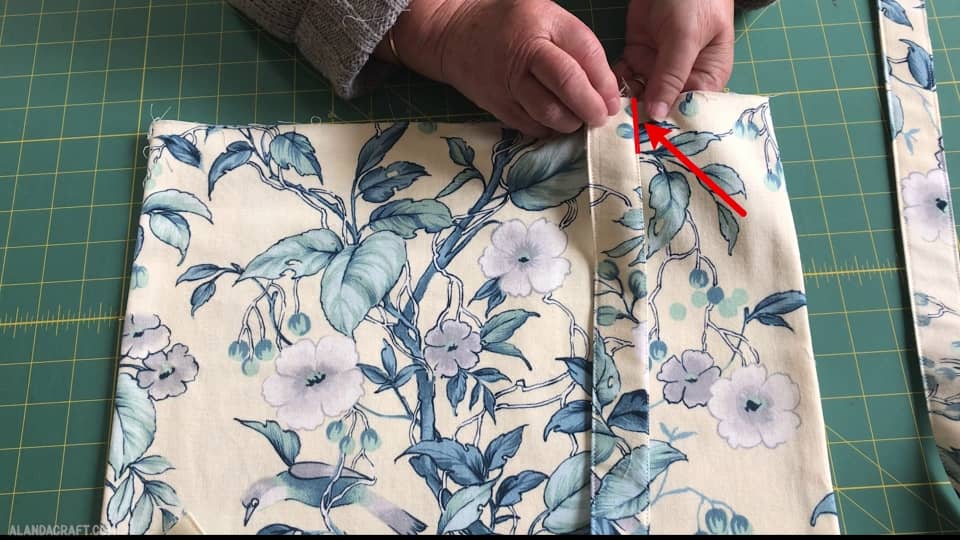
Do the same on the other side. Line it the other end of the handle along the mark and pin it in place.
This is the time to check to make sure your handle isn’t twisted. I have done this before when rushing to finish a bag and it ends up taking way more time as you end up having to unpick everything. Frustrating to say the least, so take the time now to make sure the handle isn’t twisted.
Take the second handle and repeat the process on the other side of the bag.
At this point, you could go and sew down those handles just to hold them in place. I don’t do that but it can make the next step a little easier, and it means you don’t have to remove a pin and repin it, which can lead to the handle slipping out of position. If you do choose to do sew them down, just sew them with about an ¼” seam.
SEWING THE BAG AND LINING TOGETHER
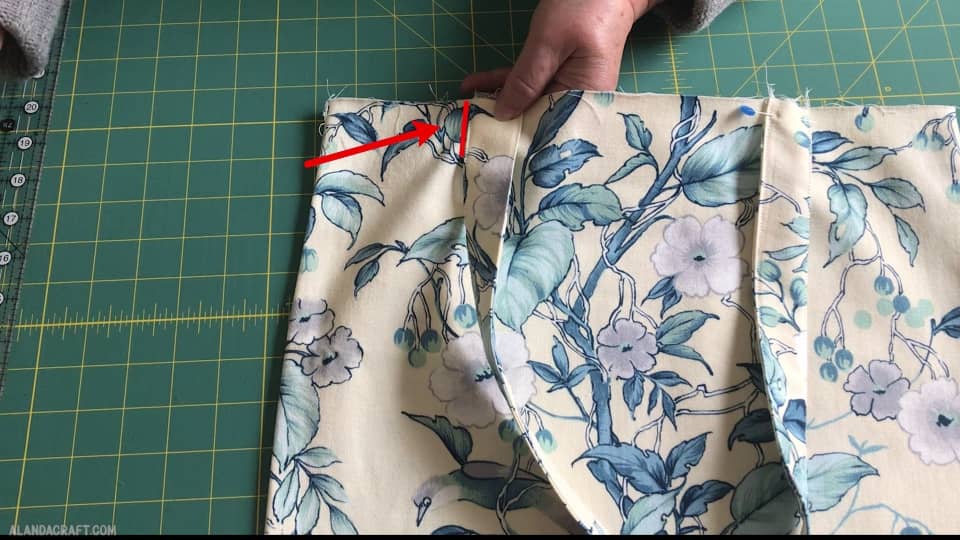
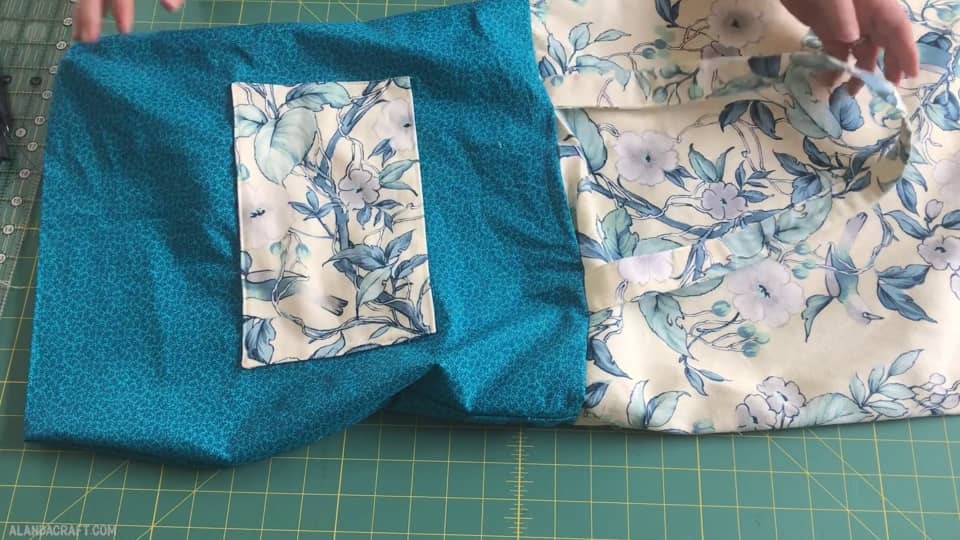
Next we need to place the main bag piece inside the lining piece. Notice how that the lining piece is facing the wrong side around at this point.
Line up the seam lines of both the main piece and the lining on both sides of the bag. You can see there that I have lined them up with one seam facing in one direction and the other seam facing in the other direction. Pin the seams together and do the same with the other side seams.
Once you have your side seams nicely lined up and pinned in place just pin all the way around the bag to hold everything in place. When you get to a handle, remove the pin and repin to hold all the layers together. If you’ve already sewn your handles down, you won’t need to do this but either way, just make sure the handles are laying flat when you do this.
Before you start take the bag to the machine to sew it, you need to make a couple of marks on the inside of the bag for your opening as you will be turning the bag through. I generally make it about 5” wide. This gives me a nice space to turn all the fabric through.
To finish the bag we just need to sew around the edge with a half inch seam. So I am starting at the first mark I made and doing a backstitch and as I come to a handle, I am going to back-stitch over it just to help reinforce it and give it a bit of strength at those points. And then I am going to sew all around the edge until I get back to the second mark I made and do a back-stitch to finish.
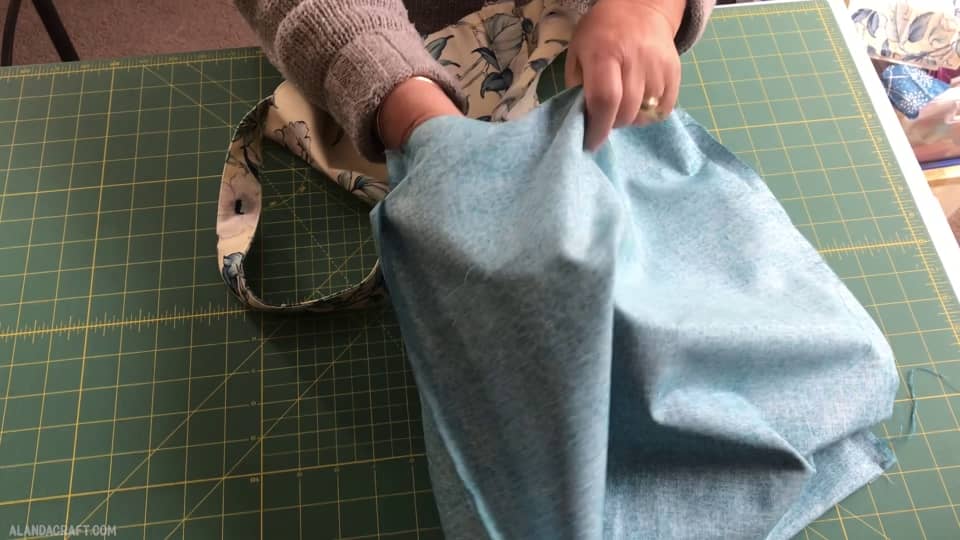
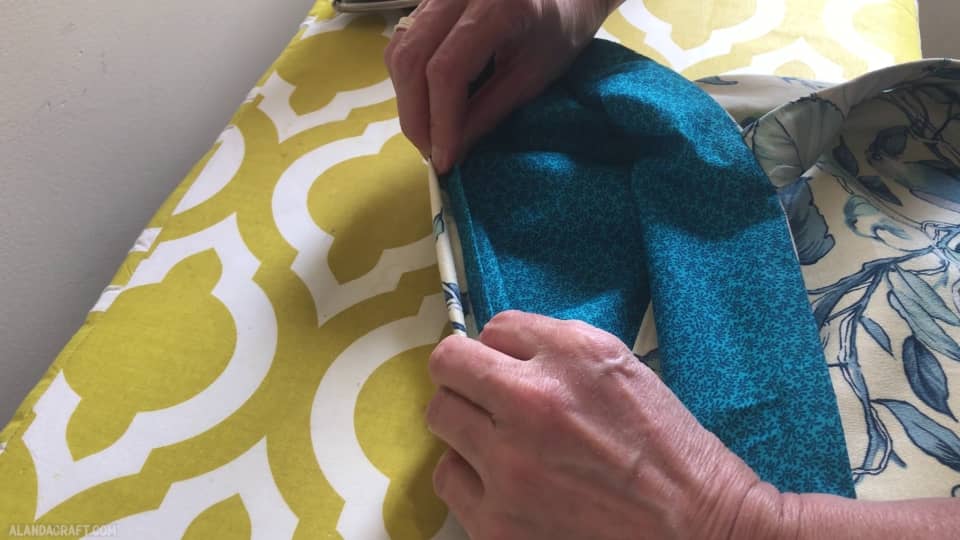
TURN THE BAG THROUGH
We are just about there. All we need to do now is turn the bag through that opening we made and then pop the lining inside the bag and just neaten everything up. Push the corners through nicely so that the lining sits nicely in the bag.
And then we take it over to the iron and give it a press paying particular attention to the opening. Fold the opening so that it all lines up neatly and give it a good press, then continue to press all around the edge of the bag.
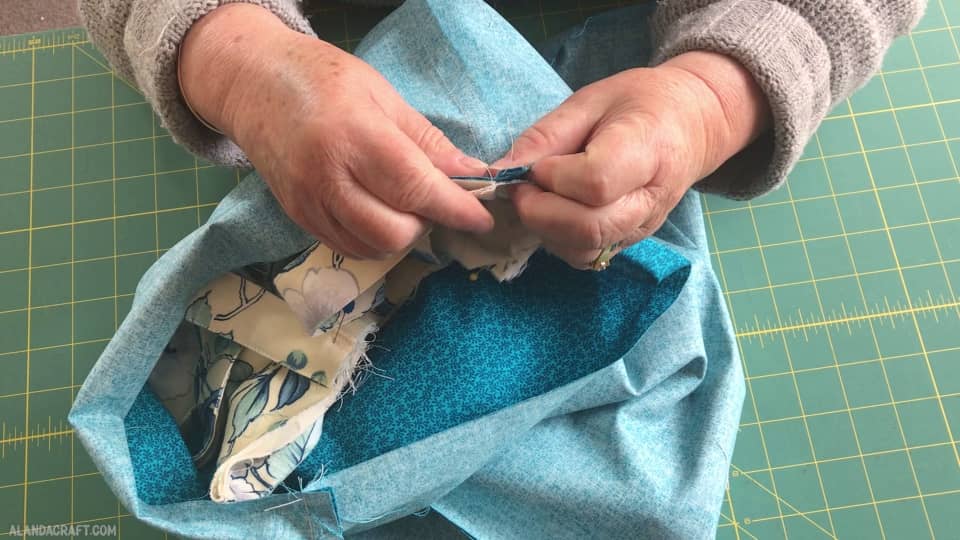
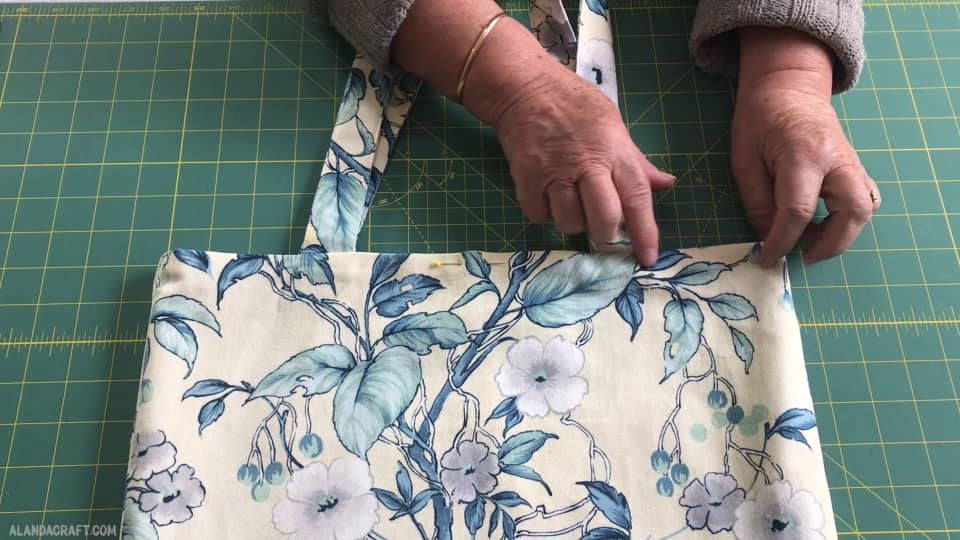
TOP STITCH
At this stage we still have an opening at the top so I am going to pin that in place.
And obviously we need to close that opening and we also want to create a nice finish around the top of the bag so we are going to topstitch all the around with about an ⅛” seam starting and ending with a back-stitch.
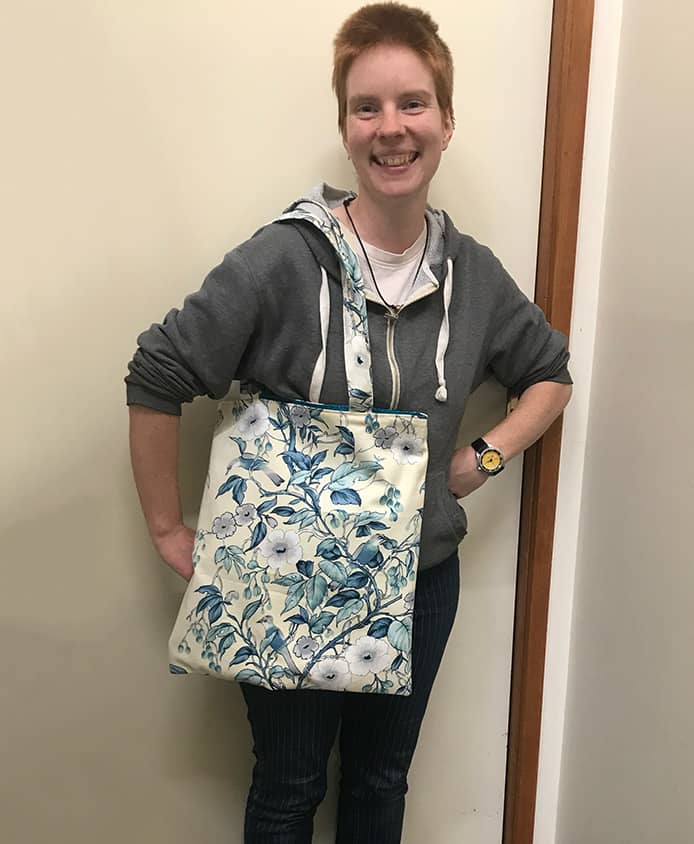
And there you have it, our bag is complete, and CeNedra is delighted with it. Isn’t it great what you can make from a piece of old curtain material. Repurposing fabric is fun.


Leave a Reply