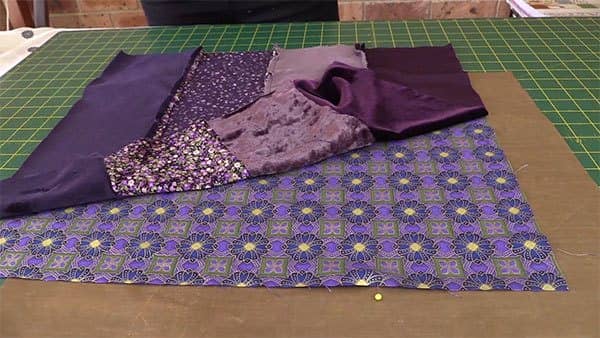
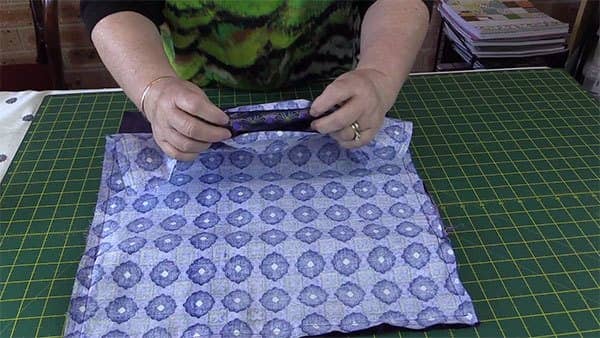
This bag is made from recycled velvet. We visited the local op-shop and picked up some old velvet skirts and tops that were just ideal for this bag and it was economical as well.
Watch the video tutorial below or scroll down for the written instructions
What You Need
- 8 strips of velvet fabric measuring 20″ w x 5″h.
- 2 pieces of lining fabric 16″w x 18″h.
- A piece of cord.
TOOLS USED IN THIS TUTORIAL
You can check the latest prices at Amazon by clicking on the links below:
- Creative Grids Ruler 8½” x 24½”
- Olfa 24″ x 36″ double-sided healing mat
- Olfa 60mm rotary cutter
- Oliso Iron
- 505 Spray Adhesive for Fabric
Method
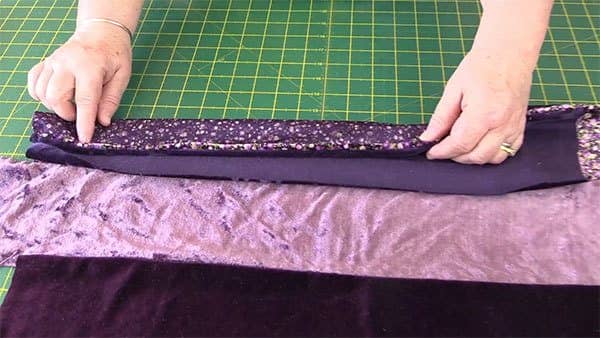
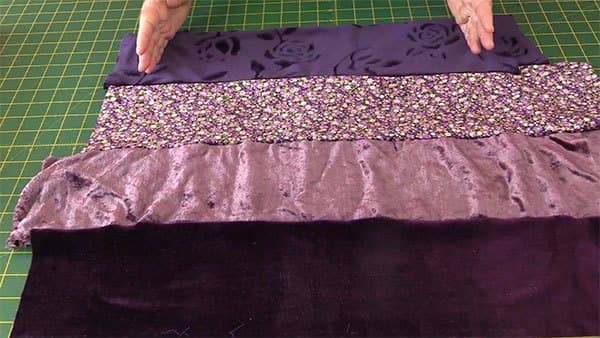
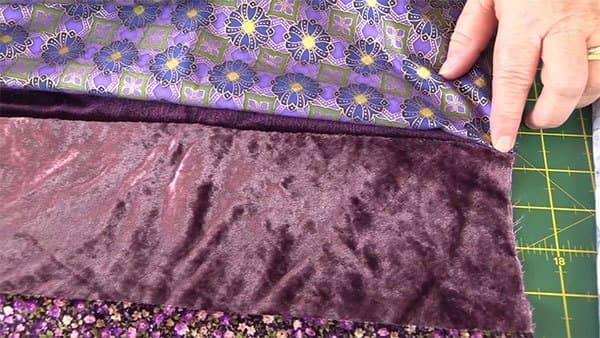
- Sew 4 of the strips together with a ¼” seam allowance. This is for the front of the bag.
- Sew the other 4 strips together with a ¼” seam allowance. This is for the back of the bag.
- Cut each piece so that it measures 16″ x 18″.
- I had all sorts of problems with this fabric as it slipped and moved constantly. That is why I started out cutting it at 20″ in width to start with. It gave me plenty of fabric to allow for mishaps.
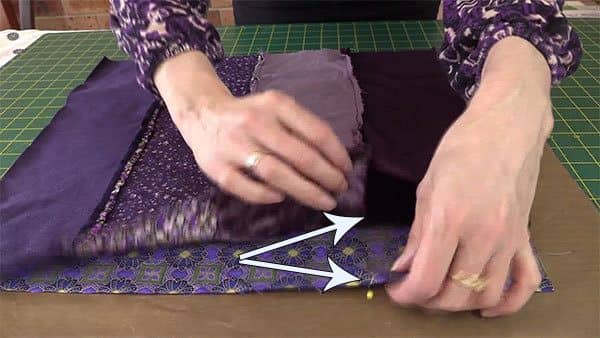
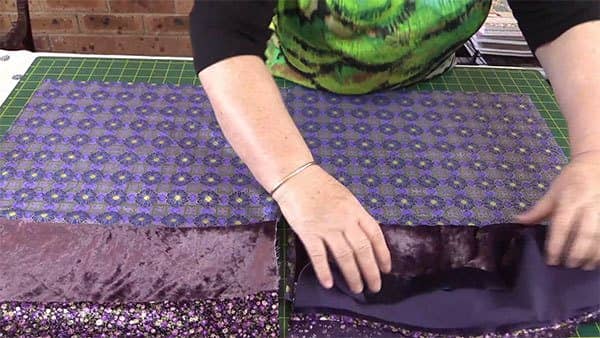
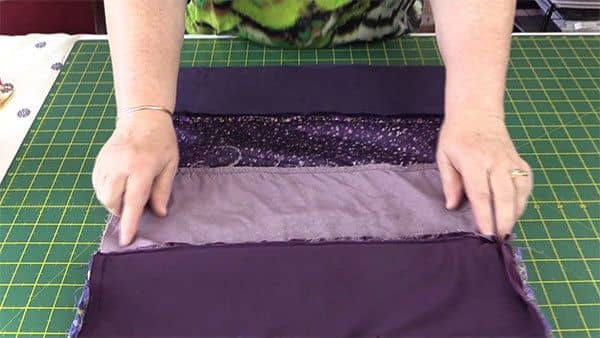
- Lay one of the lining pieces on the table – right side facing up.
- Lay the velvet piece on top – right side facing down.
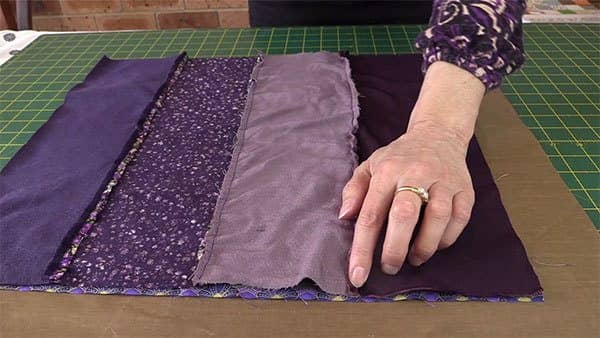
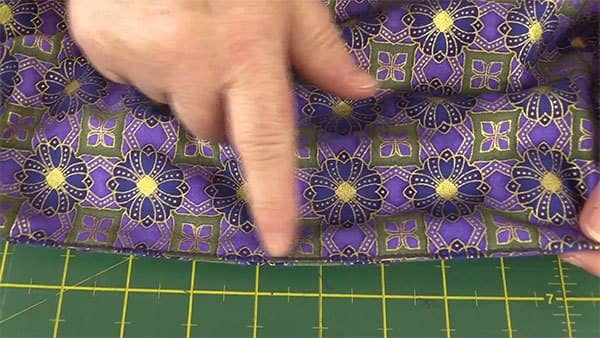
- Pop a pin in the lining piece only. Place this to match the seam line of the velvet piece.
- Alternatively, you can measure your bottom piece of velvet fabric and place the pin the same distance from the bottom.
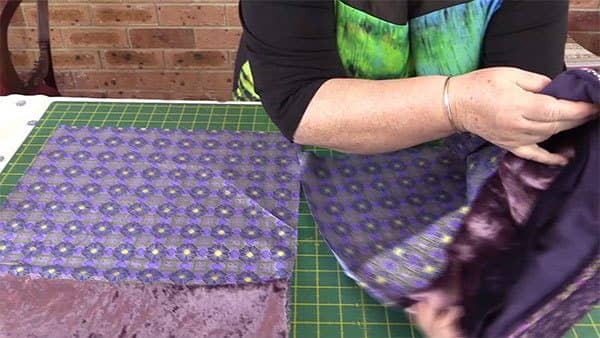
- Fold the velvet piece back out of the way.
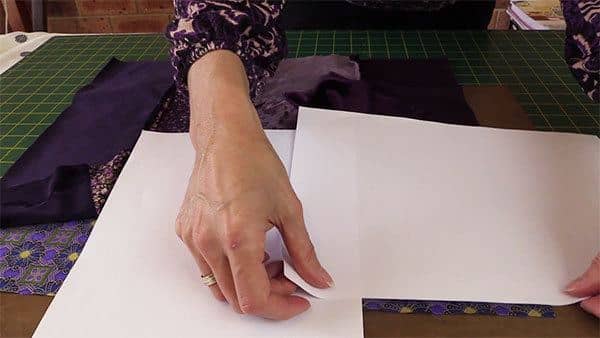
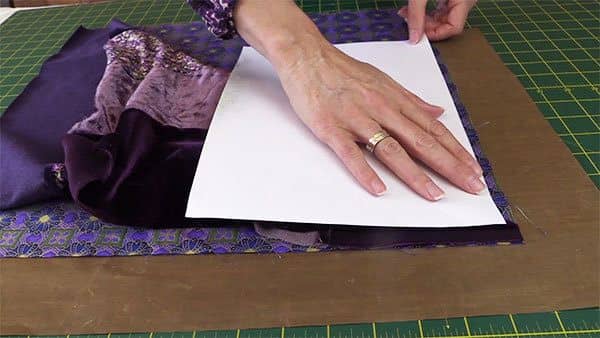
- Place some A4 (or other) paper just covering the pin and just having the seam line amount of fabric exposed.
- Spray with adhesive spray. We found we needed a heavy spray.
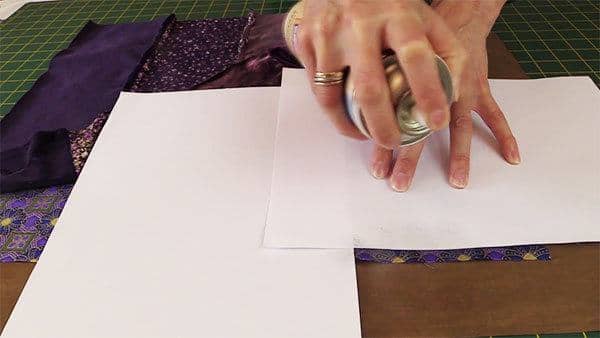
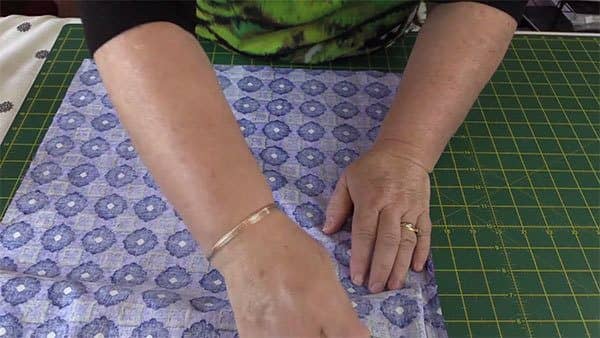
- Place the velvet piece back onto the lining, matching the side edges and press firmly in place over the adhesive.
- Leave to dry.
- Repeat this process along the bottom edge
- Repeat this process on the other side edge.
- Place one velvet piece on top of one piece of lining and place right sides together.
- Starting with a backstitch sew from the seam line of the bottom piece of velvet, across the bottom of the bag and up to the seam line of the bottom piece of velvet on the other side.
- Sew with a ½”seam.
- End with a backstitch.
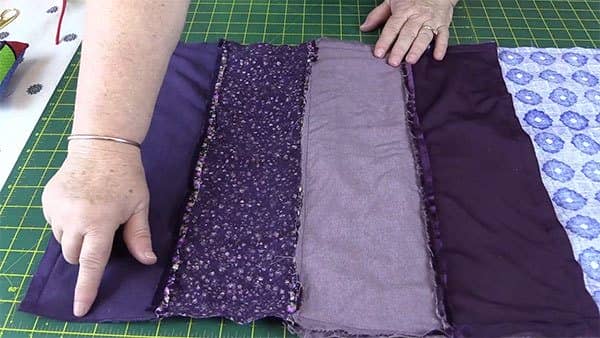
- Lay the pieces on the mat with the velvet fabric facing up.
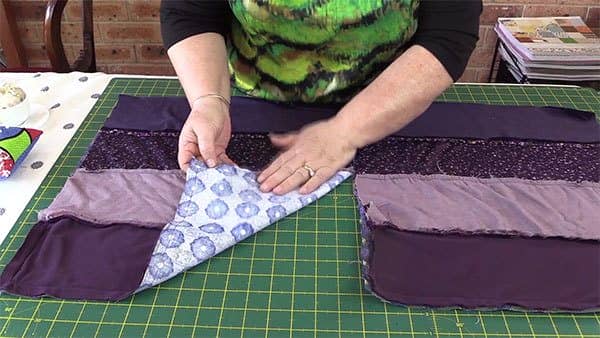
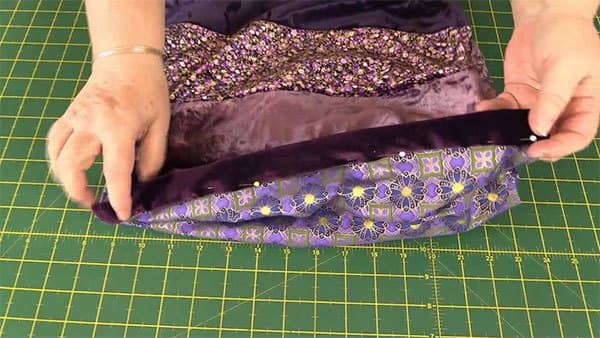
- Take one piece and fold the velvet fabric back as far as the previously sewn seam.
- Do this with each bag piece.
- Lay one piece on top of the other, right sides together.
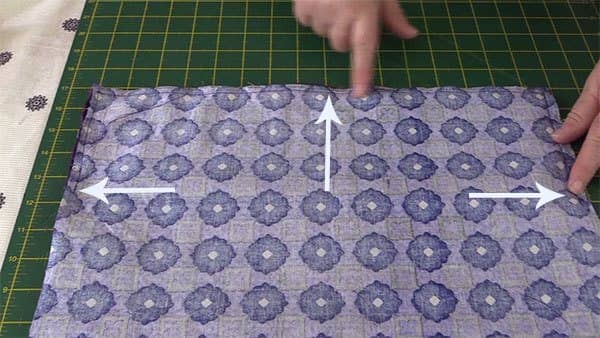
- Smooth out the pieces and make sure the edges of the lining line up.
- Pin the two lining pieces together.
- Make sure the velvet pieces are out of the way. You don’t want to sew over them.
- Pin down one side and when you are pinning along the bottom edge, leave a gap of about 4-5″. This gap will be used to turn the bag through later on.

- Sew with a ½” seam.
- Start with a backstitch, sew down one side, pivot your needle at the corner and sew along the bottom until you come to the first pin where your gap is going to be. Backstitch.
- Move your needle to the pin on the other side of the gap. Remove the pin and backstitch.
- Continue sewing along the bottom edge and up the side.
- When you reach the pin at the base of the velvet fabric, backstitch.
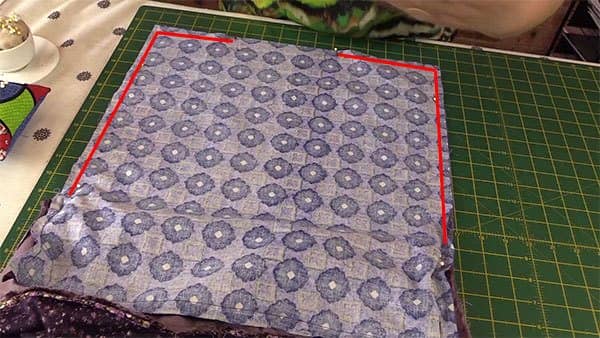
- So here is the lining sewn with a ½” seam and showing the opening in the bottom edge.
- Now its time to sew the velvet pieces together.
- Spray the seam lines with basting spray as shown previously.
- Start sewing from the seam line that was sewn when we started constructing the bag.
- Sew around the edge with a ½” seam.
- Start and end with a backstitch
- Do Not leave an opening in the bottom edge. We only need one opening and we have that in the lining piece.
- Here are the velvet pieces sewn together.
If you want to box the corners you can check out our tutorial on how to do that here.
- Turn the bag through the gap in the bottom of the lining.
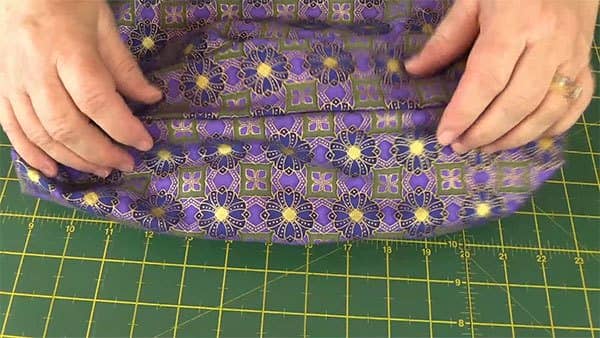
- Push the lining into the bag.
- Push out the corners.
- Top stitch down the opening edge, across the bottom of the opening and up the other side.
- Start and end with a backstitch.

- Sew up the opening in the bottom of the lining.
- You can hand stitch this together or topstitch it on your machine.
- As you can see here, I have machine stitched the opening together.
- Turn over approx 1″ on the top edge. This will vary depending on how wide your cord is.
- Pin in place.
- Do this on both sides of the bag.
- Stitch along the pinned edge.
- Thread your cord through the opening.
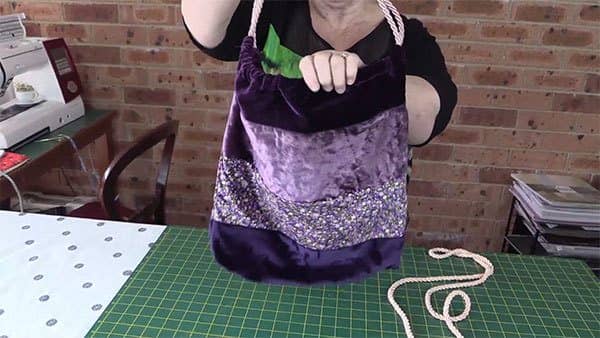
- You can see how to join the cord in the video.


Leave a Reply