I just love these journals. They are great to pop into your bag for shopping lists, to do doodling while your out and about or just jotting down reflections on your day as you sit in a cafe enjoying a coffee. And they make great gifts for family and friends.
They are great scrap busters as you can use odd bits of fabric left over from other projects.
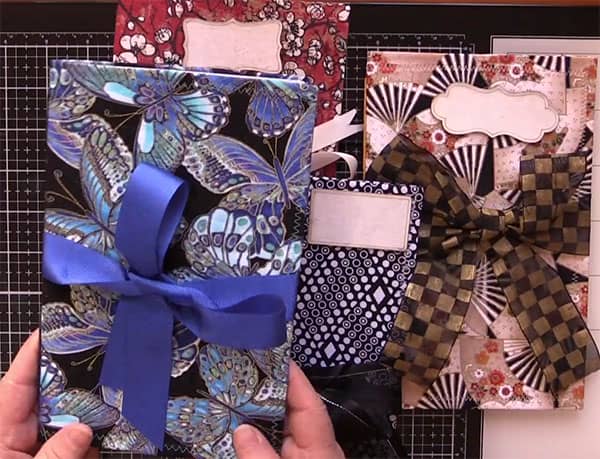
When making them as gift you can personalise the cover with fabric that suits the recipient. Maybe they love dogs or cats, clowns, space, flowers you can make a cover to suit their likes.
Then all you need to do is add some blank or lined pages and you have a handy practical journal to use.
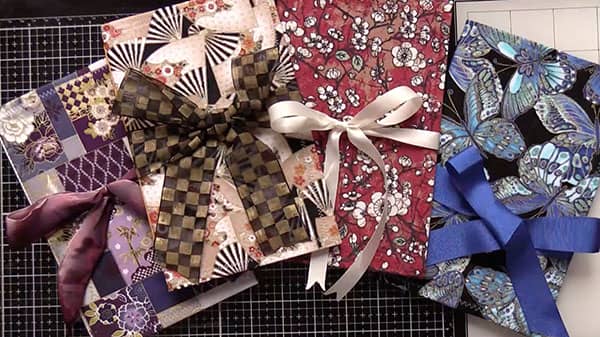
Materials used in this tutorial:
- Cardstock (we used 110lb) – 8½” X 11″
- Fabric for cover (we used cotton quilting fabric) – 10″ x 12½”
- Fabric for liner – 8″ x 10½”
- Fabric Glue – I used Creative Craft Fabric Glue but I do have Aleene’s Fabric Glue which is excellent. ( I just happened to pick up the nearest glue on the table)
- 10 pieces of printer paper trimmed to 10½” x 8¼”. You can use tea dyed paper or any other paper (not too thick) that suits your purpose.
- Sewing thread to match your project
- Ribbon – about 40″
- Doll Sewing Needle
- Awl
- Twine
Watch the video tutorial below or scroll down for written instructions
(Can’t see the video? You may have an ad blocker installed.)
Method:
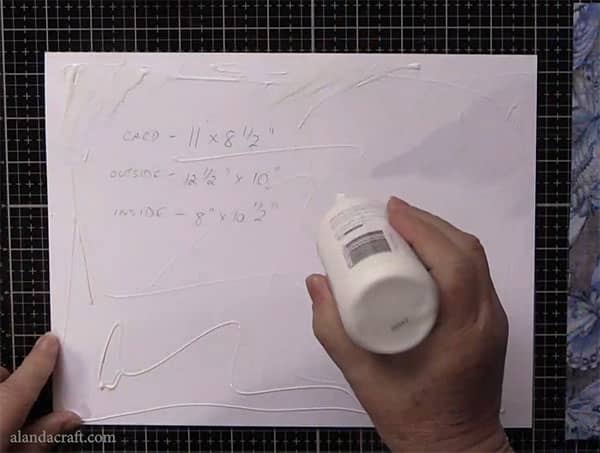
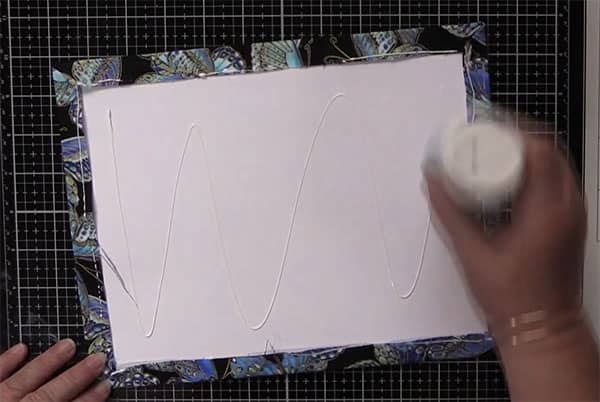
- Start by applying glue to the card stock, spreading it all over the sheet.
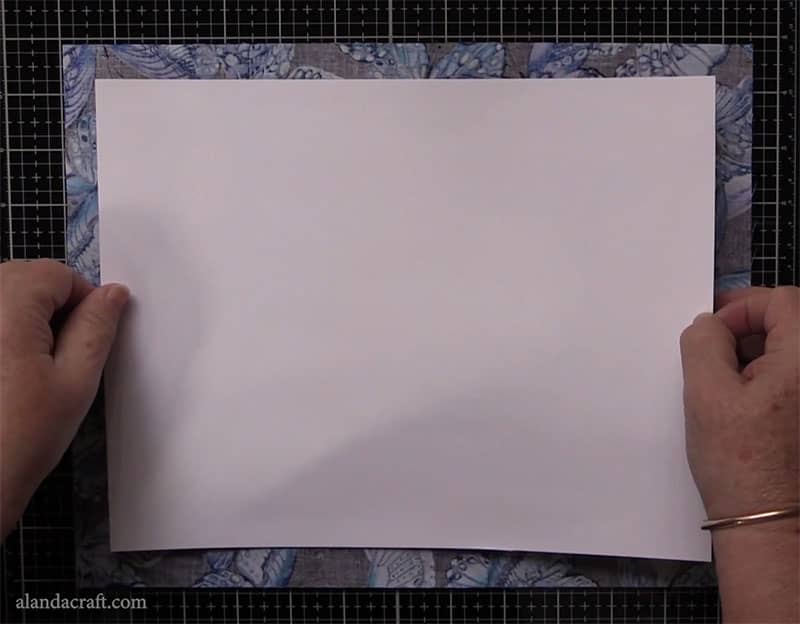
- Place the cardstock onto the fabric leaving approx ¾” of the fabric, extending all the way around the cardboard. It’s not critical that its absolutely even but it does make it easier when you come to do the mitered corner.
- Turn the piece over and work out any bubbles or wrinkles that may have formed on the front. Once you are happy that the fabric is nice and smooth, turn the piece over to the card stock side again.
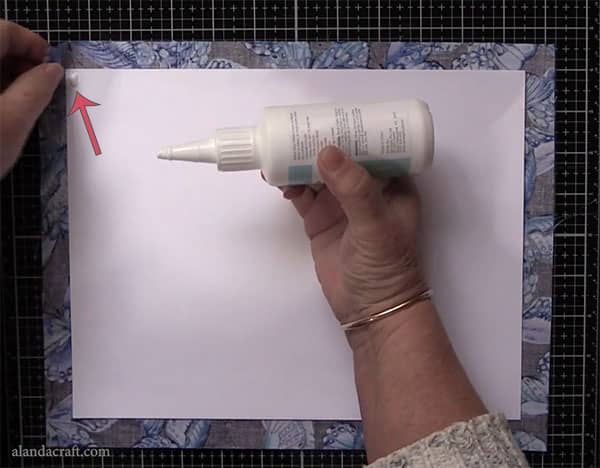
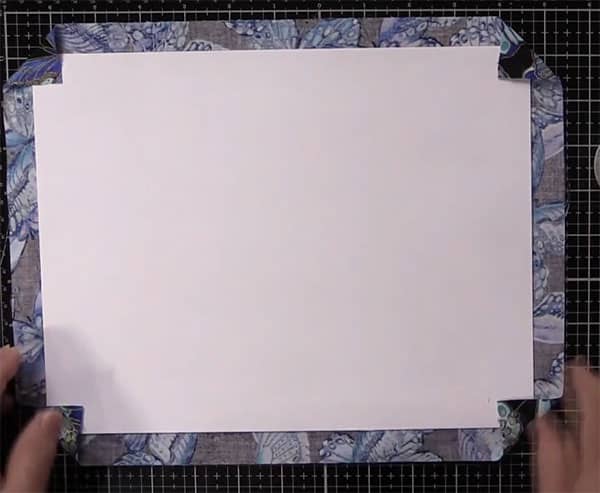
- Place a dollop of glue on each corner of the cardstock and fold over the corners of the fabric.
- Place a line of glue along the bottom edge of the cardstock and fold up the fabric edge.
- Repeat this on all four sides creating your miters as you go.
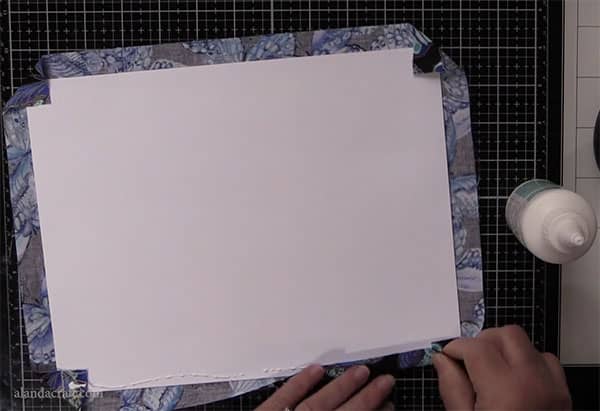
- Add glue to the edges of the fabric as shown below.
- Now add more glue to the rest of the card stock.
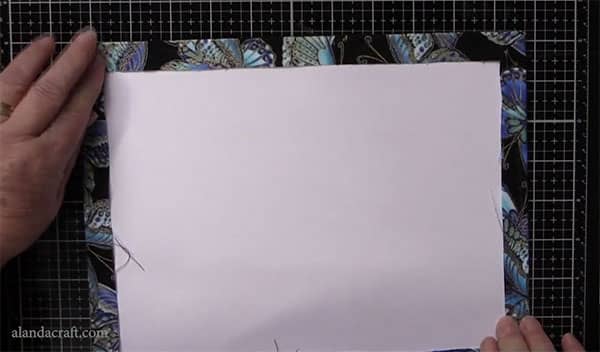
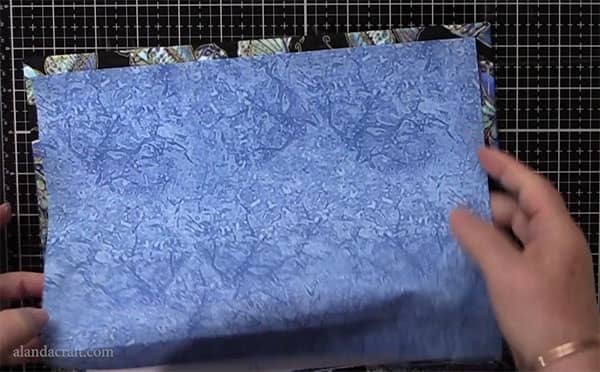
- It’s time to place the inside fabric piece down on top of the glue and gently smooth it in place.
- Work out any bubbles and wrinkles.
- Note that at this point, you can leave it to dry before moving on to the next step.
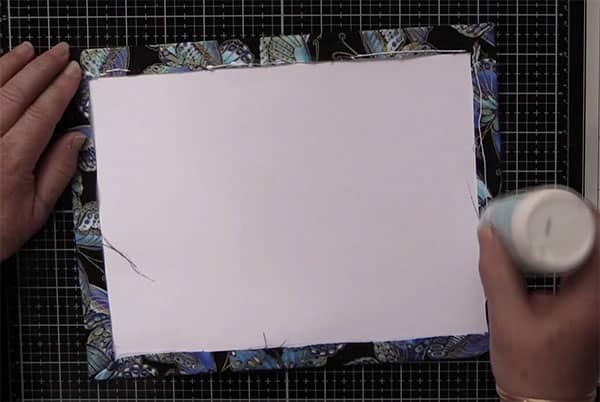
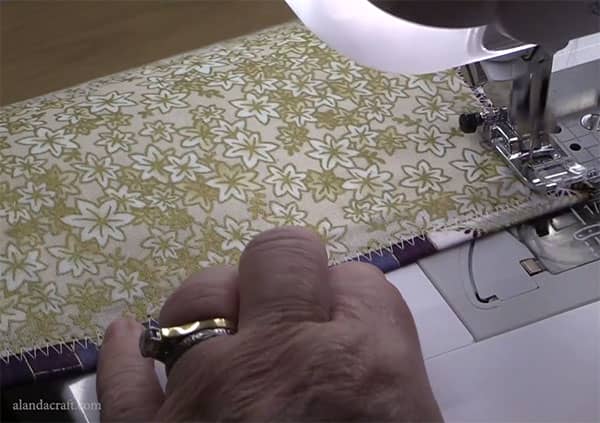
- Once you are happy that the fabric is nice and smooth it’s time to sew the liner in place.
- I used a width of 4.5 to zigzag around the edge, You can do whatever size stitch suits you. Just don’t have it too narrow or the paper may just tear away. You can use a decorative stitch if you want to.
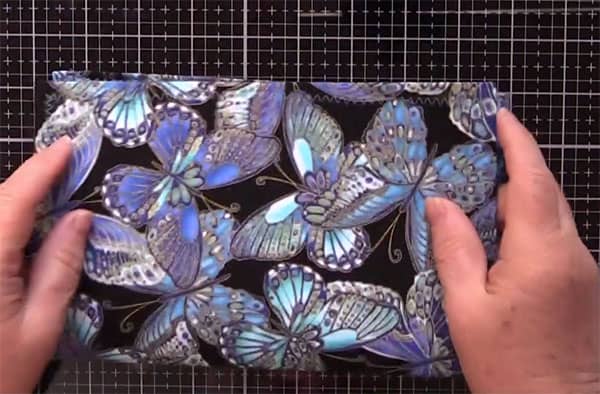
- Fold the journal in half, lining up the edges, and press down on the folded edge firmly. You can use a bone folder to do this but a good finger press works just as well.
- Take the 10 pieces of 10½” x 8¼” paper and fold them in half.
- Place the paper into the journal.
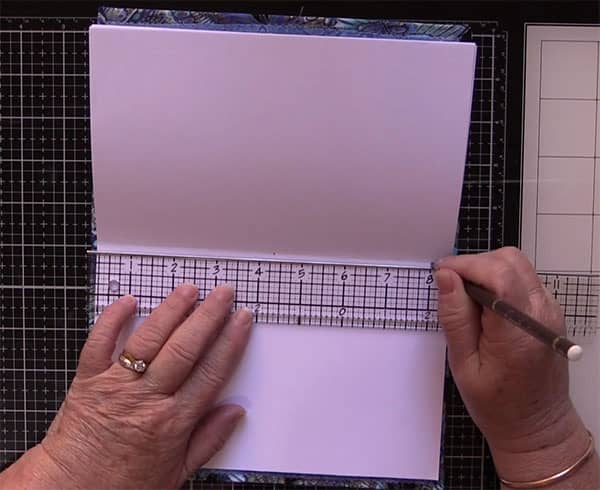
- Find the center of the paper and mark with a pencil.
- Measure a ½” from each end of the paper and make a mark with a pencil.
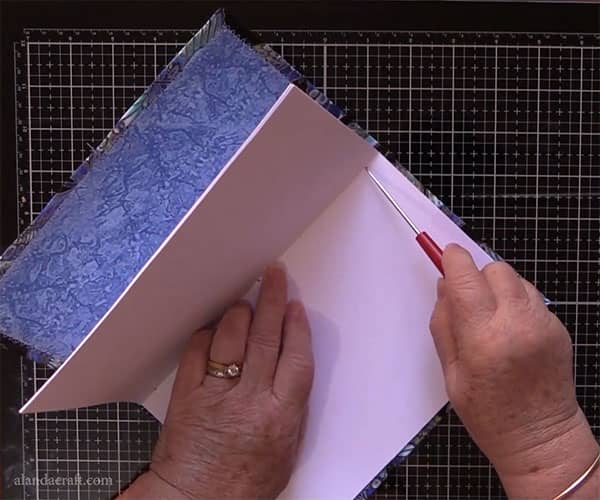
- Keeping a firm hold on the cover and the paper, push the awl through each of the holes, making sure to go through all the papers and the cover. I generally start with the center hole. Make sure to keep you fingers and hands out of the way of the awl as it comes through. Getting the awl through does take a bit of pressure and you could do yourself a nasty injury as awls are very sharp.
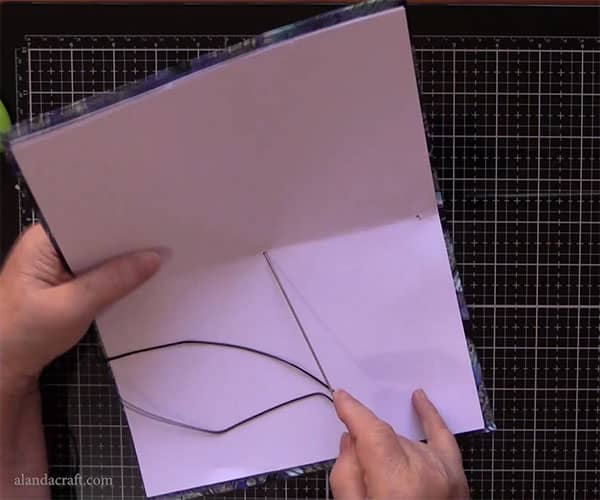
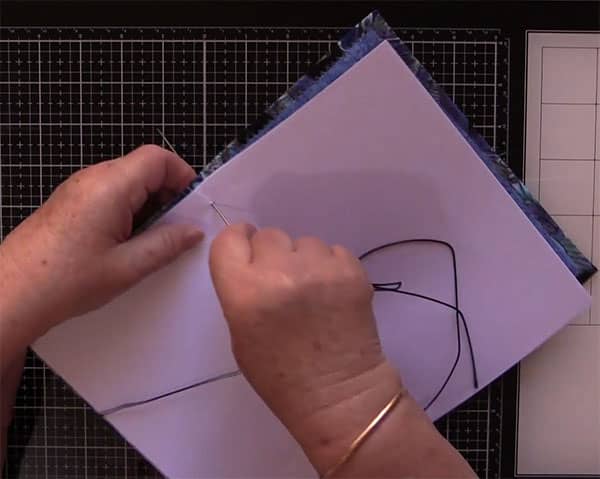
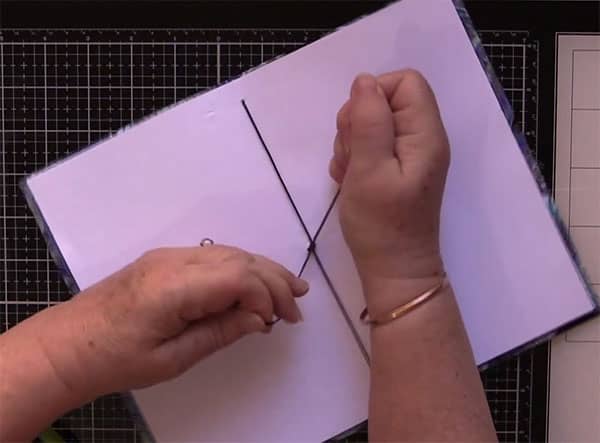
- Once the holes have been made. Take the doll sewing needle, threaded with the twine, and push it through the middle hole, from the inside of the journal.
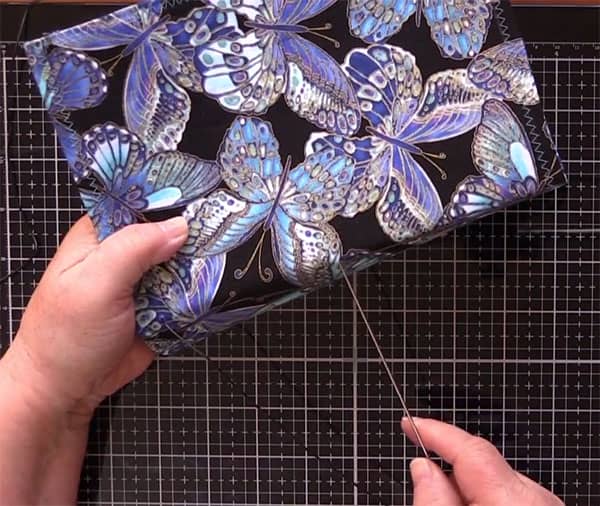
- Take the needle up to the top hole on the outside of the journal and push it through the cover and the pages.
- Now on the inside of the of the journal take the needle right down to the hole at the bottom and push the needle through.
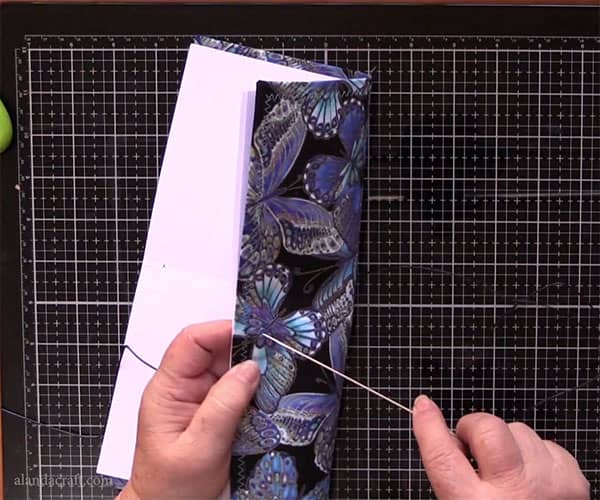
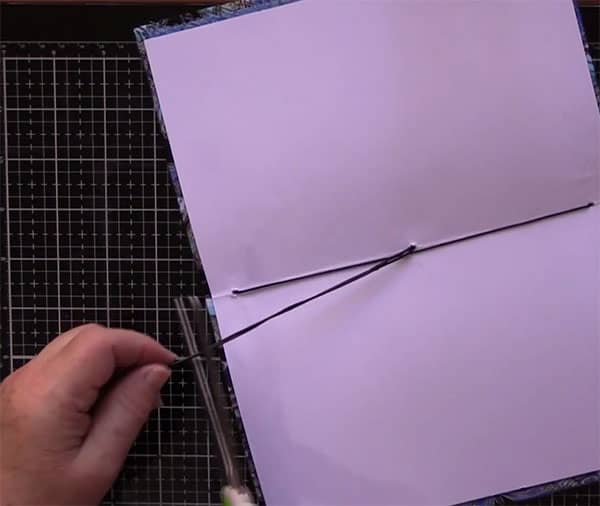
- Bring the needle on front of the journal, up to the hole in the centre. This can be tricky because you now have two threads coming through the hole in the center.
- Try not to split your twine.
- Adjust the twine so that it is firmly in place. Not too tight as you don’t want the journal to buckle.
- Cut any excess off to twine.
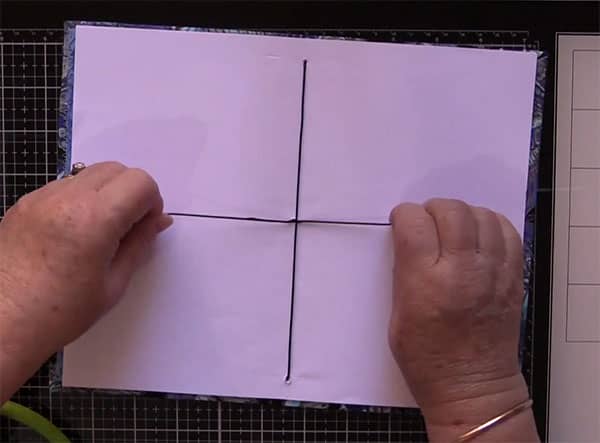
- Place one end of the twine on one side of the centre thread and one on the other.
- Tie a double knot.
- You can trim the twine again so that it is shorter or you can leave the ends long and add some dingly dangly bits to add interest.
- And there you have it, a nice easy project to use up some of your scraps.


Tammy Joyce says
This is really simple and cute. I make junk journals this way for my scrapbooks.
Cyndi says
Excellent tutorial. Thanks!
June says
Love this Thank you