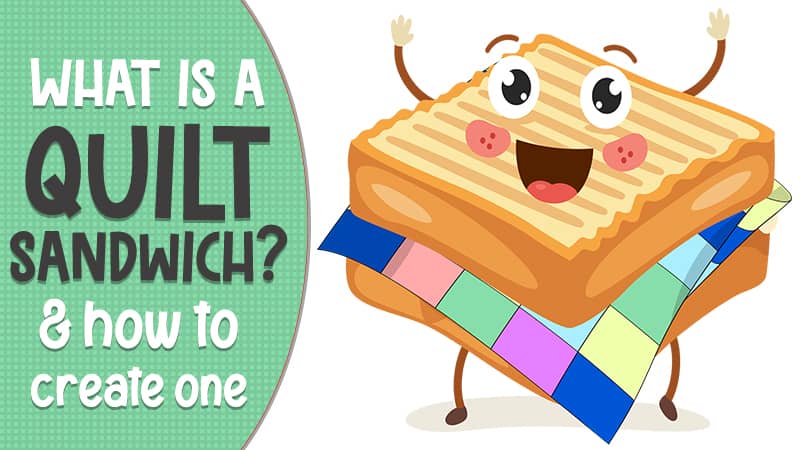
What is a Quilt Sandwich?
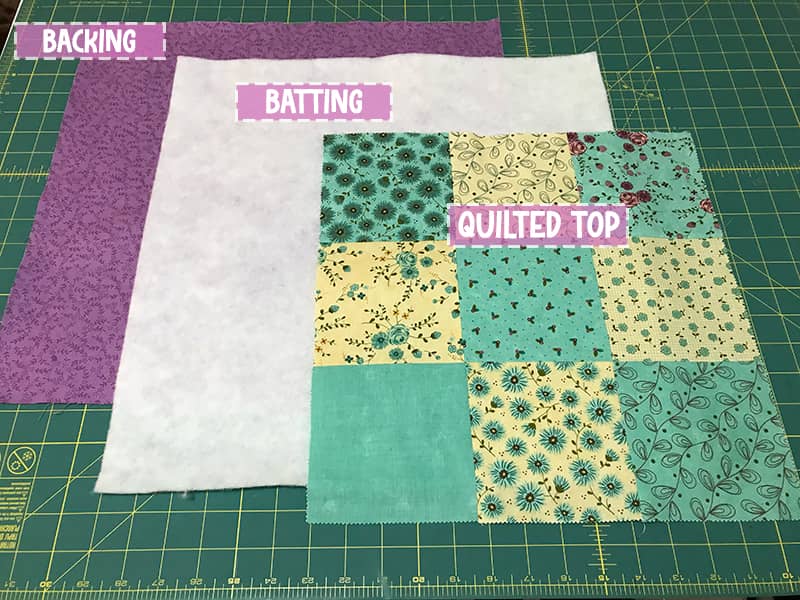
A quilt sandwich is simply three layers of fabric that are put together in a specific order to construct a quilt.
A quilt sandwich is made up of:
- The quilt top layer
- The batting layer
- The backing layer
The quilt top layer is the layer that you pieced together to create the design of the quilt.
The batting layer is the middle layer and is made up of a wool, cotton, polyester or bamboo wadding that makes the quilt heavy and warm. I call it the cuddle layer.
The backing layer is the layer of fabric that forms the back of the quilt. It is usually made up of one piece of fabric but it can be pieced together with different fabrics to form a fancier design.
Watch the video tutorial below or scroll down for written instructions
(Can’t see the video? You may have an ad blocker installed.)
How to Create a Quilt Sandwich
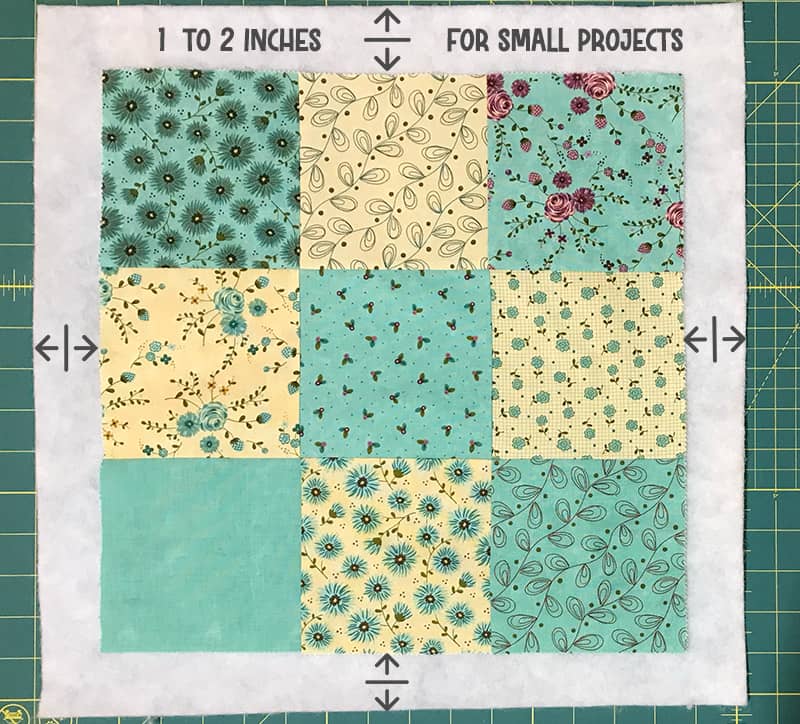
Step 1: Cut your backing and batting
The first step is to cut your backing and batting. These need to be larger than your quilt top. The reason for this, is that when you quilt the 3 layers together it can draw in the fabric and you may end up with mismatched edges.
- For a small project like a table runner or place mat you can get away with just 1″- 2″ around all sides.
- For a larger quilt it’s best to add 4”- 5″ on all sides and possibly more if you are sending the quilt off to be professionally quilted. Ask your long arm quilter what they prefer and remember that if are you are getting your quilt professionally done, that you DO NOT need to create a quilt sandwich.
- It will also be dependent on how intense your quilting is going to be. If you are doing a fairly open pattern then less fabric may be needed than say a really intricate pattern.
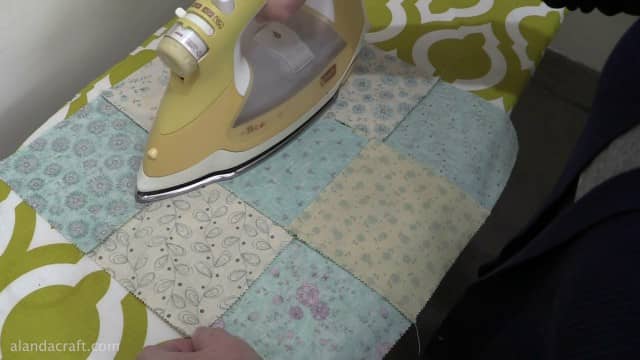
Step 2: Press your fabric
It’s important that you press your backing fabric and the quilt top to remove all wrinkles and to ensure that all the seams are laying flat.
Step 3: Layer the quilt sandwich
- Lay the backing fabric face down on your table (or you can use the floor if you don’t have a big enough table). Some quilters use masking tape around the edges to hold the backing fabric in place on the surface and some use clamps. I personally don’t do this but it is certainly an option.

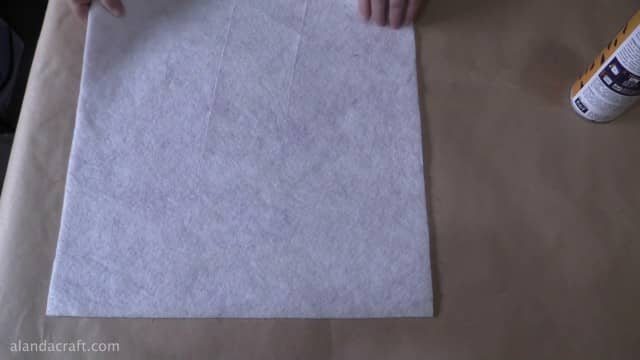
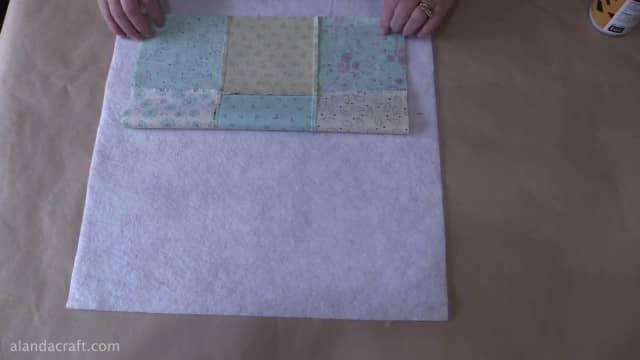
- Lay the batting on top of the backing piece and smooth it down.
- Now fold over half of the batting and spray (the batting) with an adhesive spray. I use 505 Temporary Adhesive spray (Amazon affiliate link), but there are other brands on the market that you can use.
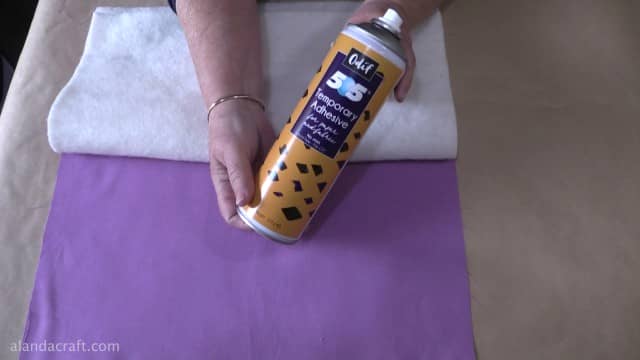
Note : You don’t have to use an adhesive spray but it does help. For me, I find that using both an adhesive spray and quilting pins holds everything nicely in place, and there is less chance of my layers moving when I am quilting.
- Fold back the batting and run your hands over it to smooth it down well.
- Repeat the process with the other half of the quilt so that the two layers are adhered well.
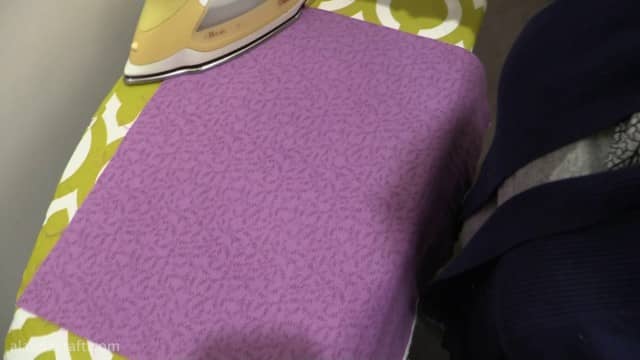
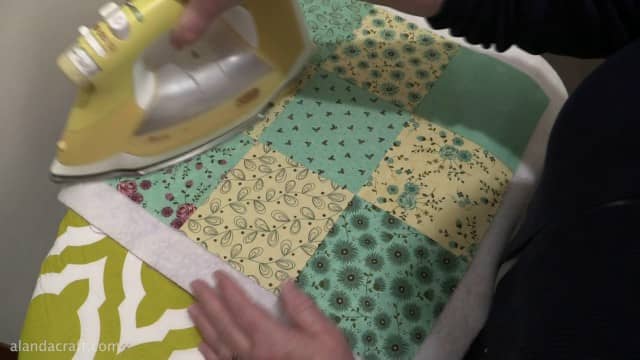
- Take the two layers to your ironing board and give it a press to remove any wrinkles.
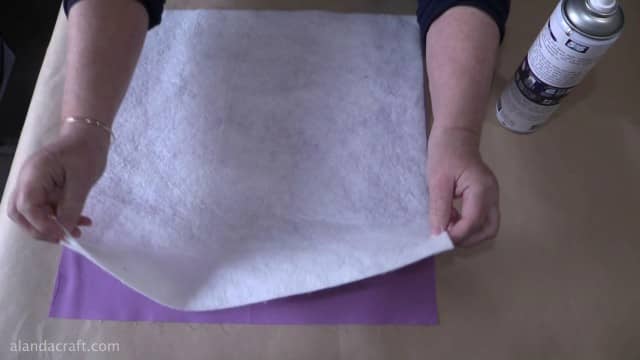
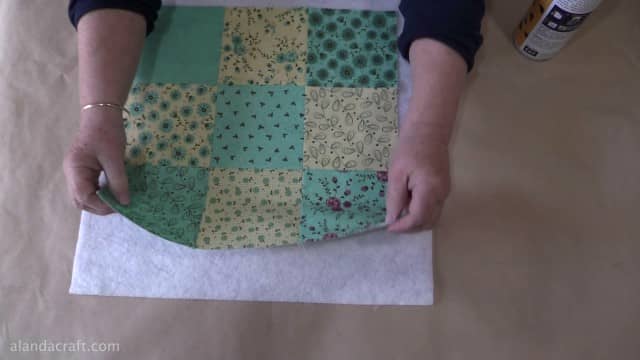
- Now place the quilt top on top of the batting and centre it as best as you can.
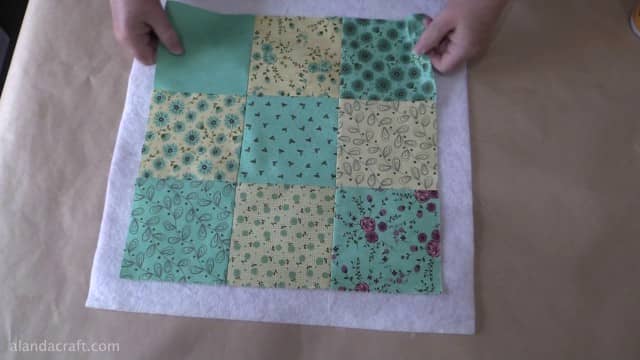
- Fold over half of the quilt top and spray with the adhesive. I spray the quilt top rather than the batting. I try not to get glue on the batting if I can help it.
- Fold the quilt top back and smooth it down well.
- Repeat this with the other half of the quilt top.
- Press the 3 quilt layers to remove wrinkles.
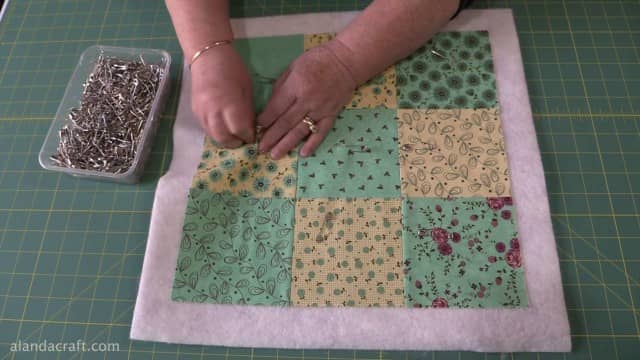
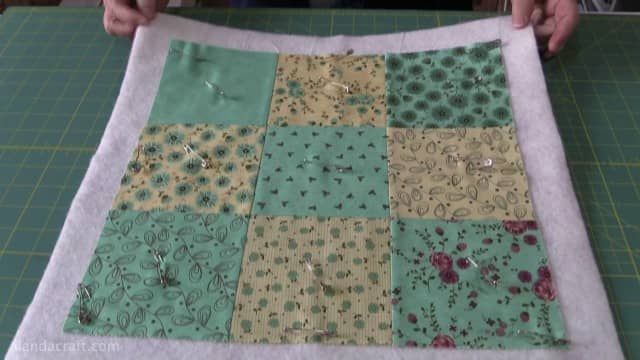
Step 4: Pin the layers together
Now it is time to pin the layers together. If you have used the adhesive spray you can potentially skip this step but pinning does provide a more secure quilt sandwich. And it will give you a feeling of confidence that your layers will hold together nicely while you quilt.
I use quilting pins but regular safety pins can also work. They are just a little more difficult to use. You could even use sewing pins but the disadvantage to using those is that they can easily prick your fingers when quilting and it is easy for one to be forgotten in the quilt which would not be much fun for the recipient.
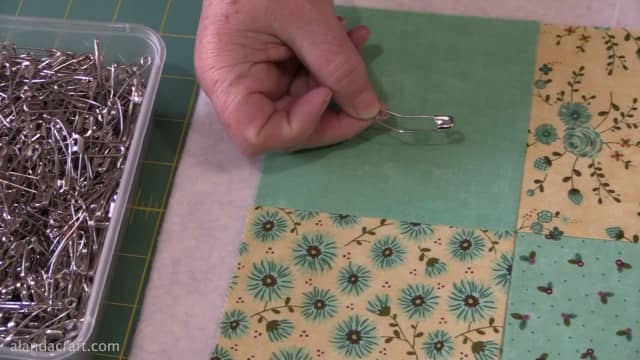
I like to place the pins about 4” apart and also add some around corners and even the edges just to hold everything in place.
- The quilt sandwich is now complete and ready for quilting.


Leave a Reply