Hi Facebook – This is Paula and I am posting this as proof that I am the rights owner of this content.
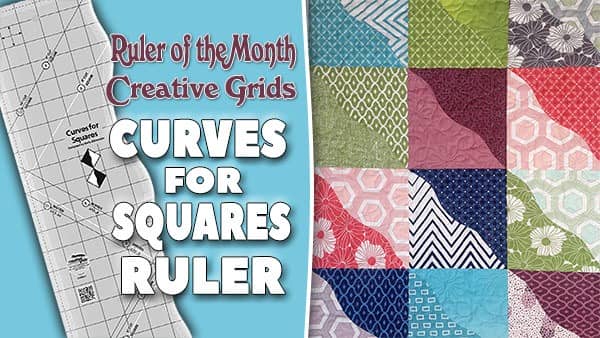
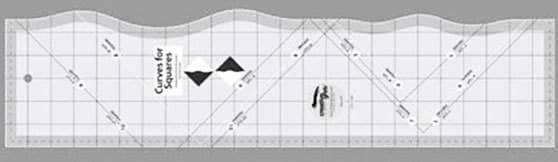
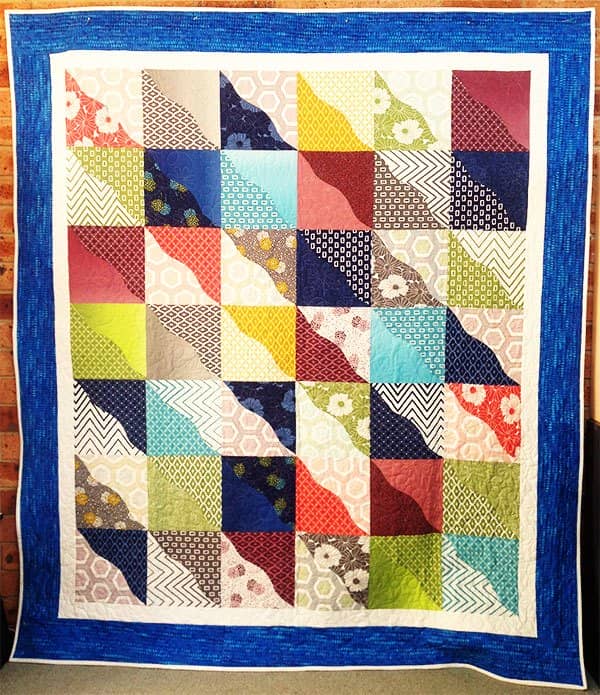
I just love this ruler. It has given a whole new look to my layer cake quilts. The gentle curves add movement and dimension to the quilt. The Creative Grids Curves for Squares Ruler lets you add curves to fabric squares measuring 5″, 6″, 7″, 8″, 9″ or 10″.
Like all Creative Grids rulers this ruler has grips on the back so that you can move it freely around on the fabric until it is in the position you want it to be, then when you apply pressure with your hand, the ruler grips onto the fabric and doesn’t slip or move.
Watch the video here on how to use this ruler.
- We show you how to cut and sew curves for squares.
How to Make a Curves for Squares Quilt Using a Layer Cake or 10″ Squares
- Take 1 layer cake or cut 42 x 10″ squares from the fabrics of your choice. For this quilt, I used the Simply Style by V & Co for Moda layer cake.
- Lay the squares out on the table and sort them into contrasting pairs. It is entirely up to you how you match your fabrics.
- Take one square and place it on your work surface with the right side facing up.
- Take another square and place it on top of the first square also with right the side facing up.
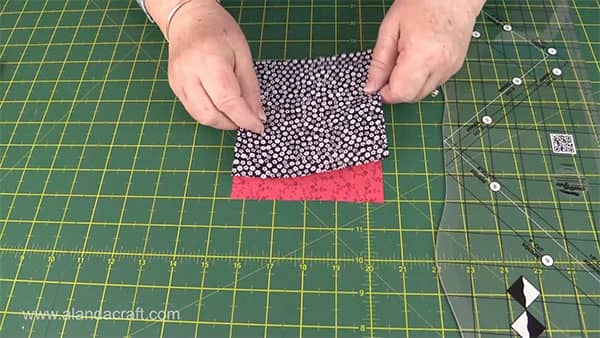
- Line up the edges and the diagonal corners.
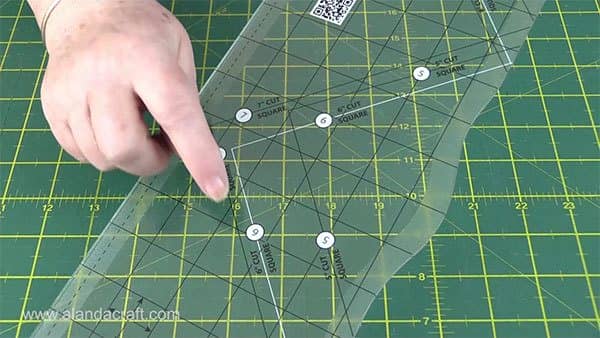
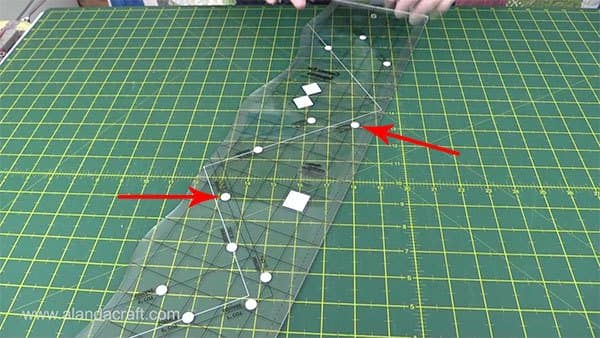
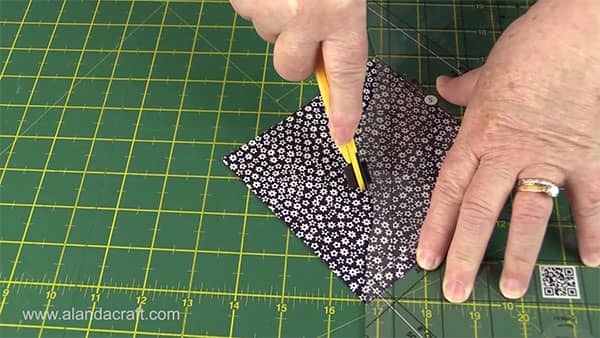
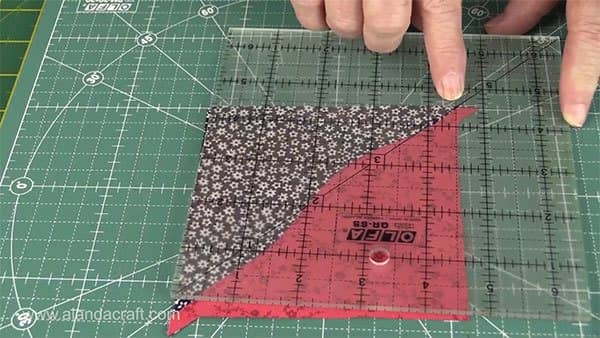
- Place the ruler on top of the squares, making sure that the black 10″ runs along the top edge of the squares and down the left-hand side of the squares. The point where the line runs off the edge of the ruler needs to be exactly on the diagonal corners.
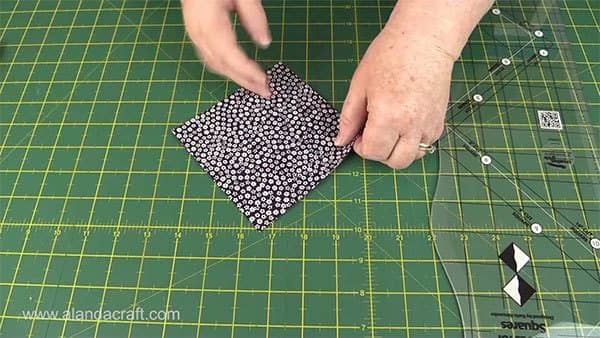
- I have played around with this ruler and find it easier to work with if I lay my fabric on the mat, on point rather than square on. But this is just a personal choice, I am short and it suits me best.
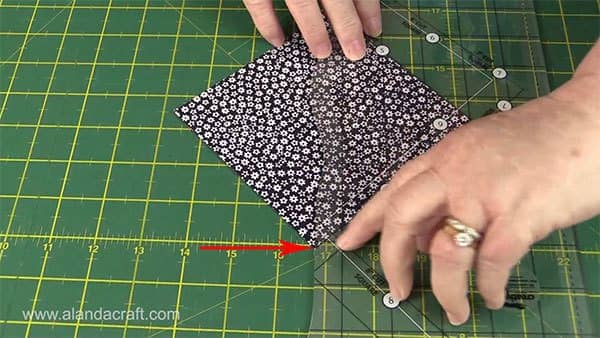
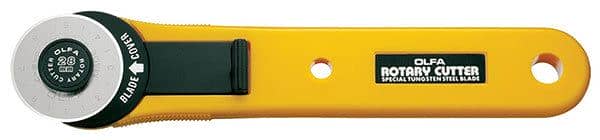
- Take a rotary cutter, I use an Olfa 28mm cutter (I prefer the smaller cutter for cutting curves), and carefully cut along the curved line of the ruler.
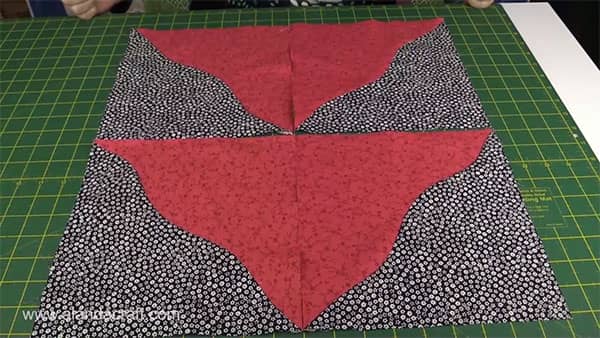
- You now have 2 curved half square triangles.
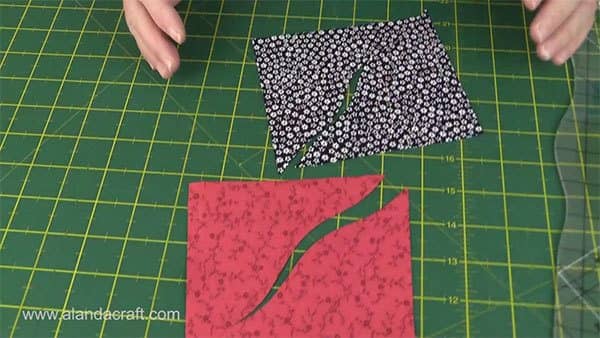
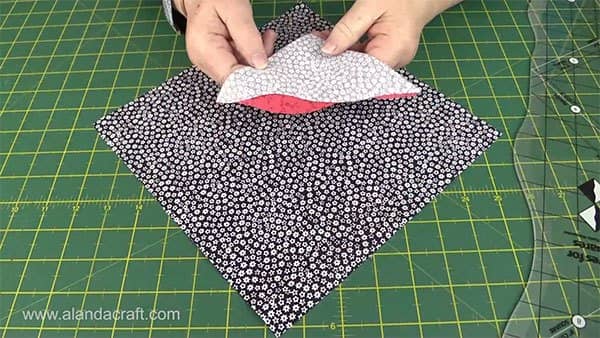
- Take one of the top pieces from one square and match it to the bottom piece of the other square. You now have a curved half square triangle with contrasting colors.
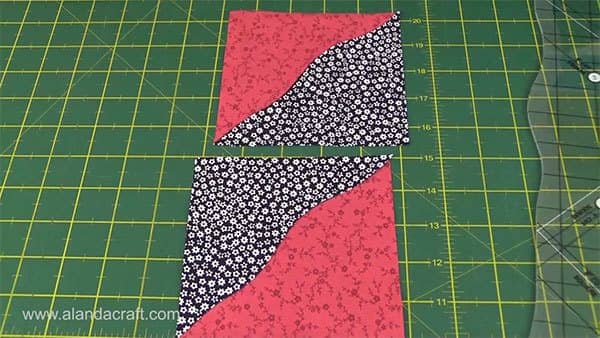
- Take the two squares and lay one on top of the other, right sides together. You will notice that nothing lines up, but that’s okay.
- Line up the pointed ends and the edges of both pieces and place a pin about ½” from the end. You will remove this pin once the material is caught in the machine.
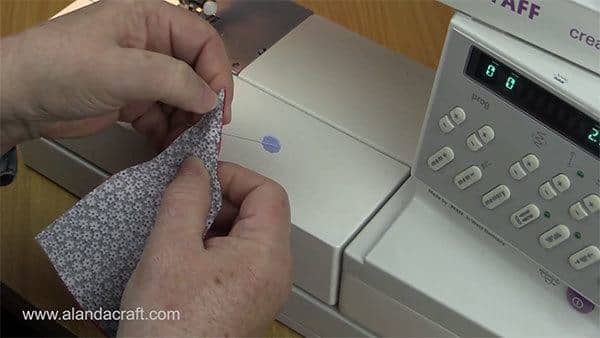
- Have your sewing machine needle in the needle down position.
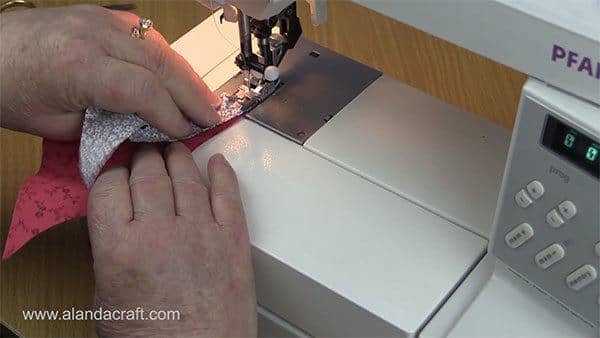
- Use your left hand to control the top fabric and your right hand to control the bottom fabric. Do not pull or stretch the fabric. Manipulate the fabric, keeping the edges together as you sew.
- Take your time.
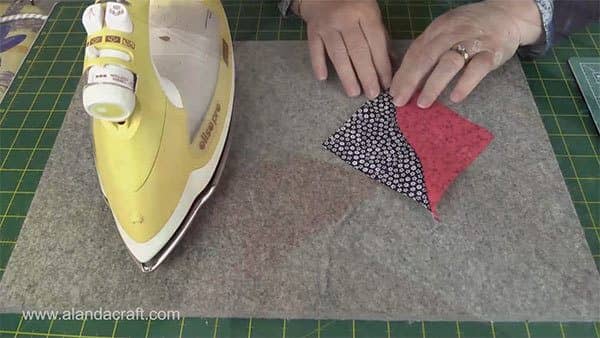
- Finger press the seam to one side.
- Press along the seam line and finally press the square flat.
- Trim the square to 9″ inches. As yo don’t have a straight seam line to lay your ruler along, just make sure to lay the the 45º line so that it matches the diagonal corners.
- (Note: in the video I have used 5″ squares and trimmed them to 4½”) This was just to demonstrate the ruler, but the principle is the same for whatever size squares you are using.
- I find it handy to use a rotating mat but it’s not a requirement if you don’t have one.
Trim as per a normal half square triangle. See our tutorial here.
Where Can I buy the Creative Grids ‘Curves for Squares Ruler?
- You can find these great rulers at Amazon.
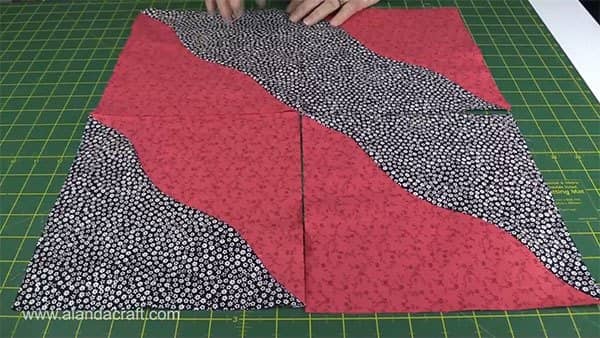
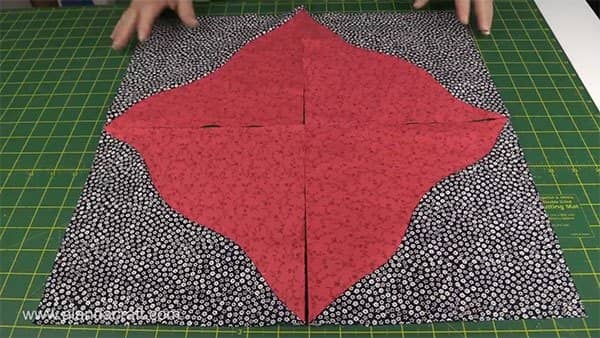
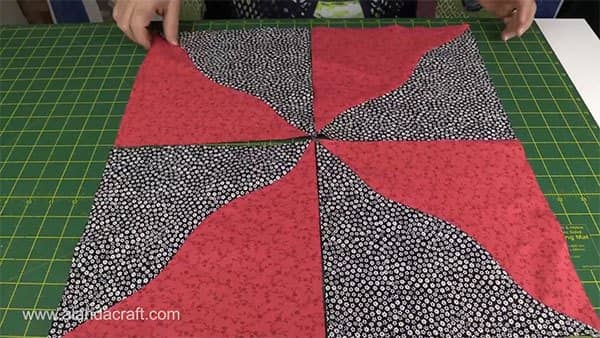
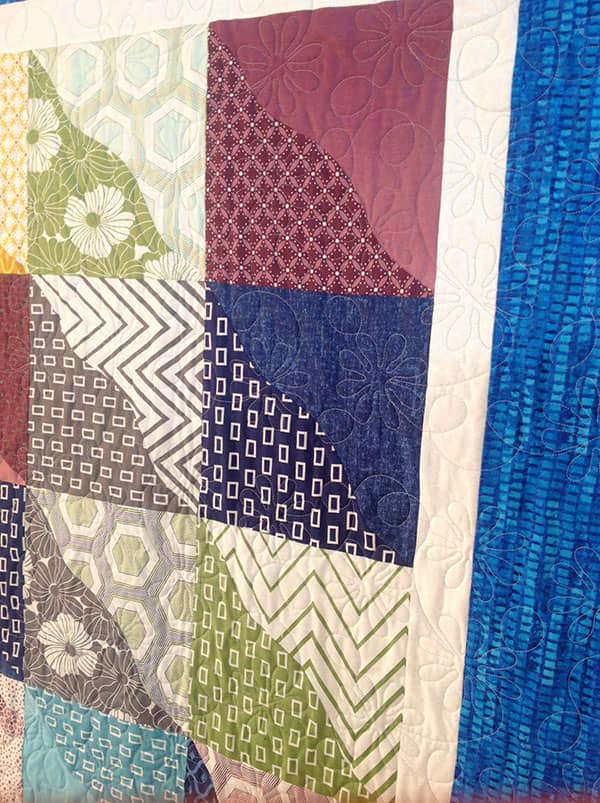
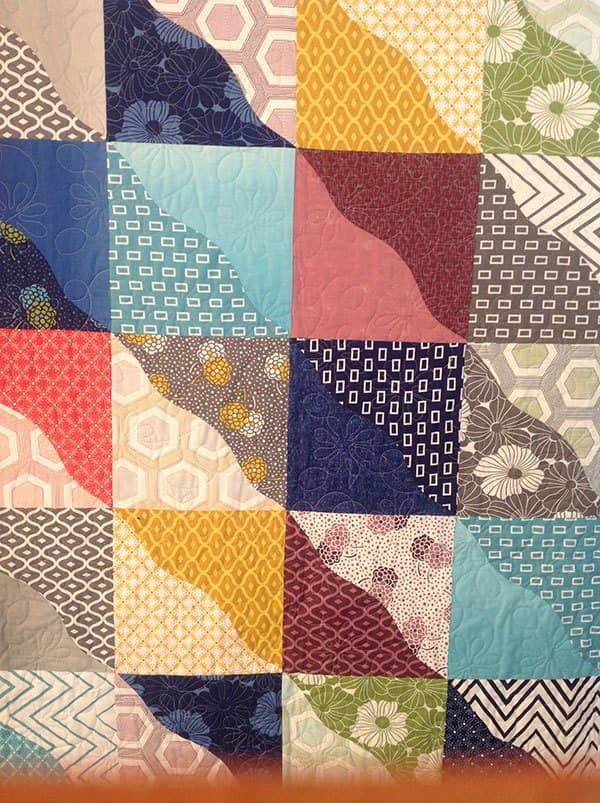
As you can see below, you can lay the blocks out in rows, as curved diamonds, as a curved pinwheel, or as curved flying geese or arrow heads. There is plenty you can do with this block.
Curves for Squares – Diagonal Rows.
Curves for Squares – Curved diamond
Curves for Squares – Pinwheel
Curves for Squares – Curved Arrow Head
More views of the quilt
- Close up of the squares and the beautiful quilting which was done by Chris from Sew ‘n’ Sew Sisters.
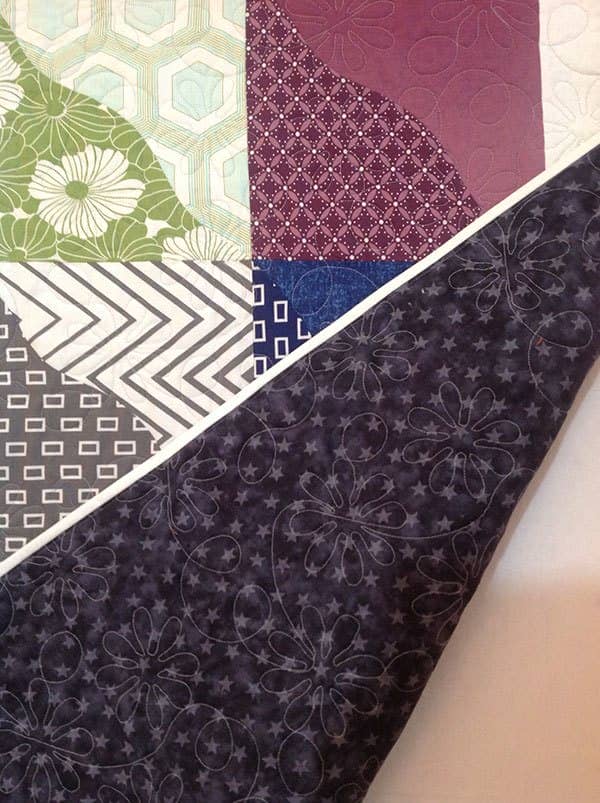
- The backing is a dark grey with light grey stars and you can see how lovely the quilting pattern stands out on the back.


Leave a Reply