Use up fabric from your stash to make this delightful cushion cover. There is a zipper closure on the back of the cushion cover, which is super easy to do even if you have never sewn a zip before. We used left over scraps from previous projects including a piece of batik which went very nicely with the quilting cotton.
What You Need
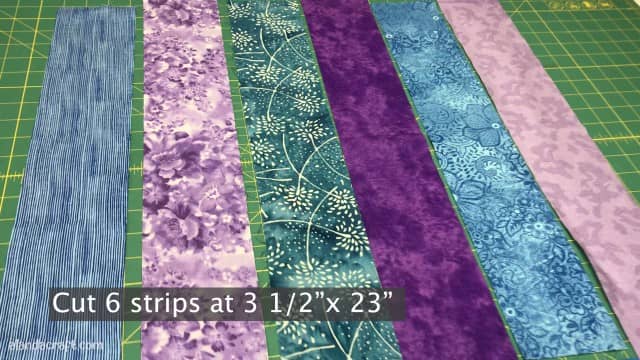
- 6 strips of contrasting fabric – 31/2” x 23″
- 2 pieces of fabric for the backing each measuring 9 3/4″ x 18 1/2″
- Batting 20″ x 20″ – we use Warm & Natural batting
- Matching thread – we use Guttermann thread
Watch the video tutorial below or scroll down for the written instructions
(Can’t see the video? You may have an ad blocker installed.)
Method – Front Cushion Cover
***IMPORTANT – Although the written instructions are detailed below, they will make a whole lot more sense if you watch the video above first.
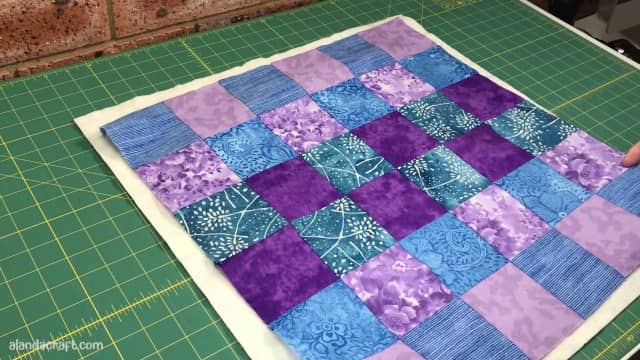
- Lay strips out on work surface. Arrange them to how you would like your design.
- Sew the strips together using a 1/4″ seam.
- Press the seams on the strips in one direction, so they all face the same way.
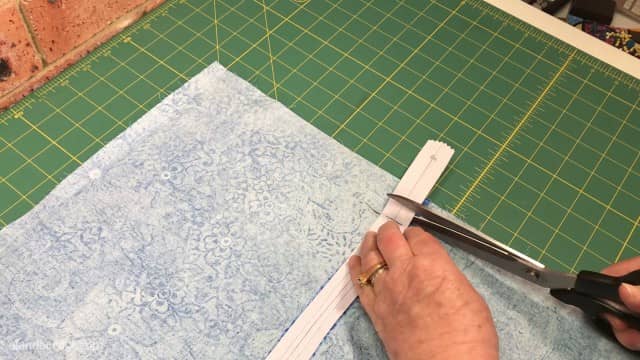
- Trim the strips along one short side to get a straight edge.
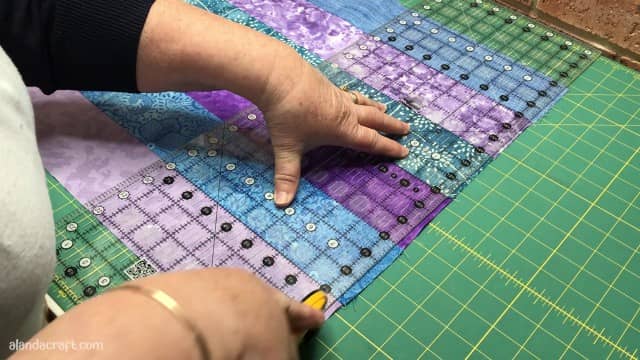
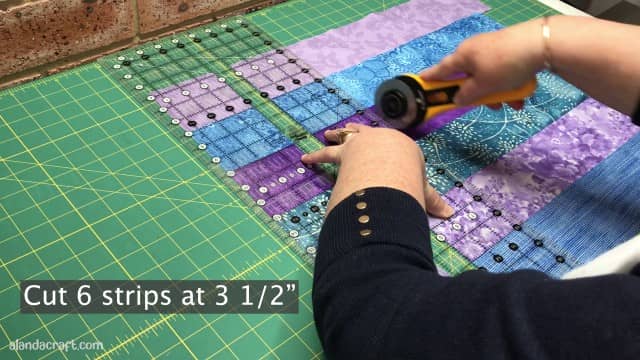
- Cut the fabric into 31/2” strips.
- Turn every second strip to create the pattern.
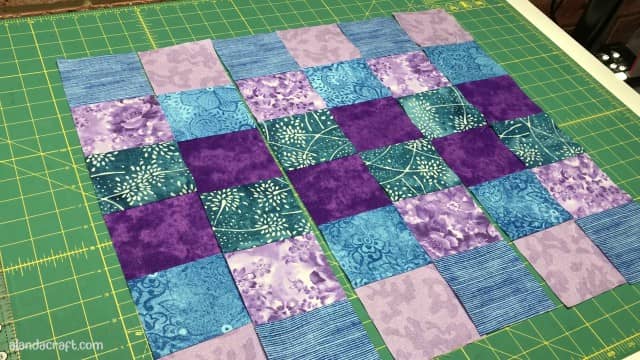
- Sew the strips together
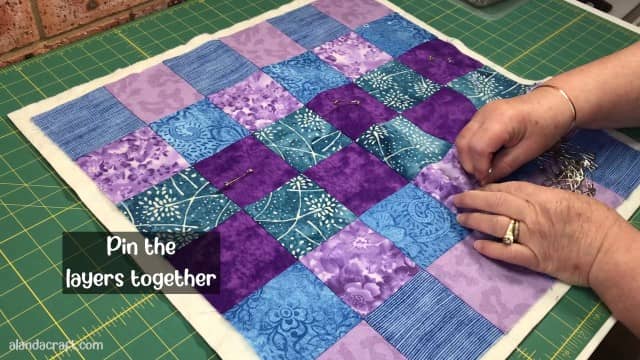
- Lay the piece – right side down – on the batting.
- You can use 505 temporary adhesive spray and/or pins to hold the 2 layers together.
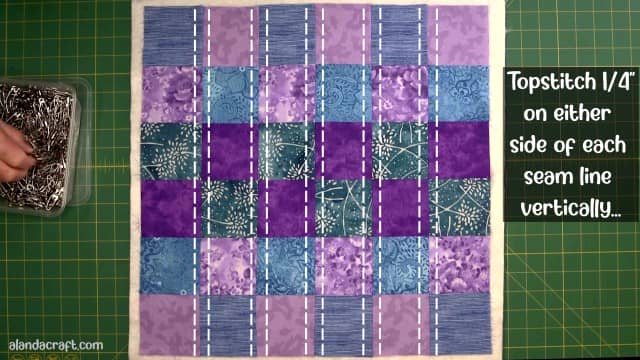
- Quilt as desired. We quilted ours with straight lines on each side of the seam lines.

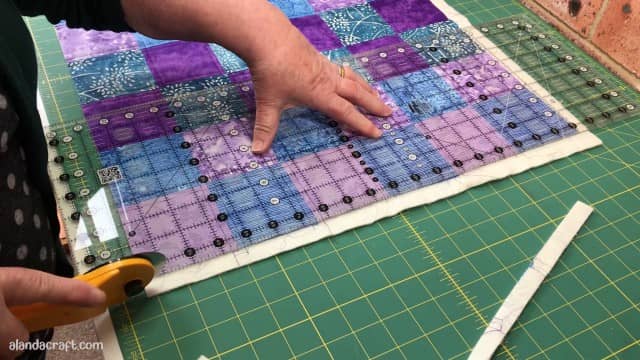
- Trim the excess batting.
To complete the back of the cushion
- Take your two backing pieces and fold over 1/2” on one long edge of each piece. Press.
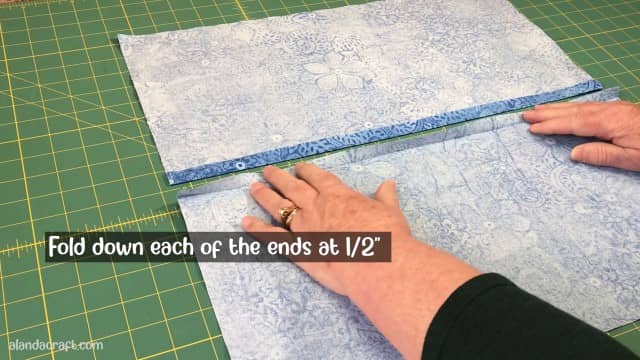
- Make a mark at 2″ using a removable pen (like the Frixion pen).
- Do this on all four edges of the two pieces.

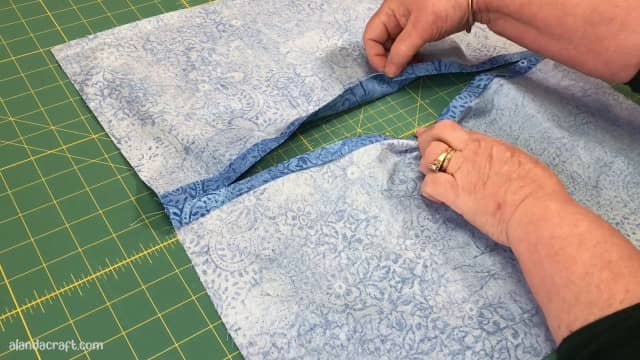
- Place each of these two bits of fabric back to back and sew along the 1/2″ edge to the marks you drew on the fabric and do a back stitch.
- Repeat on the other side.
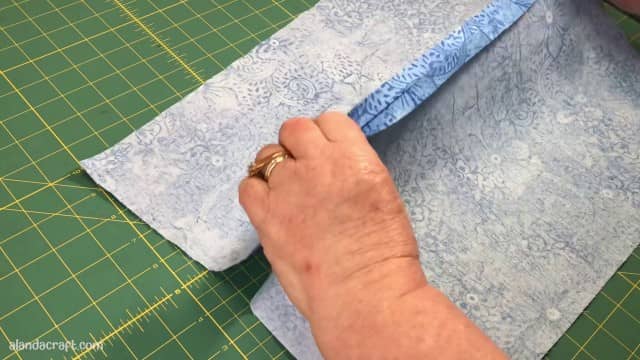
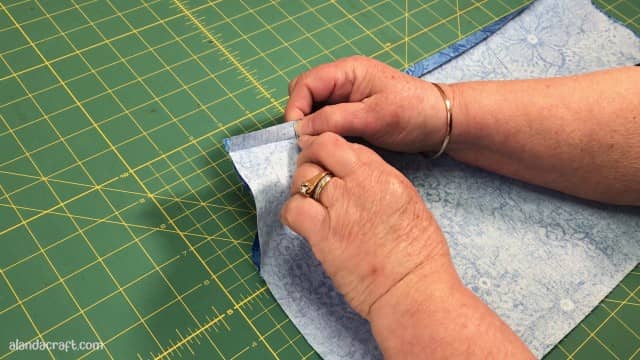
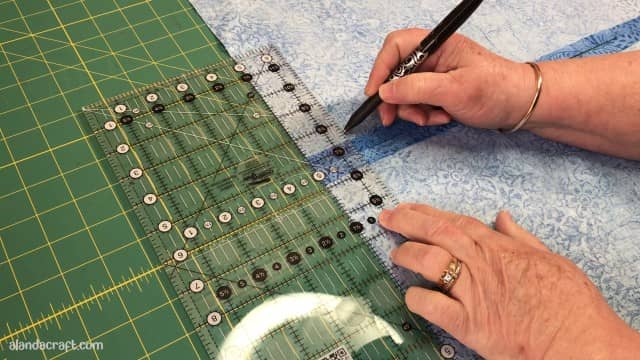
- You should end up with a piece of fabric with an opening in the middle which will be where the zip will be installed.
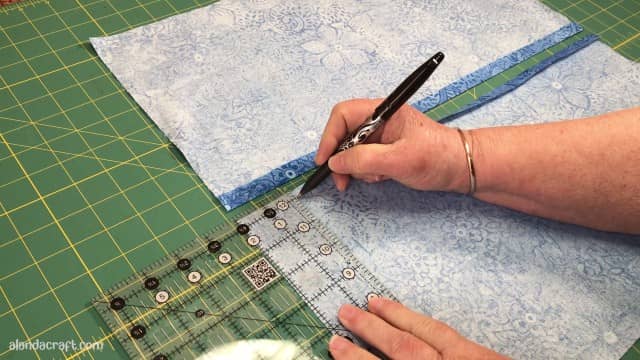
- Now draw a mark 1 ½” on each side of the fabric as shown below.

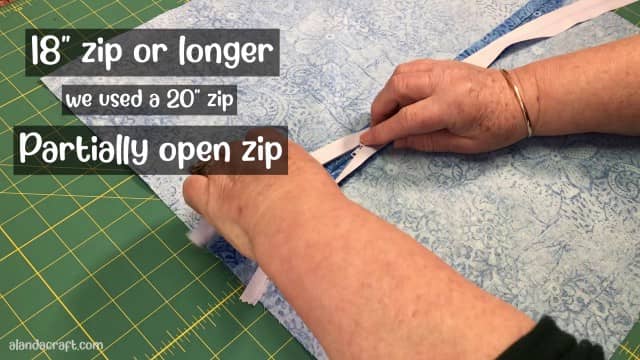
- Place your zip faceside down on the opening. Ensure that the zipper pull is placed facedown and it is open about a third of the way.
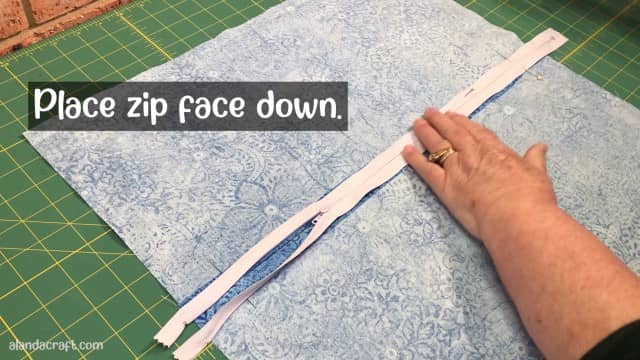
- Pin the zip on and sew in. Watch the video above to see this in action.
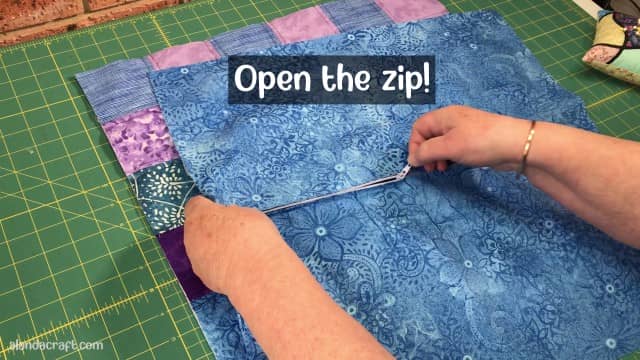
- Clip the ends of the zip.
- Open the zip about half way. This is an important step. If you don’t open the zip before sewing on the back, you won’t be able to turn the cushion through.
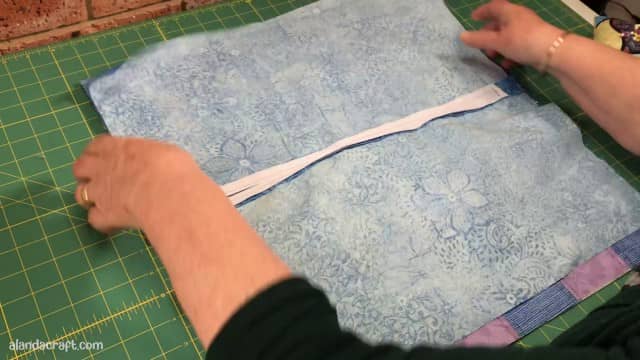
- Place the backing piece over the patchwork piece (right sides together) and sew around the whole edge with a 1/2″ seam.
- Clip the corners if you like. This just helps to reduce bulk.
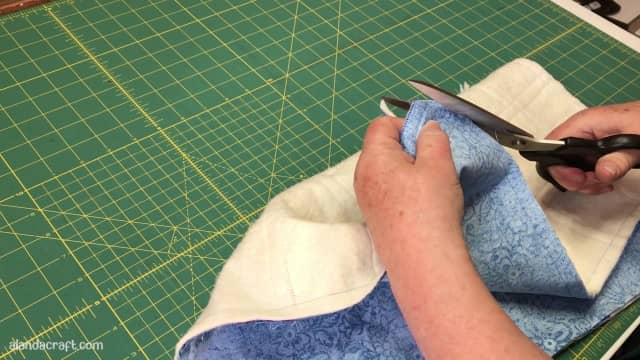
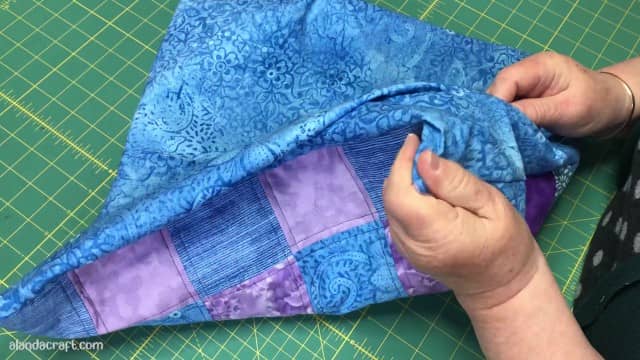
- Turn the cushion through.
- Aren’t you glad you left the zip open?
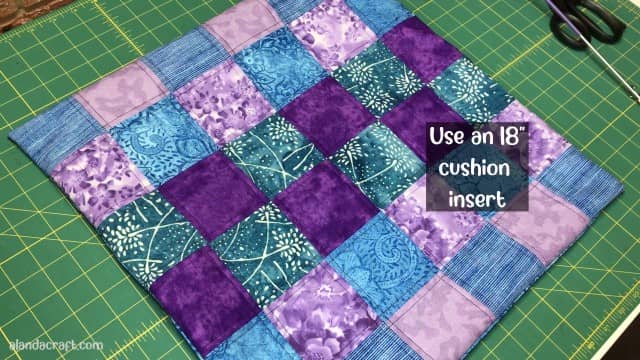
- Now insert your cushion insert. We used an 18″ cushion insert.


Susana Lopez says
Fantastic video, Love it, Thank U.
Alanda Craft says
Thank you Susana 😊