Here is another quick and easy scrap busting project. It only takes two small pieces of fabric to make and it’s ideal to pop into your bag, pocket or even run some up as gifts.

We made the tissue holder in three sizes so it will depend on your tissue pack size as to how big or small you want to make it.
The small size is pretty much the standard for most pocket tissue packs so go with that if in doubt.
Here’s what you’ll need:
Small (completed size – 5″ x 3 ¼”)
- 1 piece of fabric – 5½” x 6½”
- 1 piece of fabric – 5½” x 7½”
Medium (completed size – 5 ¼” x 3 ¼”)
- 1 piece of fabric – 5¾”” x 6½”
- 1 piece of fabric – 5¾”” x 7½”
Large (completed size – 5½” x 3 ¾”)
- 1 piece of fabric – 6″ x 7″
- 1 piece of fabric – 6″ x 8.5″
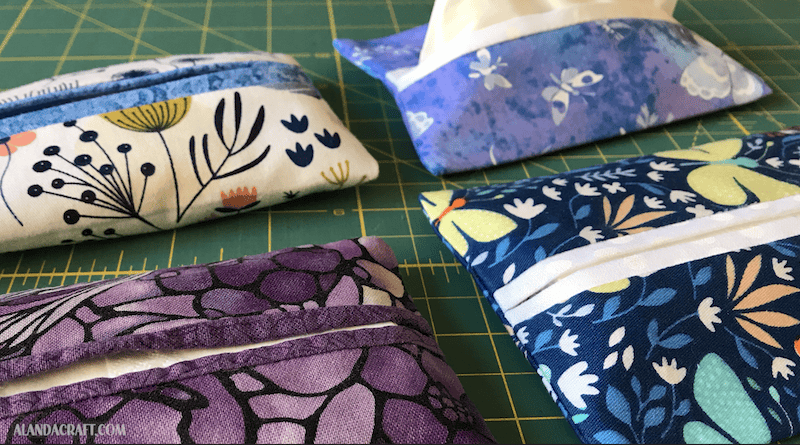
The first piece of fabric will form the outside of your tissue holder and the second piece will form the inside which will create the trim effect. So keep this in mind when you are choosing fabrics. Choose contrasting fabrics so that you get a nice effect with the trim along the opening of the tissue holder.
We went with this lovely butterfly blue/purple fabric for the outside and white for the inside.
Watch the video tutorial below or scroll down for written instructions
(Can’t see the video? You may have an ad blocker installed.)
Let’s get started!
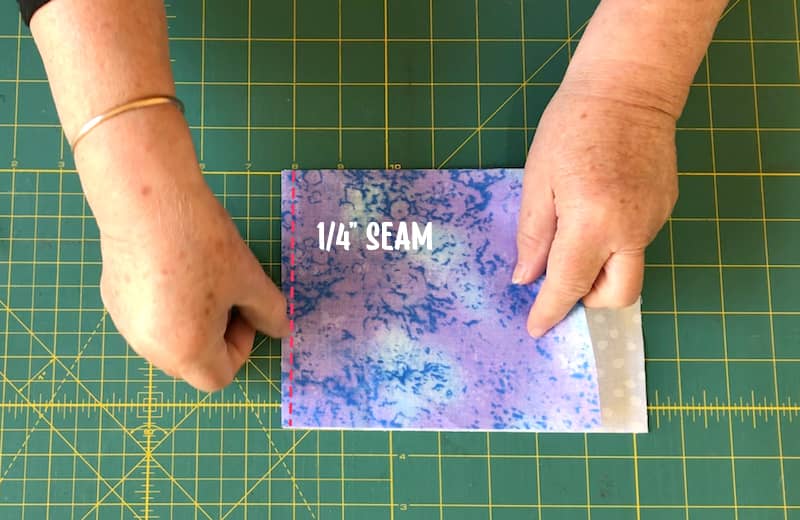
Start by taking the smaller piece and lay it over the larger piece. Make sure you have the right sides facing each other.

Line up the short sides on one side and sew them together with a quarter inch seam.
Repeat this on the other side. So you now have the two shorter sides sewn together.
Obviously the sides won’t meet correctly because the bottom piece is larger than the other but don’t worry about that. It will all come good in the end.
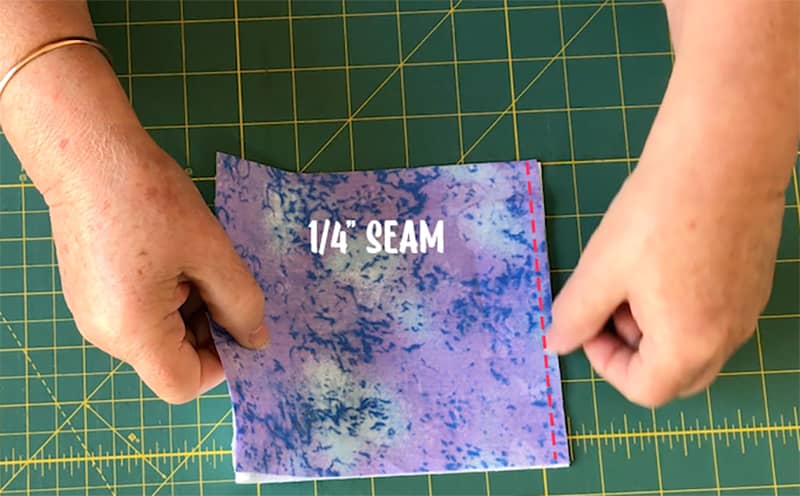
This is what it should look like once you have sewn both sides.

Now you need to turn it through and flatten it down.
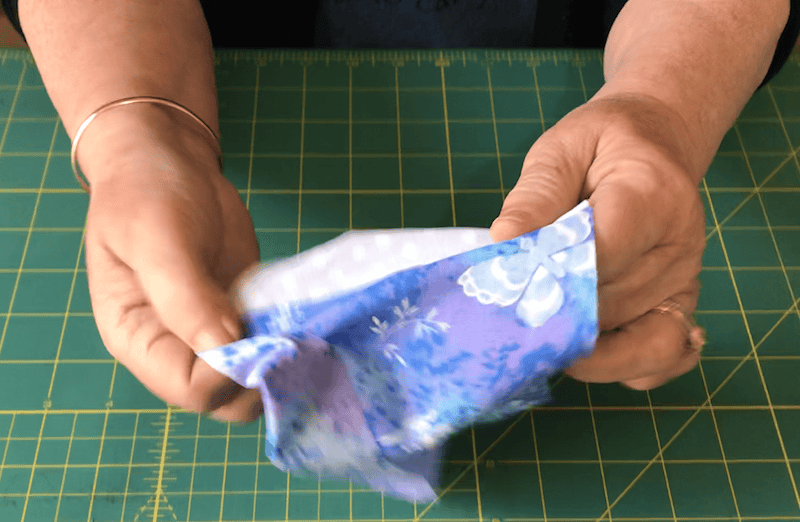
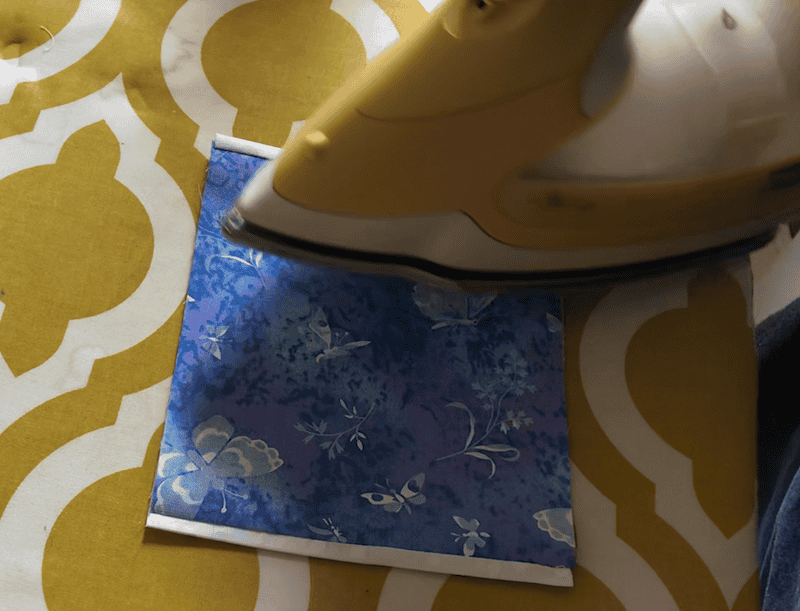
See how the larger piece of fabric forms the trim edge, so try to keep it even on both sides. It should be approx. quarter of an inch on each side. Use your iron to give it a good press.
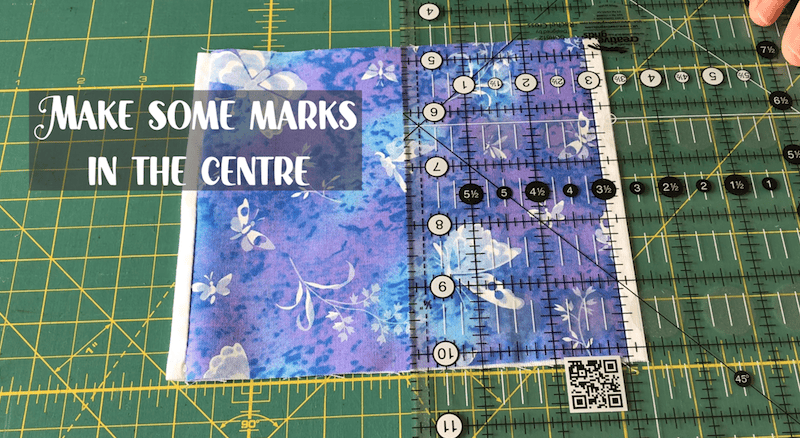
Now find the middle of your project and make some marks. You can actually skip this part if you like and just eyeball it to find the centre. I like to use a ruler so that I know that both sides are even.
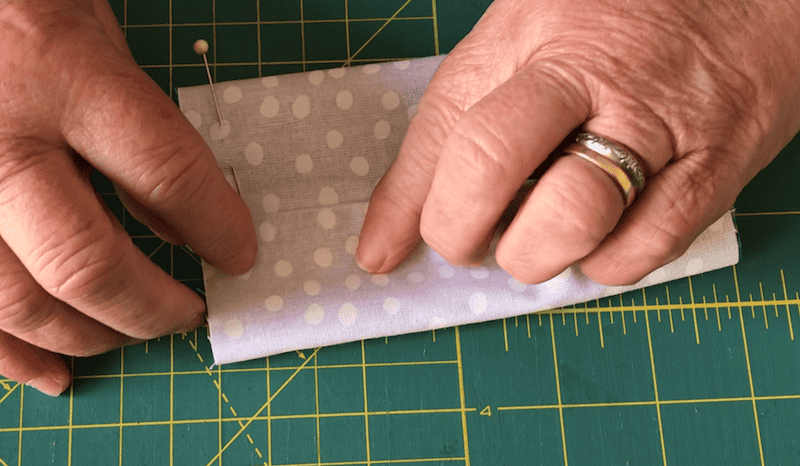
Fold the sides in to meet at those marks and pin in place.

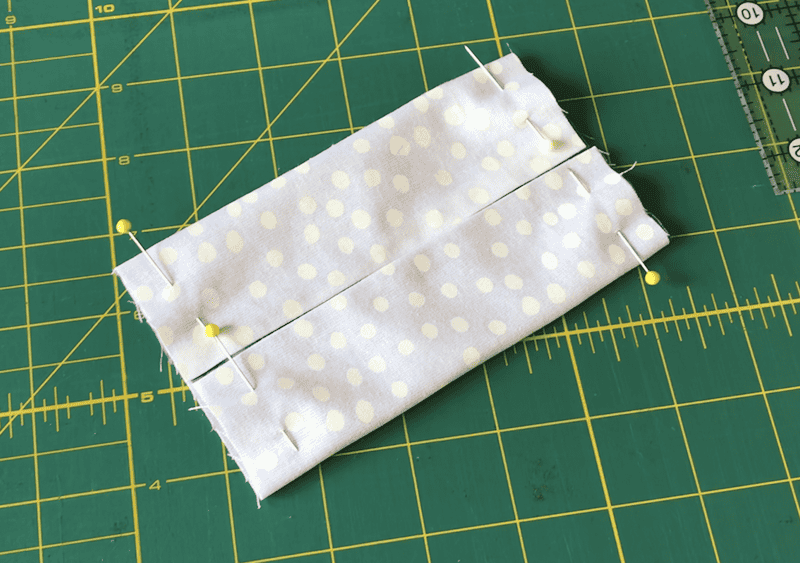
Sew along each side with a quarter inch seam. Back stitch at the beginning and the end and also across the middle where the two pieces of fabric join.
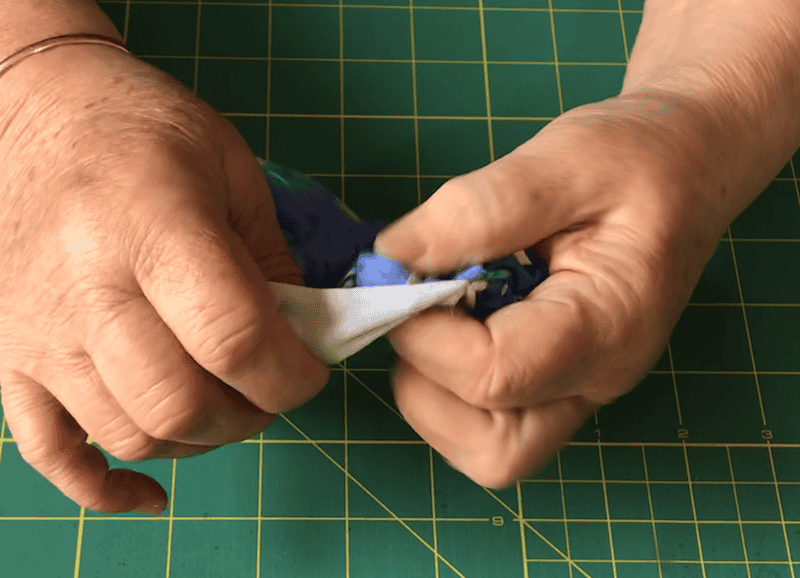
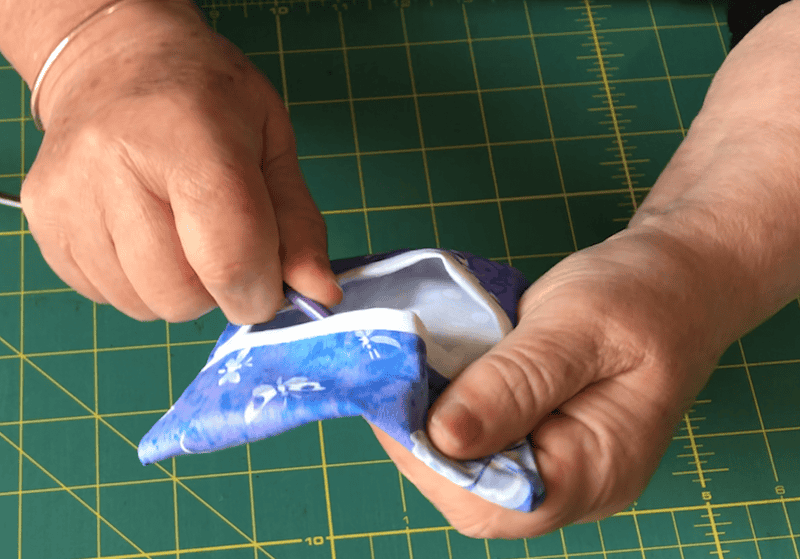
Now you are ready to turn it through and push out the corners. You could use a chopstick or a pair of scissors. Just take care to not pierce through the fabric or your stitching.
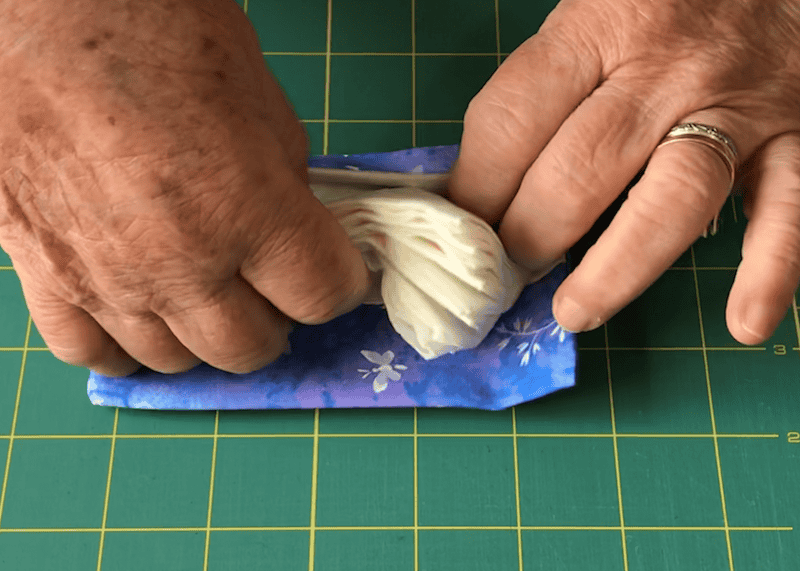
Now it’s time to simply pop in your tissues.
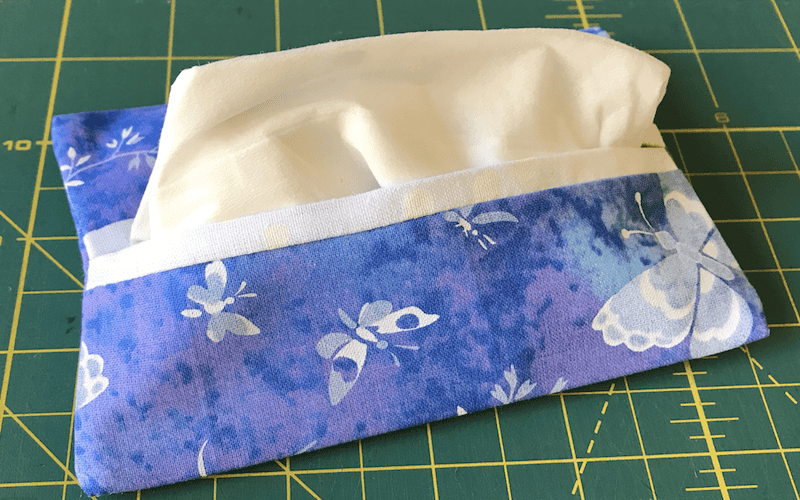
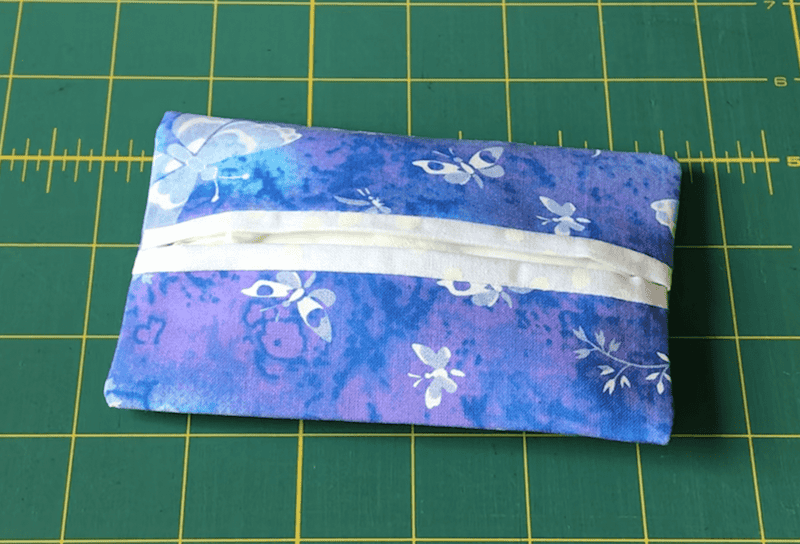
And here is the final result!


Dawn f says
great gift for kids in college and school
thank you Dawn
Alanda Craft says
I agree Dawn 😊. I’m glad to hear that you like the tutorial.
Lynne Wade says
This is a wonderful beginner project and what a great way to use up smaller scraps. Very impressed and the instructions are also easy to follow. Thank you for taking the time to share your ideas. We all need inspiration.
Alanda Craft says
Thank you for your lovely comment Lynne 😊
lisa says
thank you i love the way u taught this easy to follow thank you😊
Alanda Craft says
Thank you Lisa 😊