Fabric baskets are useful for all manner of things, and they are quick and easy to make. You can use these baskets to hold bits of thread or fabric that you remove when you are sewing, or to hold items that you are using for a project. I’m sure you will think of many uses for them once you make them, plus they make nice gifts for friends and family. So if this is something you would like to try, here is my method of how to make fabric baskets using jelly roll strips.
You can use scraps from your stash, which is what I have done. I had some jelly roll strips left over from a previous project so this was an ideal way to use them up. You can also use fat quarters for the lining pieces.
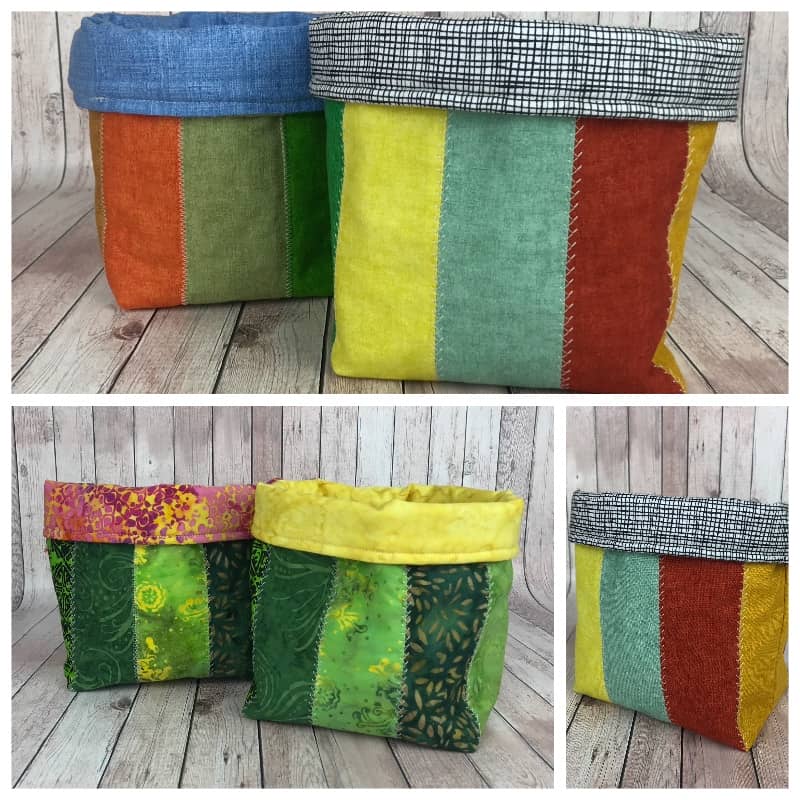
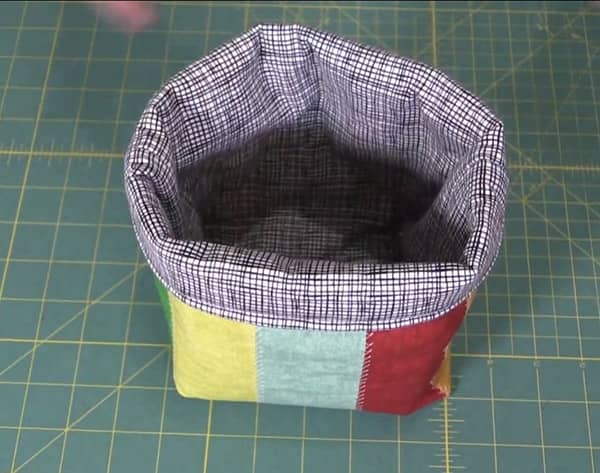
These fabric baskets are reversible so when you tire of one side, simply turn the bag inside out and you have a whole new look – perfect.
So let’s get on and see what you need and how to make these fabric baskets. It’s a quick and easy sewing project that you are going to love.
And don’t worry if you don’t have jelly roll strips, you can cut your own strips measuring 2½” by the width of the fabric (WOF).
The baskets measure approx. 7½” in height ( before you fold down the cuff). For the width, it measures roughly 5 1/2″ at the base and 9″ wide at the top.
What You Need:
This will make two fabric baskets.
- 5 Jelly Roll strips, or cut your own 2½” x Width of Fabric (WOF)
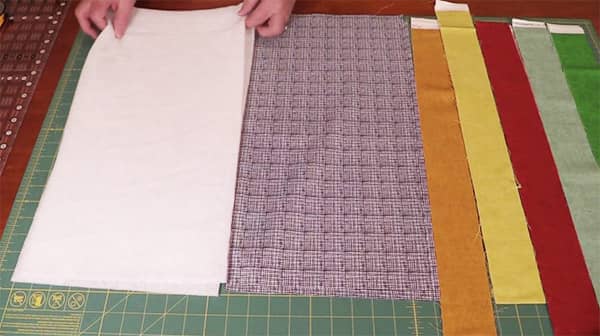
- 2 pieces of lining fabric measuring 10½” x 20″
- 2 pieces of fusible fleece measuring 10½” x 20″ ( We used Vilene H64O)
What Tools Were Used in the Video:
- Creative Grids Ruler – 8.5″ x 24.5″
- Wool Ironing Mat
- Oliso Iron
- Gutermann Sew All Thread
- Olfa 60mm Rotary Cutter
- FriXion Pens
- Mary Ellens Best Press
Watch the video below or scroll down for written instructions
(Can’t see the video? You may have an ad blocker installed.)
Method:
Front
- Sew the 5 jelly roll strips together using a ¼” seam.
- Your piece should measure 10½” in width when sewn together.
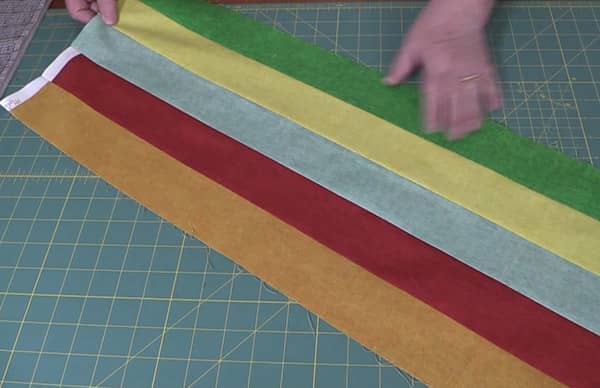
- Press the seams open.
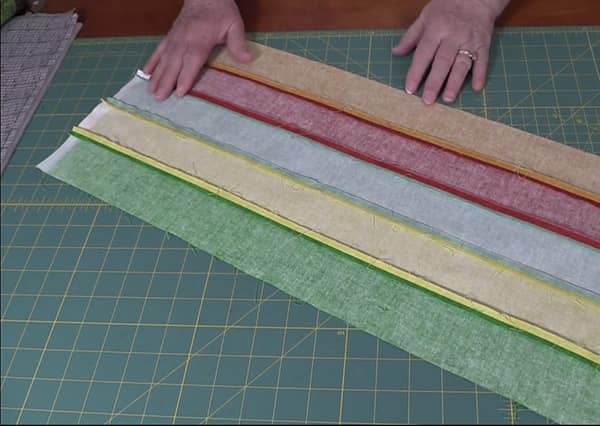
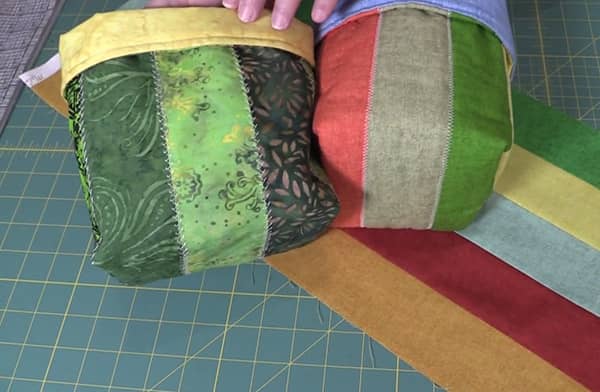
- Sew down each of the seam lines with a decorative stitch or you can simply zig-zag over the seam line. (You can see how this looks in the image below with a couple of baskets we made previously). This is done with the right side of the strips facing up.
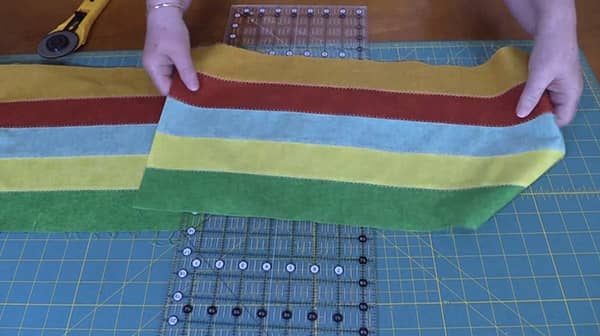
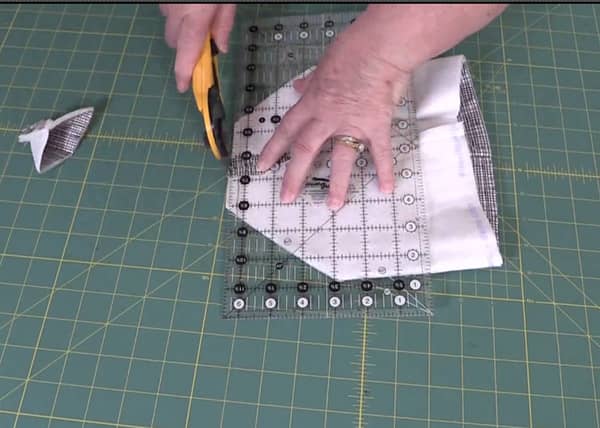
- Trim one edge to neaten and straighten the edge
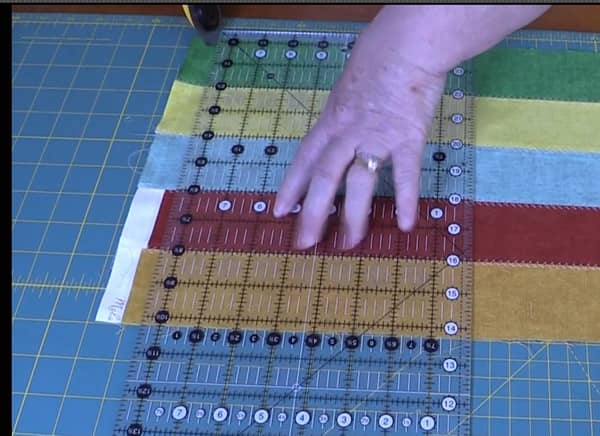
- Cut 2 pieces measuring 20″. You now have 2 pieces of fabric that measure 10½” x 20″
Lining
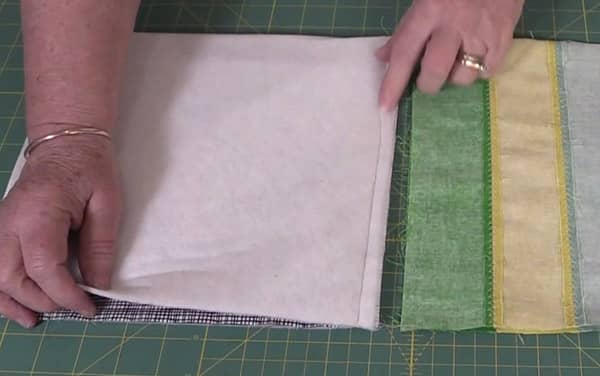
- Take 1 piece of your lining fabric that measures10½” x 20″ and place it face down on your ironing surface
- Lay 1 piece of your 10½” x 20″ fusible fleece and lay it with the rough side facing down on your lining piece. The rough side has the glue which needs to adhere to your lining fabric.
- Iron the fusible fleece to the lining piece using a hot iron and no steam. (Follow the manufacturers instructions for the fusible fleece you are using)

- Do the same process with the other lining piece and fusible fleece.
- You will now have 2 pieces of fabric with fusible fleece attached.
When I made the first fabric basket I attached the fusible fleece to the front strip piece, but I wasn’t happy with how the lining sat inside the basket. It was loose and baggy looking so I changed the pattern and attached the fleece to the lining piece and I’m much happier with the result.
Construction
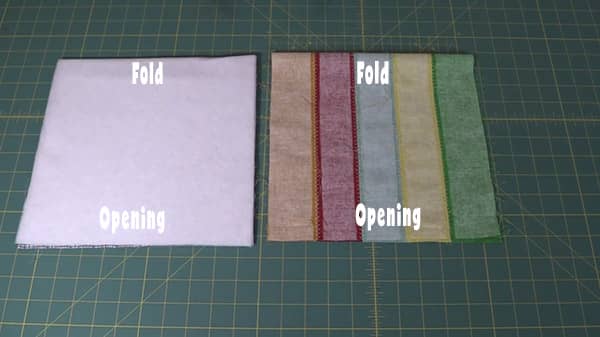
- Take the strip piece and fold it in half making sure the top and side edges meet nicely.
- Pin in place down the sides. Leave the top open.
- Sew the side seams with a ½” seam
- Repeat with the lining piece. Fold it in half with the fusible fleece on the outside.
- Again, pin in place down the sides and leave the top open.
- Sew the side seams with a ½” seam
Box the Corners
This is my preferred method of doing the corners. I have tried the method where you cut out the corners and it just never works for me. The pieces just never seem to meet up neatly for me. But if that is how you like to do the corners then by all means do it that way.
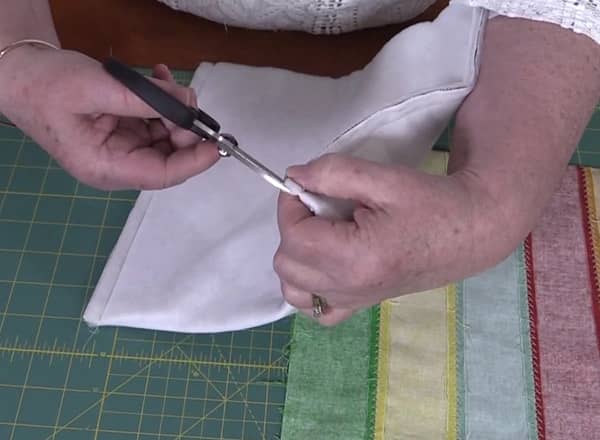
- Clip the fabric at the folded edge, to the seam line. Be very careful not to clip the seam. We do this so we can open the seam for the next step.
- Do this on each side of both the strip piece and the lining piece.
- Place your hand inside the basket so that the corner forms a triangle.
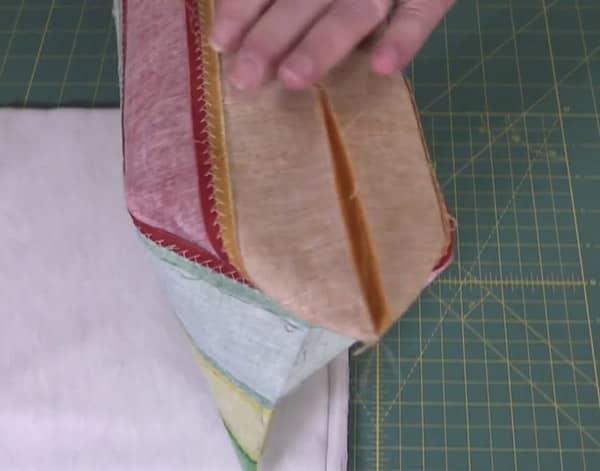
- Once you have formed the triangle, withdraw your hand.
- Line up the seam line with the fold line. I pop a pin through the seam line and bring the point out through the fold. You have some wiggle room so just wiggle the pin around until the seams line up. (Watch the video above if this bit doesn’t make sense.)

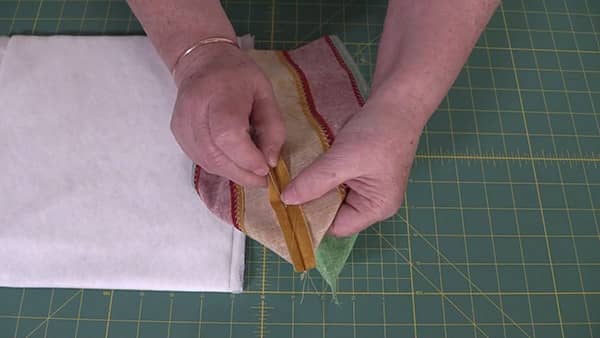
- Lay the piece on your mat.
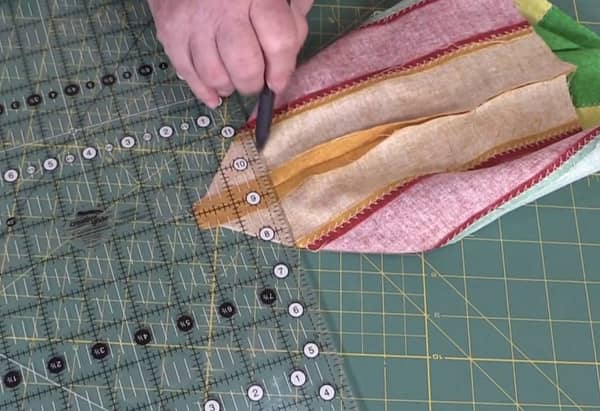
- Measure 2″ from the end of the seam and draw a line using chalk or a Frixion pen.
- Repeat this with the other corner and also with the corners of the lined piece.
- Sew along the lines for both the lining piece and the outside piece. Backstitch at each end of the seam.
- Trim the seams to ¼” for the lining piece and the outside piece.
Putting the Basket Together
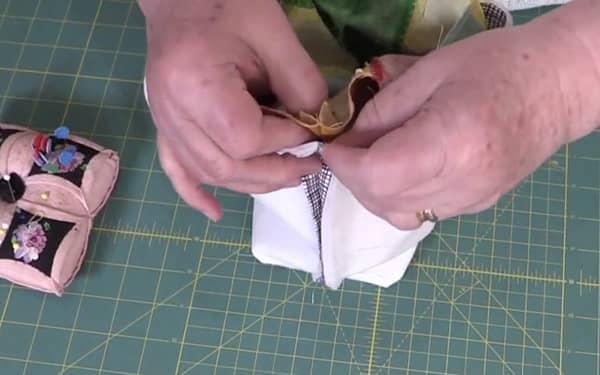
- Turn the striped outside piece to the right side.
- Place the striped piece inside the lining piece.
- The right sides of both pieces should be facing each other
- Line up the side seams and pin.
- Pin around the basket leaving a gap of about 3″ to 4″. This is so that you can turn the bag through later.
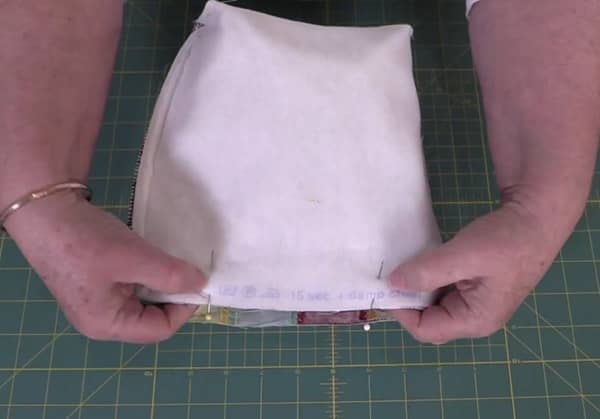
- Sew around the top with a ½” seam. The reason I use a half inch seam is to make sure all the pieces are caught in the seam line, and I can be sure that I will catch all the fabric in when I topstitch.
- Backstitch at the start and also when you get to the pin marking the other side of the gap.
- Now turn the bag through the gap.

- Push the lining piece into the bag.
- Press around the top edge to neaten.
- Topstitch around the top edge with a ¼” seam to close the opening. (You can use 1/8″ if you prefer to have your topstitching closer to the edge.)
And there you have it. A quick and easy sewing project. You can make these from scraps in your stash so they are a great stash buster. And they make lovely gifts.


Mary K Doyle says
Very cute!
Alanda Craft says
Thank you Mary 😊, and practical too
Connie says
Your directions are great! Thanks for a simple, practical project.
Alanda Craft says
Thank you Connie 😊. These are also a nice way to use up some scraps.
joyce says
wish this was a video. I am a visual person. Written instructions don’t work for me. I need to see this done step by step . Really like this design.
Alanda Craft says
There is a video on the blog post, Joyce. If you can’t see it you may have an ad blocker installed. Here is a link to the video on YouTube https://youtu.be/O1BkQJj5ZHA
Sherri Koers says
thanks always looking for gifting ideas!
Alanda Craft says
You’re welcome, Sherri 😊. Happy to be able to help