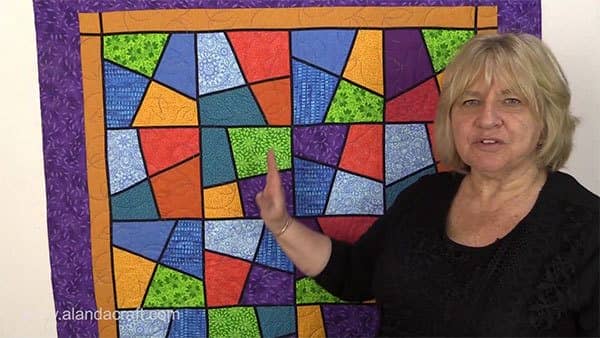
This is such a fun, easy quilt to make and it uses the stack n slash quilt technique to create the blocks. The quilt was made with 20 x 10″ squares of fabric. You can cut 10″ squares from fabric you have on hand or you can make it from a Layer Cake. You do need to make sure that you put together 4 different colored fabrics in each block.
Watch the video tutorial below or scroll down for the written instructions
The quilt measures 46″ x 54.5″. You can make it larger just by adding more blocks. You could also change the size of the actual block itself. Just scroll to the bottom of this post to see the calculations for different block sizes.
What You Need
- 20 x 10″ squares of fabric
- 2 rolls of Clover Adhesive Bias Tape
- Border fabric 1 – approx 5/8 of a yard
- Border fabric 2 – approx 1 yard
Tools & Equipment Used in the Video ( all optional but helpful)
- Olfa Rotating Mat
- Creative Grids Quilting Ruler
- Oliso Iron
- Amazing Craft Sheet – we used this to protect the ironing surface but it has loads of other uses
- Twin Needle
- Magic Pressing Mat
- Olfa Square Ruler
Method
- For each row of the quilt, you will need 4 squares measuring 10″ x 10″
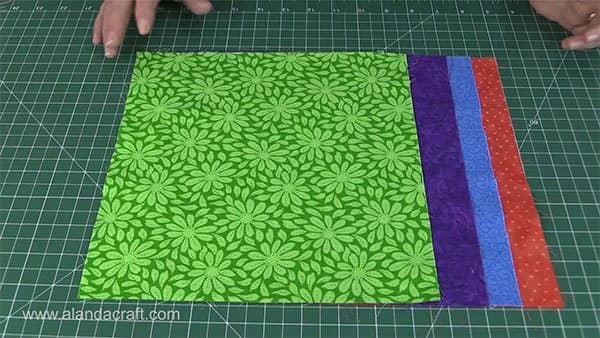
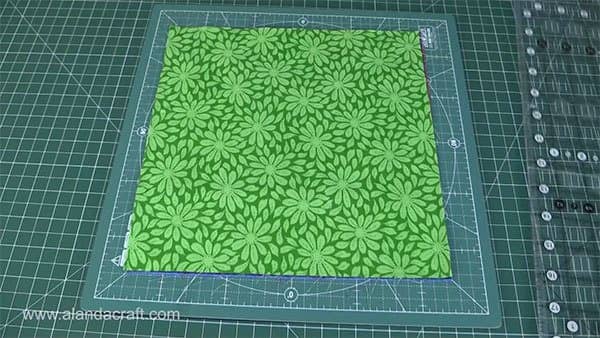
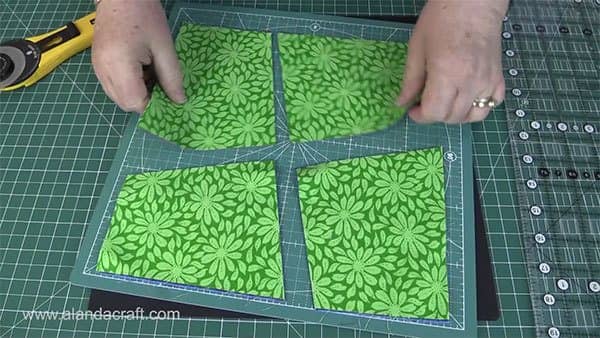
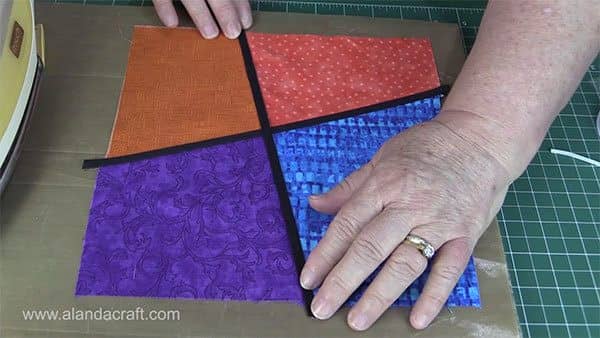
- Place each of the 4 squares right side up, one on top of the other. Make sure the edges line up. (This is the STACK part of the Stack and Slash process.)
- Take your rotary cutter and ruler and slice across the squares.
- Now cut across the squares from the other directions.
- This is the SLASH part of the Stack and Slash process.
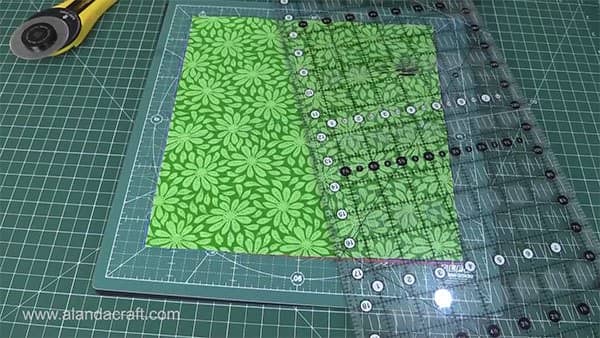
- You will end up with your squares cut into 4 pieces.
I like to work with one block set at a time, and I take it through from cutting to adding the bias tape, then I work on the next set of blocks. But if you are super organized you could cut all your blocks and make sure you define them in some way with letters and numbers so they don’t get mixed up. I’m not organized enough to do that. So I just stick to my method – it works for me.
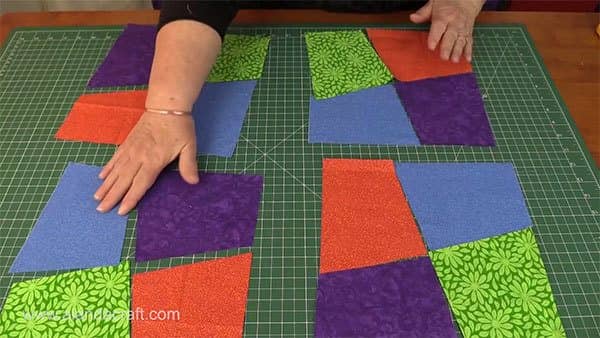
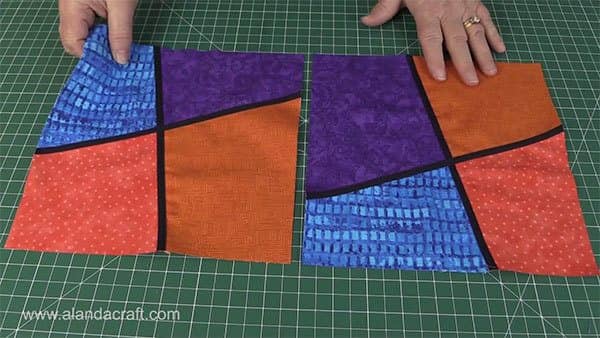
- This is how your blocks will look once you have laid out the pieces. Check the video for an easy way on how to lay out the pieces so that you don’t get lost with this part (believe me it is easy to do).
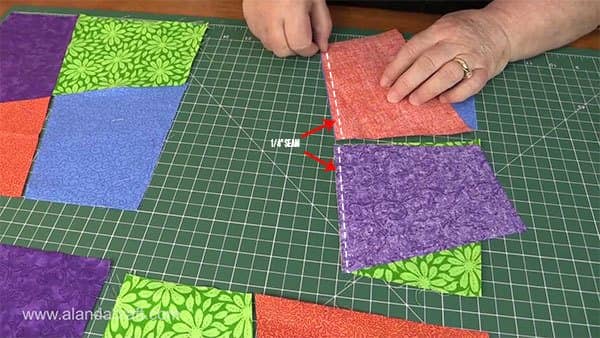
- Take the top two pieces of the block and lay them right sides together.
- Sew together with a ¼” seam.
- Sew the bottom two pieces of the block and lay them right sides together.
- Sew together with a ¼” seam.
- Press the seams open.
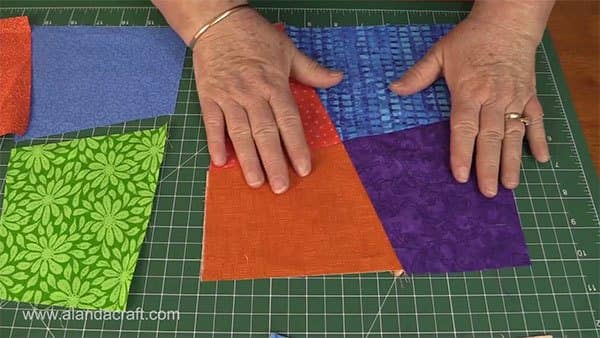
- Place the top two pieces on top of the bottom two pieces. Make sure you line up the centre seam lines.
- Sew together with a ¼” seam.
- The edges may be slightly out, and that’s ok, we will be trimming. Just make sure those centre seams line up nicely.
- Cut a piece of Clover Bias Tape and remove the paper backing.
- Lay it across the seam line.
- Press it in place.
- Sew the tape down each side or you can use a twin needle if you have one.
- Cut a piece of bias tape and lay it across the other seam line and press it in place.
- Again sew the tape down each side or you can use a twin needle if you have one.
- Do this for all 20 blocks.
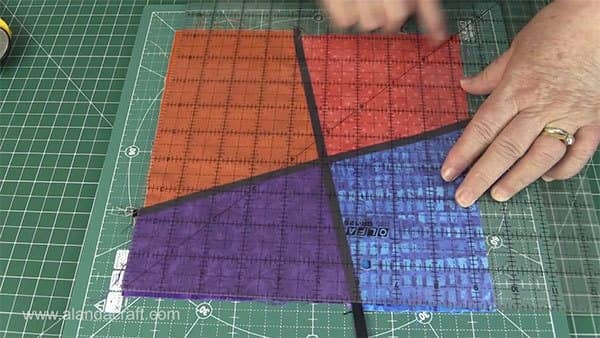
- Trim the blocks to 9″. You can check the video to see how to do this.
- Lay the blocks out and arrange them in the manner you like.
- Sew the blocks into rows. I usually sew the first two blocks together and the last two blocks together, then sew the four blocks into a row.
- Do this for all 5 rows.
- Once all the blocks have been sewn into rows, it’s time to join the rows together.
- Place the top row on top of the next row, right sides together, and sew with a ¼” seam.
- Again I generally sew the rows in lots of two and then sew them all together.
- Once all the rows have been sewn together, it’s time to add the bias tape.
- Lay one long piece of tape along the seam line of each of the rows running horizontally across the quilt. Do not apply the tape to the top or bottom rows. Iron these bias strips and sew in place.
- Now lay one long piece of tape along the seam line of each of the rows running the vertical length of the quilt. Do not apply the tape to the outside edge seams. Iron the bias strips and sew in place.
Border 1
- Cut side border strips 43 x 2½” wide.
- Cut top and bottom side border strips 38½” x 2½” wide.
- Attach to quilt with a ¼” seam.
- Cut a piece of adhesive bias tape slightly wider than the quilt. Attach the tape so that it lays along the top of the seam and cut another piece to lay along the bottom seam where the borders join the quilt but extending it over the border to create a stain glass square.
- Do the same for the pieces going down the length of the quilt.
Border 2
- Cut 2 side border strips 47″x 4½” wide
- Cut the top and bottom border strips 42½ x 4½” wide
- Attach to quilt with a ¼” seam.
Quilt as you wish and add a binding. To work our how much binding you will need, here is a link to our ‘How to Calculate Your Quilt Binding‘ tutorial.
We had our quilt, quilted by Chris from Sew ‘n’ Sew Sisters here in Australia.
CALCULATIONS FOR DIFFERENT BLOCK SIZES
If you would like to make your Stack and Slash quilt blocks a different size then you will need to start with a fabric square size that is 1″ bigger than your unfinished quilt block size which would be 1 ½” bigger than your finished block size.
| Finished Block Size (Inches) | Unfinished Block Size (Inches) | Starting Fabric Size (Inches) |
|---|---|---|


Cindy says
Wanda
I watched your stained glass quilt tutorial and have a couple of questions. First, I am new to quilting and I mentioned using bias tape to my friends and they all said don’t use it, that it’s hard to work with – very stretchy. I don’t know.
And also how did you quilt it without going over the bias tape or did you just quilt right over it. It’s hard to tell.
Alanda says
The bias tape we use isn’t particularly stretchy. It’s thin and has an adhesive back so it makes it really easy to use.
When it came to quilting, we got this one professionally done. The stitches did go over the bias tape at various points.
Nancy says
How can I get a written copy of the stained glass stack and slash?
Alanda says
I’m sorry Nancy, we don’t have downloadable pdf files for our tutorials. The only thing I can suggest is that you select and print the screen.
Madison says
Hello Alanda,
If I want to slash into more than 4 pieces (maybe 5 or 6,) how much will I have to adjust my measurements?
Thank you,
Madison
Alanda Craft says
We haven’t tried with that many pieces. You would need to just test it with one to see how much you would lose. Maybe start with a 12″ piece of scrap fabric and see how you go.
Madison says
Thank you so much!!
Jean Perren says
I wondered whether the bias tape needs to be stitched down. I saw a twin needle needle mentioned in tools required. Is this twin needle used to stitch the bias tape down?
Jean Perren says
I just reread the instructions instead of quickly skimming through instructions.. I found the answer to my question. The tape is sewn down. My apology.
Alanda Craft says
Excellent Jean, glad you found the info.
Kathy Jones says
So I made this pattern into a wall hanging. I used the Clover adhesive bias tape and a twin needle. However the tape caused my blocks to be wavy…. Perhaps I should’ve used a twin needle for stretch fabric???? I see it did the same to some of your blocks. Was the quilter able to flatten the quilt a bit???
Alanda Craft says
A twin for stretch fabric might help. Our quilter didn’t seem to have any issues – at least she didn’t mention anything at the time and the quilt turned out just fine.