Here we are again. It’s time for our annual Christmas Table Runner tutorial.
This year’s table runner is another super easy sewing project to make. We are going to use only two pieces of fabric and yet the finished table runner looks impressive. Your family and friends will be very happy to receive one of these table runners as a gift and believe me, they will marvel at your sewing prowess.
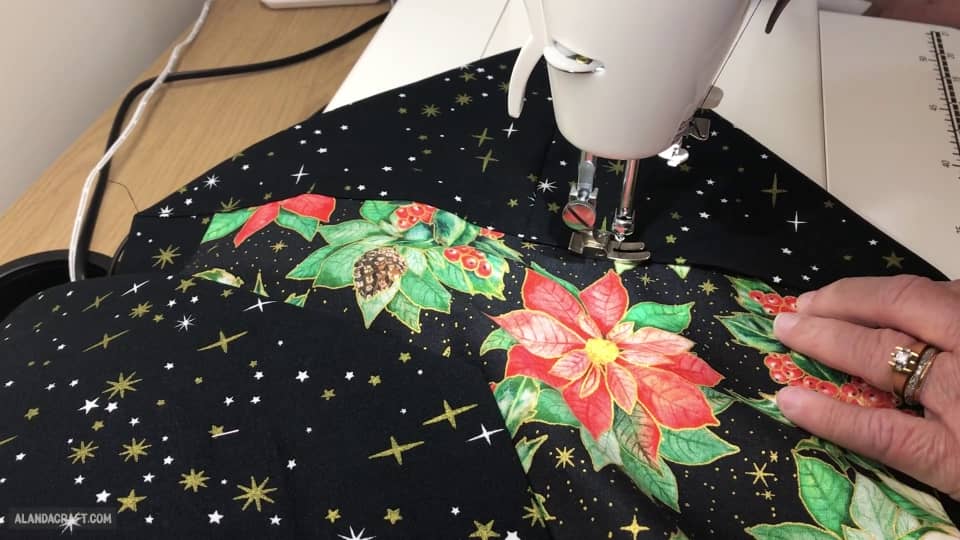
There are so many gorgeous Christmas fabrics available this year so the choice was quite difficult. We visited our local Spotlight store here in Australia and mixed and matched a whole heap of fabric rolls until we made our final choice. We tend to clear off a space in the quilting department and keep changing out fabrics until we find the ones that are just right for the project we have in mind.
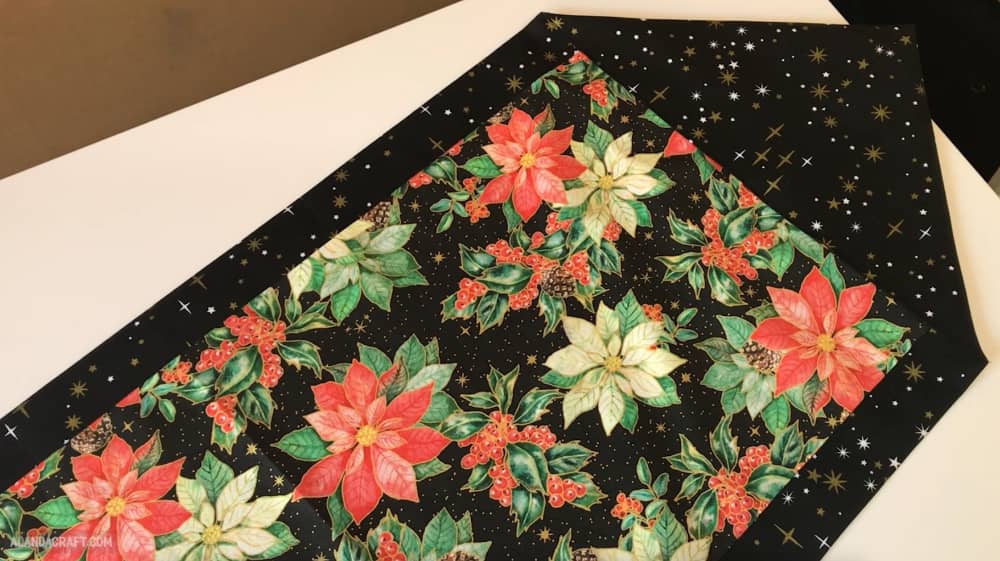
I particularly like the fabric we picked up this year. The inner fabric is Christmas Poinsettia with Gold, and the contrasting outer fabric is called Metallic Milky Way and it just suited our feature fabric beautifully. But really this table runner will look great in just about any fabric and you don’t have to restrict yourself to Christmas fabrics.
Really these are so easy to make and apart from making lovely gifts for family members and friends, you can pick out some gorgeous fabric to dress up your own Christmas table.
Finished Size
Below are the measurements that we went with:
- Length – 39½”
- Width – 14½”
- Turnover – 7″
Watch the video below to see how easy this Christmas Table Runner is to make, or scroll down for the step-by-step written instructions.
WHAT YOU NEED
Well for a start, you only need two pieces of fabric. You may even have pieces left over from previous Christmas projects that you can use.
- Front or Inner piece – One piece of fabric that measures 12” x 41”
- Back piece – One piece of fabric that measures 18” x 41”
TOOLS USED IN THIS PROJECT
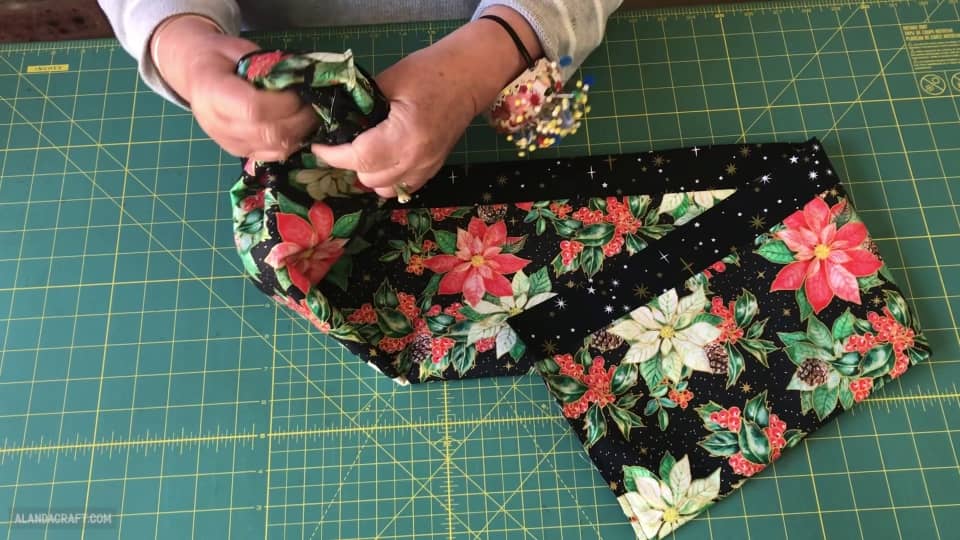
SEWING THE SIDES
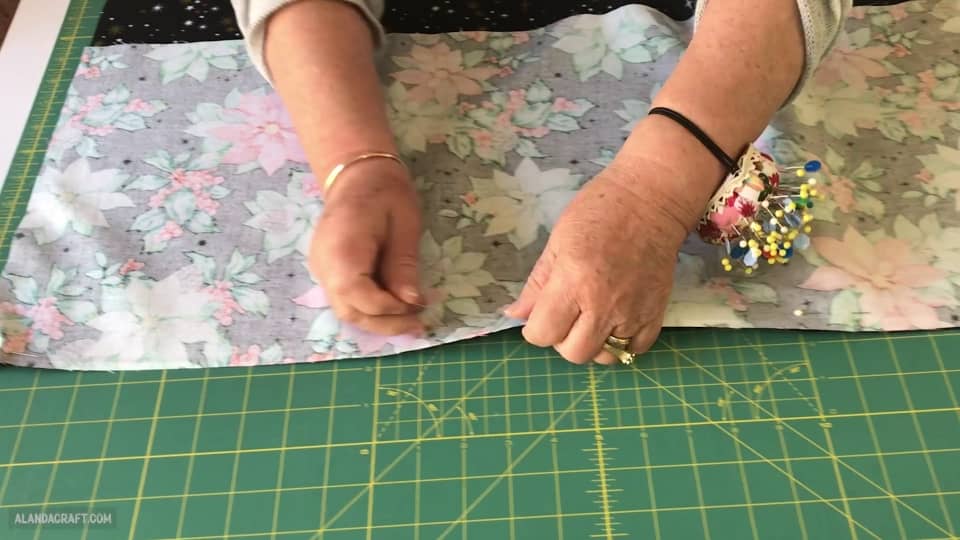
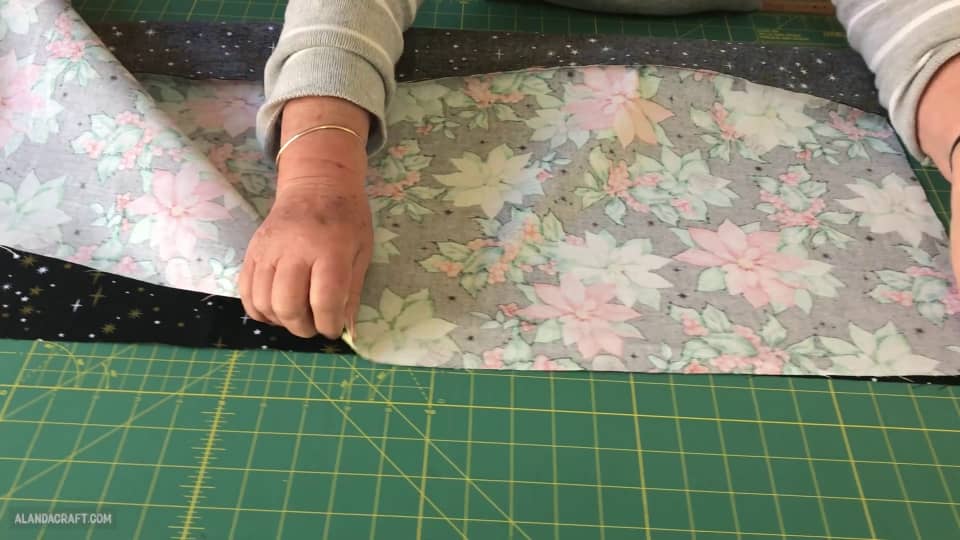
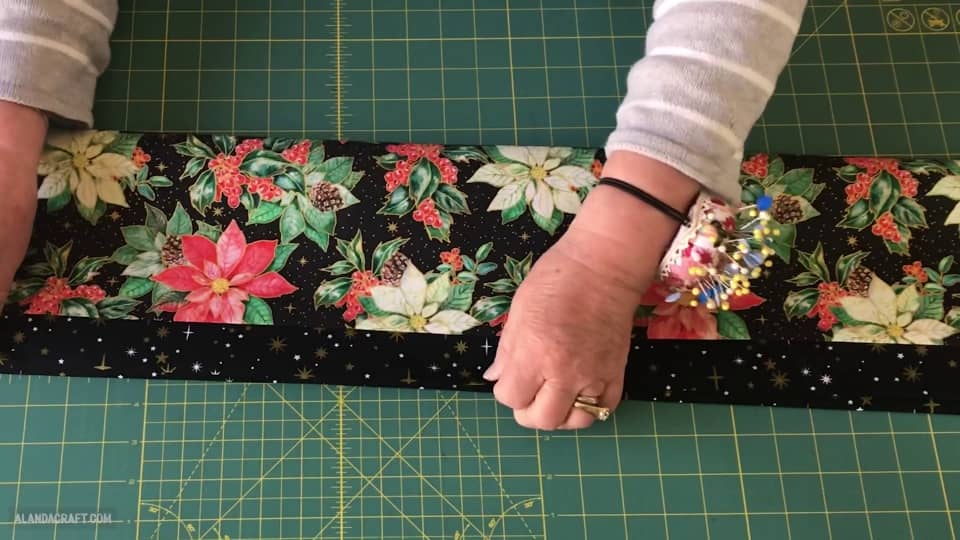
- The first thing we need to do is take our our front piece and lay it, right sides together, along the edge of the backing fabric.
- Pin at both ends, give it a tug and then add pins along the edge.
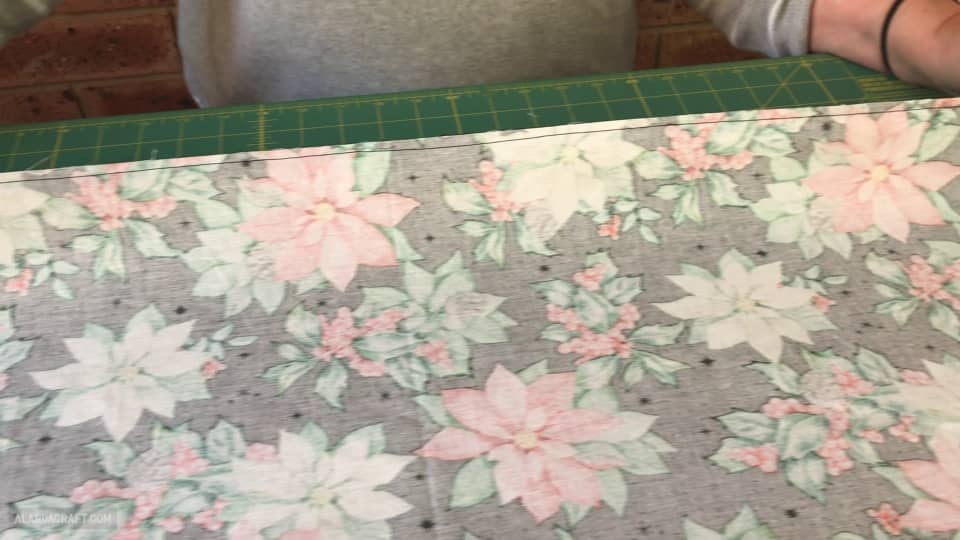
Next we are going to sew the two pieces together with a quarter inch seam.
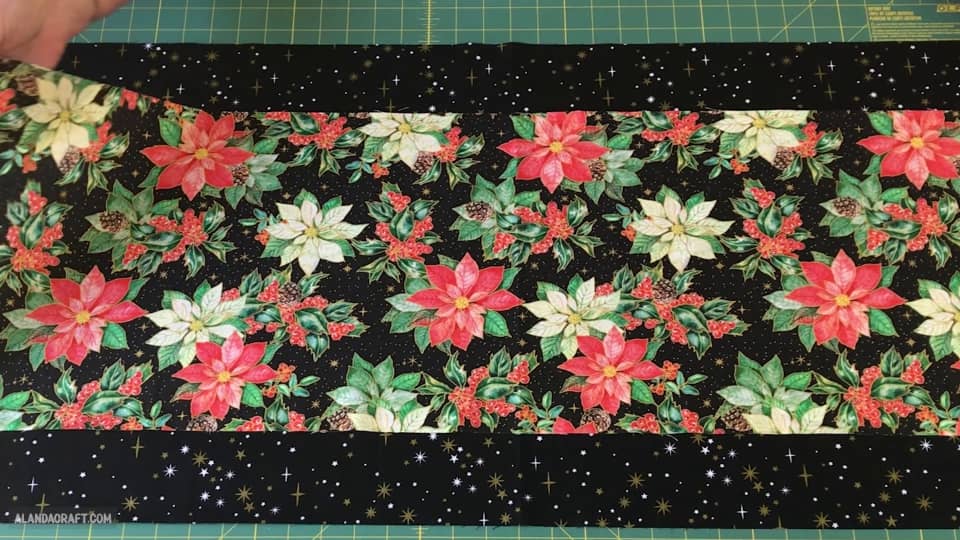
And you can see here what that looks like once we have sewn along the edge.
Now we are going to do the same on the other side. So once again match up the sides and pin the edges together, and sew along the edge with a quarter inch seam.
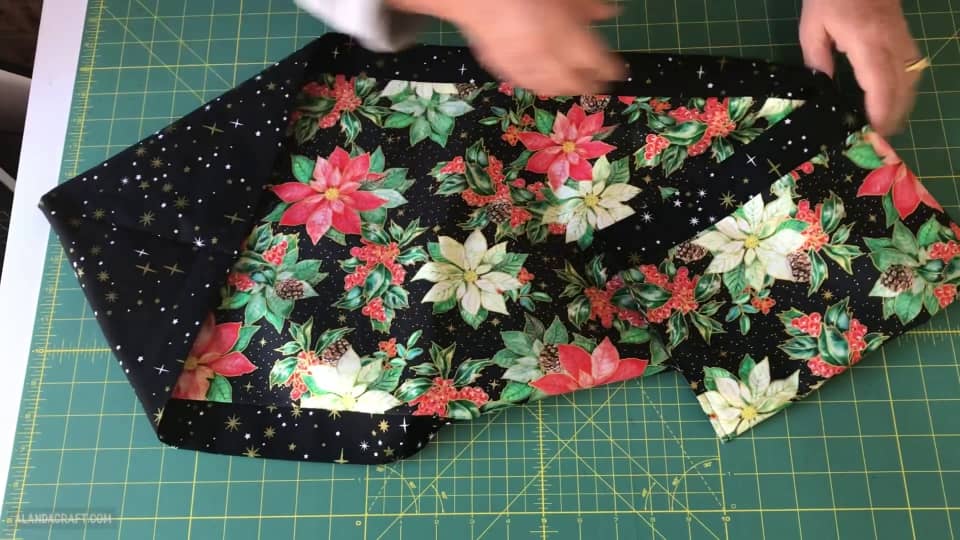
TURN IT THROUGH
You now have a tube, and you will notice that you have more backing fabric that front fabric. DON’T PANIC. It may seem a little odd but trust me it all comes good in the end.
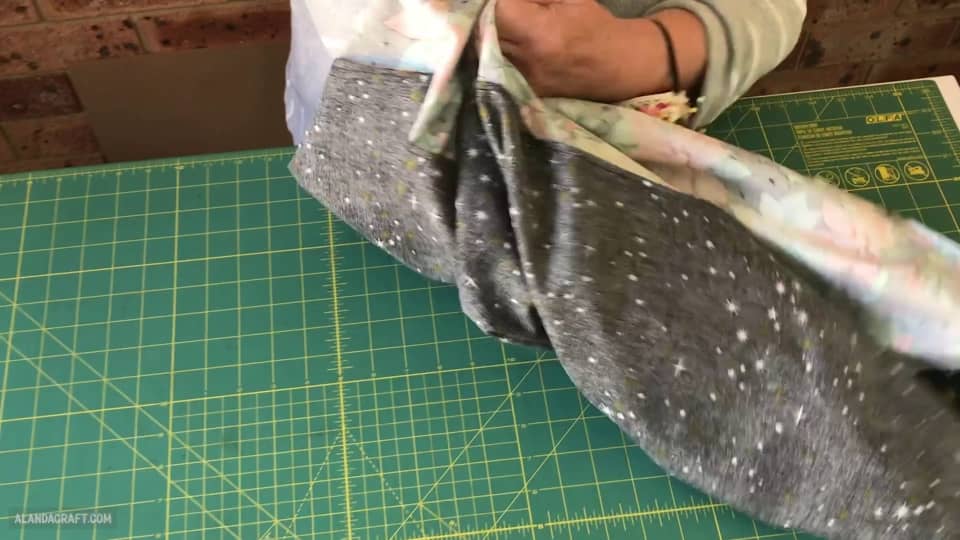
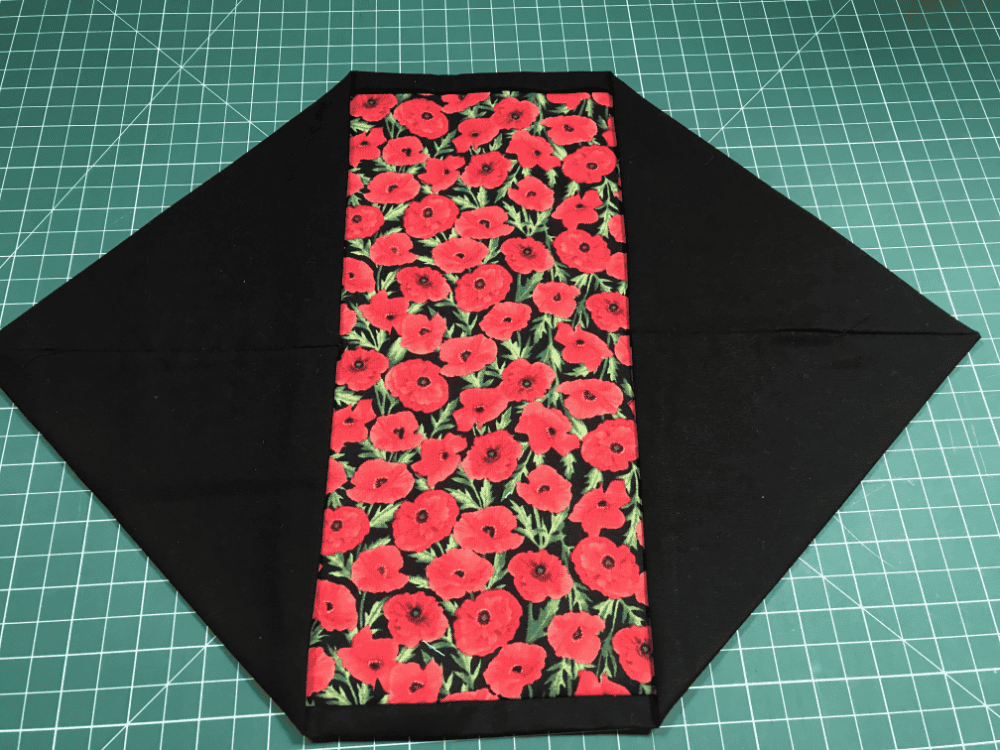
So now we need to turn it through and as we do this you will see that it the backing fabric forms the borders for us.
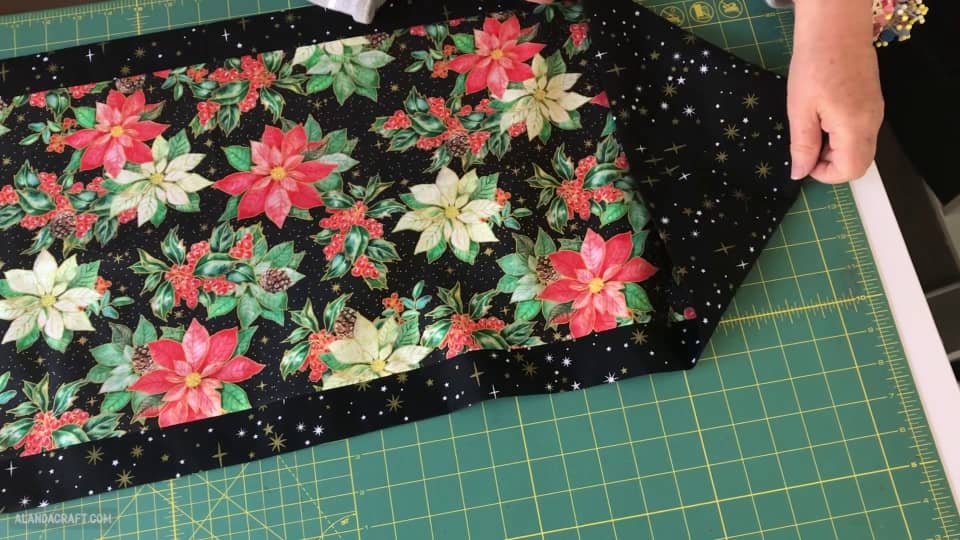
Adjust the fabric so that the borders are even on both sides. Just keep adjusting until it looks right, and you can always use a ruler to measure the borders to get them perfectly even.
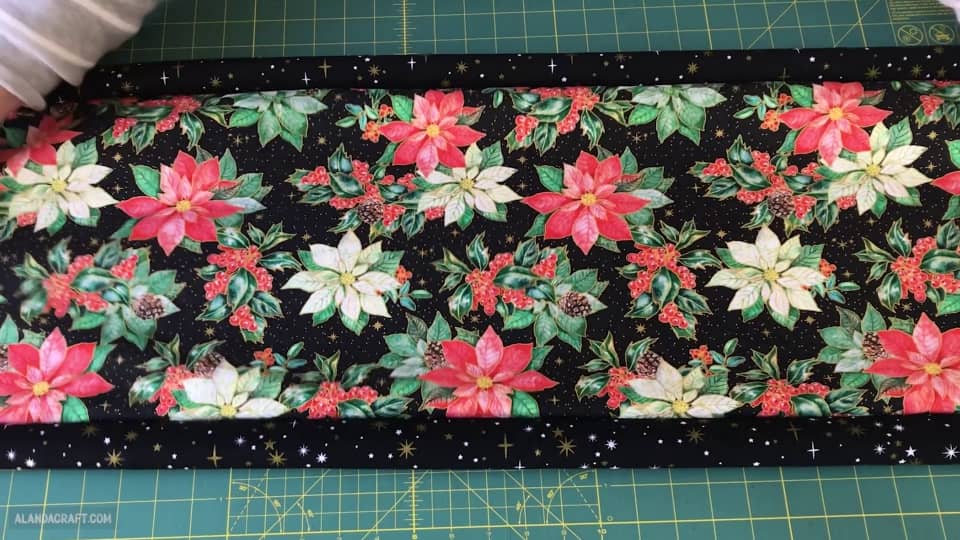
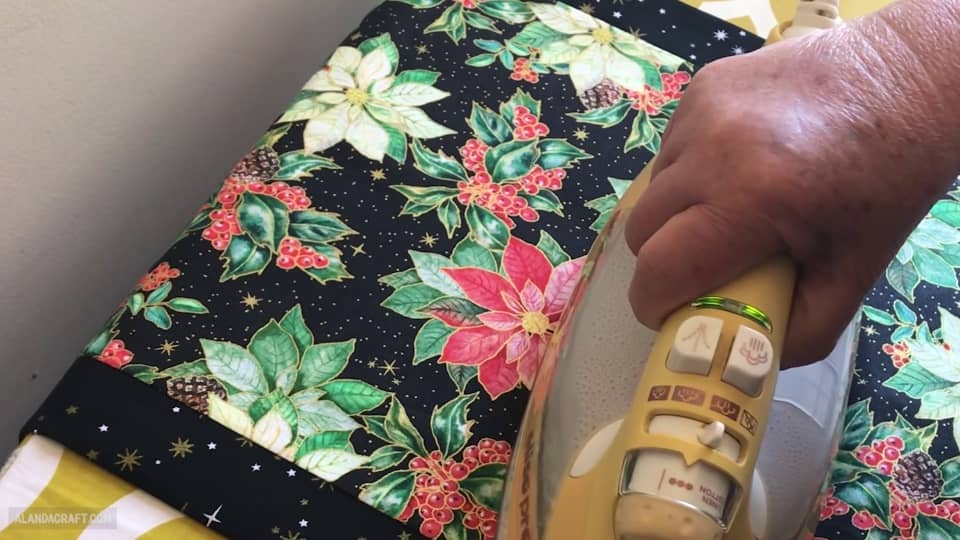
Once you are happy with the look it’s time to give the piece a good press. This will help to keep everything in place.
SEW THE ENDS
We are just about there.
Fold the table runner in half with the front side facing outwards.
Pin along the short end.
Repeat the process on the other end.
Sew along both of the edges with a quarter inch seam. And I did start and end with a back-stitch just to help keep things in place.
TURN THE ENDS THROUGH
This is what it looks with the ends sewn.
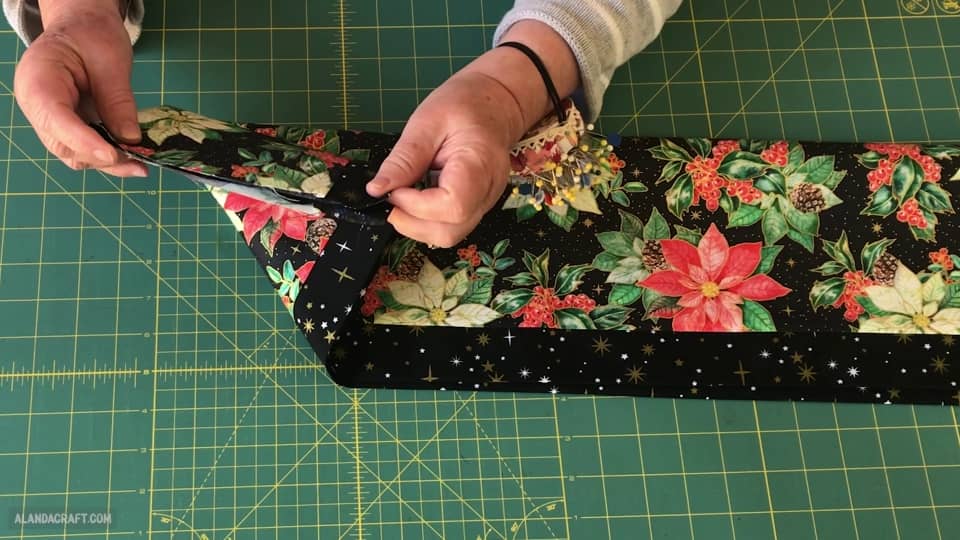
Now we just need to turn the ends through. So pull the corner through.
You can see that as we do that it forms a point on the end and gives us a nice contrasting triangle.
Do that on the other end as well
Then adjust the corners so that the seam is nicely centred.
Just use chopstick or a pair of scissors to push at the points. Take care when using your scissors to push out corners as the are sharp and you don’t want to poke a hole through your fabric or stitching. I use an apple corer because it has a nice blunt end, but just use something that won’t tear your fabric.
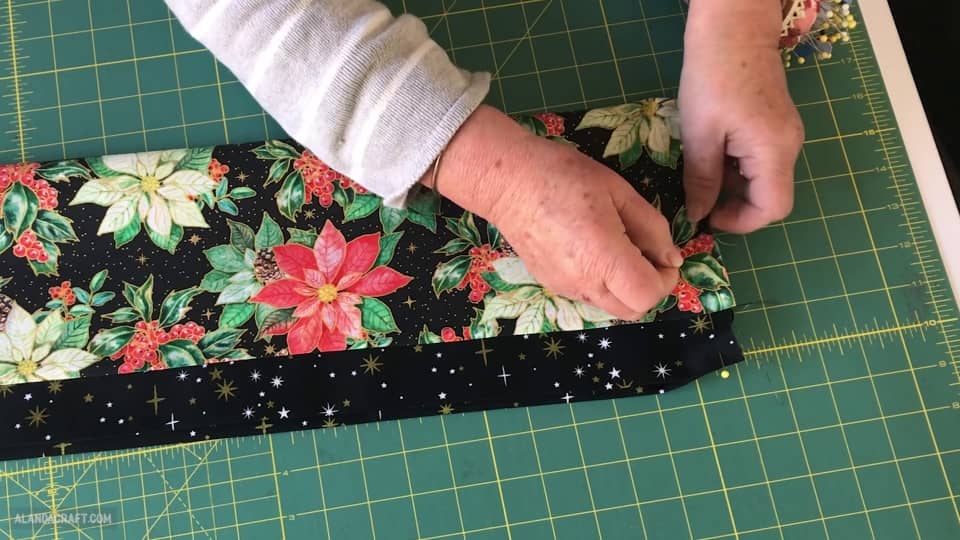
PIN THE EDGES AND SEW
All we need to do now is pin down the contrasting pieces along the edges on both ends and topstitch them in place with about an eighth of an inch seam. I also start and end with a backstitch, because these seams aren’t going to be caught up in any other seams that would normally hold them in place. So we want to make sure that the stitches are secure and not likely to unravel.
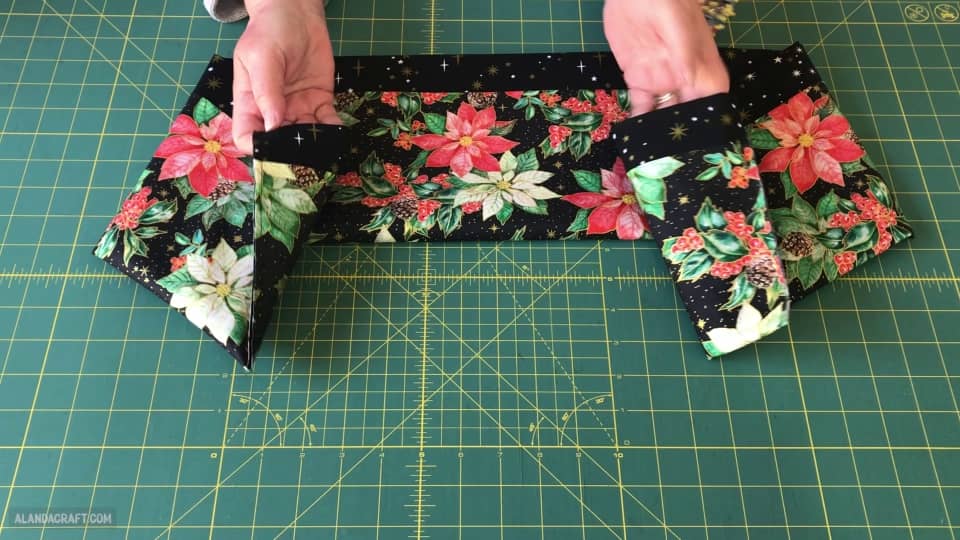
So there you go, you can have a gorgeous table runner made from 2 pieces of fabric in around 10 minutes.
A Readers Request
One of our lovely readers asked how to make matching place mats using the same method of construction.
Well it took a while but we finally figured it out. Now you may or may not like it but here it is.
- Inner fabric – 1 piece measuring 12″x18″
- Outer fabric – 1 piece measuring 14″x18″
You can adjust the size if you want a larger border by cutting the fabric as follows:
- Inner fabric – 1 piece measuring 10″x18
- Outer fabric – 1 piece measuring 16″x18″
Method
Use the same as for the table runner.
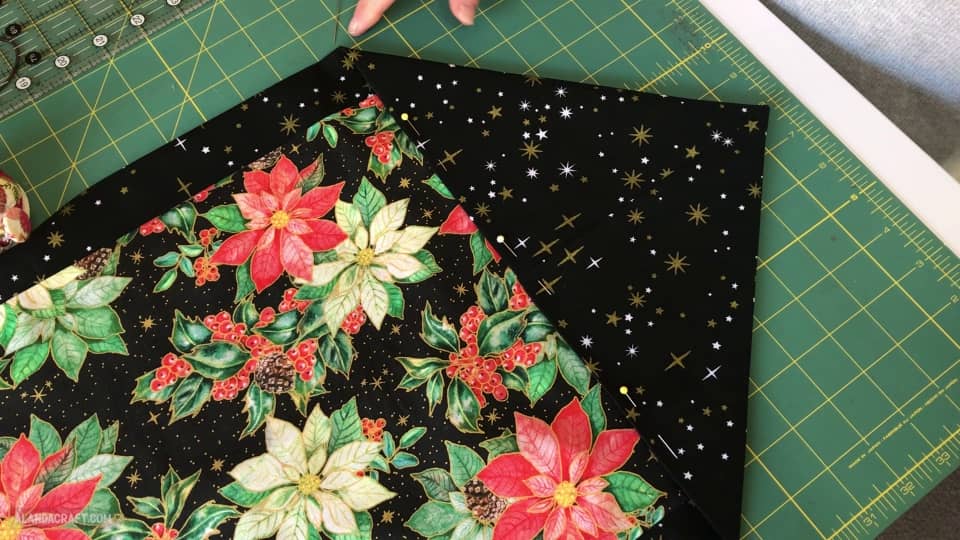
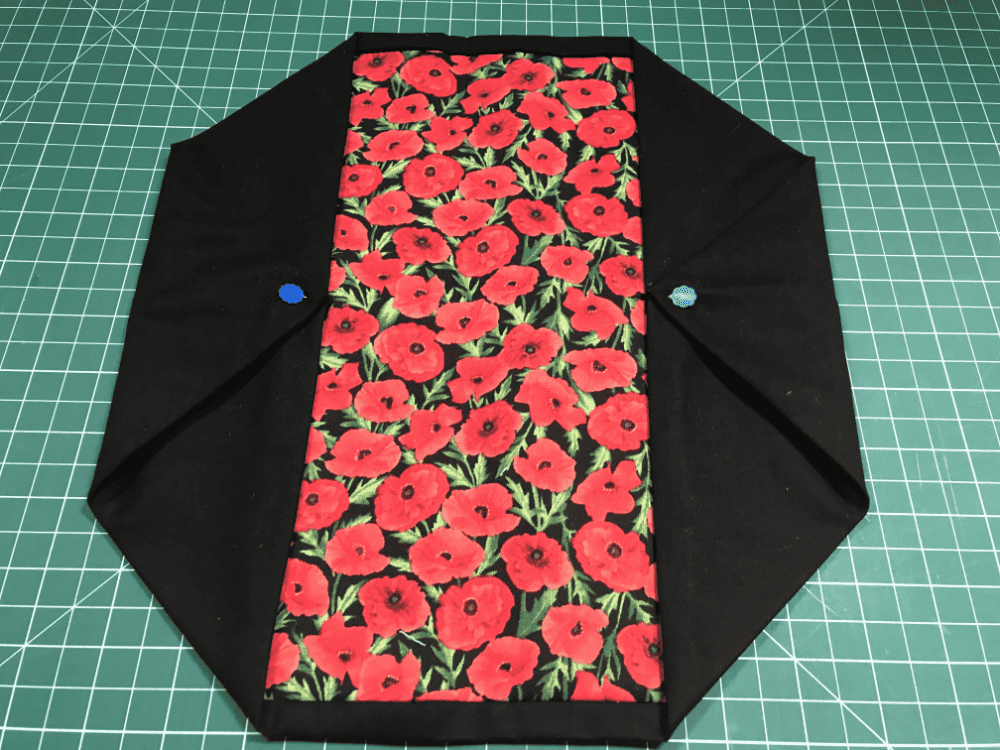
If you prefer not to have the pointy bits you can always fold them in and attach them with a button. I have just used a couple of pins to show how that would look.


Rita C ARMENTROUT says
Love this tutorial. Simple and adequate. And the finished product is lovely.
Alanda Craft says
Thank you Rita 😊. I was very happy with the fabric, there wasn’t much available in the way of attractive Christmas designs at our local store this year so we really had to be a bit picky, but we both liked the ones we got in the end and they worked well together.
Judy Burrell says
Thanks for making such and easy table runner to make. Great video
Alanda Craft says
Thank you Judy 😊. I’m happy to hear that you liked the tutorial.
Janice Pezzullo says
wow love this video
Alanda Craft says
Thank you Janice 😊
Janet Miller says
Table runner is very nice. Will be making one for a gift.
Alanda Craft says
That’s lovely Janet 😊. This will make a lovely gift
Linda james says
How much of the length is taken up with the pointed ends. What is the finished length please?
Alanda Craft says
Once again I forgot to add those rather important details. Thank you for asking about the measurements Linda. I have added them to the blog post. Here they are. Length – 39½” Width – 14½” Turnover – 7″
Frankie says
Thank you so much for the tutorial. I have already made several for Christmas gifts and I love them. I am a beginner but these were so easy and your instructions were easy to follow.
Thank you again,
Alanda Craft says
That is so lovely to hear Frankie ☺️. I’m glad you like the tutorial. These do make excellent gifts.
Leonie says
How would I make matching placemats using this same method….thankyou
Alanda Craft says
I as so sorry Leonie that it has taken me so long to get back to you but this turned out to not be as easy as I thought it was going to be. However, finally got there and I have added the instructions to the bottom of the post.
Lovin'Life says
This is so cute! Love the simple pattern. I am wondering how and what size would I cut batting to put in between the 2 pieces of material. I would appreciate the help if it os possible amd simple to make.
Thank you so much in advance!!
Lynette Brumby says
Many thanks great pattern