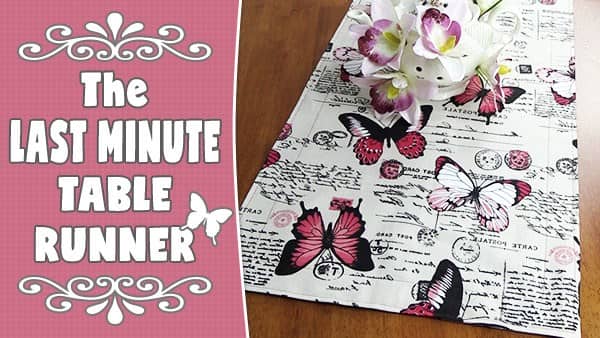
Do you need a table runner? Do you need it right now? Well, this is the tutorial for you.
This table runner is super quick and easy to make and involves just one piece of fabric. Perfect for that special occasion like Christmas, Halloween or Thanksgiving.
To make this table runner you’ll need just one piece of fabric. We recommend a sturdier type of fabric, something like you would find in the furnishing section of your fabric store. Having said that however, we did successfully make one of these using quilting fabric, it’s just not going to be as sturdy, but hey, this is a last-minute table runner and it will still look great on your tabletop.
Watch the video tutorial below or scroll down for the written instructions
TOOLS USED IN THIS TUTORIAL
You can check the latest prices at Amazon by clicking on the links below:
- Quilters Slidelock Ruler
- Creative Grids Ruler 8½” x 24½”
- Olfa 24″ x 36″ double-sided healing mat
- Olfa 60mm rotary cutter
- Oliso Iron
- Gutermann Sew-All thread
Method
How to Work Out the Fabric Size for Your Table Runner
To work out what size that piece of fabric needs to be cut at, work out how wide and long you want the table runner to be. For example, in the video tutorial, we chose 15″ as the width and we decided to go with a length that pretty much measured the width of the fabric which was around 63″. So we settled on a finished size of 15″ x 60″.
Once we have the measurements, we need to multiply the width by 2″ and add 1″ for the seam allowance. For the length, we just need to add a 1″.
Example 1:
Here are our calculations for a finished 15″ x 60″ table runner.
For the width – (15″ x 2) + 1″ = 31″
For the length – (60″ + 1″) = 61″
So now we need to cut our piece of fabric at 31″ x 61″.
Example 2:
Here’s another example for a 16″ x 40″ table runner
For the width – (16″ x 2) + 1″ = 33″
For the length – (40″ + 1″) = 41″
So we need to cut our piece of fabric at 33″ x 41″
- Once your piece of fabric is cut, fold it in half with right sides together and sew along the long edge with a half-inch seam.

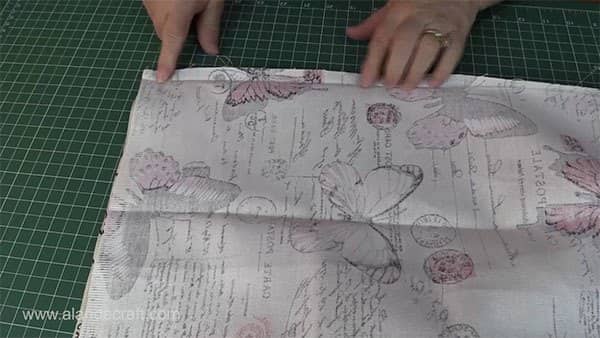
- Move the seam to the middle of the fabric tube and iron it open.
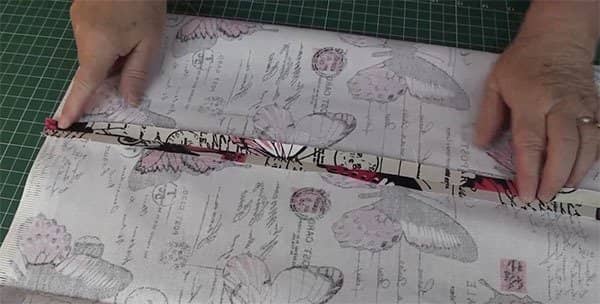
- If like us, your selvages are still attached, now is the time to trim them off.

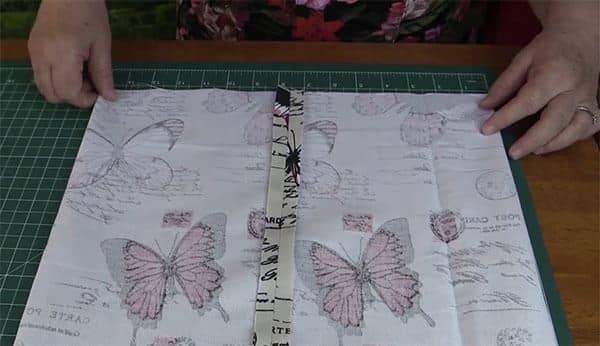
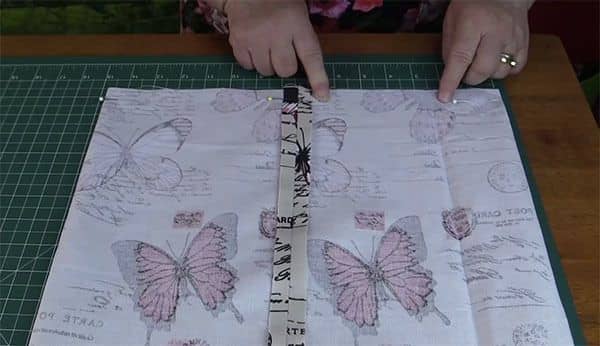
- Center the open seam in the middle of the fabric. Just line it up your mat to find the halfway mark or you can eyeball if you wish. It doesn’t have to be perfect.
- Pin and sew the edge with a half-inch seam.
- Repeat the process for the opposite end but leave an opening of about 4″ to enable you to turn the table runner through.
- You can see how the opening will look in the image below.
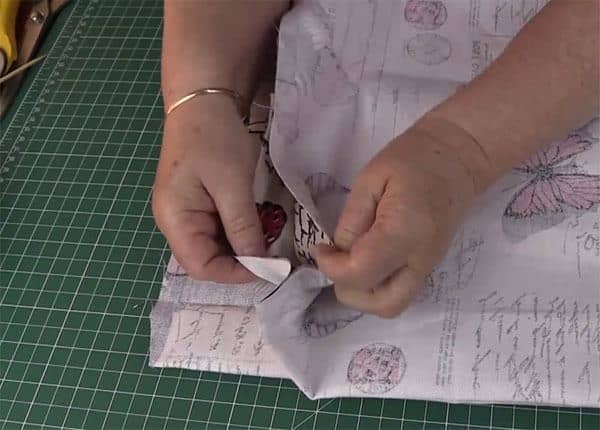
- Clip each of the 4 corners taking care not to cut through the stitches. This will provide for sharper corners when you turn the table runner through.

- Reach into the opening and pull the fabric through.
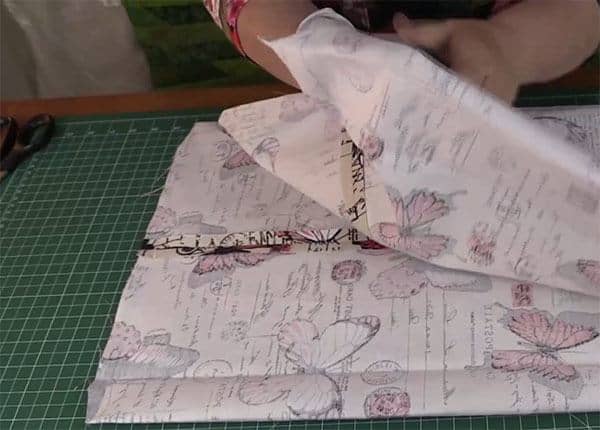
- Iron the table runner.
- Topstitch around the entire edge of the table runner with a quarter inch seam. This will seal the opening.
- Topstitch a second stitch approx 1½” inches from the edge.
- You can use decorative stitches if you prefer.
This is one we made in a different fabric.


Janet says
Thank you so very much for this tutorial It was so very nice of you too do this for Me.
I am allready subscribed too Alanda Craft On You Tube just cant seem too get log on too your Website just seems daft I must be doing somthing wrong lol lol.
Jan Cozens.
Alanda says
Just sent you the logon details to your email address Janet. The password we have sent will let you logon the crafty downloads page. Let me know how you go.
Patti says
I am so happy I found this video tutorial! Easy, concise information and very easy to follow. Thank you.
Alanda says
Thank you Patti. It’s just so quick and easy to do. 🙂
Deepti Valavil says
Thank you for this nine piece cushion cover tutorial. I did my first one today following your instructions. My first ever sewing job on my new singer machine and I feel proud of it because of your help. And will be trying out your other tutorials too. So glad I found your link. God bless!!
Alanda Craft says
That’s so awesome to hear. So glad we could help. You can share your results with the rest of our readers if you like by submitting it here: /submit-your-project/
Alice Conway says
Such a quick easy project, especially when you need something in a hurry.. Thank you,
June says
Thank you Love your blog and ideas!
Alanda Craft says
Thank you June. That is so lovely to hear 😊.
Penny O'Brien says
Great project.
Where do you find fabric 63 inches wide?
42 – 44 is standard in the US.
Alanda Craft says
For this project Penny, I have used furnishing fabric- printed cotton canvas – which is much wider than quilting fabric. I purchased it from our local Spotlight in the area where they sell canvas to cover chairs etc. You really need to use a heavier weight of fabric as there is no batting used to give it body. I hope this helps.
Carol Gentry says
Thanks for sharing your ideas and tutorials! They are absolutely the best
Carol
Alanda Craft says
Thank you for your lovely comment Carol 😊. I am happy to hear you enjoy the tutorials.