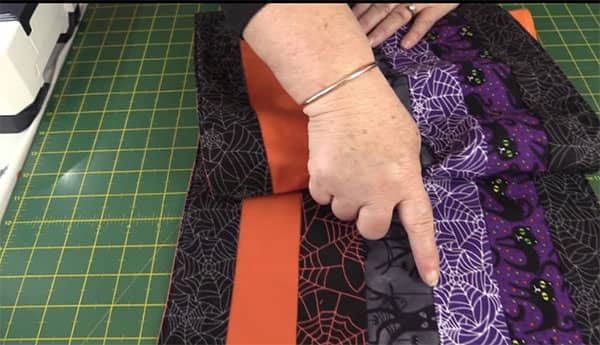
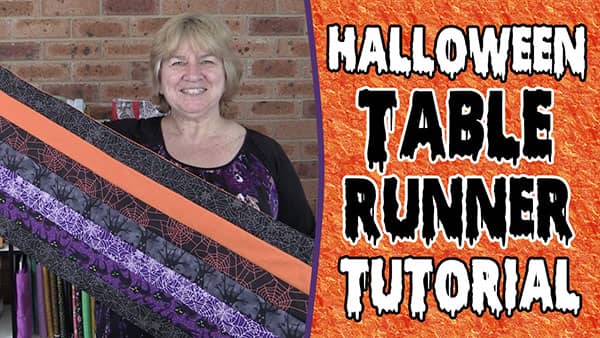 So it’s almost Halloween and you realize that you don’t have a table runner to dress up the table. Well, you can whip up this Halloween table runner in around 20-30 mins tops.
Watch the video tutorial below or scroll down for the written instructions
TOOLS USED IN THIS TUTORIAL
You can check the latest prices at Amazon by clicking on the links below:
- Creative Grids Ruler 8½” x 24½”
- Olfa 24″ x 36″ double-sided healing mat
- Olfa 60mm rotary cutter
- Oliso Iron
- Gutermann Sew-All thread
What You Need
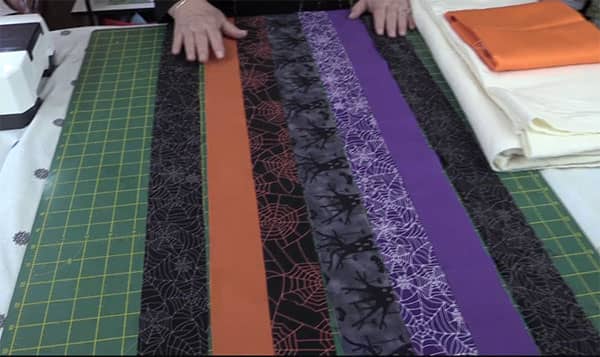
7 x 2½” strips. You can use jellyroll strips if you find a nice Halloween one. Fabric.com have some awesome Halloween fabrics.
Method
NOTE:
The information below is just a basic outline. Please refer to the video tutorial for step by step instructions.
- Lay out the strips in the order that you like them.
- Cut off the selvages.
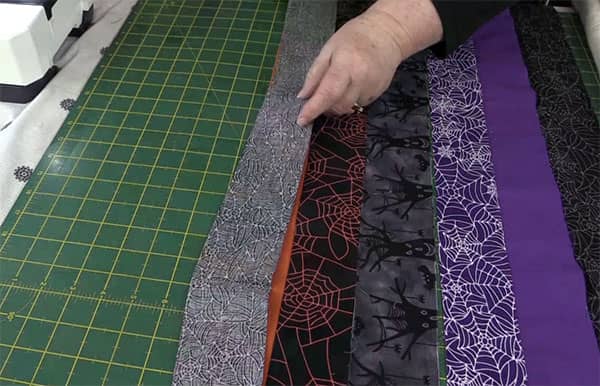
- Place one strip on top of another and sew together with a ¼” seam.
- Keep adding and sewing one strip at a time until all the strips are joined.
- Trim the top and the bottom edge.
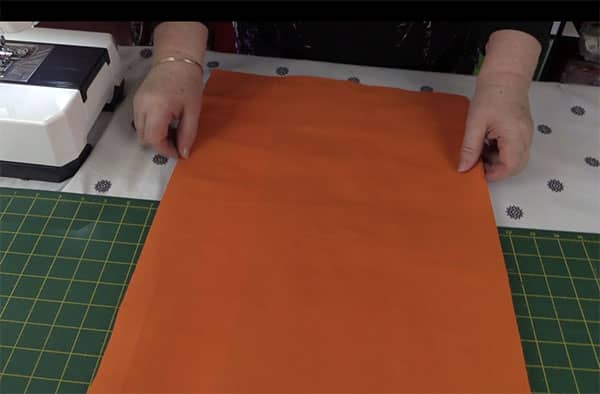
- Cut your batting and backing fabric to match the size of your main piece. We simply lay the finished top piece on top of the batting and cut around the edges. Pin or adhesive spray the batting to the main piece to stabilise it.

- Now cut the backing to match the main piece.
- Place the top and the backing right sides together and leaving a 4″ opening on one side, sew around the edge with a ¼” seam.
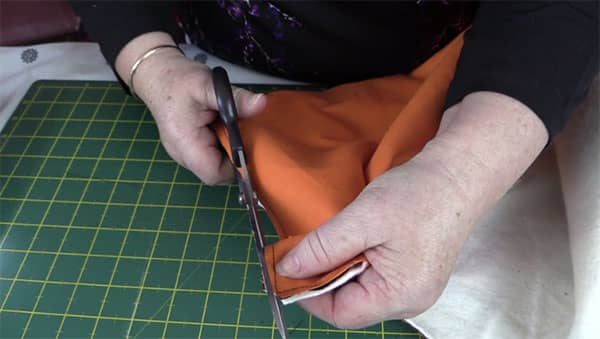
- Clip the corners and cut away some of the bulk at the corners taking care not to clip your stitching.
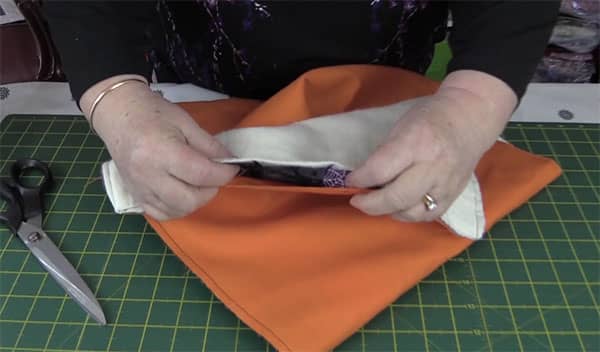
- Turn the runner through the 4″ opening.
- Press, especially the opening seams.
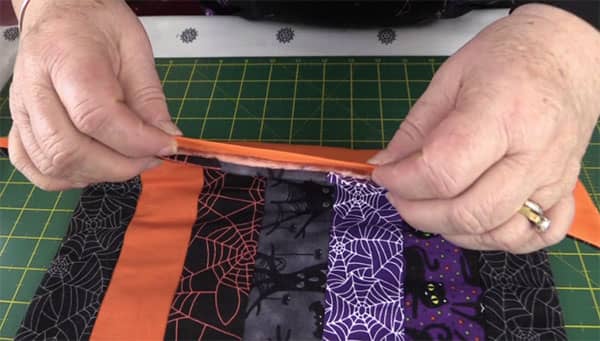
- Topstitch around the edge, I generally topstitch in 1/8″, but you can do 1/16th or even ¼”, there are no hard and fast rules.
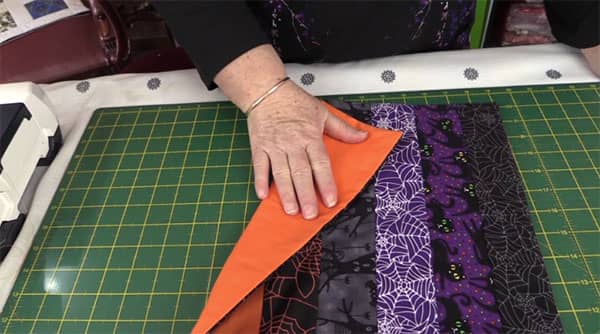
- Quilt by ditch stitching – sew between the seam stitching lines in each row
So there you have it. Super quick, super easy.


Korrie says
HELP! I threw away my first attempt. Trying again… my problem is that when I go to quilt it (stitch in the ditch) by the time I get to the bottom, the top fabric is all bunched up..Ive tried changing my tension, but that makes no difference. This looks so simple, & I’d love to make more if I can just get this problem figured out… Thanks!
Alanda Craft says
Are you using a walking foot? That will help to stop the fabric from bunching up.
Kayne L Kelly says
I have made a couple of these awesome table runners. When I made the second, I bought a walking foot for my Viking Emerald 116! It really helped stop slight puckering! I am having one issue that I hope you can help with!
When I turn the corner when topstitching(1/8) inch, it doesn’t easily feed the fabric, thus causing a slight bunching in the first say 1/2 inch. I trimmed the corners very well and it’s only one layer of warm and natural and two layers of 100% cotton as was yours. I would really appreciate any expert advice you could give me! The stitch in the ditch quilting is great….. I know you can’t backstitch when using a walking foot, but hope to solve the corner turning issue. Thanks in advance for any ideas you have! Kayne Kelly
Terri Malucci says
Along with what you will need, (strips). I was looking for yardage for batting and backing .
What batting do you suggest? I have made the top, very easy and cute in Xmas jelly roll fabric. Thank you!
Alanda Craft says
This runner is made using the turn through method so you need a piece of batting and a piece of backing that matches the size of your finished top piece. We tend to use warm and natural batting that is made by the Warm Company. It’s available from Amazon. But you can use any brand of batting for this project. Look for a low loft batting as you don’t want a table runner to be too ‘bouncy’
Kim says
I love this pattern. I am going to try. It will make a Beautiful Christmas gift using Christmas material.
Alanda Craft says
I think it will look just gorgeous in Christmas fabric, Kim 😊. I’m glad you like it.