Screen Printing is something we have been thinking about trying for quite some time now. Just now and then. It’s just that it seems so darned complicated and involved. I remember back in the 60’s, one of my hippie friends was into tie dying and screen printing and she screen printed on bags, cushions and clothing, and they looked lovely. So one day she says “Come on over and have a go”. So off I go with three little kids in tow, to learn a new skill, at this stage of my life, I’m proficient at knitting, sewing and crochet. Well after a few hours I concede and have to tell her “Thank you but this is not for me”.
Well fast forward to 2023 and out of the blue xTool contacted us to see if we would like to take their Screen Printer for a run. Now I must admit, I was a little apprehensive about this – hey I’ve watched the videos on YouTube and nothing seems to have changed from the early days, way back when. It still looks like a long process that involves a lot of steps.
So, Paula and I have a cup of tea and toss around whether or not we want to do this, and after reading the specifications we decided – yep, let’s give it a go.
We already knew that xTool make good quality machines and they are always coming up with innovative ideas. We already have three of their lasers so we figured this would have to be another great product.
This machine is supposed to speed up the process and make Screen Printing so much easier. Well, let’s see shall we.
Watch the Video below for the Unboxing, Setup and Demo
Products used in this project
- xTool Screen Printer – This is a link to the xTools Kickstarter for the Screen Printer
- xTool D1 Pro Laser machine – This link is for the xTool D1 Pro. We have the D1 laser machine but that is no longer available. (the D1Pro is the updated version of our machine)
- Christmas Gnomes cutting file – Creative Fabrica
- Moda Bella Solid white fabric
Now this is a big box and it’s super heavy so let’s unpack it and see what’s inside.
There are different kits that you can purchase we have the multi-colour kit.
- There’s the manual.
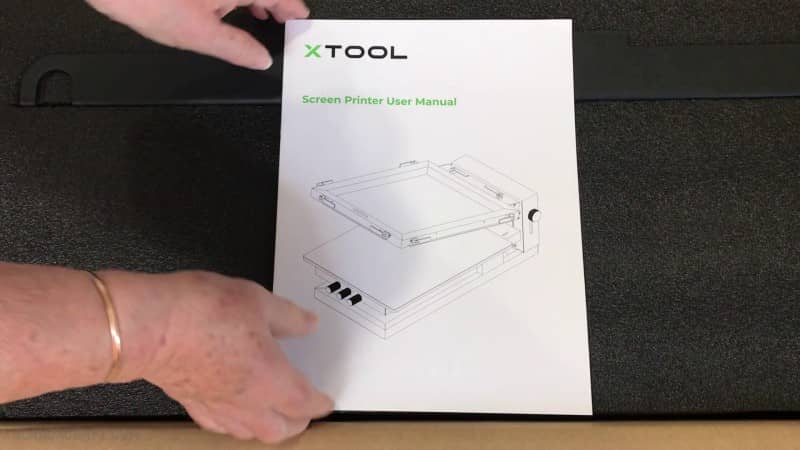
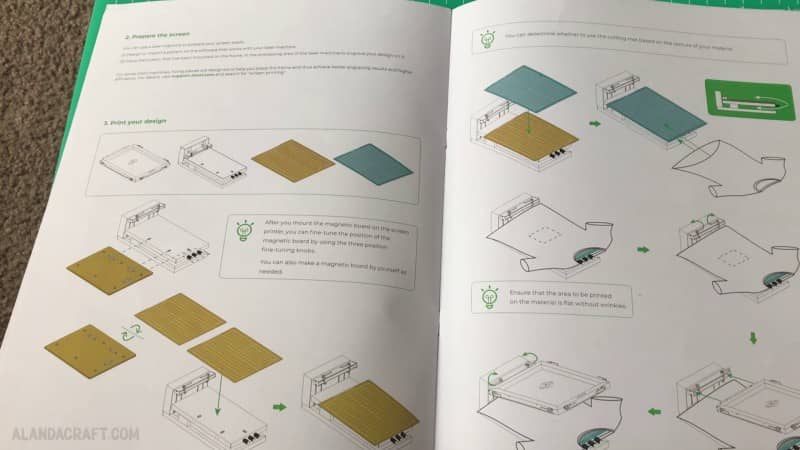
- it’s well illustrated, and goes into detail of the steps for using the screen printer
- Adapter for the laser – more on that later, but it’s a base piece to attach the frames to our xTool D1. This piece is also used for attaching the frames to the xTool D1Pro.
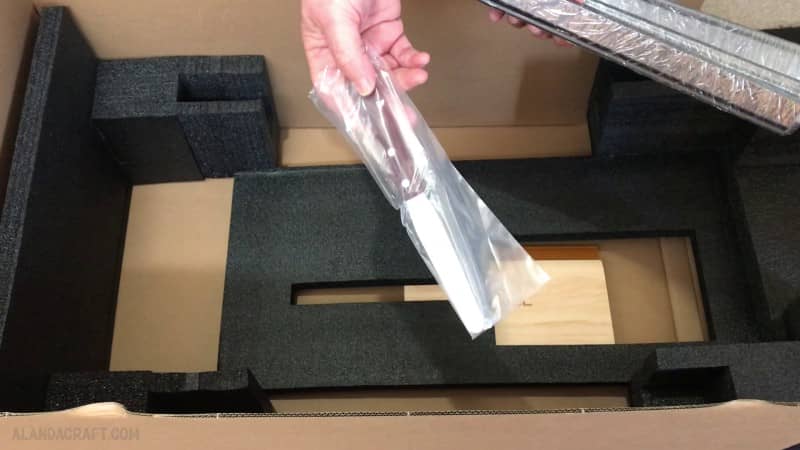
Now I just need to get the main box open, and oops there’s another box inside that. I’ll put that aside and continue checking out what’s in this box.
- The xTool Screen Printing Machine
- Some Fixing Pins – I’ll talk more about these later
- An 8” ink spatula
- A 9’x5” squeegee for applying the paint to the screen
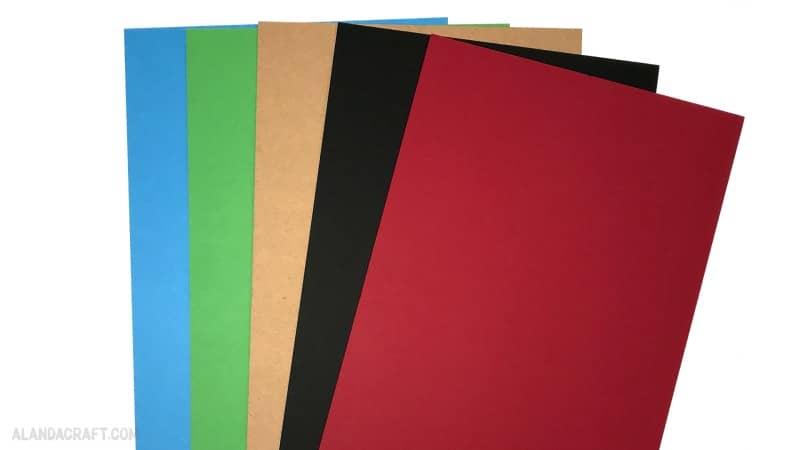
- Card stock sheets
- There is also an FAQ sheet – which is always handy to have on hand for troubleshooting
Now back to the other box and lets take a look in there. And here we find…
- Some screen printing screens – there’s 12 of them.
- A nice heavy duty canvas bag – to print on
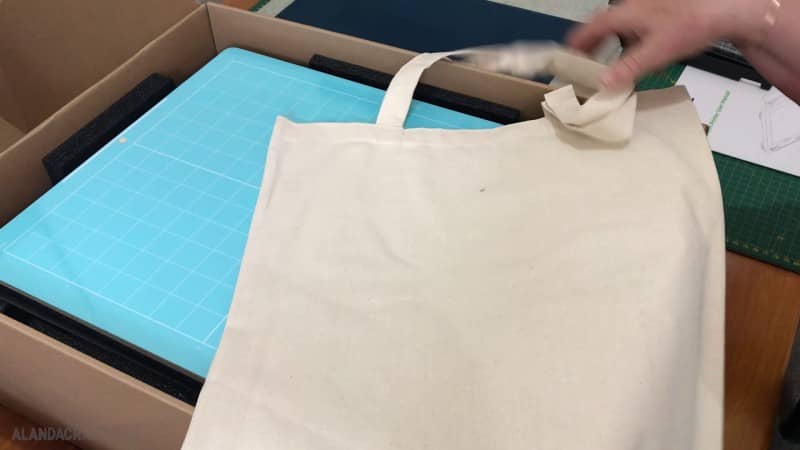
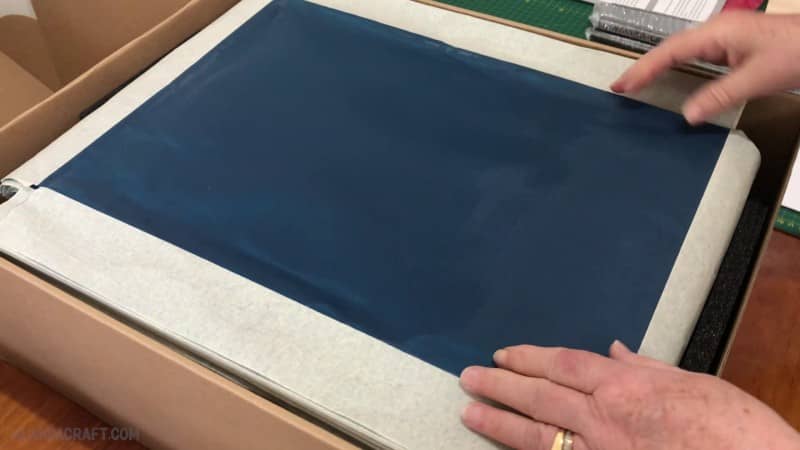
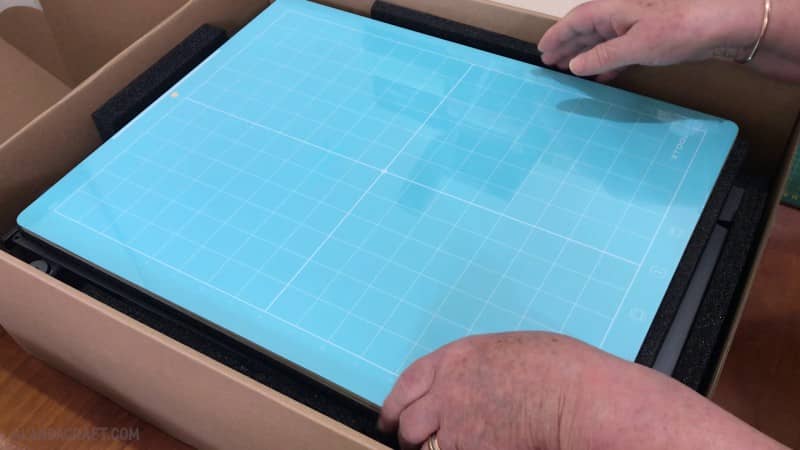
- A sticky mat. If you have a die cutting machine you will recognize this as it’s similar to a Cricut or ScanNCut mat. This difference with this mat is that it is sticky on both sides just like the mat that is used with our xTool M1 laser.
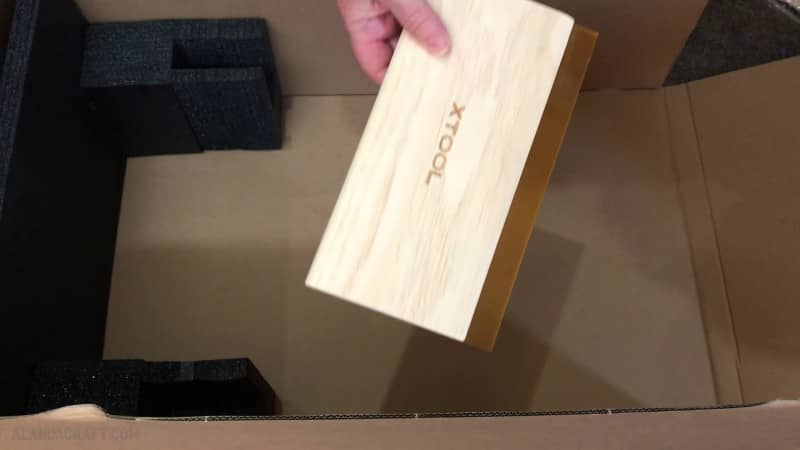
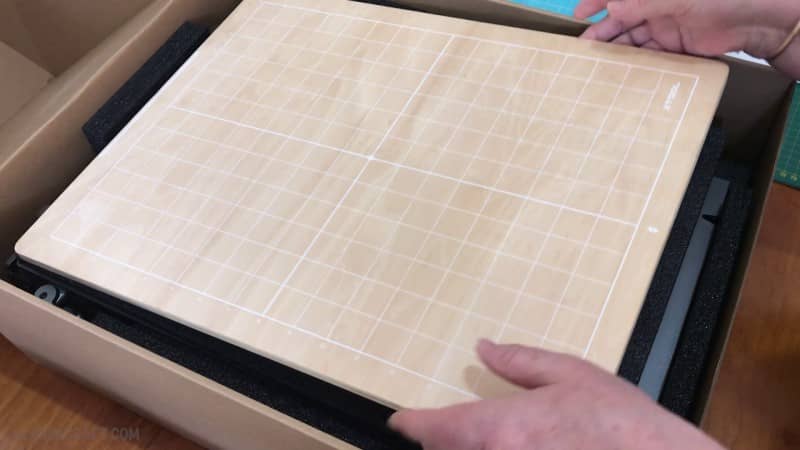
- A magnetic board – The board is made from wood and has metal parts on the bottom that hold the board in place on the screen printer. I’ll show you that later
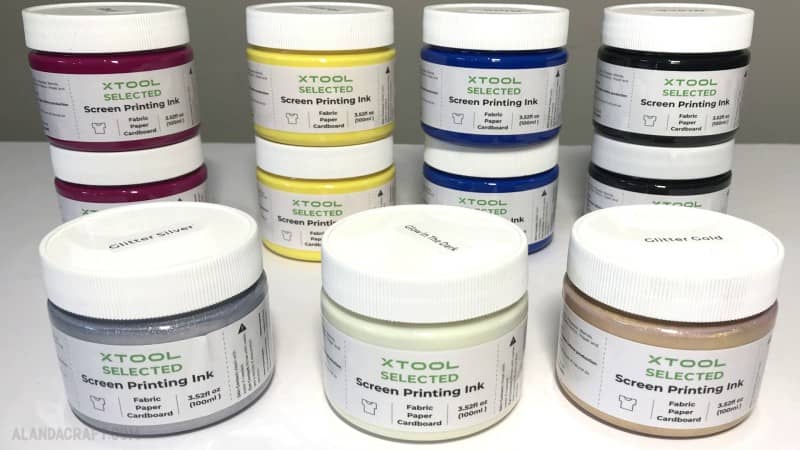
Now we have some water based paints. In the top layer we have one pot each of:
- glitter silver
- glitter gold
- glow in the dark
- we also have some more fixing pins.
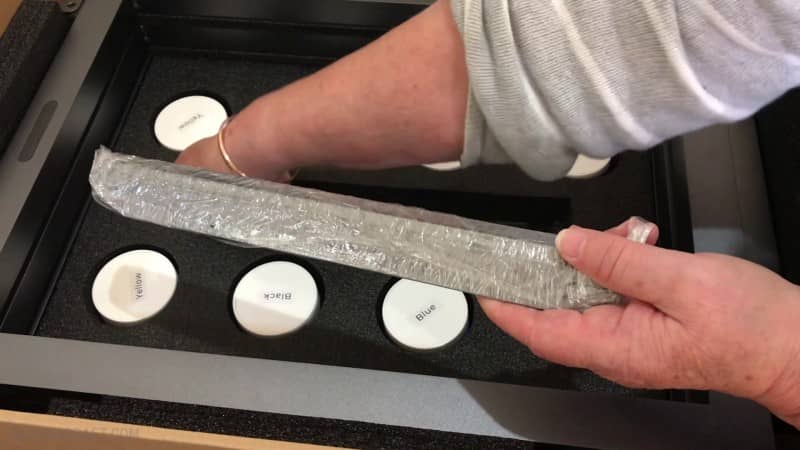
In the bottom layer we have 2 pots of each of the primary colours
- black, blue, yellow and red
Surrounding the foam piece holding the paint we have:
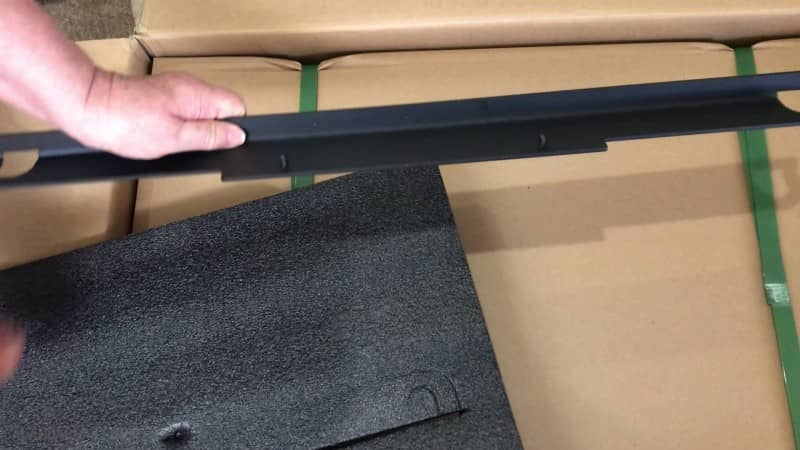
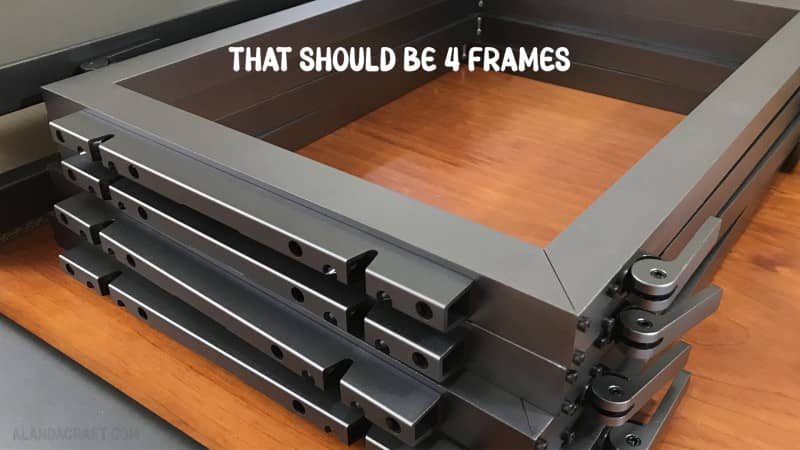
- 4 Frames – the frames measure 11.5 x16” and these hold your screens in place when you are engraving and screen printing. In the video I said there are 3 frames but there are 4.
Okay so that’s the unboxing done, now let’s get the Screen Printer set up.
SETTING UP THE SCREEN PRINTER
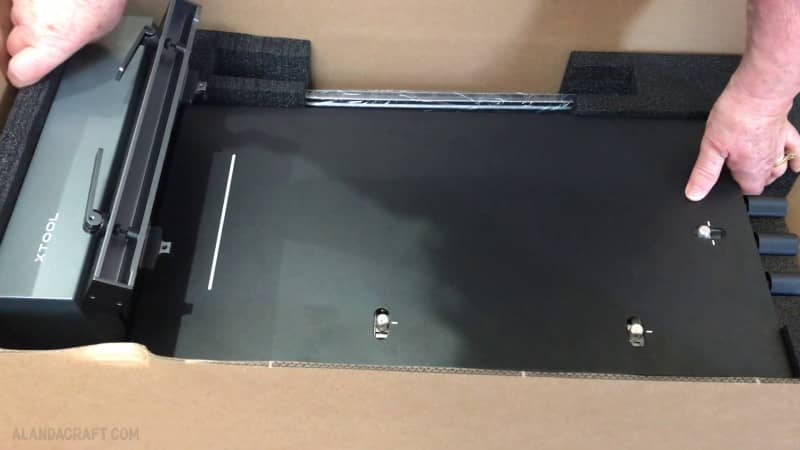
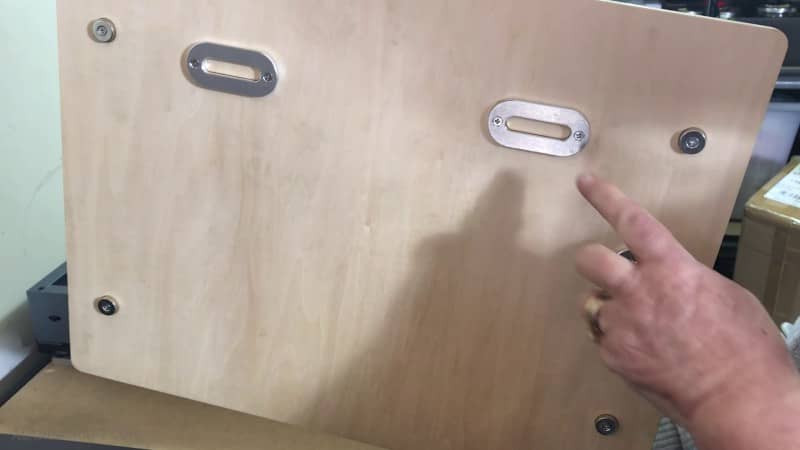
There’s not much involved with setting up the Screen Printer. Firstly, take the magnetic board and attach it to the base of the screen printer.
There are three magnets on the base of the screen printer.
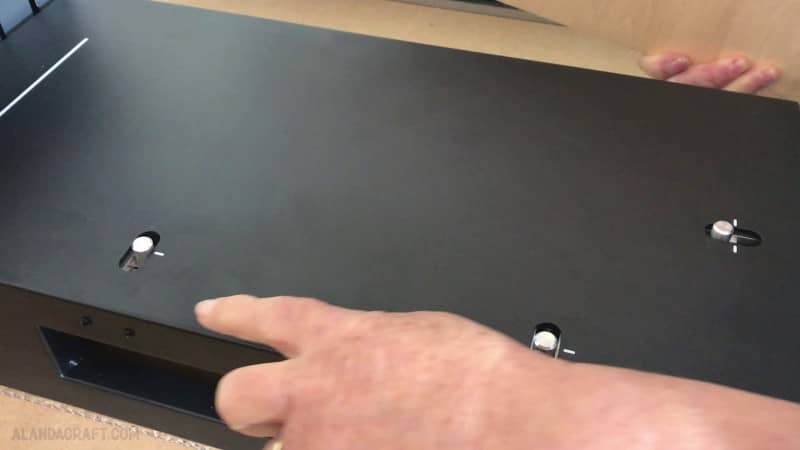
On the bottom of the board there are three slots where the magnets slide into. This is easy to do. You will know when it is in place as the board is hard to move and it’s held firmly on the screen printer base.
The board has 1″ grid lines marked on it.

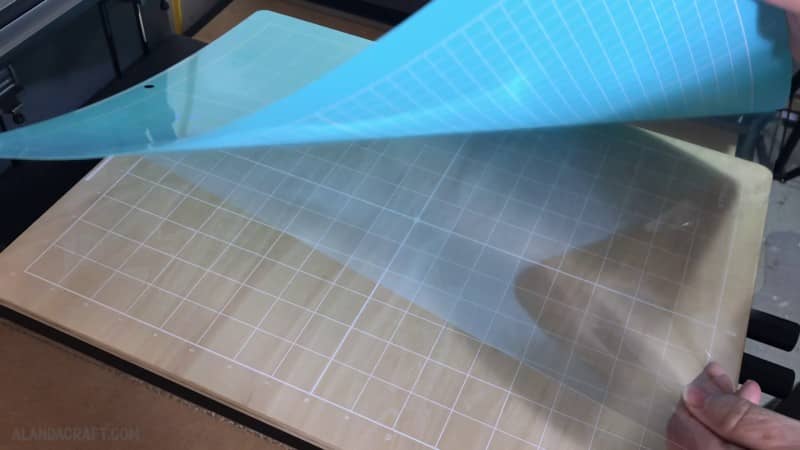
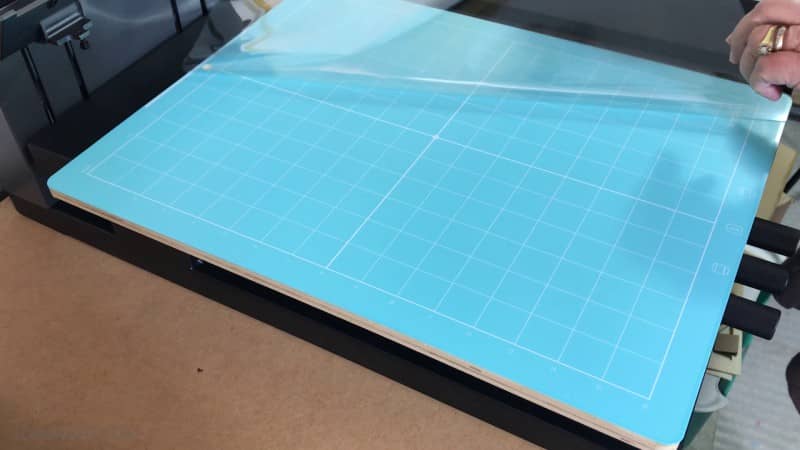
Depending on the type of material you are going to be screen printing, you have the option to use the sticky mat.
If you do choose to use it, remove the protective plastic sheet from the bottom of the mat and line it up on the magnetic board. I left the top protective plastic sheet on the top of the mat and I’ll remove it once I’m ready to add my medium. The protective sheet stops dust and debris from gathering on the sticky mat. Don’t throw those protective sheets away, you will want them for times when you want to keep the top covered or you want to store the sheet when it’s not in use.
ATTACHING THE SCREEN TO THE FRAME
Now this is all new to us so we checked out the official video to see what we were supposed to do and It all seemed straightforward enough. So let’s go through the steps.
- So the first thing we need to do is to attach one the screen to the frame with the fixing pins.
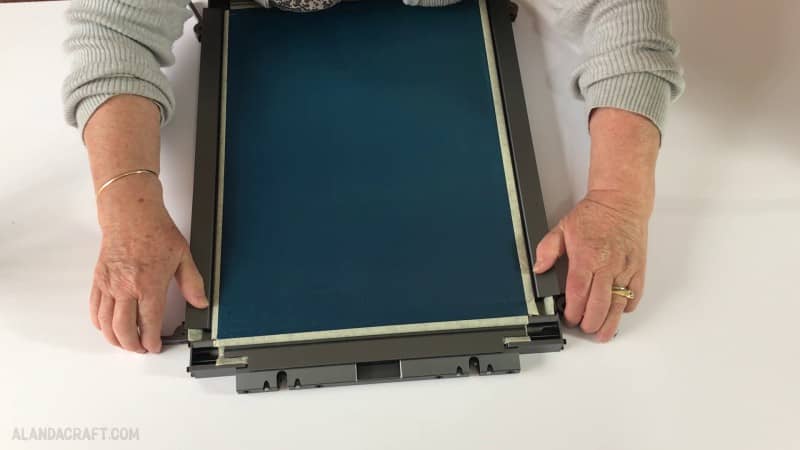
- Make sure the levers are in the unlocked position before attaching the screen.
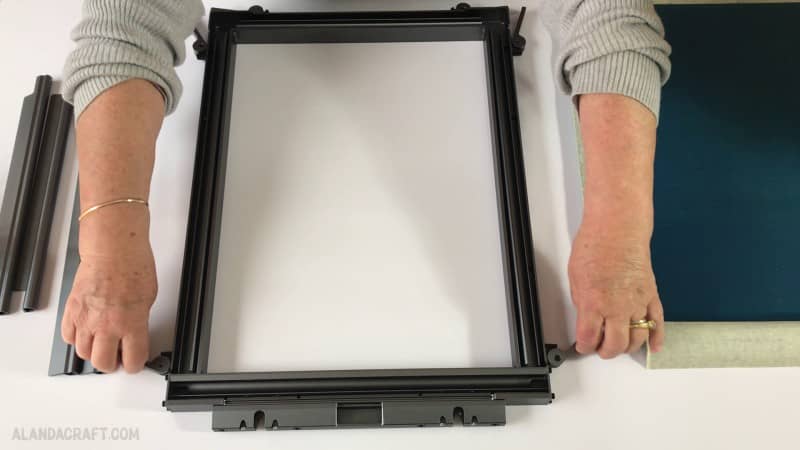
- Place the screen on top of the frame. Make sure it sits nicely on the top, don’t push it down into the frame space.
The screen has a piece of cardboard on the back that we will remove once we have the screen fitted to the frame and before engraving on the screen. This is to protect the screen.
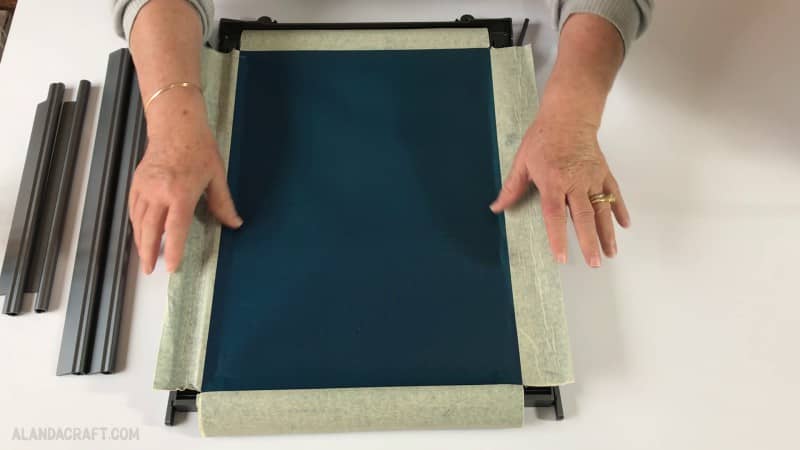
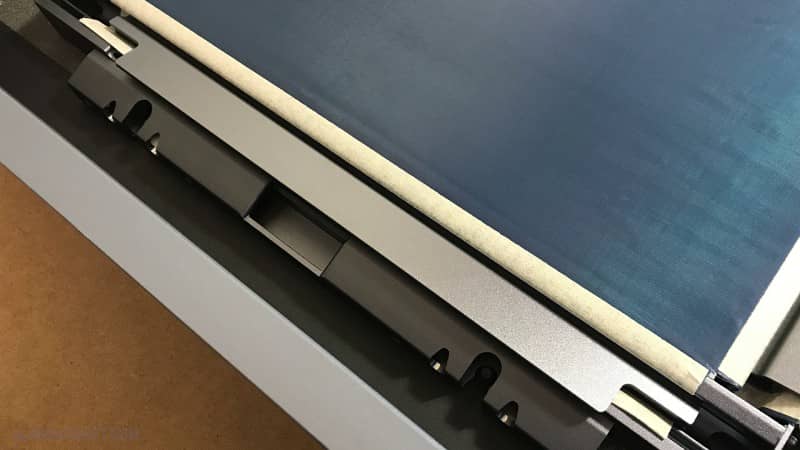
- There are channels that run around the sides of the frames.
- Starting on one side of the frame, push the masking piece of the screen firmly into the channel and push in a fixing pin,
- Pull the screen tight across the frame and push the masking piece of the screen down into the channel and fix it with a fixing pin.
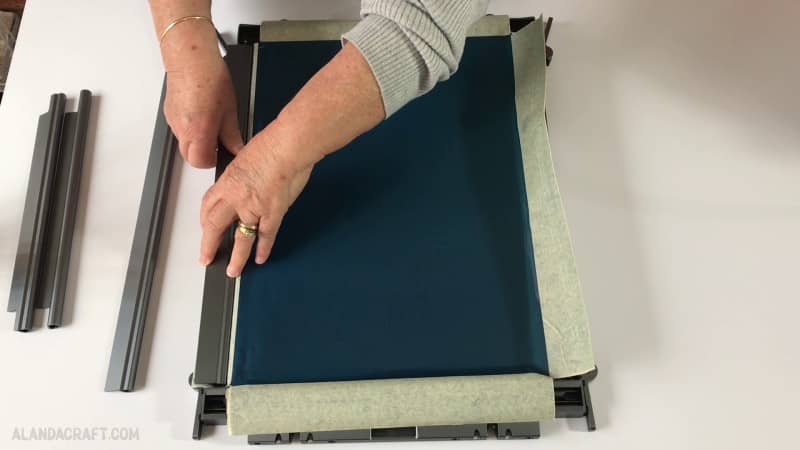
- Do the same with the bottom edge of the screen.
- So you now have 3 sides secure.
- On the last short piece at the top edge of the frame, push the masking piece of the screen into the channel and add the fixing pin. Take note that the fixing pin on this end doesn’t lock in place. That’s perfectly normal and how it’s supposed to be.
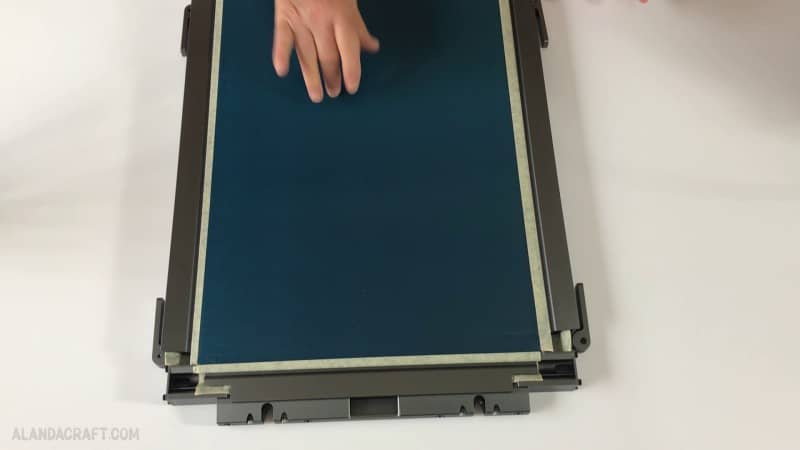
Now push the side levers into place and that will tighten the screen onto the frame.
Make sure the screen is tight as a drum as they say, and makes that drumming noise when you tap on it. If it’s not tight enough simply unlock the side levers and pull the screen tight, then do the levers up again. I was pretty happy to get this really tight on the first go.
Now its time to remove the cardboard piece that is on the base of the screen. It has some really sticky patches so be very careful where you place it in your workspace. Ask me how I know that. It can help to lift the corner with the spatula and then just keep pulling the cardboard until it is completely removed.
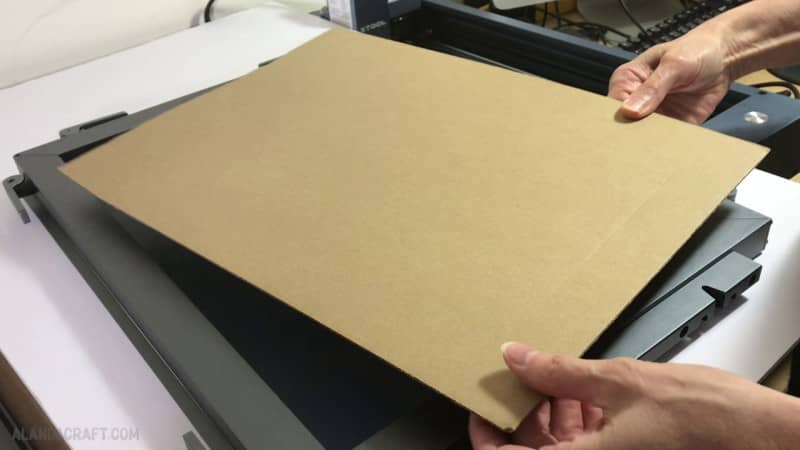
This is a nice heavy piece of cardboard and I will probably find a use for it when making junk journal covers. Once again be aware of the sticky patches.
ETCHING THE DESIGN INTO THE SCREEN REQUIRES A LASER ENGRAVER
So for this Screen Printer to work you do need a laser engraving machine. We have an xTool D1 and the kit we received had a fixing piece so that we could place the frame into the base of the laser. This piece also lines up the extra frames if you are doing multi-colours. We are only doing one colour at the moment.
It may work on other brands of lasers but I can’t guarantee that. The fixing piece is designed to fit the xTool D1 Pro, we don’t have the D1Pro, but it did fit our older machine nicely.
ATTACHING THE BASE PLATE TO THE LASER
We needed to add the base plate to our xTool D1 and if you have the D1 Pro you will need to do this as well.
Lift your laser up on one side and slip the base plate into place. The legs fit through the holes in the plate. Set the laser machine back into place on your workspace and you are ready to add your screen printing frame to the laser.

ATTACHING THE FRAME TO THE LASER
This is simple to do. Just slide the grooves in the top of the frame onto the screws on the base plate. This will hold the frame firmly in place while you are engraving your design on the screen.
If you are doing a design that has multiple colours, simply slip the frame away from the base plate screws and carefully lift it out of the laser. Then add your next frame in the same way as you did the first.
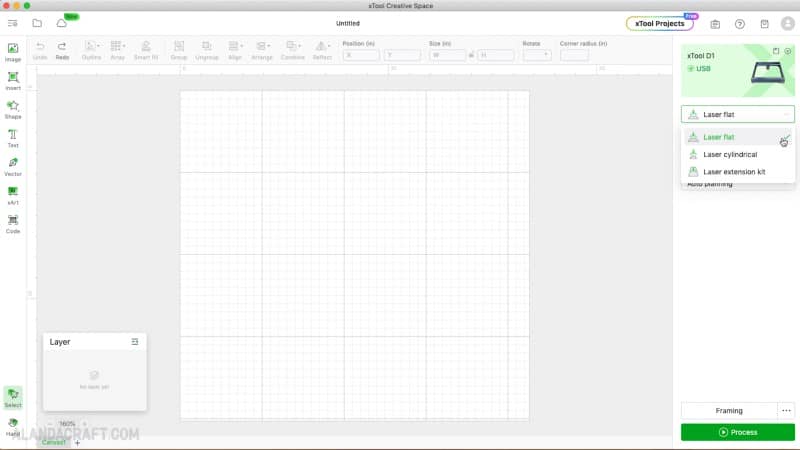
THE SOFTWARE
We are using xTool Creative Space and as I mentioned before we have the xTool D1 not the Pro version. If you have the Pro Version you will have an option in the software for Screen printing and you will select that option from the drop down under LaserFlat.
We don’t have that option so we contacted xTool and they gave us some settings to try just using the LaserFlat option.
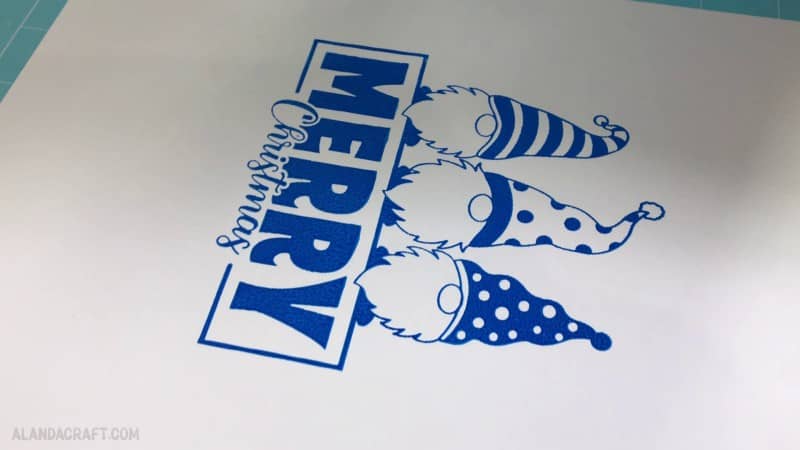
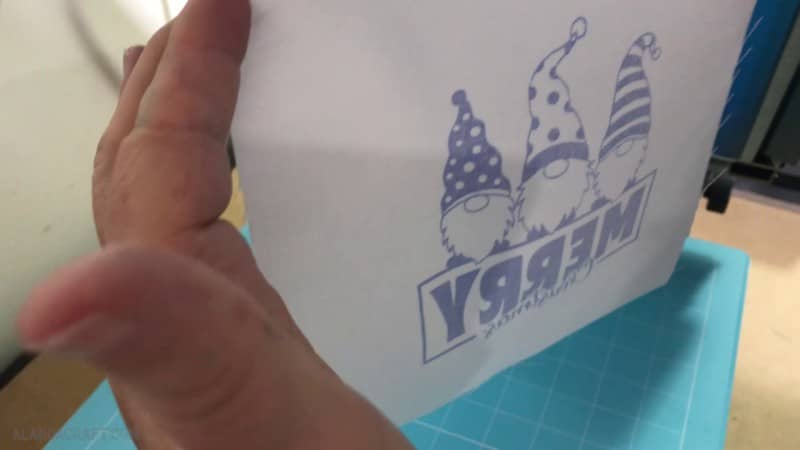
Just be careful of where you position your design, don’t have it too near to the edge, you are going to want room to fit your paint and squeegee when you get the frame over to the screen Printer. And also remember to reverse your design if you are using text.
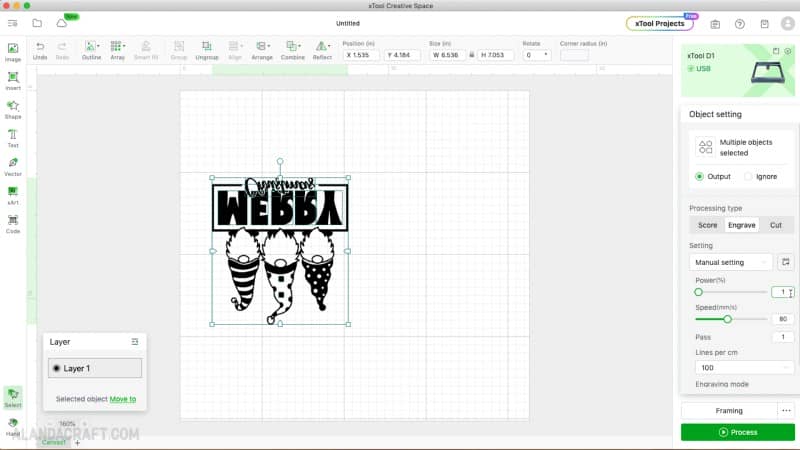
The laser did a beautiful job of engraving our Christmas Gnomes design, which we got from Creative Fabrica.
So far so good, we are pretty happy with how things are going.
Now it’s time to remove the frame from the laser and attach it to the Screen Printer.
ATTACHING THE FRAME TO THE SCREEN PRINTER
Just take your time and line up the grooves on the top end of the frame and slip them onto the screws at the top of the screen printer and once it’s in place, push the levers into place so that the frame is held secure

It was at this point that I removed the plastic film and brought the frame down so that I could see the medium I was working with, through the screen.
This makes it easier to line everything up. If you aren’t happy with the position of your material, just move it around until you are. Then press it down so that it adheres to the mat.

The last thing you need to do is to bring the frame down into position. Press down on the frame to make sure it’s firmly set in place and turn the knob on the side of the machine to lock the frame in place. You are now ready to start screen printing.

If you are doing a multilayered design, just remove the frame and add the next one as before, however, don’t reposition your material this time as you want everything in your layered design to line up.
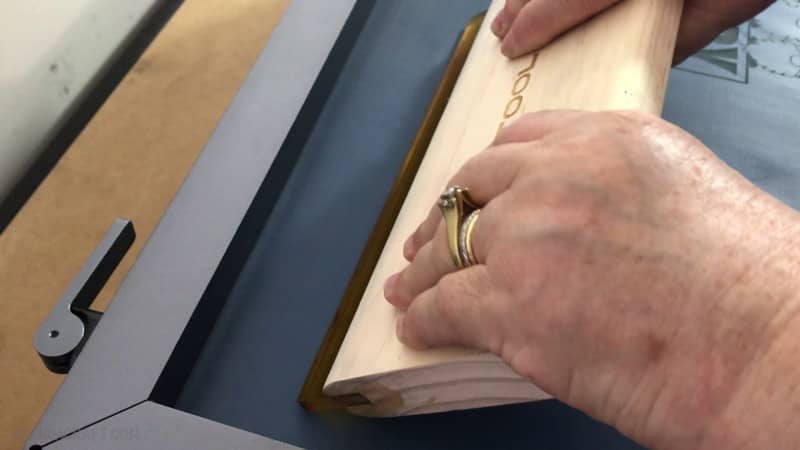
APPLY THE PAINT & USING THE SQUEEGEE
We applied some paint to the screen with the spatula making sure that the paint wasn’t anywhere near the design. You can see in the picture below where we have applied the paint. It didn’t take as much as I thought it would. I used way to much on my first attempt.
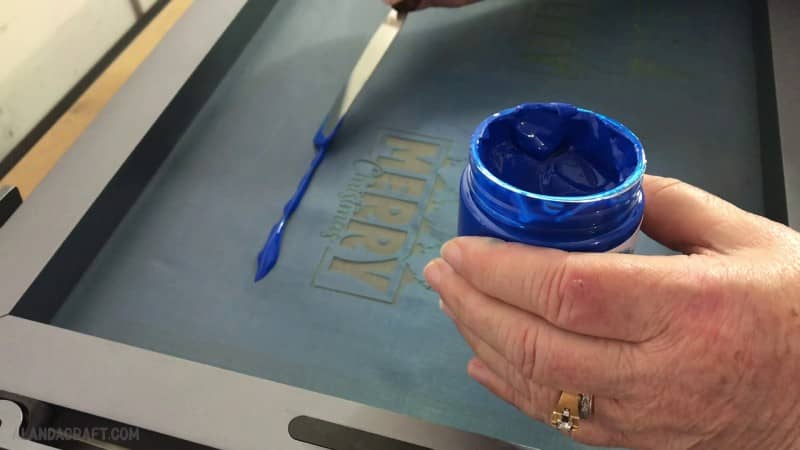
Now draw the squeegee through the paint and over the design. On my first attempt I pressed way to hard, it’s not necessary. Just firmly drag the squeegee over. If you miss any bits or they are not as defined as you would like you can repeat the process.
So for a second attempt we are pretty happy with the result. Our first attempt wasn’t as successful but after we played around with the settings in the laser we got a much better result.
Well, this was a lot easier than I thought it was going to be. I can certainly see this becoming a favored hobby. xTool have certainly made Screen Printing an easy to do, fun activity. Just imagine the fun you will have printing on t-shirts, cushion covers, cardstock and many other mediums.
One thing to note is that the screens can be used over and over again, making batch printing super easy.
We also printed the design onto a piece of quilting cotton and it came out really well. We were a bit concerned that the ink might bleed through the fabric onto the mat, but we needn’t have worried as it didn’t.
You can see here a card that I quickly made just to show you that you can use screen printing designs for cards and in your journals. I know that most of you are far more talented than I at card making and will make really lovely cards, which we would love to see on our Reader Projects page.
I don’t have many Christmas related embellishments on hand so I just mounted the design onto a green card and added some flowers and pearls. I also coloured in their noses just to break up the white. I need to get some snowflake and holly embellishments. But this was just to show you that you can use your screen printer to make cards. And as the screens are reusable you can print off as many cards as you need.


maurizio frigenti says
Hello Amanda i am a fan of yours my name’s Maurizio and i am from Italy , i am a pizza mandolino guy , napolitan namely – that’s just a wisecrack i always do – .I have seen your tutorial on engraving the peace of alluminium with zoom precision … it’s a masterpeace . But i am wondering how do you cut the alluminium ….i need to shape 0.2 – 0.5 mm alluminium sheets .Can you tell me how did you shaped it.
Alanda Craft says
We didn’t cut the aluminum pieces ourselves. We bought them already cut. I think you would need a powerful laser to cut aluminum sheets.