Once you have made the blocks for your string quilt, you are ready to sew the blocks together. You can refer to our post on ‘How to Make a String Quilt Block’ for Part 1 of this tutorial if you haven’t made your blocks yet.
Watch the video tutorial below or scroll down for the written instructions
TOOLS USED IN THIS TUTORIAL
You can check the latest prices at Amazon by clicking on the links below:
- Creative Grids Ruler 8½” x 24½”
- Olfa 24″ x 36″ double-sided healing mat
- Quilter’s Slidelock
- Olfa 60mm rotary cutter
- Oliso Iron
- Gutermann Sew-All thread
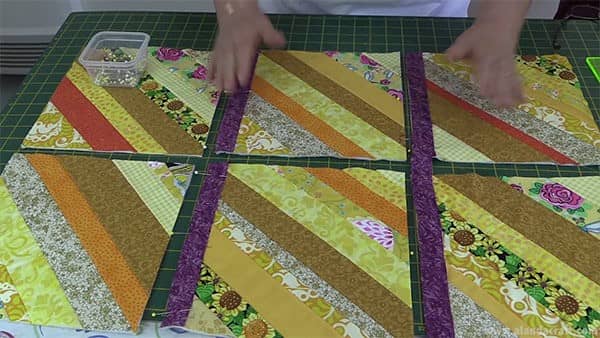
So now we need to join the blocks together.
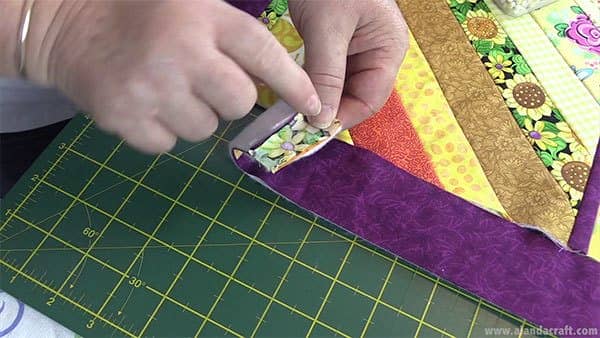
- Cut some contrasting strips that are 1″ wide and the length of your blocks. My blocks measure 10″ so I will cut my first lot of strips 1″ x 10″. You can leave the strips longer and trim them once you have sewn them on if you prefer.
- I have 6 squares for my table runner so I need to cut 4 strips.
- Pin the strips to one side of the block as shown in the photo below.
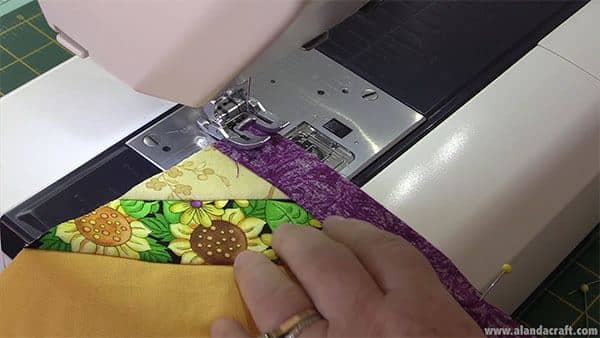
- Sew the sashing to the block with a ¼” seam.
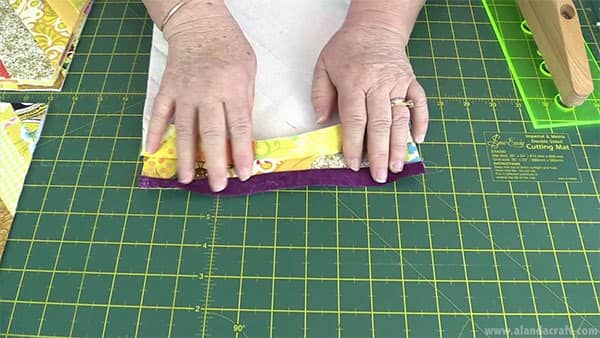
- Trim your sashing if you have left the pieces longer that the block.

- I find it easier to trim from the back, so simply flip the block over and trim.

- Press the sashing away from the block. Finger press than press with the iron.
- Repeat with the other squares.
- Lay one block on top of another, right sides facing.
- Line up the sashing strip with the edge of the next block, as shown below.
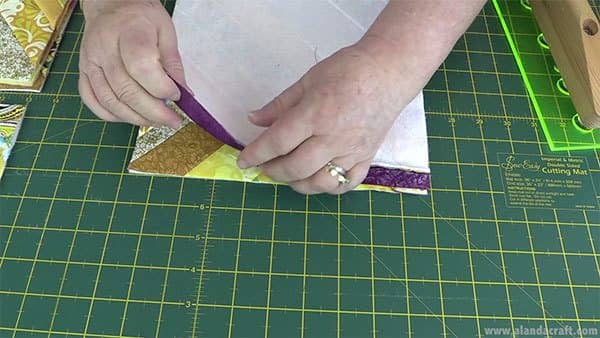
- Pin the blocks together.
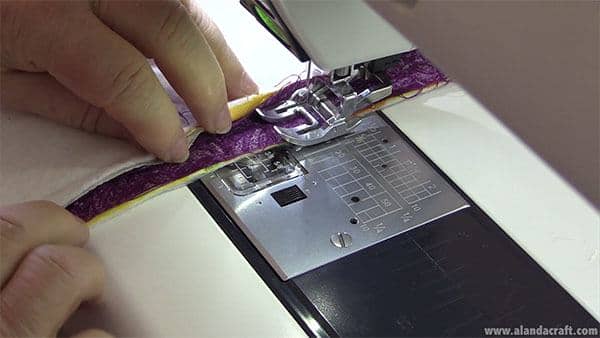
- Sew the blocks together with a ¼” seam.
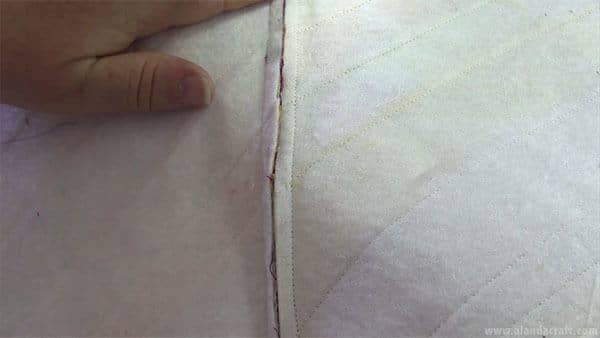
- You can see how the batting neatly fills the sashing space. This is why we don’t need to add batting to the sashing pieces.
- Press the sashing strip.
- Now that I have my rows completed, it’s time to add the center sashing strip.
- I have used 10″ squares so my 3 blocks joined together should measure 30″ across. So I can cut my strip at 30″
- You can also cut the sashing strips a little longer than your rows and cut them off once they have been sewn on.
- Pin the sashing along the edge of the row and sew together with a ¼” seam.
- Trim the excess sashing strip .
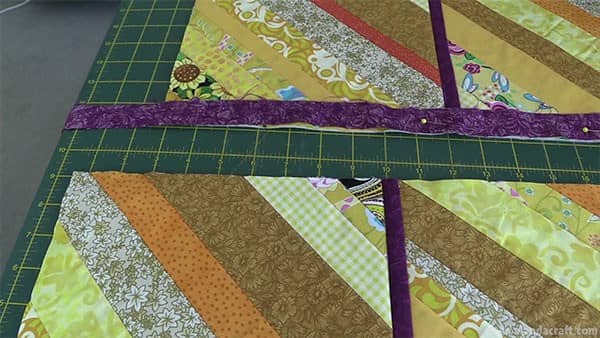
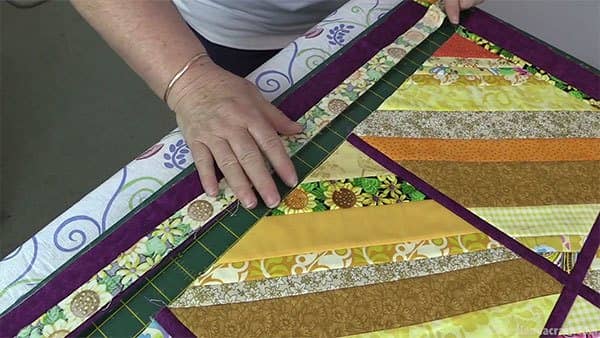
- Take the row with the sashing strip attached and lay it along the edge of the row without any sashing attached.
- Take care to line up the sashing strips on each row. You want these strips to be nicely lined up once you have finished sewing the rows together.
- Pin in place.
- Sew together with a ¼” seam.
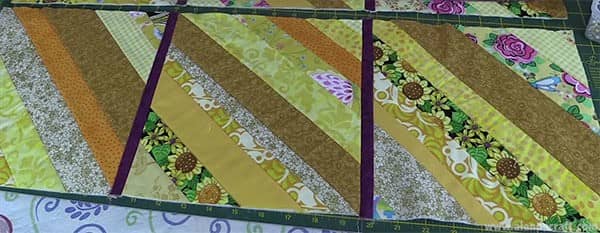
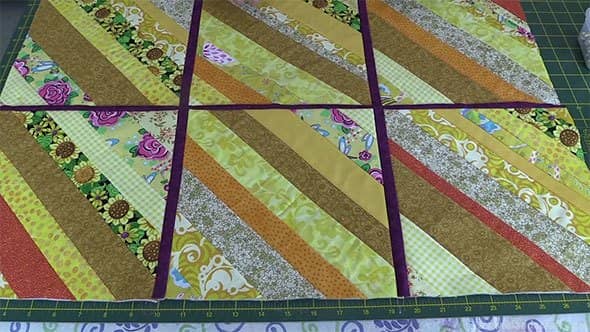
- Our blocks are all sewn together. Remember you can add as many blocks as you like, depending on what you want to make. I have decided to make a table runner with these blocks.
It’s time to add the borders.
We will work with the short ends first.
- Cut 2 x 1″ strips of fabric the width of your blocks ( mine = 1″ x 20″). However, I suggest you measure your quilt to get the right measurement for your strips.
- Cut 2 x 2″ strips width of your blocks.
- Cut 2 x 2″ strips of batting
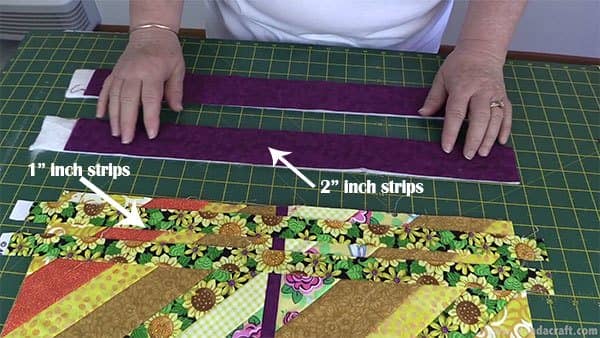
- Pin and sew a 1″ strip to a 2″ strip, with a ¼ seam, right sides together.
- Do this for both sets.
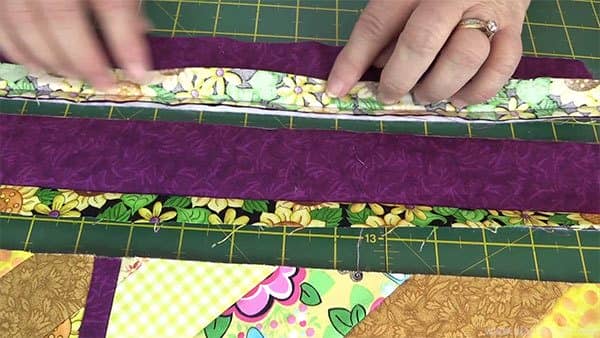
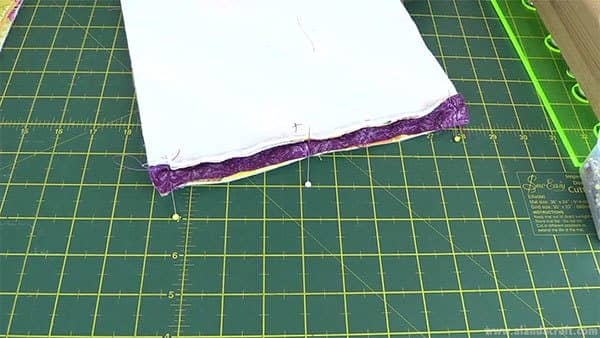
- Lay the I’ border strip along the edge of your blocks, right sides together and pin in place.
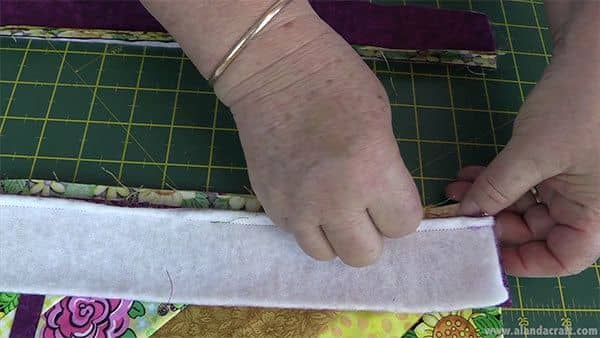
- You can see the batting side of the 2″ strip in the photo below.
- Sew the pieces together with a ¼” seam.
- Repeat on the other end of the runner/quilt.
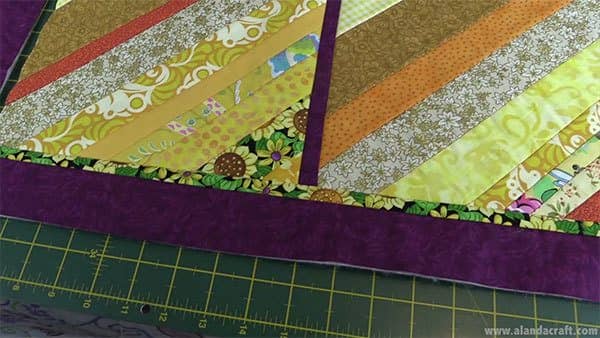
- Short end with border attached.
You may want to watch the video for the next step.
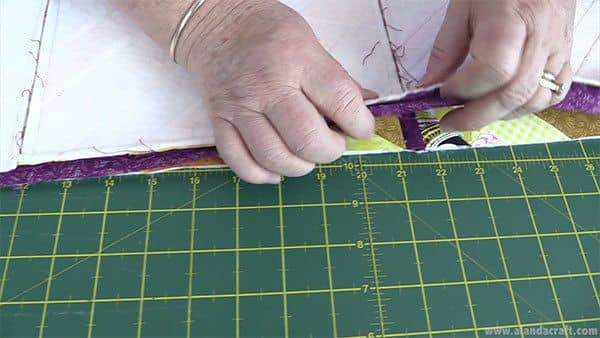
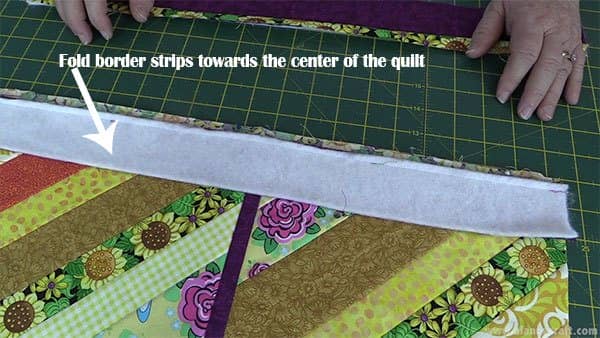
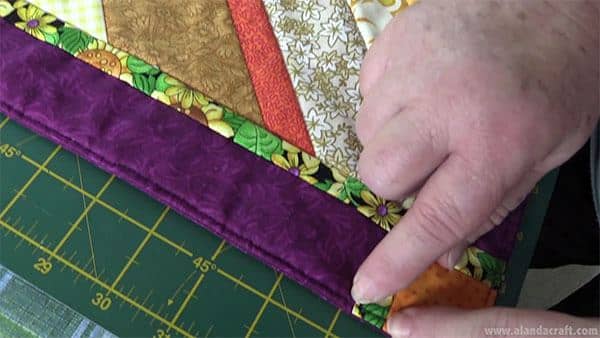
- Measure the length of your quilt with the short end border pieces folded towards the center of the quilt. We don’t want the measurement of the full length of the quilt because we are going to be adding a piece of sashing and a cornerstone to our border.
- Cut a 2″ border strip the same length (measurement) as the quilt with the end borders folded in.
- Cut a 2″ piece of batting the same length (measurement) as the quilt with the end borders folded in.
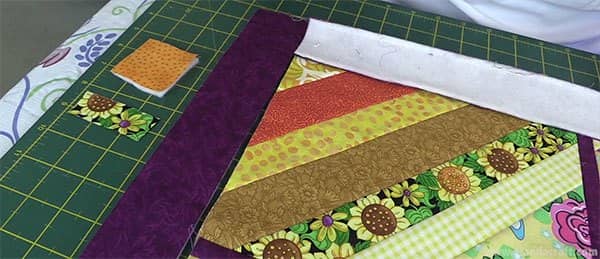
- Cut a piece of sashing 1″ x 2″.
- Cut a contrasting piece of fabric 2″ x2″.
- Cut a piece of batting 2″ x 2″.
- Attach the sashing to the border, right sides together, and sew together with a ¼” seam.
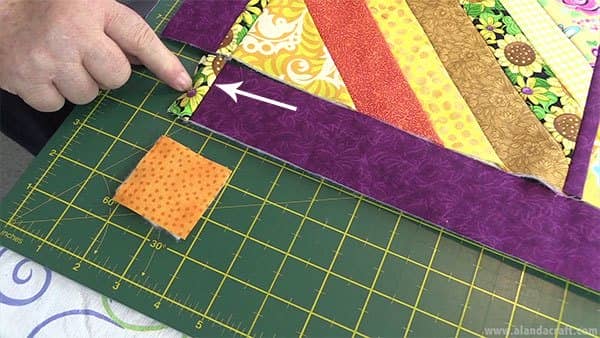
- Attach the corner square to the sashing, right sides together, and sew together with a ¼” seam.
- Cut a piece of sashing that measures the full length of the side border plus the sashing and cornerstone by 1″ in width.
- Lay the sashing along the border with right sides together and sew with a ¼” seam.
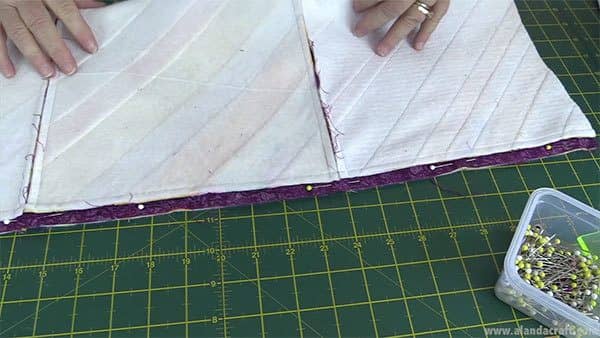
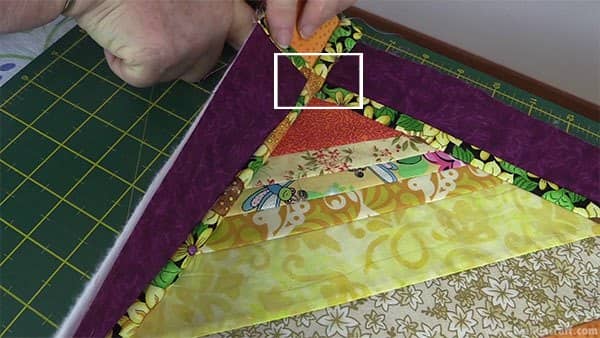
- Pin the border piece with the sashing to the quilt, right sides together and sew with a ¼” seam.
- Make sure to match up the sashing strips so that they are nice and neat.
- Measure the length and the width of your quilt and cut your backing piece to the size of your quilt.
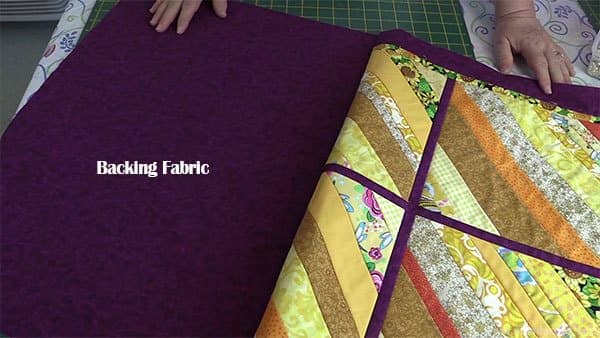
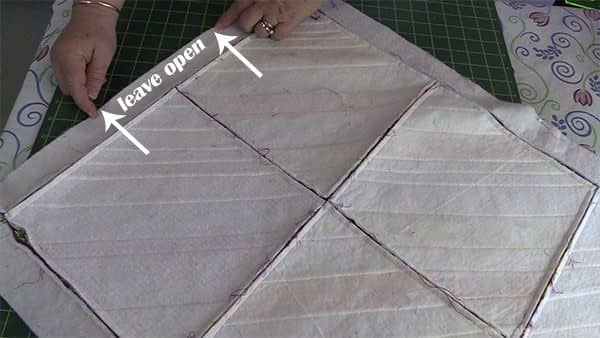
- Place your main piece and your backing piece, right sides together and sew around the edge with a ¼” seam.
- Leave an opening of approx 4″-5″, so that you can easily turn the quilt through once it has been sewn. Leave about 8″ if you are making a large quilt.
- Backstitch at the beginning and the end of the opening.
- Sew off the fabric at the corners, and start from the outer edge to sew down the next side. don’t pivot.
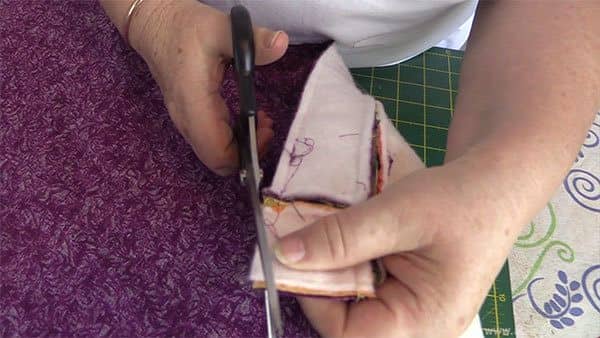
- Clip the corners to reduce some of the bulk.
- Take care not to cut your stitching.
- Turn the quilt through.
- Fold the seams of the opening in and press them in place.
- Topstitch around the edge of the quilt about an eighth or a sixteenth of an inch from the edge making sure you close the opening. You can hand stitch the opening closed first.


Joyce haller says
A good idea for using scrapes ( my buckets full. I like sewing all the stripes together to made a useable piece of material.
Alanda says
Yes, these are fun to make. There’s not much thinking involved and I like that. Just pick up a strip and sew it on.
Nola Culverson says
How many blocks can you make with a jeiiy roll?
Alanda Craft says
I’m sorry Nola, but I have no idea. We didn’t use a jelly roll, we just used scraps from our stash. Sorry I am unable to help you with this one.
Kathy Dean says
Hi Really enjoy your tutorials.
Battling to square my blocks. Busy with a scrappy string quilt similar to the one in this tutorial. My squares are all different sizes and when i try to square them, just get worse
Do you have a tutorial for this?
Many thanks
Alanda Craft says
It’s a bit difficult to explain without a video, but essentially you decide on the size you want your finished square to be. Turn the square over so that the batting is facing up and the fabric is facing down. (see this video /2014/12/04/how-to-make-a-string-quilt-from-your-scrap-stash/). Trim one edge using the ruler and the lines on the mat to get it straight. Turn the block around to the opposite side to the one you just cut and in our case we wanted a 10″ square so we lined up the ruler along the 10″ line on the mat and cut. Do the same with the other two edges. This should give you a perfect square. Another option is to purchase a square ruler to help. I hope this helps.
Renee Kelley says
I just found you and so glad! This was the best QAYG that I’ve found! You explain everything so well. I’ve been anxious to try and now I know I will! Thank you so much for sharing!
Alanda Craft says
That’s so good to hear Renee. Glad we could help.