We have wanted a Mug Heat Press for quite some time now, so when Vevor reached out to us to see if we would like to review one of their products we said “Absolutely, yes”, and of course we chose the Mug Heat Press.
So let’s take a look in more detail.
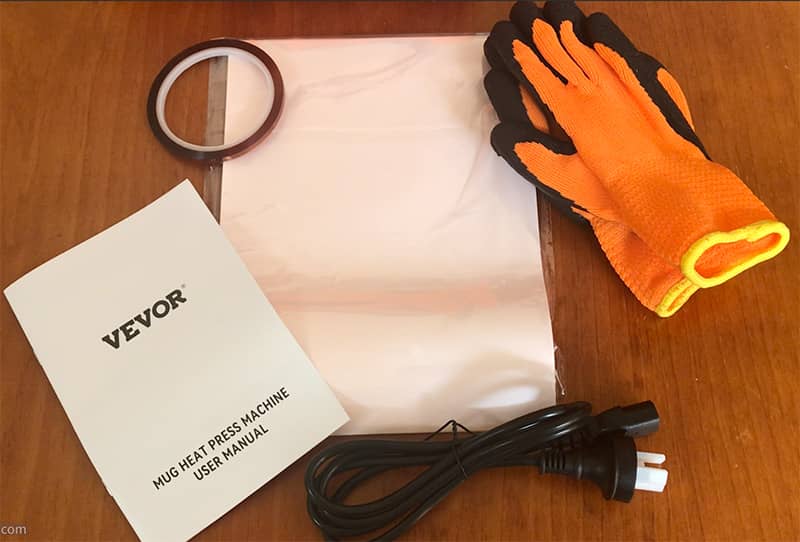
What’s in the Box?
- The Vevor Mug Heat Press machine.
- The Manual.
- Power cord
- Heat tape
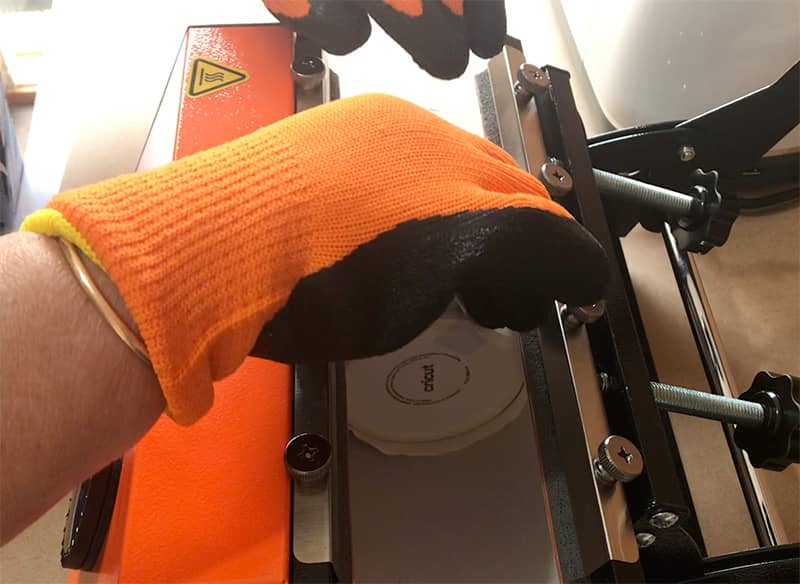
- Gloves – Most important item. You must wear these to protect your hands when using the machine and when removing the mug from the machine.
- A pack of sublimation paper
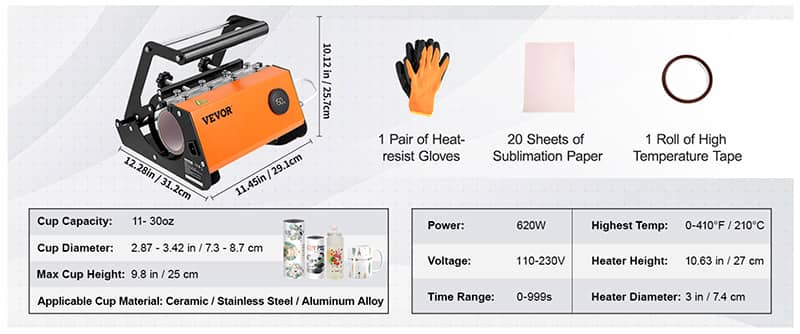
Features
- This machine is very solid and it’s super easy to set up and to use. I also love the black and orange design.
- It will take both mugs and tumblers.
- There is only one button to use to control both the temperature and the timer settings.
- Press the button to turn the machine on
- Turn the button to the right to adjust the temperature
- Turn the button to the left to adjust the timer
Where to Buy the Vevor Mug Heat Press Machine
- You can purchase the Vevor Mug Heat Press machine directly from Vevor where it is often available at discounted prices.
- You can also purchase the Vevor Mug Heat Press from Amazon.
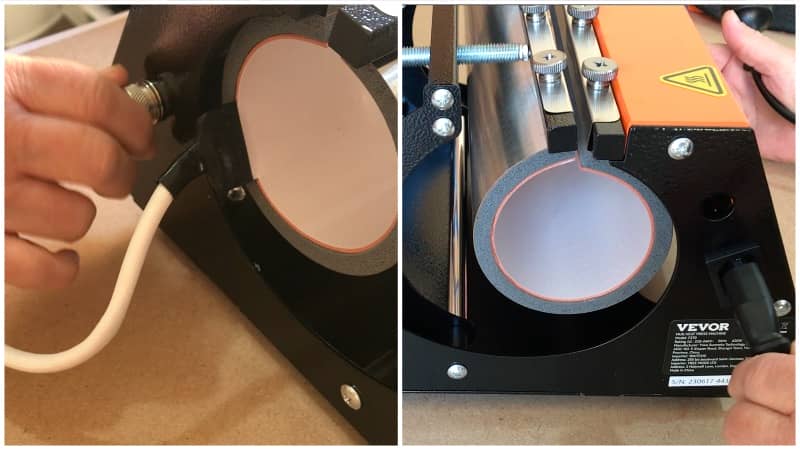
Setting up the Vevor Mug Press
Setup is super easy. You literally just plug the machine into the power connection and the aviation connector into the side of the machine and you are good to go.
Now this machine can sublimate designs on range of mug sizes and tumblers from 11oz to 30oz, so you have plenty of options on which to be creative. And adding your own designs to the mugs means you can make each one unique to the person you are making it for. What great gifts for family and friends.
And do you know what else you can do?
Well you can put 2 mugs at the one time into this heat press. Talk about a time saver.
Do I Need a Sublimation Printer?
No, you don’t.
Of course you will have way more choices for your designs if you do. Having a sublimation printer will allow you to personalise your mugs with photos of family, pets and special places you have visited as well as use one of the many images you can download from Creative Fabrica.
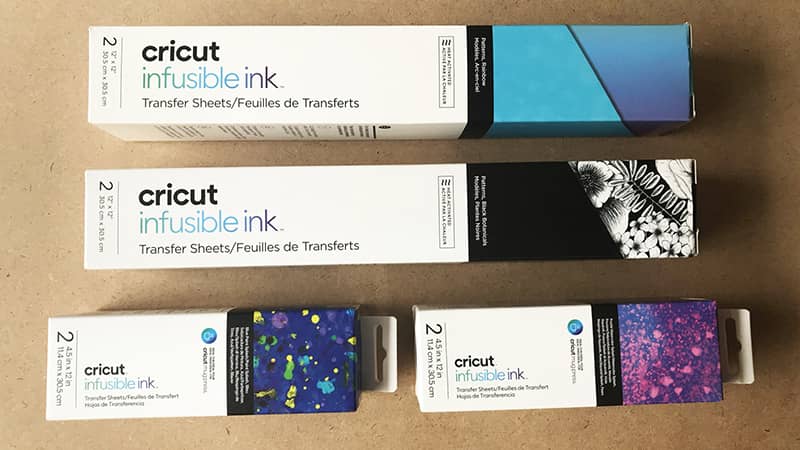
Unfortunately we don’t have a sublimation printer (it’s on the wish list) so we used Cricut infusible ink transfer sheets. These come in a wide range of colours and patterns and are ideal to use when making your mug design.
You can also find a wide range of generic infusible ink sheets on Amazon. We haven’t used any of those as yet so do you research first before purchasing.
Do I need a Cricut Machine or other Cutting Machine?
No, you don’t.
In fact the first thing I am going to do is take you through the process on how to add a design to a mug without using a cutting machine. HOWEVER, if you want to create cut out designs like text for example, then a cutting machine is highly recommended.
Can I Use Ordinary Mugs?
Unfortunately, No you cant?
Using any old mug in your mug heat transfer just won’t work. You need to purchase mugs that have been treated to accept the dye from the sublimation process.
You can also use stainless steel tumblers and glasses etc providing they are treated. We purchased some Cricut 15oz and some 12oz mugs from Officeworks here in Australia. These mugs are specially treated to work in your mug press.

You can also used stainless steel tumblers and glass, providing they are made for sublimation. So, once again, not just any old tumbler.
You could also purchase generic brands of sublimation mugs and tumblers. They will probably be a lot cheaper especially if you buy in bulk. Just do your homework before purchasing.
Projects Using Infusible Ink Transfer Paper
12oz Mug With Infusible Ink Tranfer Paper Wraparound
This process doesn’t require a sublimation printer nor will you need a cutting machine.
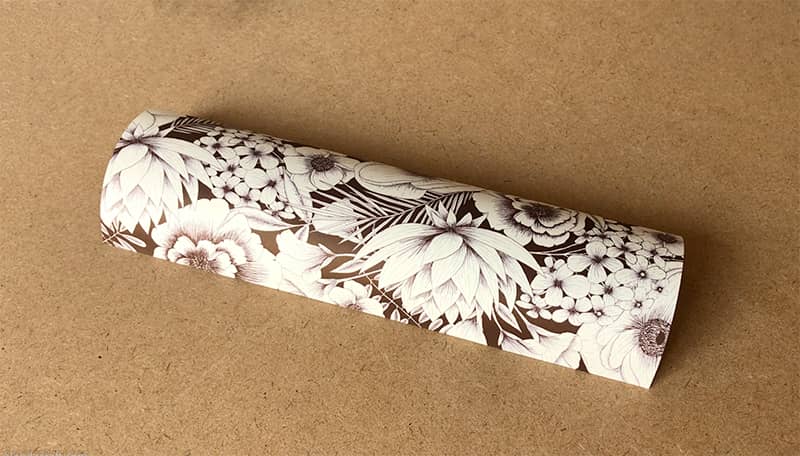
For the 12oz Cricut mug we cut the paper to measure 8.75 (22.22 cm) x 3.75 (9.52cm)
Give the mug a clean to remove any dust or dirt.
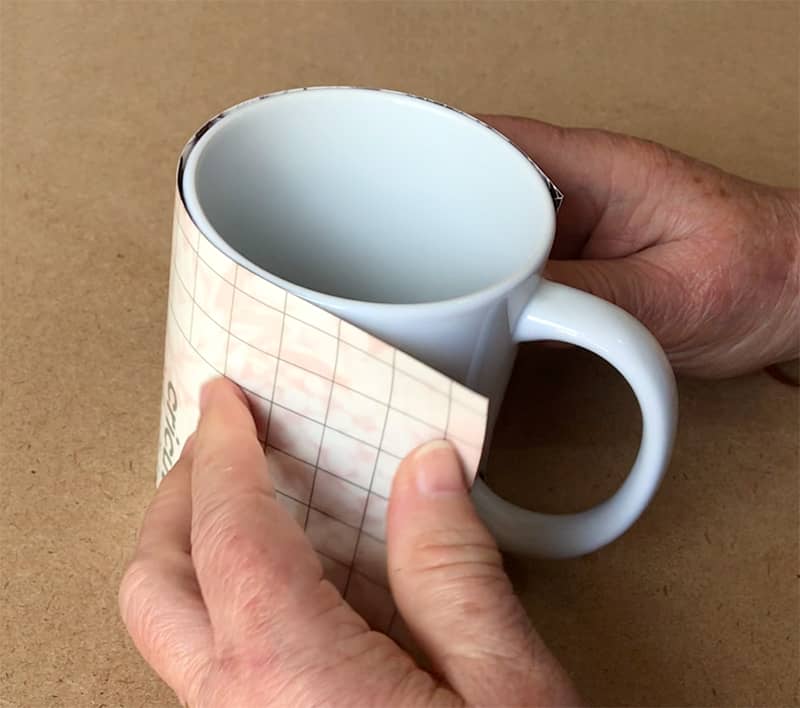
Place the cut infusible ink sheet firmly around the mug with the pattern side facing the mug.
I like to have the handle facing me when I do this, and I try to get the middle of the design centered on the mug on the opposite side of the handle.
Firmly press the paper around the mug and secure it near the handle. Just eyeball it to check that you have the edges equal distance from the handle.
Add some heat resistant tape to hold the infusible ink sheet in place. Vevor included a roll of fine tape with the machine, which worked well but we did go out and purchase a roll of wider tape as well.
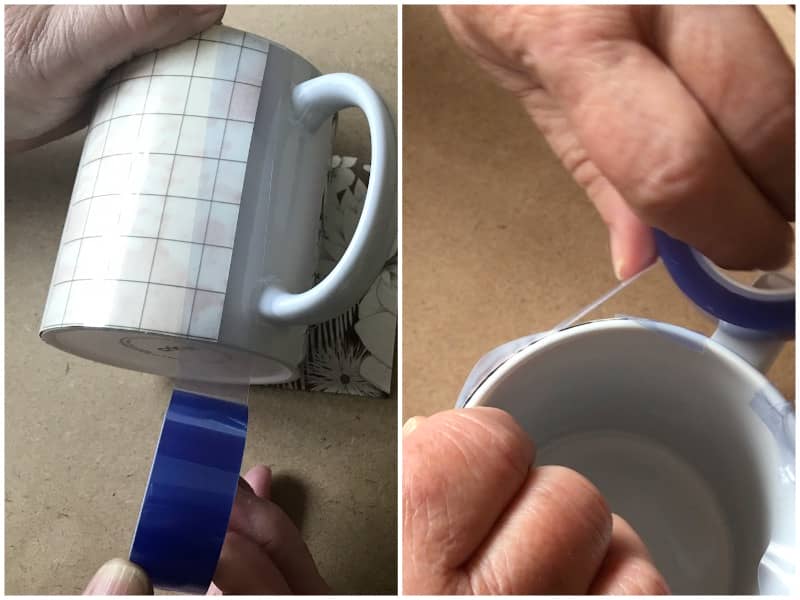
Now I’m not going to lie, there is a little bit of jigging around to get the placement perfect, but it’s worth taking the time to get the paper nicely centered on the mug. You will be much happier with the end result.
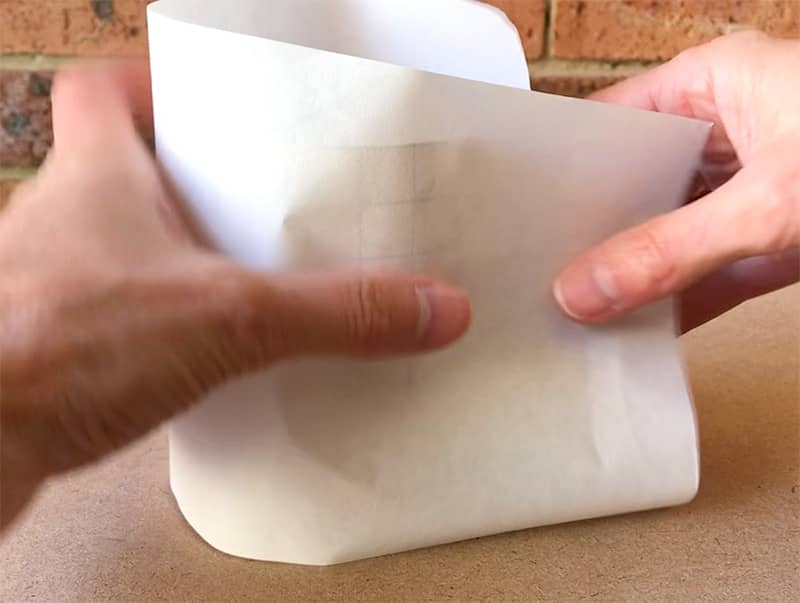
Once the infusible ink paper is attached and taped in place, cut another piece of baking paper to wrap around the mug. You can use butchers paper, baking paper or a piece of the paper that comes in the box with your infusible ink transfer paper. I cut my paper a bit longer than the mug.
The reason for doing this is so if there should be any bleed from the transfer paper, it won’t discolour the inner lining of the mug heater. I like my machines to stay in as pristine condition as they can for as long as they can.
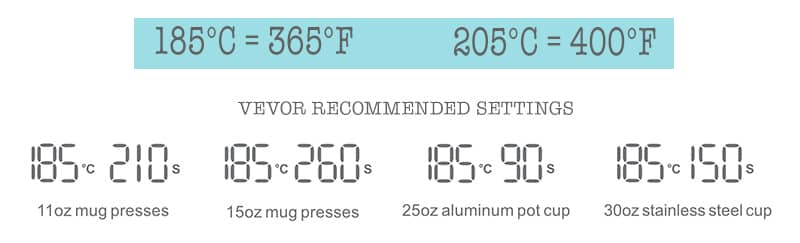
Settings Used for the Vevor Mug & Tumbler Press
So for this mug we used the following settings:
12oz mug
- 205°C (400º F)
- 260 seconds
Watch the video above for how to set the temperature and time settings.
Once the heat press reaches the desired temperature it will beep at which point we inserted the mug. It’s a good idea to use gloves at this point because the machine is quite hot and you don’t want to burn yourself.
We wanted to make sure the edges were clearly defined so once the beeper went to indicate that the timer had finished, we opened the heat press and turned the mug around, just a small amount, and closed the machine and set it in motion for about 10 seconds, then we opened the machine, moved the handle towards the other side and did the same thing. I don’t know if this is necessary but it seemed to give a nice crisp edge to the mug.
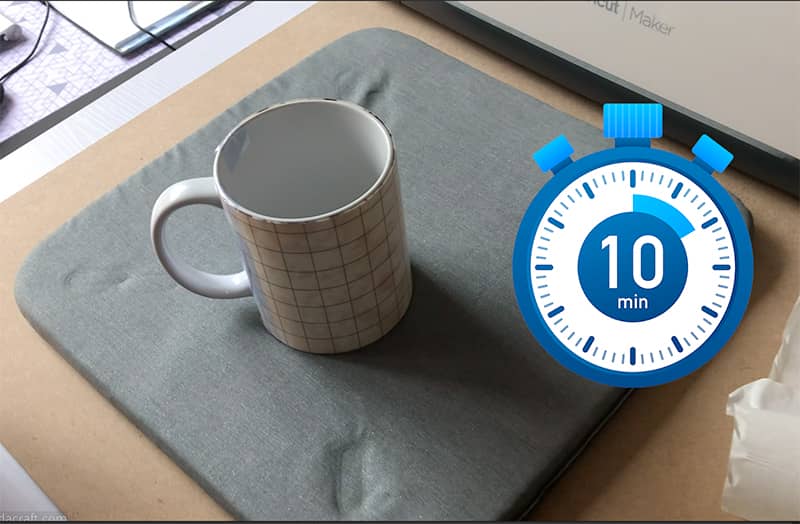
Once the timer is complete the machine will continually beep. At this point, you need to remove the mug and place on a heat protected surface and leave it to cool for a good 10 minutes. We used a Cricut heat mat.
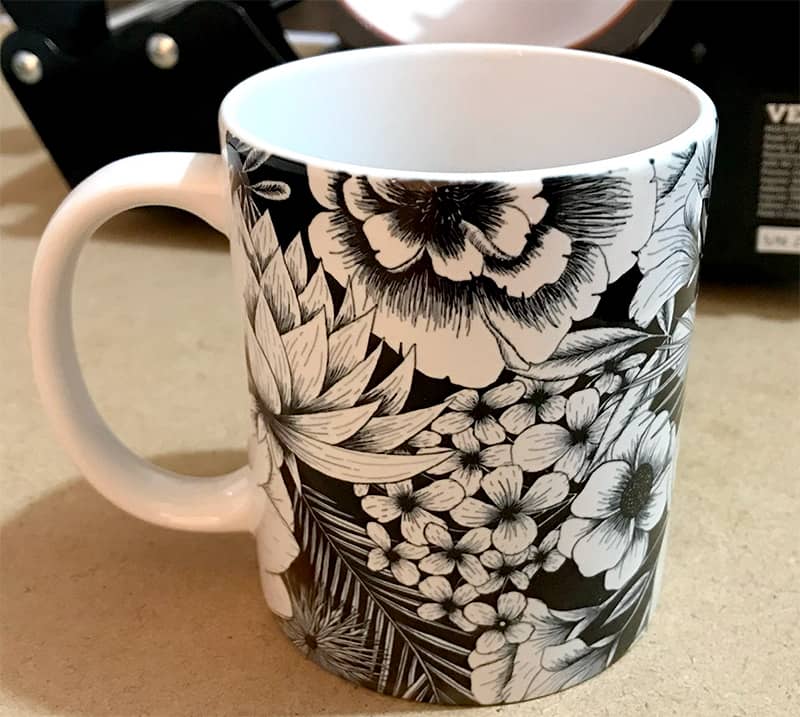
Once cooled you can peel off the infusible ink sheet.
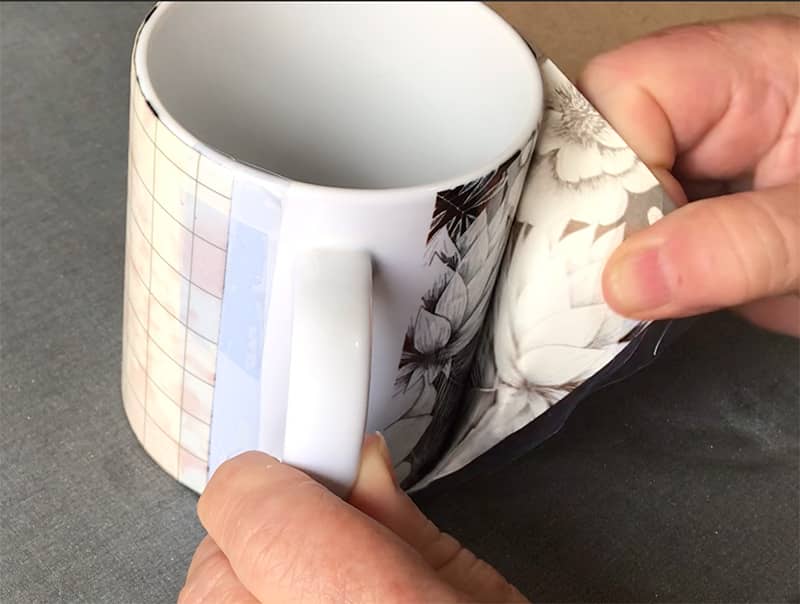
And this is the final result. I love it!
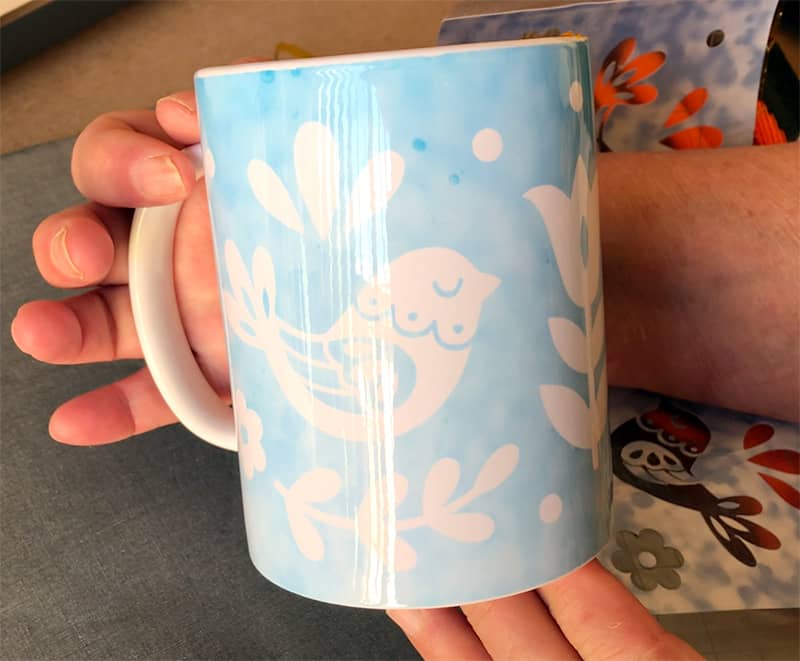
15oz Sublimation Mug – Blue Bird Design
Next we tried a 15oz mug and our Cricut Maker to cut out the design.
We already had some infusible ink transfer paper on hand so it was just a matter of choosing a design in our Cricut Maker. There are loads of designs available from crafters who have submitted their projects to Cricut Design Space. You will also find a template to work with.
We chose a large bird fill stencil design that we liked.
Watch the video above to see all of this in action.

Once cut, we had to do a bit of weeding but it actually went pretty fast.

This design has a centre flower so it was quite easy to find the middle and place it in position opposite the mug handle.
You need to wrap the paper as tightly as you can around the mug. I found that attaching one side of the paper to mug and then pressing the paper around the mug until it was in the right position, worked for me. I was then able to check that I was happy with the placement of the design and make adjustments as necessary.

Settings Used
For the 15oz mug we decided to go with the settings recommended in the manual.
15oz Mug with Bird Design
- 185º C (365º F)
- 260 seconds
The mugs get super hot in the machine, so please be careful.
When it was ready and we left it to cool, it was time to remove the transfer paper. This is the exciting part, seeing how it turned out.
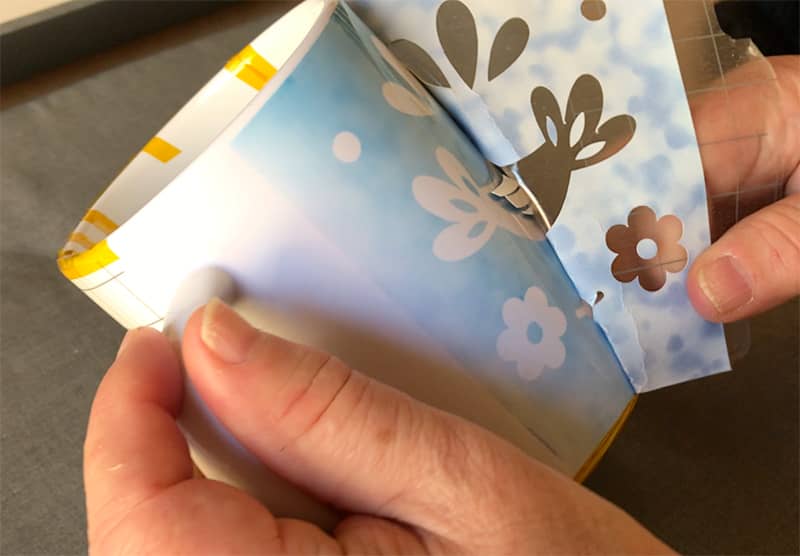
Well, I like the design, however it didn’t come out as well as I would have liked. We had a little ghosting around the edges and some spots on the mug which i think might be dust. These are only our very first attempts at using a mug press so I am sure we will learn over time.
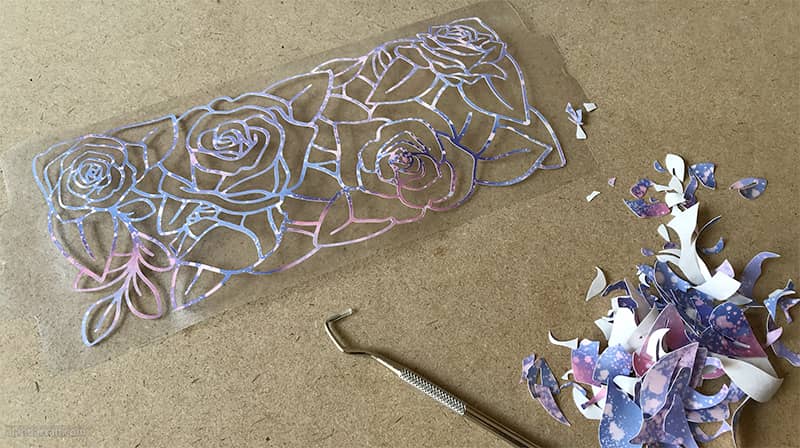
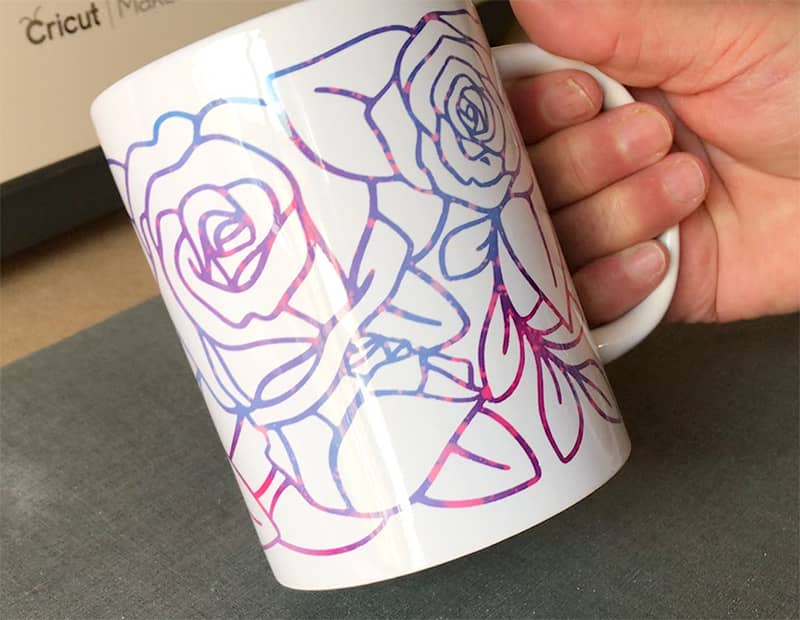
Second Attempt – 15oz Sublimation Mug – Rose Outline Design
For this mug we chose a rose design from Cricut Design Space. For this design you have the option to remove all the large pieces and have just the outline or you can remove the outline and leave the roses and leaves more filled in. We opted for the outline but in hindsight I wish we went the other way.
This time we decided to up the temperature so we went with the following settings:-
15oz mug with Rose outline
- 205 celcius/400 fahrenheit
- 260 seconds
And this was the result.
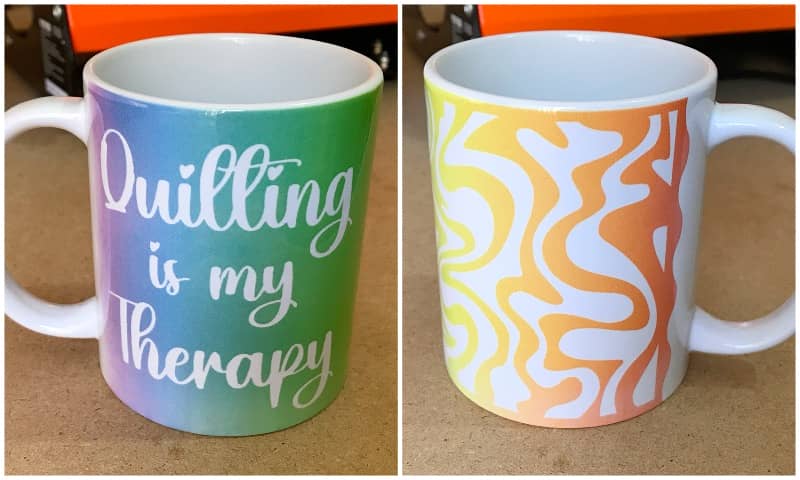
‘Quilting is My Therapy’ Mug
So onto our last attempt.
We only purchased 4 mugs, 2 x12oz and 2x15oz and this was the last one.
For this mug we decided to add some wording and a print pattern. I have seen this sort of design done a number of times on mugs however, I would particularly like to give a shout out to Vanessa @DIYCraftTutorials for the inspiration.
Again we worked in Cricut Design Space to write the text and we found an image for the print pattern.
Conclusion
What do we think of the Vevor Mug Press machine?
Well we absolutely love it and can’t believe how easy it is to set up and how easy it is to use. It has all the features needed to give you great results on your mugs.
You can use the the machine with total confidence as there are safeguards such as the automatic shutdown function, the auto adjustment that reduces the possibility of any abnormal temperature changes. And don’t forget the super pair of heat resistant gloves.
It has a 620w heating element so that you get a fast heating speed and the silica-gel heating liner that wraps around the mugs, reduces any unpleasant smells.
The mug press has a temperature range of: 0-410°F / 210°C and a time range of time range: 0-999s
So I guess we have found our new hobby, and what a lot of fun it is.
We just want to give a big thank you to Vevor for giving us the Mug Heat Press to try out and review. It’s a winner in my book.


Leave a Reply