In this quilt block tutorial, we are going to show you how to make the village quilt block that is used in the Moda Village Quilt Pattern.
Watch the step-by-step video below or scroll down for the written instructions
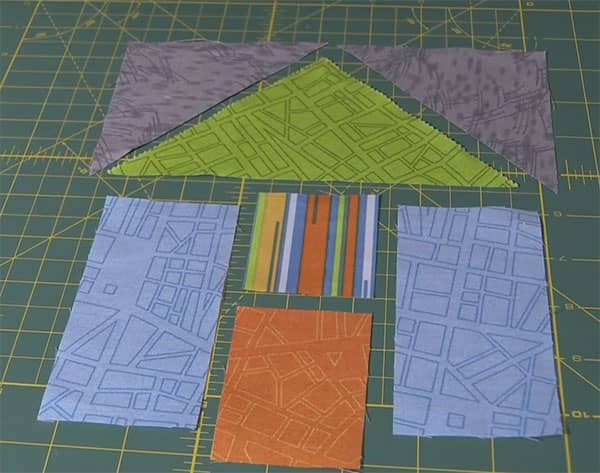
Start by cutting your pieces according to the downloadable pattern.
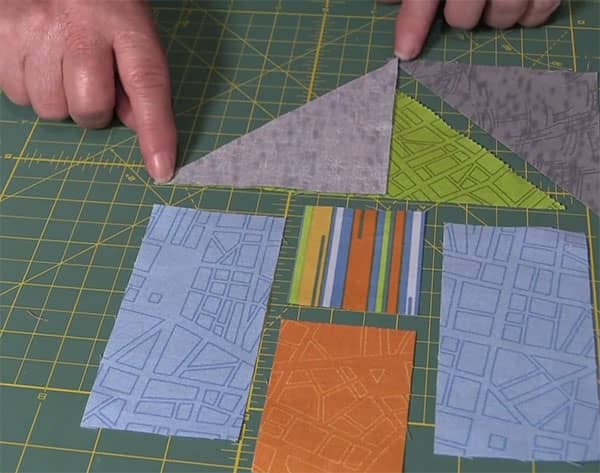
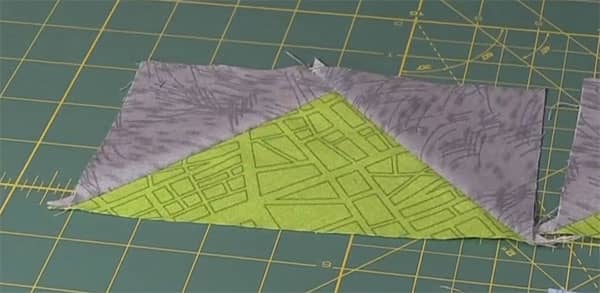
Take the first side roof piece and overlay it over the main roof. Sew with a quarter inch seam and press open.
Overlay the other side roof and sew with a quarter inch seam and press open.
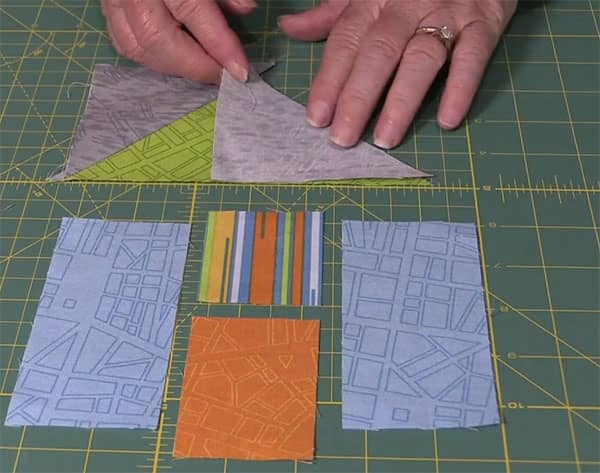
Your village roof should look like this.
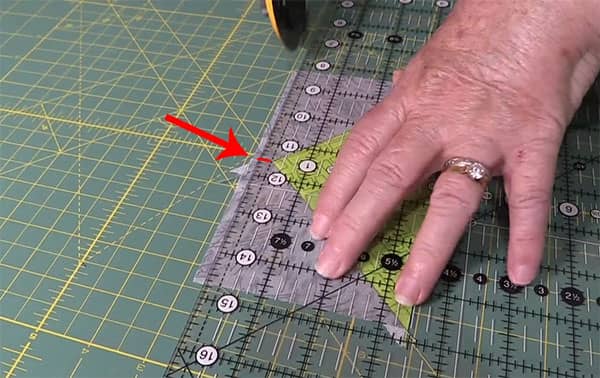
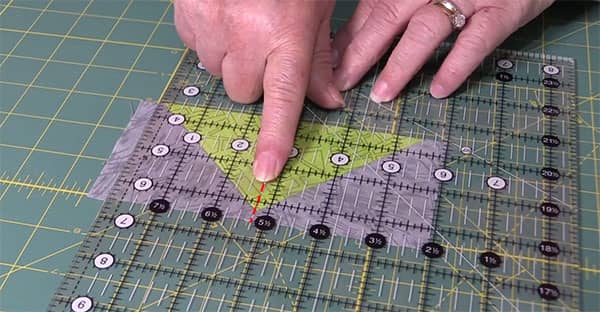
Now we need to trim the roof back to 5½” x 3″.
Start by trimming the top. You need to measure a quarter of an inch from the very top of the roof and then cut.
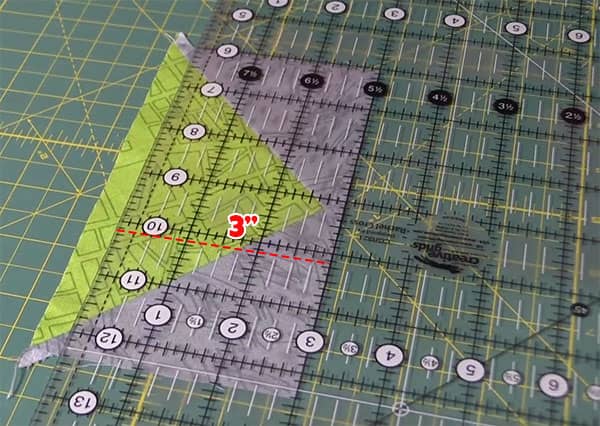
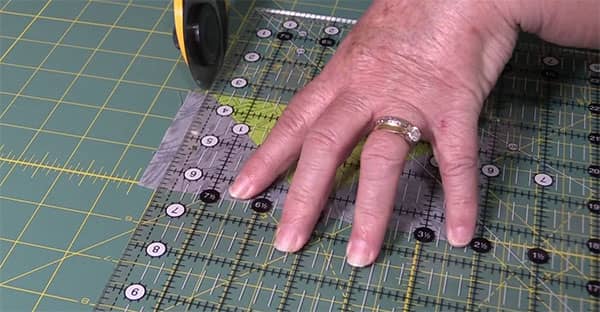
Flip the roof and line up the ruler at 3″ and then trim the base.
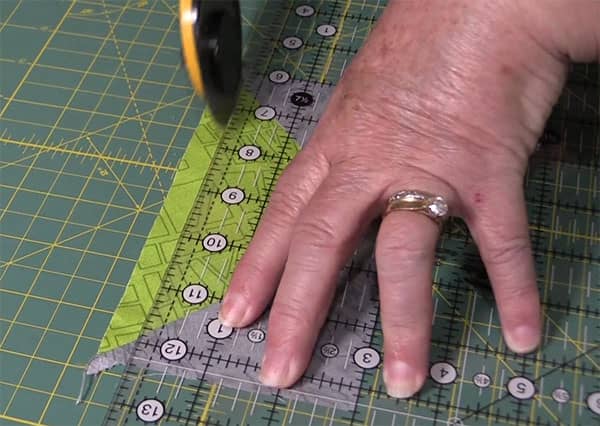
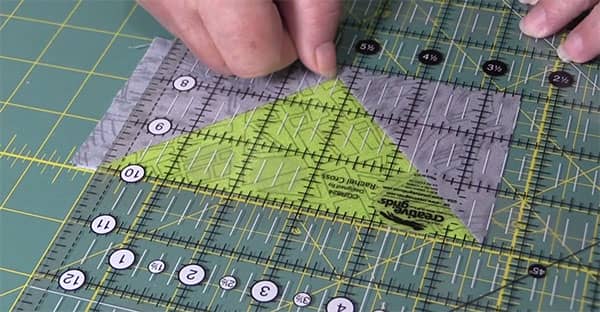
Now we need to trim the sides.
Start by lining up your ruler at the top of the roof with the 2¾” mark and cut.
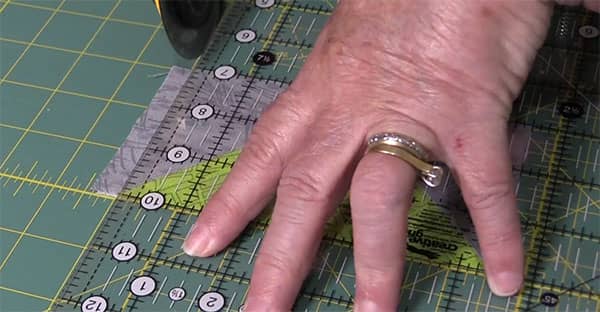
Flip the roof and line up the ruler again at the 2¾” mark and cut.
Your finished roof should now measure 5½” x 3″.
Let’s create the base of the house.
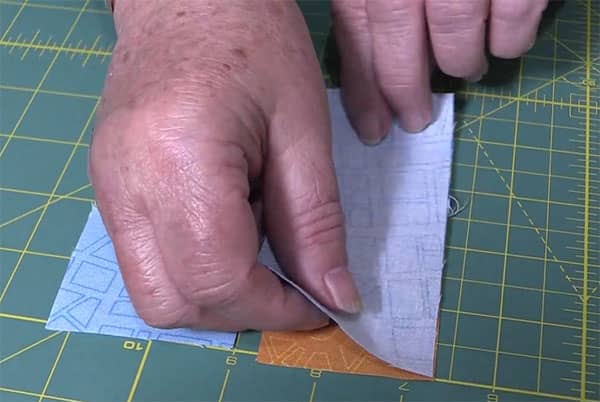
Start by placing the square fabric over the rectangle and sew with a quarter-inch seam. Press open.
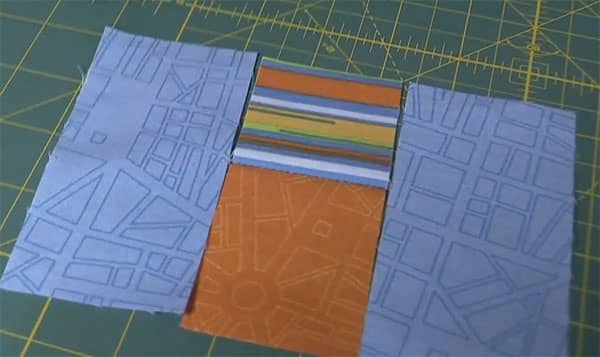
This is what it will look like.
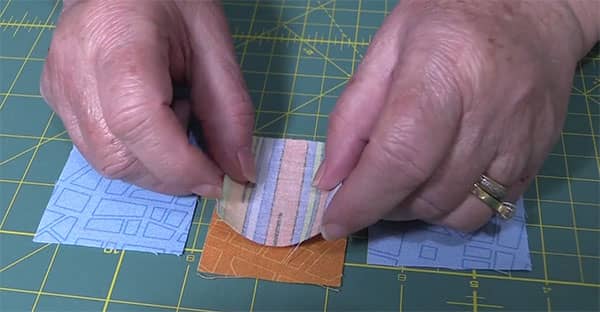
Now place one rectangle over the middle and sew with a quarter inch seam and press open.
Do the same with the other side.

We are now ready to attach the roof to the base of the house.

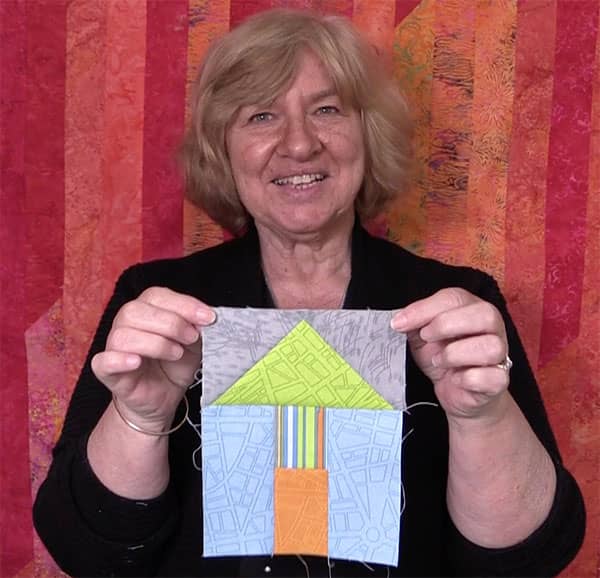
Place the roof over the base and sew with a quarter inch seam and press open.

Your block is now complete.


Kathy says
Very cute. I recently had to make a house block for a group project, but not being very experienced, I found a sailboat quilt block on the ScanNCut and used the boat’s hull as a roof, and converted the triangular sails to a square as the house front. I tried to use a ScanNCut USB I bought at Spotlight to add details, but in the DVD case it comes in, it advises saving to your computer first. I couldn’t get it to save on my Mac, as it didn’t seem to recognise the files type, so I used a built in design on my ScanNCut as a door & windows. Have you tried saving one of these purchased USB’s & if so, do you have a video on how to do it? For the price they are, I hope I can use it.
Thanks for all the tutorials, they are great.
Alanda Craft says
Your computer won’t recognize ScanNCut files. When you try to open them, you will just get an error message of some sort. The only way to view these files is on your ScanNCut machine or when you open them up in Canvas Workspace.
Dharini de Silva says
Thank you for the quick reply. I will re-subscribe.
Best regards,
Dharini
From Vienna, Austria