I really like how this square comes together. I did start out doing the center checkerboard in the usual way by cutting the strips of fabric across the width of the fabric. But decided that as I was only making the two squares it was just as easy to cut the fabric into the squares required.
Watch the video tutorial below or scroll down for the written instructions
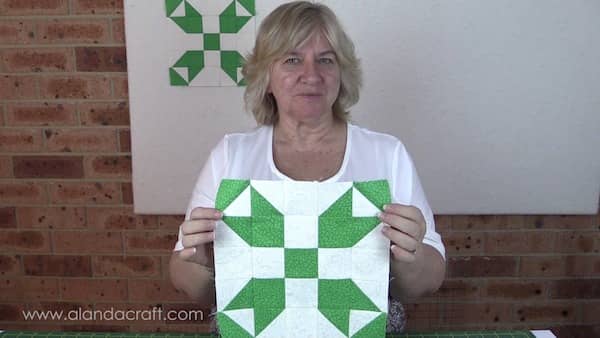
I have just used 2 contrasting fabrics because I think it shows the pattern off nicely. But as always you can use as many colors as you wish.
Note: All seams are sewn with a ¼” seam allowance.
These instructions make a 10″ finished block.
What You Need:
Fabric 1 (white):
- 8 squares @ 2½” x 2½”
- 6 squares @ 3″ x 3″
Fabric 2 (green):
- 5 squares @ 2½” x 2½”
- 6 squares @ 3″ x 3″
TOOLS USED IN THIS TUTORIAL
You can check the latest prices at Amazon by clicking on the links below:
- Olfa 24″ x 36″ double sided healing mat
- Quilters slidelock
- Olfa 60mm rotary cutter
- Oliso Iron
- Gutermann Sew All thread
Method
Make up the center block first.
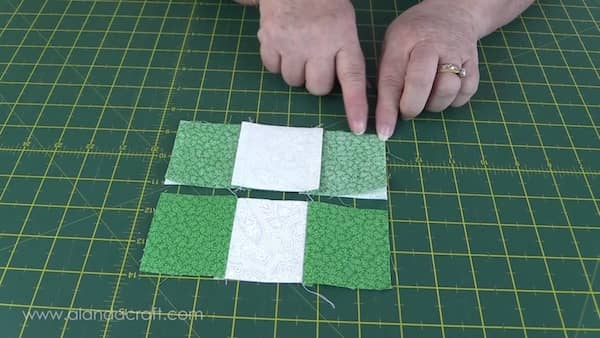
- Take the 2 ½” squares and layout in a checkerboard pattern as per the image below.
- Place the first two squares in row 1 one on top of the other with right sides facing.
- Sew the squares together with a ¼” seam.
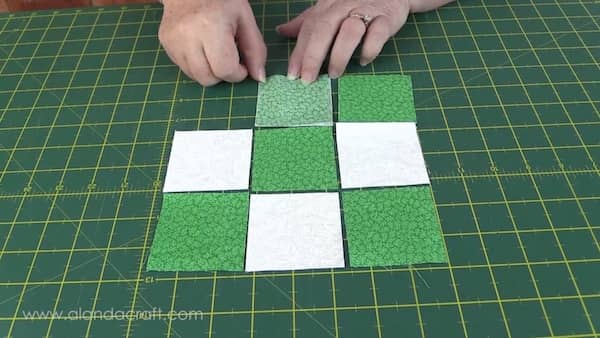
- Add the next square to the first two with right sides facing
- Sew the squares together with a ¼” seam.
- Sew the other two rows in the same manner.
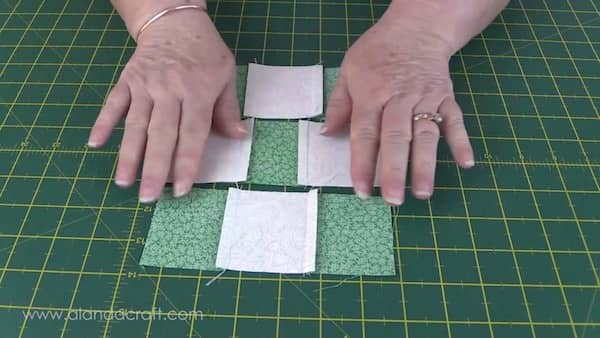
Sew the rows together.
- Place the top row on top of the next row down, right sides together
- Sew the rows together with a ¼” seam.
- Do the same for the last row.
- Press the seams as shown below.
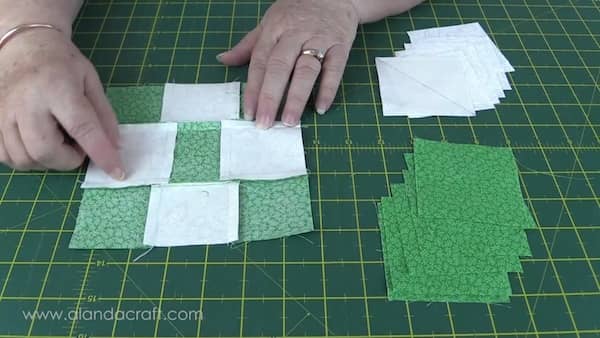
- Put the center piece aside.
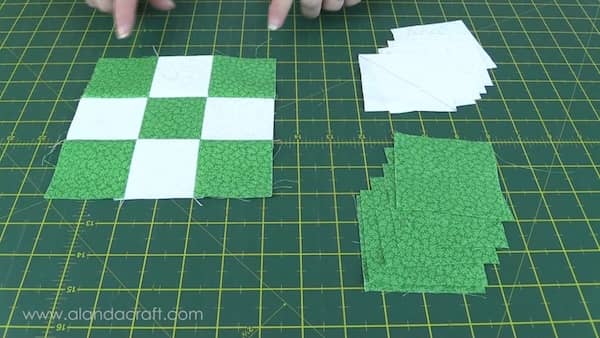
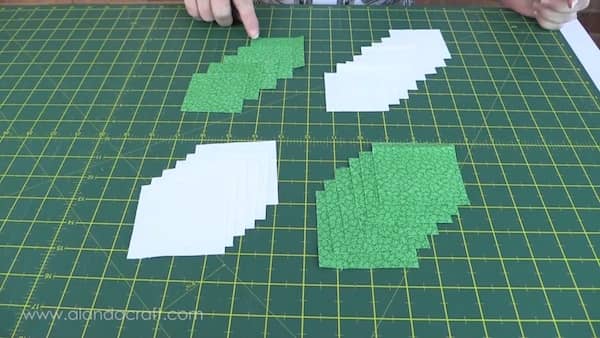
Make the Half Square Triangles.
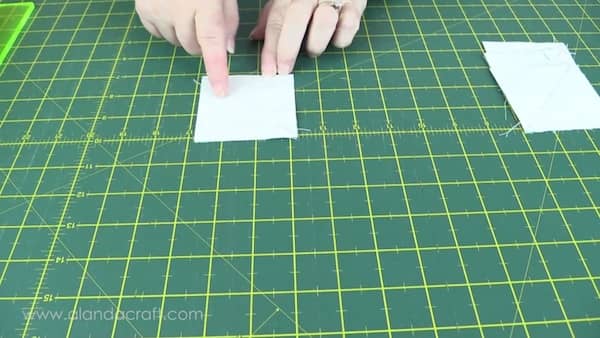
- Take one 3″ square (white).
- Draw a line on one piece, across the diagonal from corner to corner.
- Place on top of a contrasting colored (green) square and neatly match up the edges.
- Pin to hold in place.
- Sew a seam line ¼” on either side of the drawn line.
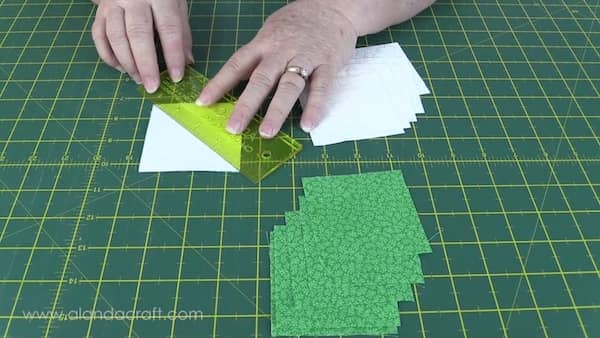
- Slice the square across the diagonal on the drawn line.
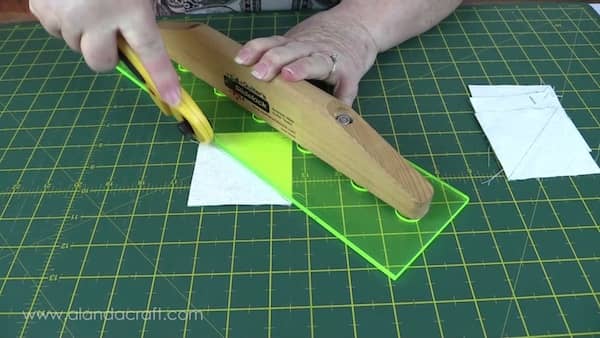
- This gives you 2 half square triangles.
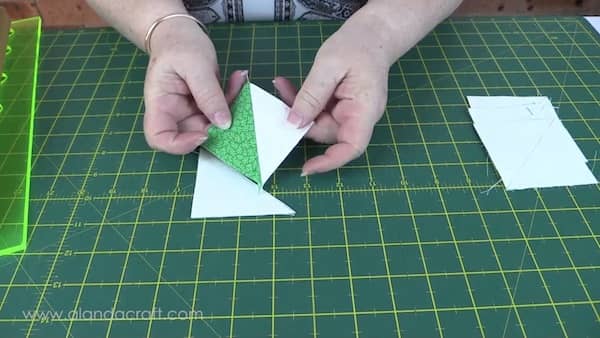
- Press the seams to the dark side.
- Trim the half square triangles to 2½”.
- If you are unsure of how to do this here is a link to our video on how to do it.
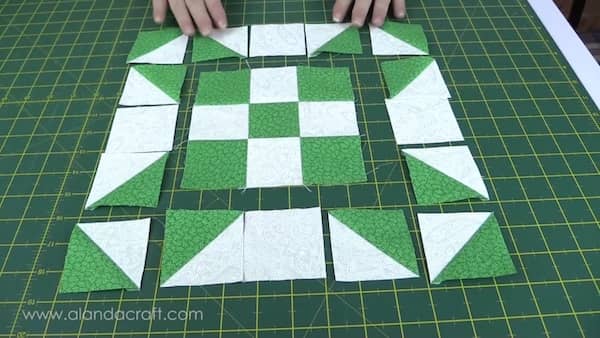
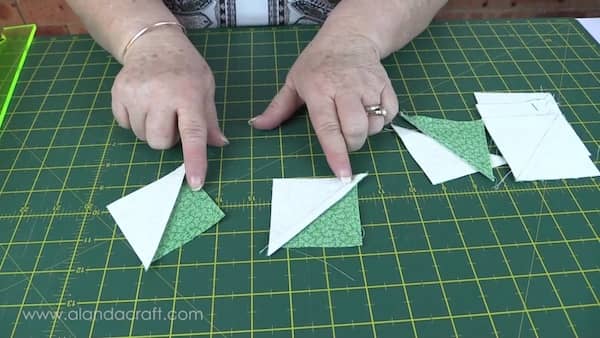
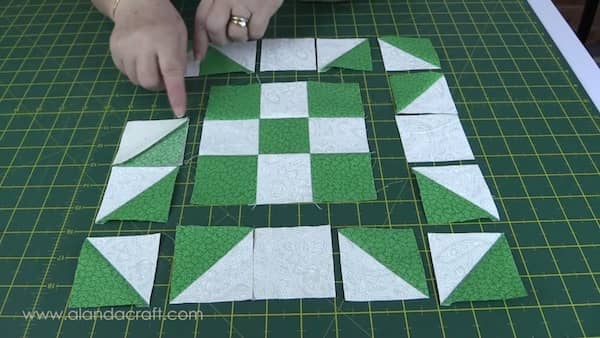
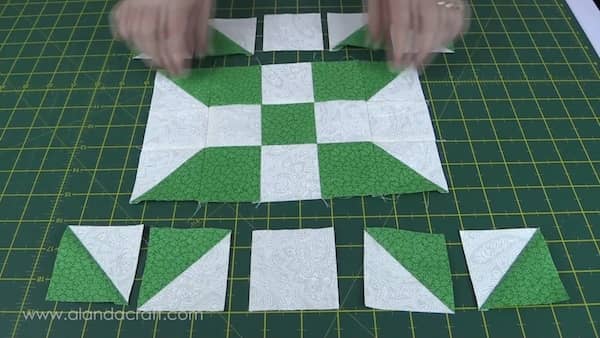
Lay out the pieces to form the pattern.
- Sew the side pieces together. Place the top square on top of the next square and sew together,
- Sew the last square to the other two squares
- Do the same with the other side pieces.
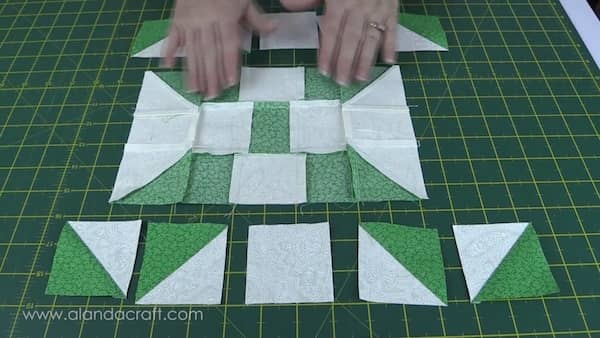
- Sew the side pieces to the centre piece.
- Press the seams towards the centre.
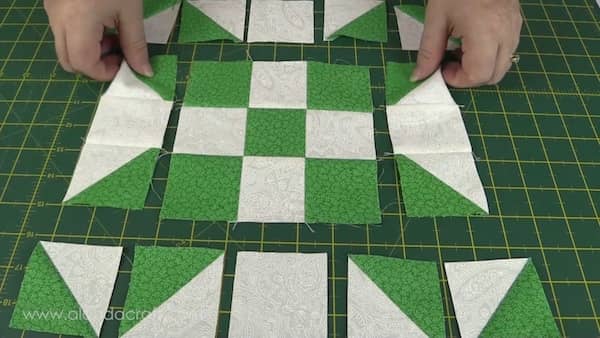
- Sew the top and bottom rows in the following manner.
- Place the first two squares one on top of the other, right sides together and sew with a ¼” seam.
- Do the same with the last two squares in the row
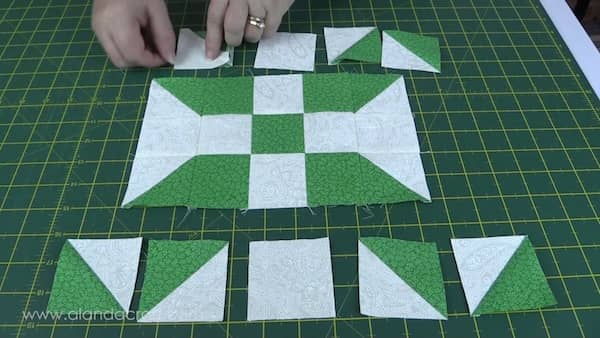
- Sew the middle square to the first two squares that you have sewn together.
- Right sides together.
- Then sew the last two squares to the middle square.
- This forms the top row.
- Repeat the process for the bottom row.
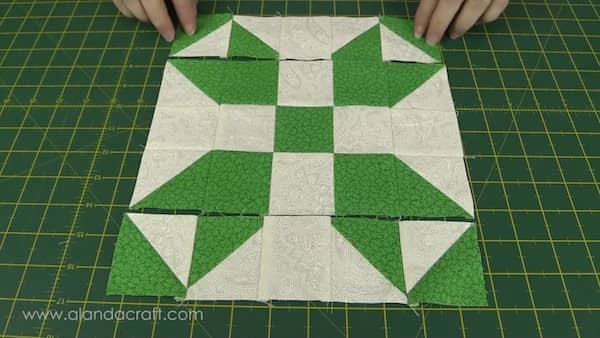
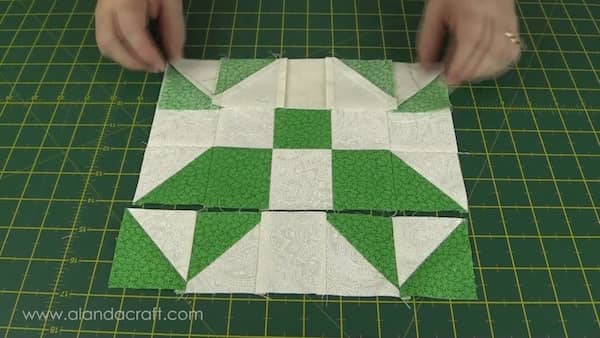
- Press the outside seams towards the outer edge.
- Press the middle seams towards the centre.
- See photo below.
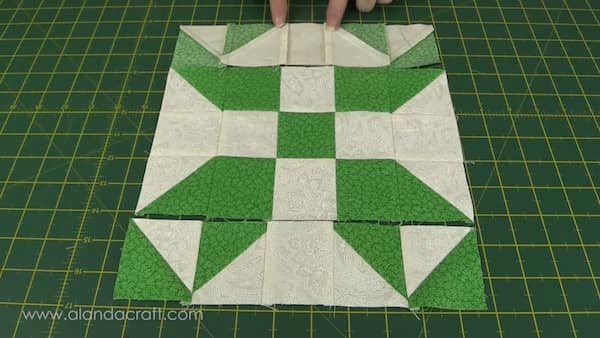
- Sew the top and bottom rows to the centre block.
- Lay the top row over the centre block, right sides together.
- Sew with a ¼” seam.
- Repeat with the bottom row.
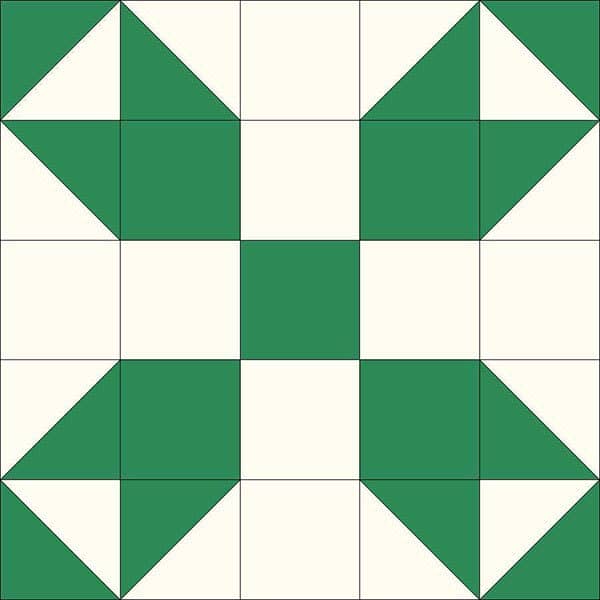
- The Fools Square quilt block is now finished.


Pat Gaitten says
Looks great, but what is the finished size of completed square?
Alanda says
It is a 10″ finished block. We wrote it at the very top of the post Pat, just under the video. I just added the word ‘finished’ to it though to clarify.
Lulu says
When making a hospice quilt how many of these blocks should I make?
Alanda says
These are a 10″ finished block so it just depends on how wide you want your quilt to be. So if you want your quilt to be 40″ across by 50″ down then you would need 20 squares. Plus you would need to think about whether your are going to add borders so you would need to take the sizing of that into account as well.