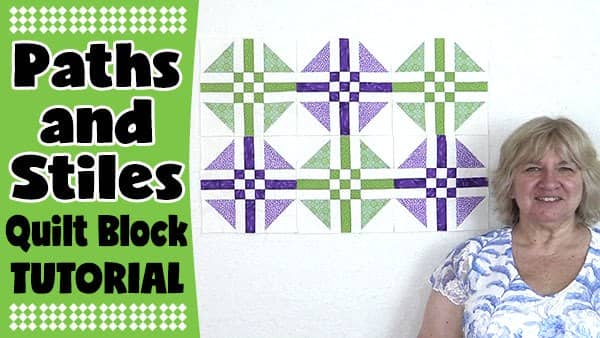
Another easy quilt block that looks fantastic when it’s put together. What I really love is the clean, fresh look of this block. I am really happy with how the colors came together. And do you know what, it is really easy to make! You are going to love this one.
The finished size of the block is 9″.
Watch the video tutorial below or scroll down for the written instructions
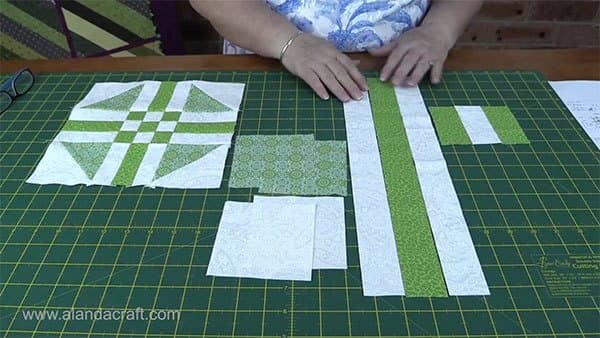
What You Need to Make One Block:
Fabric 1:
- 2 x 4″ squares
Fabric 2:
- 2 x 4″ squares
- 2 strips @ 1½” x 16″
- 1 strip @ 1½” x 4″
Fabric 3:
- 1 strip @ 1½” x 16″
- 2 strips @ 1½” x 4″
If you are making more than one block then cut your strips across the width of fabric, this includes the 4″ strips you will be using for the half-square triangles.
TOOLS USED IN THIS TUTORIAL
You can check the latest prices at Amazon by clicking on the links below:
- Creative Grids Ruler 8½” x 24½”
- Olfa 24″ x 36″ double-sided healing mat
- Olfa 60mm rotary cutter
- Oliso Iron
- Gutermann Sew-All thread
- Quilters Slidelock
- Olfa Non-slip Ruler 6½” x 6½“
Method
Make your half square triangles.
- Take one piece of white 4″ x 4″ and one contrasting 4″ x 4″ square.
- Turn one square so that the wrong side is facing up
- Draw a line diagonally across the square.
- Do the same with one of the other squares.
- Place one white square and one contrasting square on top of each other with right sides together.
- Using the drawn line as a guide, sew a ¼” down either side of the drawn line.

- Cut across the diagonal line, between the two rows of stitching.
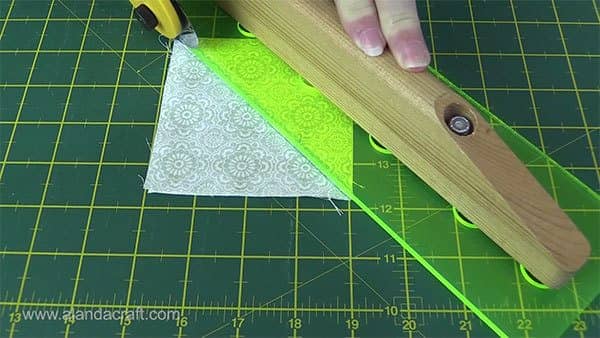
- You now have two half-square triangles.
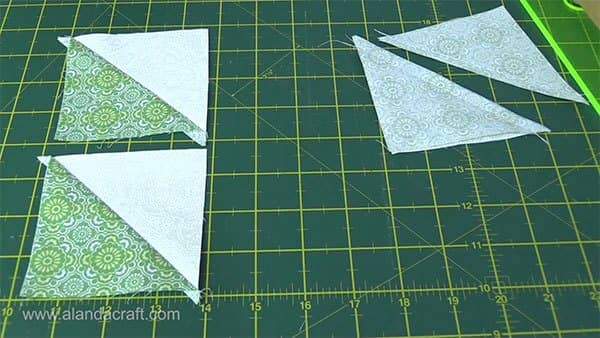
- Repeat the process with the other white square and contrasting square.
- You now have 4 half square triangles.
- Trim the HST’s to 3½”.
- If you are unsure of how to do this please refer to our tutorial on how to do it.
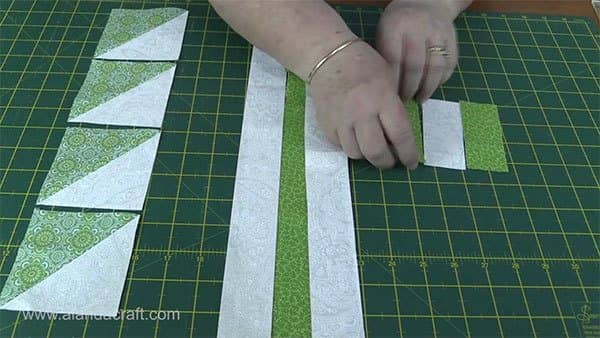
Now we are going to make the rail fence units.
- Place one white strip on top of the green strip, right sides together and sew them together with a ¼” seam.
- Do the same with the small green and white strips.
- Press the seams towards the dark side.
- So the white/green/white strip seams will be pressed towards the center.
- The green/white/green strip seams will be pressed towards the outside edge.
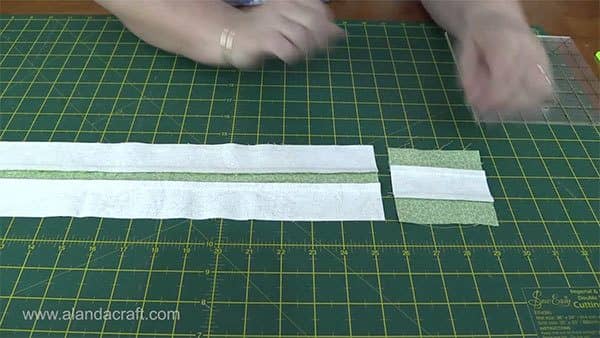
- Trim one edge of the strip to straighten it.
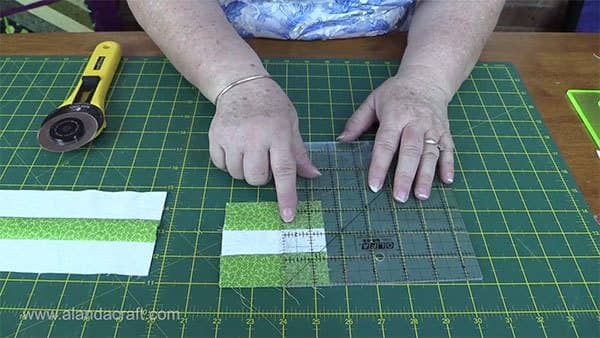
- Cut 4 pieces measuring 3½” from the long strip.
- Cut 1 piece measuring 1½” from the long strip.

- Cut the small strip into 2 pieces measuring 1½” each.
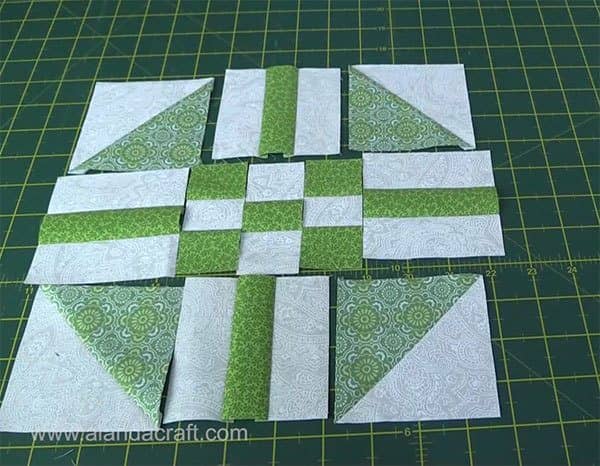
- These are the pieces you will now have.
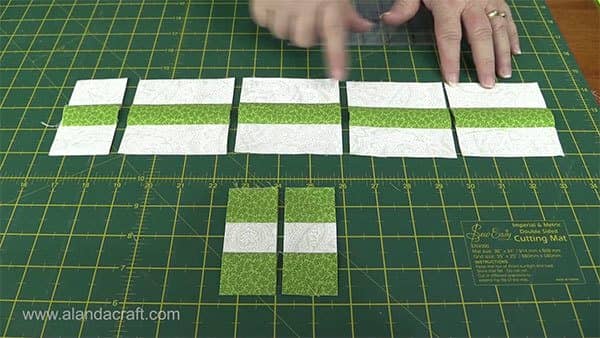
- Lay out the pieces as shown.
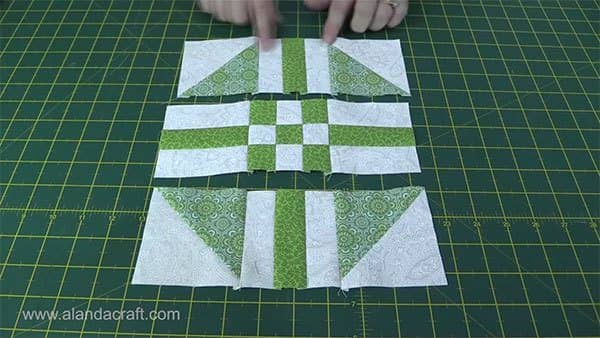
- Sew the pieces in the top row together.
- Place the first piece on top of the second, right sides together and sew them together with a ¼” seam.
- Place the third piece on top of the second piece, right sides together and sew them together with a ¼” seam.
- Sew the pieces in the bottom row together in the same manner.
- With the middle section, you will assemble the checkerboard pieces together first.
- Then add the first and third pieces to complete the row.
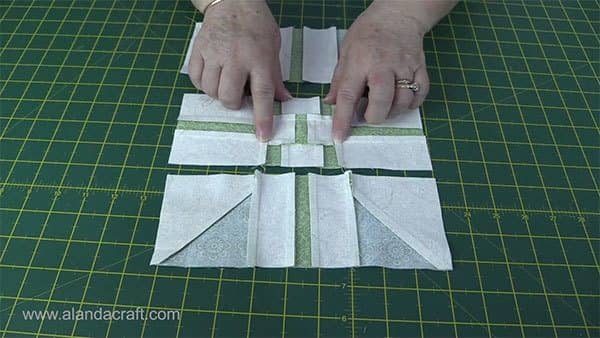
- Press the seams as shown.
- The top and bottom row seams are pressed towards the outer edge.
- The middle row seams are pressed towards the center.
- We do this so the seams will nest nicely when we come to sew the rows together and give us nicely matched joins.
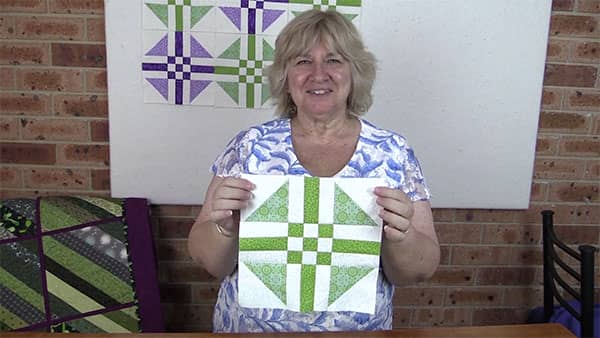
- Sew the rows together, matching the seams.
- And there you have it, an absolutely gorgeous block that is quick and easy to make.


Linda Dufficy says
Great block–can’t wait to make it!
Alanda says
I really like this one, and it is so simple to make.