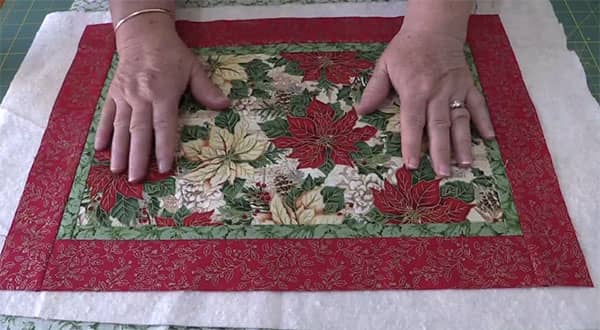
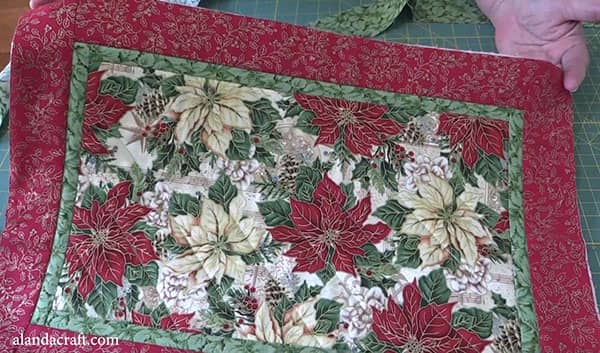
In this tutorial, we are going to show you how to create some easy Christmas Placemats. These are quite quick to make and we even show you how to add the and backing and the binding. You can also make a matching table runner here.
The place mat measures approximately 18″ x12″
What You Will Need
For each place mat you will need:
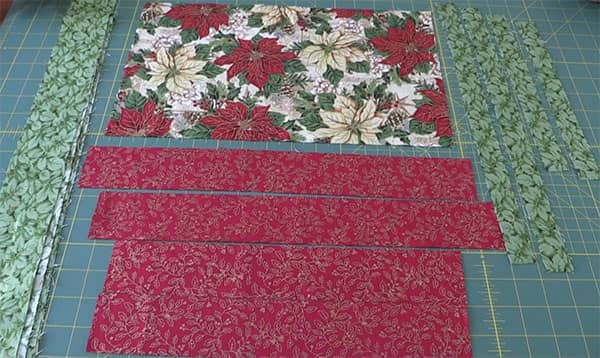
- Center piece – cut 1 piece @ 14½” x 8½”
- 1st border – cut 2 pieces @ 9½ x 1″ AND 2 pieces @ 14½” x 1″
- 2nd border – cut 2 pieces @ 12½” x 2″ AND 2 pieces @ 15½” x 2″
- Backing fabric – approx 22″ x 16″ (it will depend on the amount of quilting you will do but this should easily cover it)
- Batting – approx 22″ x 16″
- Binding – cut 2 strips @ 2¼” x WOF
Tools Used in this Video
- 505 Spray
- Olfa Cutting Mat
- Olfa Rotary Cutter
- Creative Grids Quilting Ruler
- Omnigrid Folding Cutting and Pressing Mat
- Oliso Iron
- Add a Quarter Ruler
Watch the step-by-step video below or scroll down for the written instructions
Can’t see the video? You may have an ad blocker installed.
How to Create the Placemat
- Start by adding the long 1st border pieces to the center piece and sew with a quarter-inch seam.
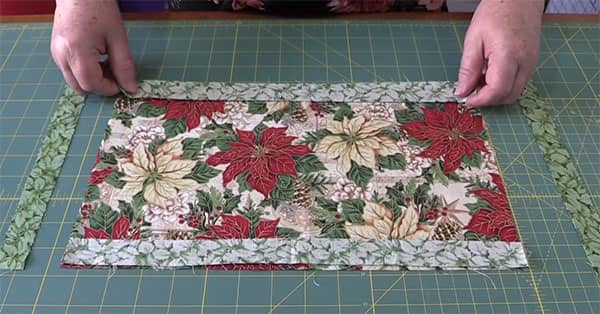
- Sew the short 1st border pieces to the sides of the center piece with a quarter-inch seam.
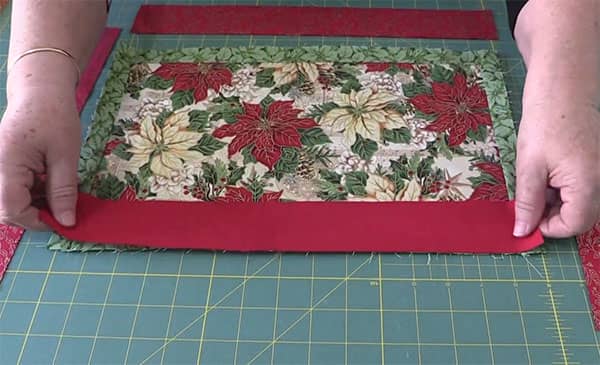
- Do the same with the 2nd border pieces. Sew the longer pieces first and then the shorter pieces to the sides.
- Once the top is complete, you are ready to quilt the layers together.
- Place the backing fabric face down on your board and then lay the batting on top of it.
- Now add the top piece.
- Smooth the pieces down to eliminate wrinkles as much as possible.
We use an adhesive spray to hold the pieces together. You can purchase the same type we use on Amazon here.
- Fold the top of the quilt back about half way and spray.
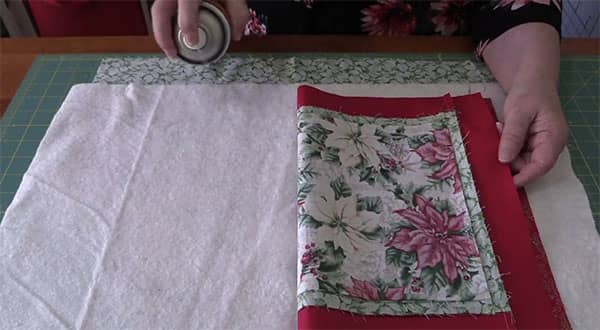
- Then repeat on the other side.
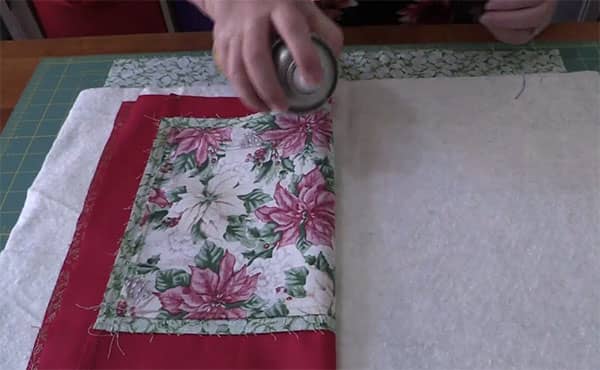
- Do the same for the layer between the backing fabric and the batting.
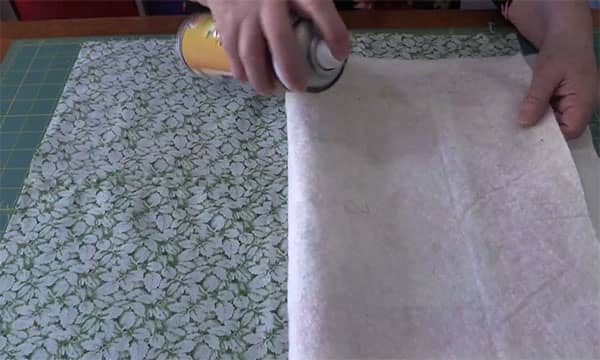
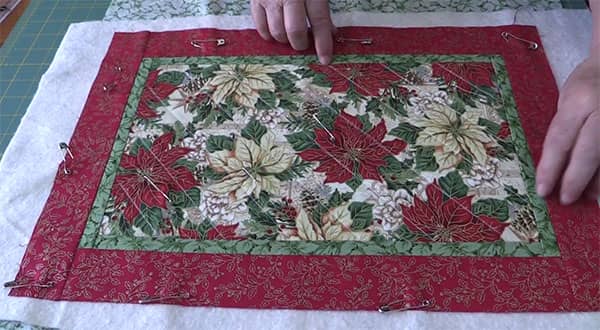
- We also pin our layers together.
Now you are ready to quilt the layers together.
- Watch the video to see how we quilted our placemats. We just used diagonal lines but you can quilt it anyway you like.
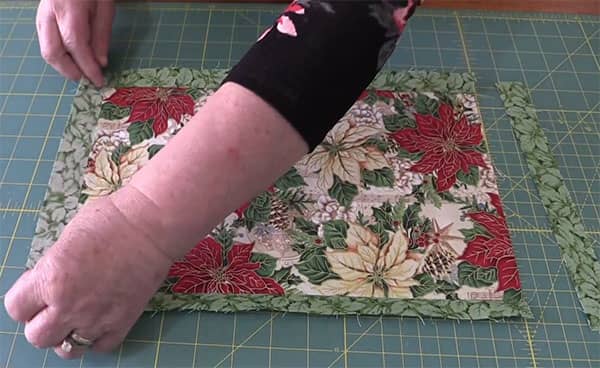
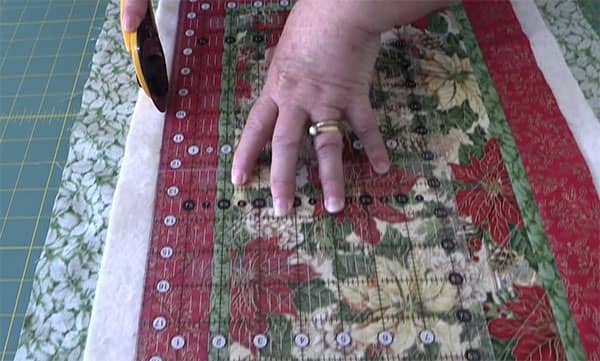
Once you have quilted the layers together, you are ready to trim the excess fabric.
- Line up your quilting ruler and cut on all sides.
Now add your binding.
- To do this watch the video above or alternatively, you can follow our Binding Tutorial here.


Katherine Boyd says
Thanks for yet another easy to follow tutorial.
As a beginner quilter your step by step visuals are a life saver or should that read material saver!
Your binding instructions are awesome.
Katherine
Alanda Craft says
Thank you for your lovely comment Katherine. We are so happy to hear that you enjoy the tutorials.:)
astrid says
Great easy tutorial.
Alanda Craft says
Thank you 😊
Dianna Wynns says
This is the site I’ve been waiting my entire quilting experience to find!!! I love the step by step. There are some of us novices who learn by seeing and just showing me measurements on a piece of paper and then next step doesn’t always do it. THANK YOU SO MUCH!!
Alanda Craft says
Thank you so much for your lovely comment Dianna. I am happy to hear you like our tutorials. 🙂
Debbie Kitson says
I love watchig the Alandacraft tutorials. the instructions are easy to follow and the measurements are just right. The finished products always turn out for me. thank you for well thought out patterns and easy instructions.
Alanda Craft says
Thank you for your lovely comment, Debbie. We are so happy to hear that you like our tutorials. Cheers 😊
Jane Dunne says
Lovely project ! I think I might try them however I wondered why there is no sound on your video
.
Alanda Craft says
Hi Jane
Just hover your mouse over the video and you will see a sound icon. This will more than likely have an ‘x’ next to it, meaning that the sound is off. Click on the ‘x’ and the sound will play. I hope this helps.
These place mats are really quick and easy to make so I hope you give them a go. Cheers, Wanda
Tracey Puig says
Your placemat video is excellent. Your instructions are easy to follow.
Love your accent. I will be trying these!
Thank you,
Tracey
Alanda Craft says
Thank you for your lovely comment Tracey 😊. You will find that these place mats are super easy to make, and they look great in any pretty fabric.
Isabel stjules says
Thank you for a very well instructions Love it
I will try it
Alanda Craft says
These place mats are quick and easy to make Isabel. Happy to hear you like the tutorial.
Rosemarie says
LOVE LOVE LOVE these placemats!! I have made them with autumn, Halloween, summer, and birthday fabric- I am ready for any occasion! I even made them with golf theme fabric for my golf-crazy husband!! Thank you so much!!
Alanda Craft says
That’s awesome to hear Rosemarie. Perhaps you would like to share some photos of your place mats with us. Here is a link if you are interested /submit-your-project/. What a great idea making the golfing place mat for you husband, love it.
Elaine Novak says
Hello,
Would you ever consider offering a placemat pattern that could be used for round tables? The rectangle placemats have corners that catch on sleeves and get pulled off the table. Thanks for your consideration.
Alanda Craft says
Great idea Elaine. I will put it on the to do list 😊
Christine Ware says
Not long been quilting although I did make clothes years ago. Thank you alandacraft, I am loving your projects to get me on to my new sewing machine. I am hoping to use your projects to get my daughter into sewing as she is going to have my Singer. Starting off from basics as, when I tried a few years ago, she couldn’t hold a straight line, so a little way to go. I made the all in one cushion as a trial for her to do once we get underway. I will try and post it on the projects page. Very pleased with it, Thank you again.
Alanda Craft says
It’s great to hear that you like our tutorials Christine 😊. I’m not sure how far along your daughter is with sewing but here is a link to a post on how I learnt to sew when I was young /2021/09/28/how-i-learnt-to-sew/. It may help your daughter get her lines straight and even how to sew curves. We have a free downloadable pdf that may also help her. I’m looking forward to seeing both your cushion cover and your daughters, when they are done. Cheers, Wanda