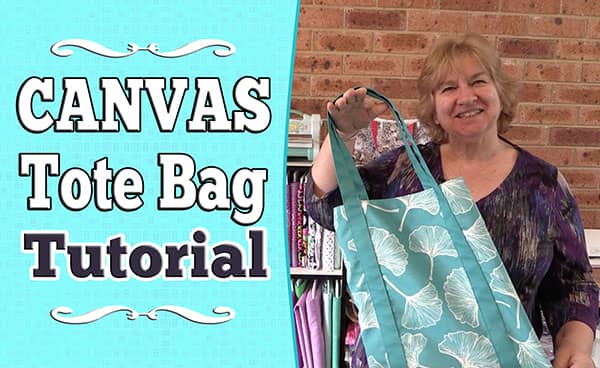
We’ve been meaning to create a tutorial for a canvas tote bag for some time now, so when we found some lovely teal canvas fabric from our local craft store, we took that as a sign.
This is a really simple bag to make because it doesn’t have any lining. For our bag, we used a canvas fabric with a design on the outside but you can use plain fabric for this if you prefer.
NOTE: It is best to use a fabric with a multi-directional print. The fabric will be folded in half and if you have a one-directional print the pattern on the back of the bag will be upside down,
What You Will Need:
- 1 piece of canvas fabric measuring 34 ½” x 15 ½”
- 2 pieces canvas fabric measuring 5″ x 55″ for the handles – Note that the finished length of the handles will be 104″ so this is why we cut two pieces as the width of our fabric off the roll was about 55″ in length. We sewed those two pieces together to make 110″ and then cut it back to 104″.
The trick with this bag is that we sew it together with the wrong sides facing. So our first seam is on the right side of the fabric. But that’s okay, there’s no need to panic. We are going to tidy up the seams by turning the bag inside out and sewing a seam line that encompasses our previous seam and hides the raw edges. This is known as a French Seam, and it is generally used on lingerie and fine fabrics. But hey, there are no seam police so we are going to use it on our canvas bag.
I left my first seam at ¼” but you can trim it down to 1/8″ and make a smaller final seam if you wish.
Watch the step-by-step video below
(Can’t see the video? You may have an ad blocker installed).


Carolyn Nentwick says
thank you so much, love the bag…
Rosie says
do you have a pattern that I could use please to make your canvas bag
Alanda says
No Rosie, there is no pattern. All the measurements for cutting the fabric are included in the tutorial. We don’t create patterns for our tutorials because of the time factor involved.
Fran says
Thank you. Enjoyed your tutorial. Beautiful tote bag.
Alanda Craft says
Thank you Fran. Happy to hear that you enjoyed the tutorial.
Marie says
Perfect the easiest bag to make. I boxed in the corners when I had finished so it has a flat bottom. Thanks very much
Alanda Craft says
That’s a great idea, Marie. I do think that boxed corners finish a bag off nicely. Perhaps you would like to send ussome photos of your bag to share on our Readers Project page. Here is the link if you are interested /submit-your-project/
Marilyn Deas says
Exactly what I was looking for!! thank you, I’m doing some sashiko on denim and then making the bag. I love the French seams!
Alanda Craft says
That will look great Marilyn. I love the sashiko look. If you want to share your final result with others on this site, you can do so here: /submit-your-project/
Peggy Frisk says
How do I get In to your video tutorial? I have subscribed to your newsletter.
Alanda Craft says
Do you have an ad blocker installed? This can sometimes blog the video from showing.
Alex says
what is the finished size? What if you want to make it larger?
Penny says
Love your tote bag
Thank you for sharing
Alanda Craft says
Thank you Penny 😊. I am glad you like it.
Donna B says
I love the bag tutorial! So easy to do. 😁
I’m going on a cruise in a few months and would like to make a larger bag to carry on my shore excursions. Would I still place the handles at the same distance from the edges? Thank you so much for your video!
Alanda Craft says
Without having made a larger version, I can’t really give you a definitive answer Donna. My thoughts are that you would probably move the handles in a little towards the centre. But its difficult for me to say without testing it myself. Try pinning the handles on first, and also pin the sides together to get an idea on how the bag will look and feel. You can then move the handles into a position that is more comfortable and is aesthetically pleasing.
Have a lovely time on your cruise. It’s something I have always promised myself to do but haven’t made it as yet.