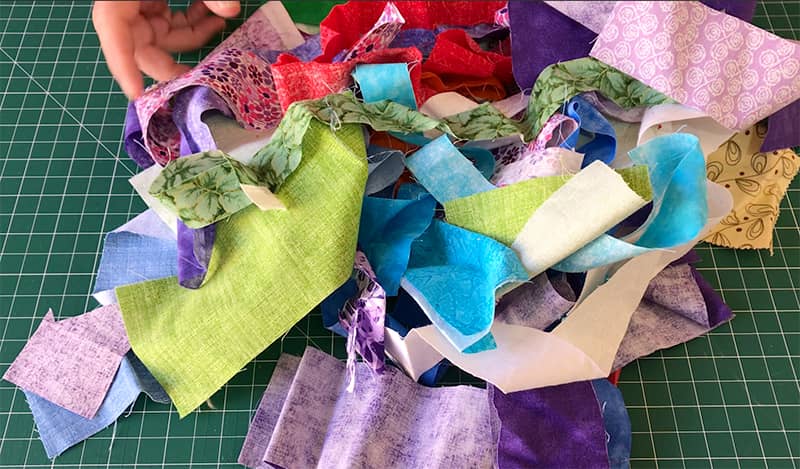
Like most quilters we have a mountain of scraps that we just can’t bear to part with. You know how it is, this piece is pretty, this bit goes with that bit and on and on it goes. And even though every now and then we take a pile to the local op shop, we still have plenty on hand.
You see nothing goes to waste. We break down our scraps into size, some are big enough for future small projects and smaller pieces are good for crumb quilting.
So here is a quick sewing project that will help you to use up some of your fabric scraps.
What You Need
- An assortment of scraps – We are using quilting cotton fabric. You can also use other cotton based fabric offcuts. You can even play around with other types of fabric, don’t be afraid to experiment. This is just a small project so it’s ideal for experimenting with. And if it doesn’t work out, well it’s not like you have committed to making a large quilt.
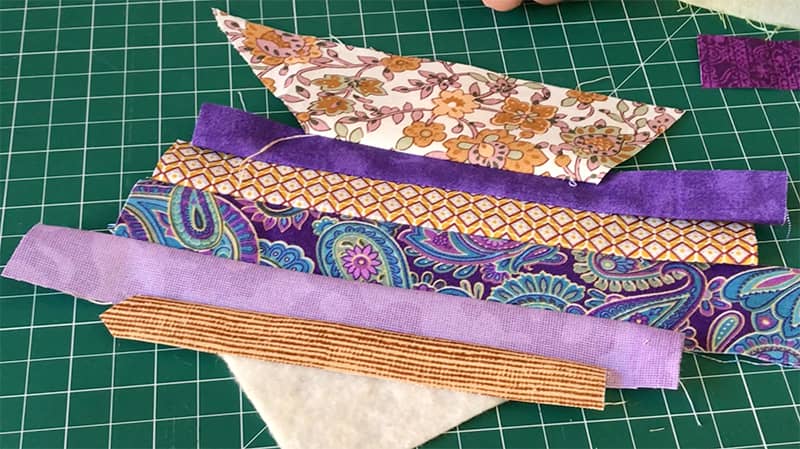
For this project we emptied out some of our bags of scraps and picked out assorted sizes and colours. You don’t have to have scraps that are the same size. In fact using different widths adds interest and variety to your finished project. The only thing you really need to have are straight edges on either side of the strip so that your seams are straight when you sew the strips together.
This is something you can really have fun with by mixing and matching your colours and not thinking too much about it. - Batting – You will only need some off-cuts of batting for this project, so anything you have in your stash will work. We tend to buy our batting from Amazon, in fact we went crazy one day and bought an enormous roll which I think will see us both out. The batting we use is Warm and Natural from the Warm Company.
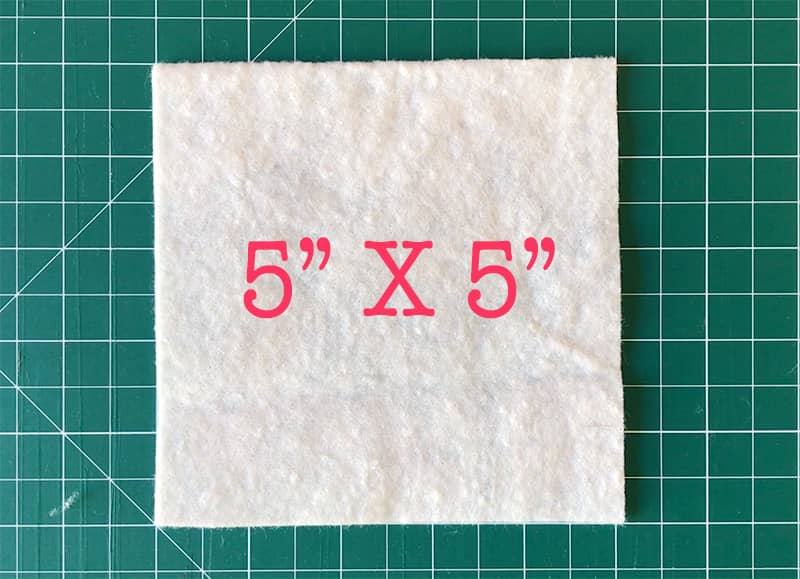
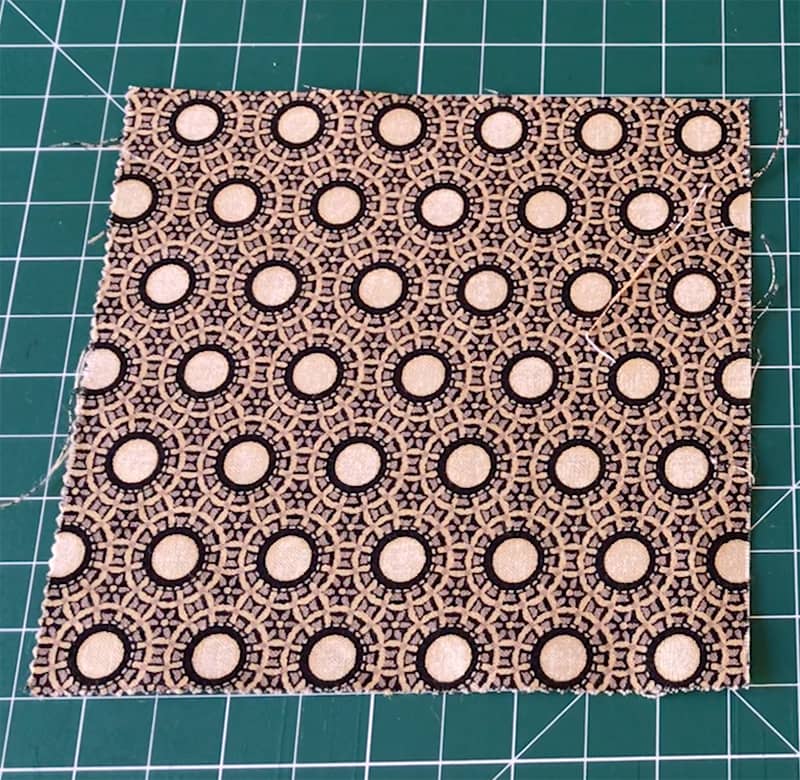
However, we always seem to have small squares and rectangles of batting that are leftovers from our quilting projects. We keep these off-cuts in a plastic container, and it’s really handy to be able to pull out a small square to use in a quick and easy project like this. We used a piece of batting that measured 5″x5″. - Backing – For this project you will only need a square that is the same size as your batting, so 5″x5″. Again we used an off-cut of quilting cotton from our stash.
- Rotary cutter – I used a 60mm Olfa rotary cutter. These handy dandy rotary cutters also come in other sizes – 45mm and 28mm. I just happen to like the 60mm version and it is my go to cutter. I like the straight handle and it feels comfortable in my hand.
I mainly use the 45mm rotary cutter when I am using my June Tailor Shape Cut Pro to cut strips and squares. I find the 45mm fits better into the slots of the ruler. And the 28mm rotary cutter is handy for doing small cutting projects where I don’t need a larger blade. - Ruler – For this project I used my Creative Grids 6.5″ x 12.5″ ruler. We are real fans of Creative Grids rulers and we have a number of their rulers in different sizes. The markings are easy to read and the ruler slides over the fabric until you apply pressure to the ruler, and then it grips firmly in place. So less mishaps are likely to occur while you are cutting.
- Scissors – These are one item that comes down to personal preference. I like scissors that aren’t too heavy and have a fairly straight grip. I’m not fond of an angled grip as it feels awkward to me. The scissors I use most are a no brand pair and they are comfy to use and cut beautifully. Unfortunately I don’t have a brand name for you.
- Thread – We use mainly Gutermann Sew All thread. Because we do so much sewing we tend to buy the large spools in white, cream and black, but you can also buy smaller spools, and there are small multi-packs available which give you a variety of colors that you may find useful.
Method
- Gather your scraps of fabric.
- A piece of batting – measuring 5″ x 5″
- A piece of backing fabric – measuring 5″ x 5″
What Are We Making?
We are going to be making a mug rug. These are so quick and easy to make and they make great gifts. Make a few and tie them together with a ribbon or a piece of pretty lace and gift them with a mug or cup and saucer set. A set of pretty mug rugs would even make a lovely gift just by themselves.
Watch the Step-by-Step Video Below or Scroll Down for the Written Instructions
How to Make a Scrappy Mug Rug
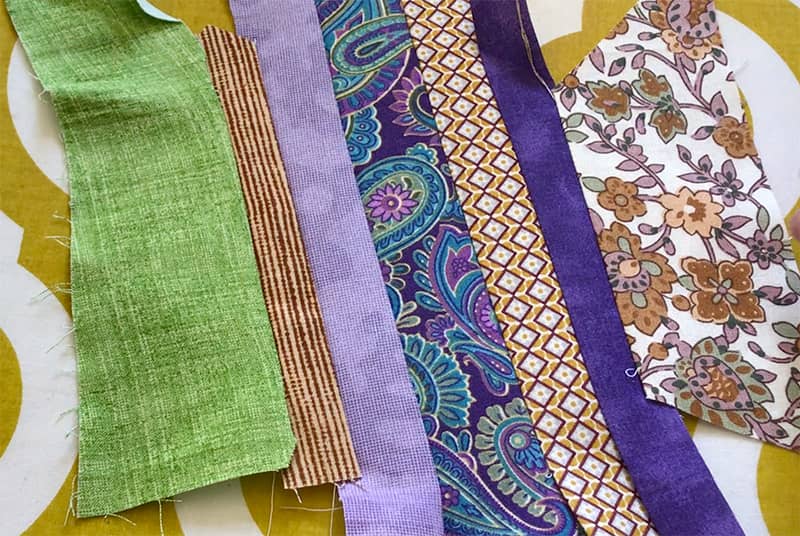
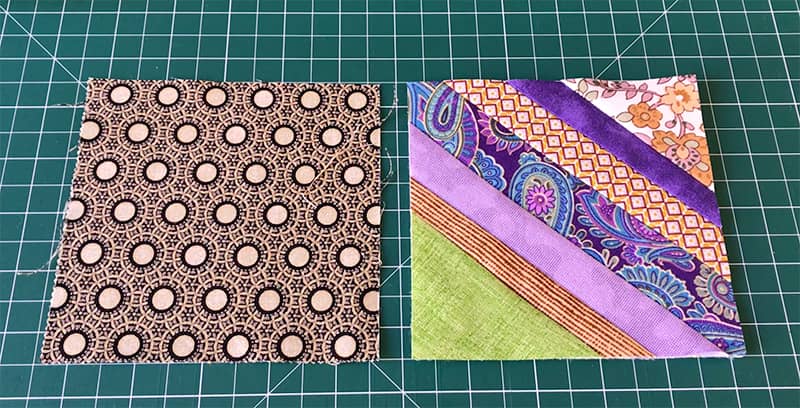
You have two options on how to do this. You can just go for it and not care about picking and choosing specific fabrics or you can audition different colour combinations and find one that’s pleasing to you. You can see the different colour combinations we tested out below.
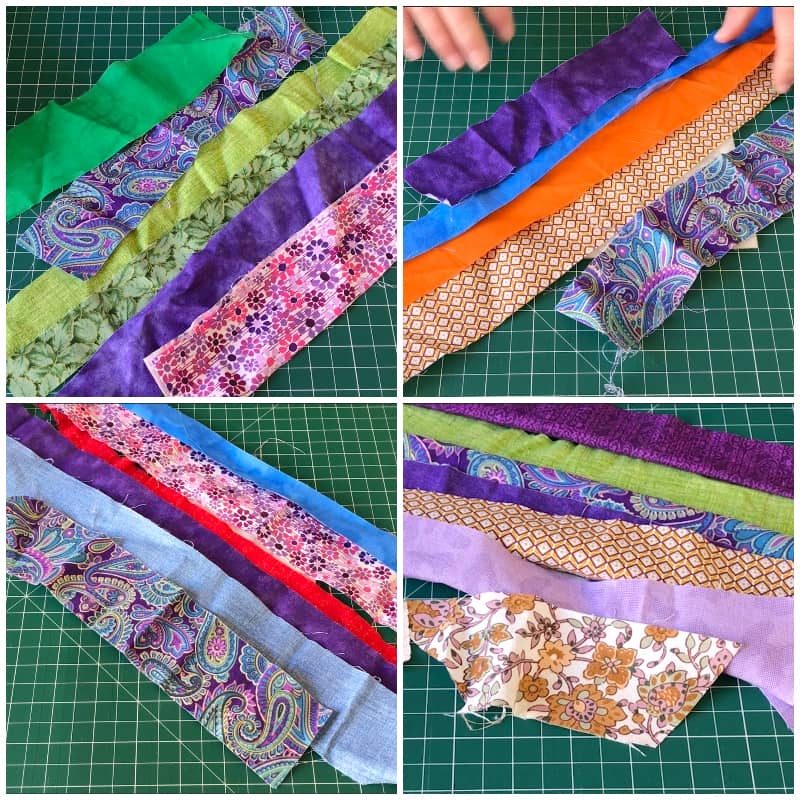
It’s definitely a lot faster if you are spontaneous and not so picky about what you go with. And just going with random strips can look really interesting.
In fact thinking about it too much can often block the creative process. So don’t waste too much time on this part. Anyone who has been sewing and quilting for a while will tell you that once you sew two strips of fabric together they invariably always end up looking great.
Preparing the Fabric
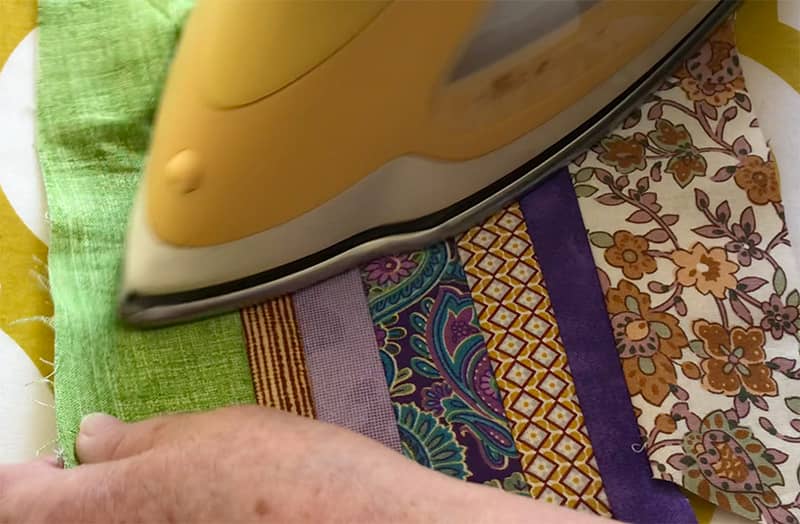
Once you have decided on which strips you want to work with, it’s best to give them a press first just ensure they are wrinkle free.
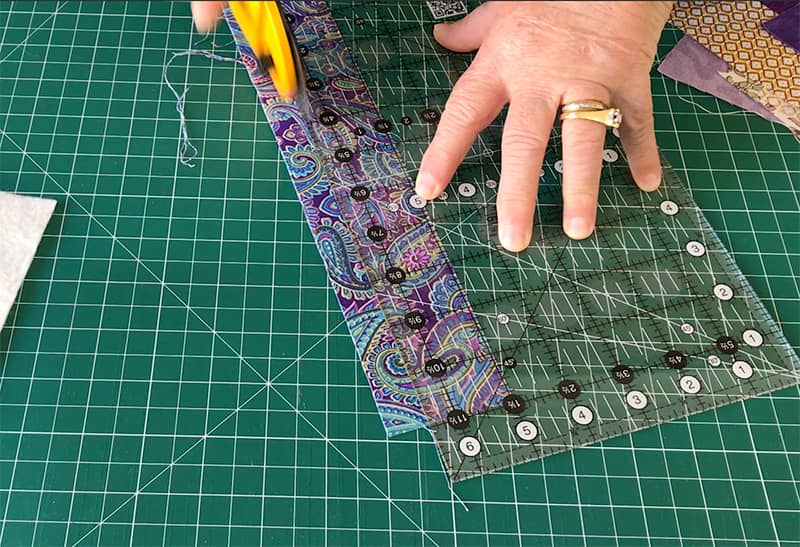
You might want to trim them back a bit if they are super long. You don’t have to but we just found it easier to work with shorter strips. Just be careful not to cut them back too much. The strips need to be long enough to cover the batting.
You can also trim them to make them thinner. We went with strips that were about an inch and a half wide or smaller. You can make them the width you prefer. The beauty of this process is it’s all up to what you want.
GETTING READY TO SEW
Once you have pressed the strips we are ready to assemble our piece and start sewing.
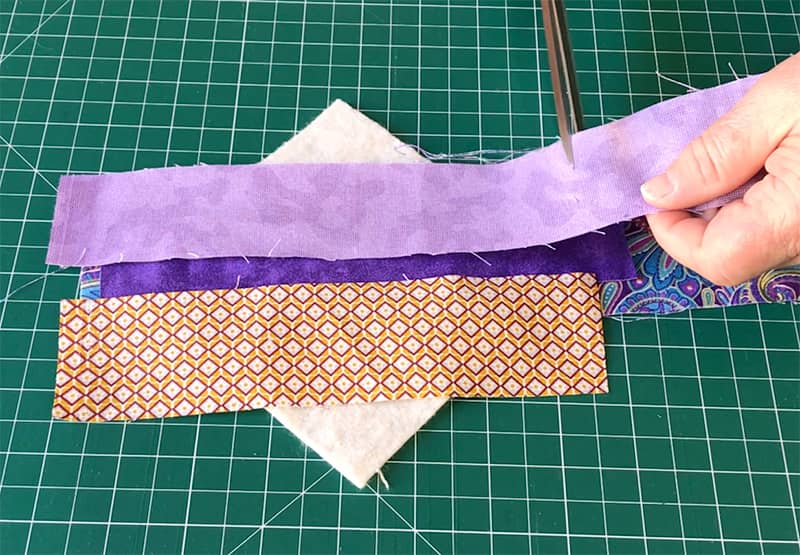
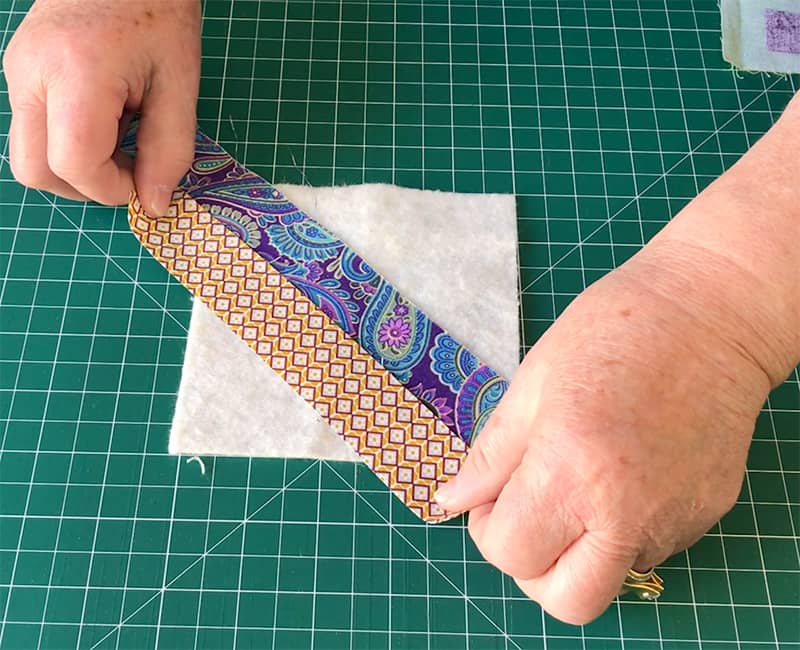
- Take the first strip and lay it face up in the middle of the batting piece.
- Take the second strip and lay it face down on top of the first strip.
- We want to make sure that the strip is going to cover the batting, so just turn it back so that you can see that it is going to do this.
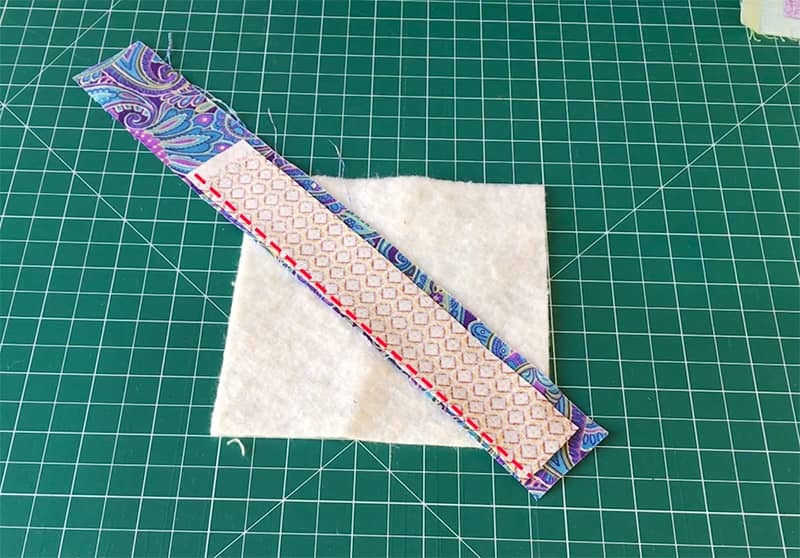
- Now turn it back over and line up the edges of the two strips and sew along the edge with a quarter inch seam.
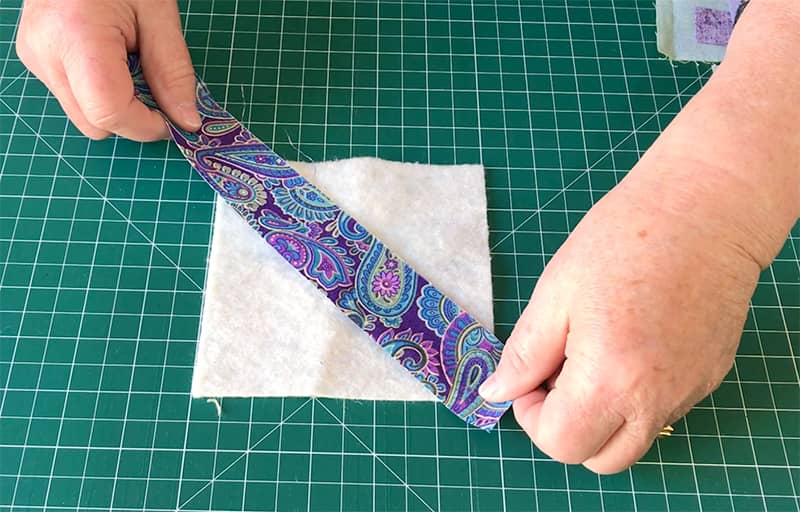
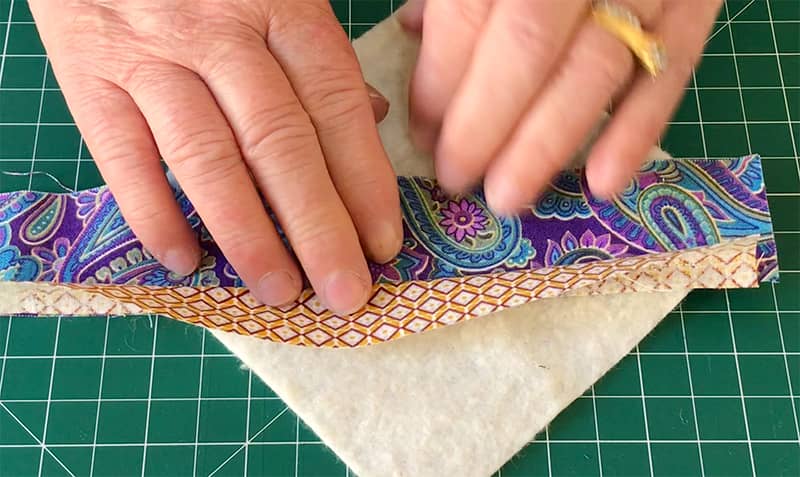
Now we need to fold back that strip. You can press the seam open but using an iron at this point may stretch the batting. So I am just going to finger press it down.
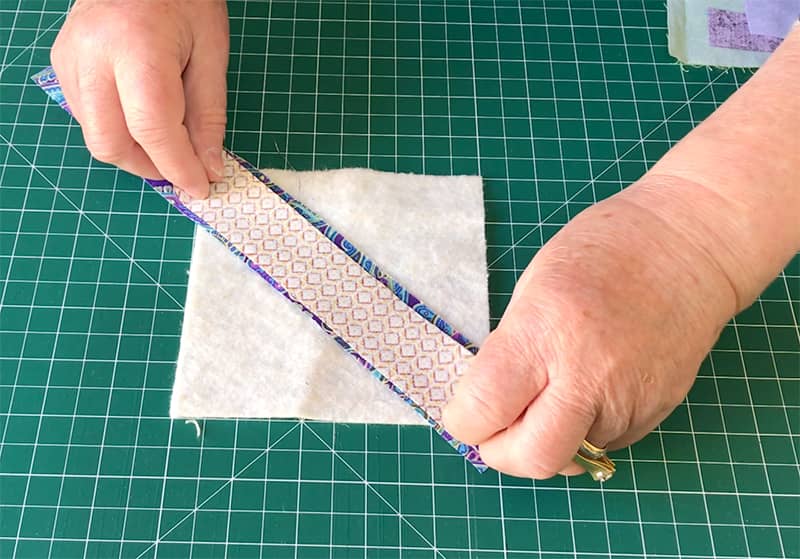
Place the second strip in the same way and sew it again with a quarter inch seam.
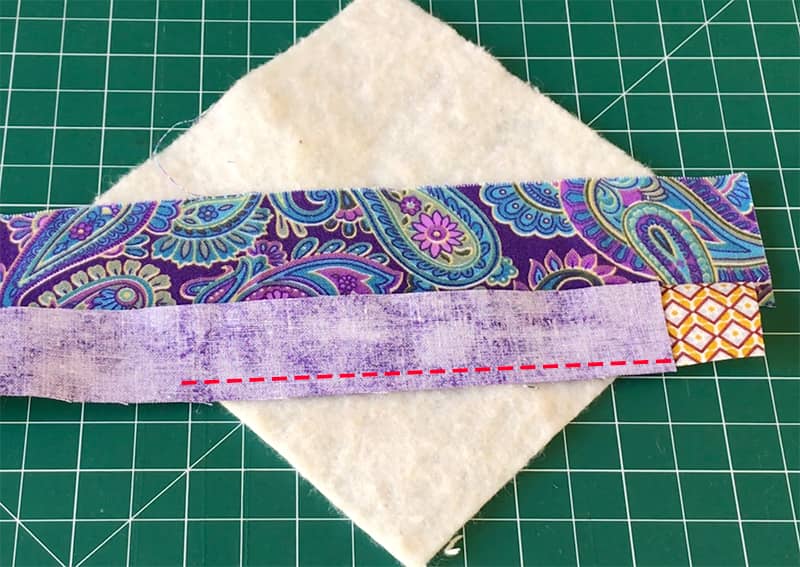
Keep adding strips in the same way until you have completely covered one half of the batting and then flip and continue with the other side. Keep going until you have completely covered the batting.
Now that you have all the strips sewn onto the batting you can give the piece a press just to smooth everything down.
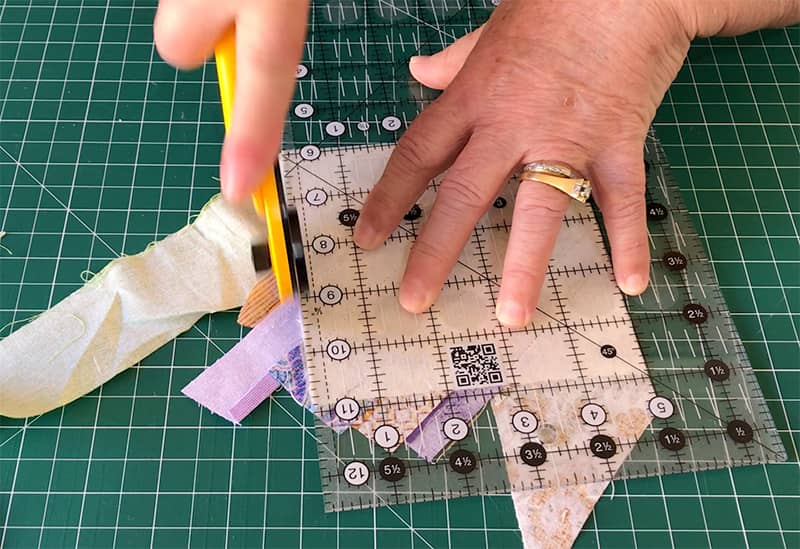
Trimming the Mug Rug
Now this is the fun part. We are going to trim back the excess fabric and have the big reveal on how your mug rug is going to look
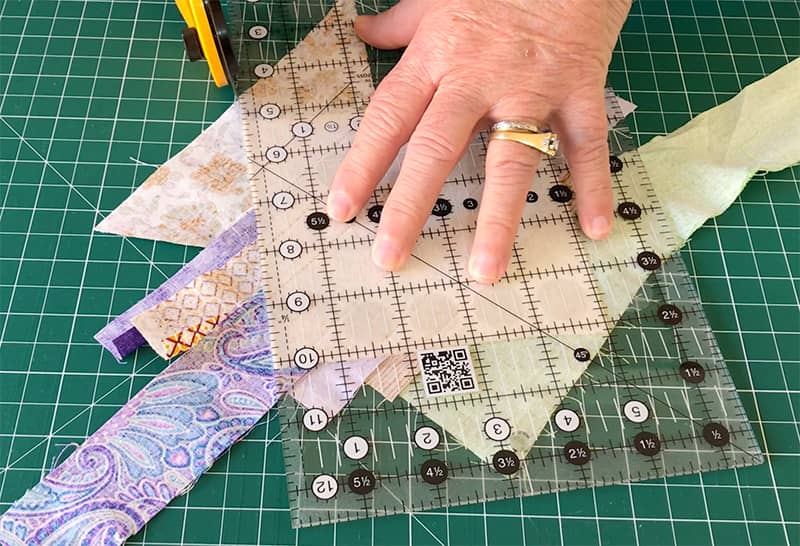
- Turn the piece upside down so that the batting is facing upwards.
- Line up your ruler along each side of the batting and trim of the excess fabric.
Now don’t throw out those scraps. They can be used for other scrap projects and for crumb quilting. Here is a link to our crumb quilting video, if you ‘re not sure what crumb quilting is all about. It’s an excellent way to use up teeny tiny scraps and turn them into usable fabric pieces.
Turn the piece over and marvel at your creation.

Add the Backing
We haven’t quite finished yet. Now we need to add some backing fabric as our finishing touch.
Take a piece of fabric that measures 5” x 5” and place it face down on top of your masterpiece.
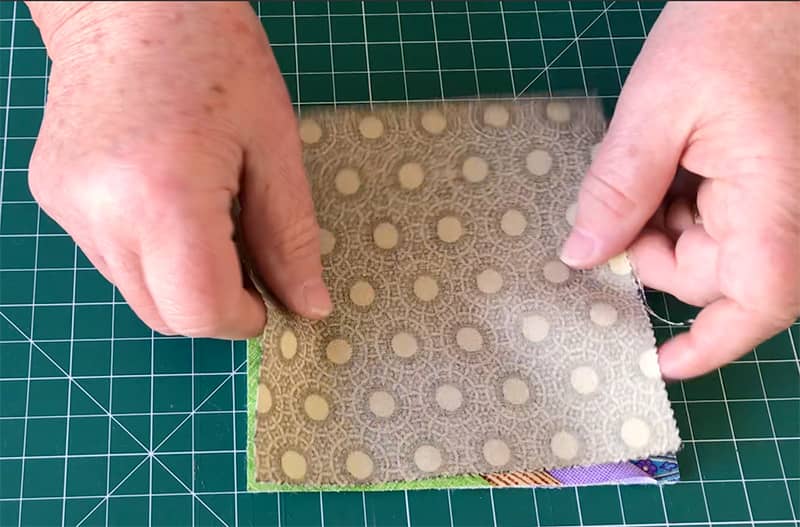
And we want to sew around the edge with a quarter inch seam. Make sure to leave a gap on one side so that we can turn it through.
I did start and end with a backstitch as this helps to keep the stitches in place when you’re turning it through.
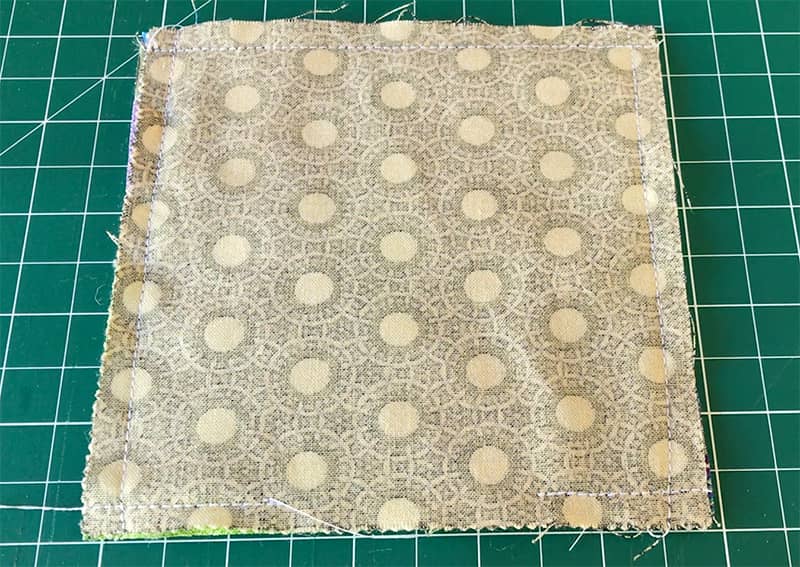
When I sew around the piece you will notice that I have sewn right off the edge of each row of stitching. I haven’t pivoted at the corners.
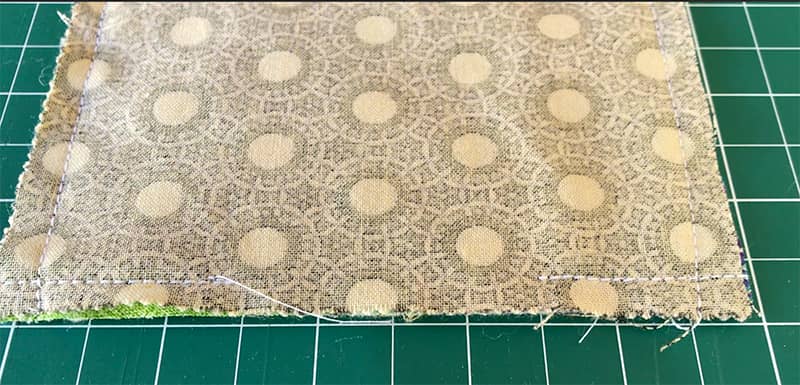
Here is a photo of what that looks like. You can see where I have left the opening and also how I have sewn off the edges.
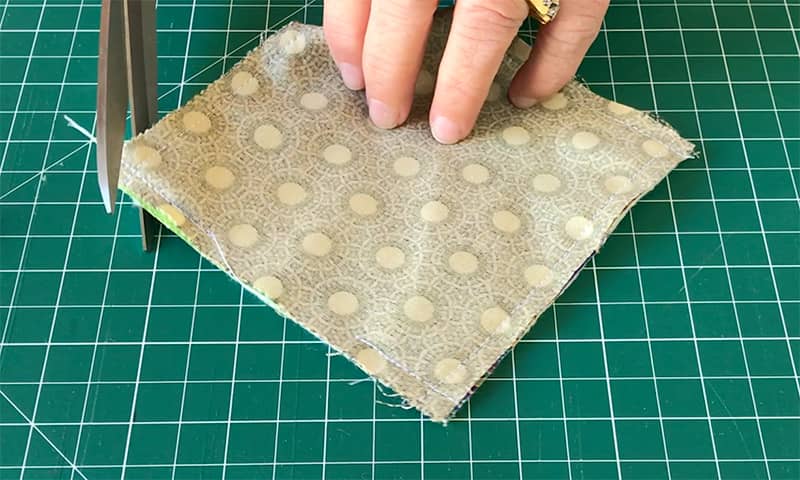
Trimming the Corners
Once you have finished sewing it’s time to trim the corners. Trimming the corners helps to reduce the bulk.
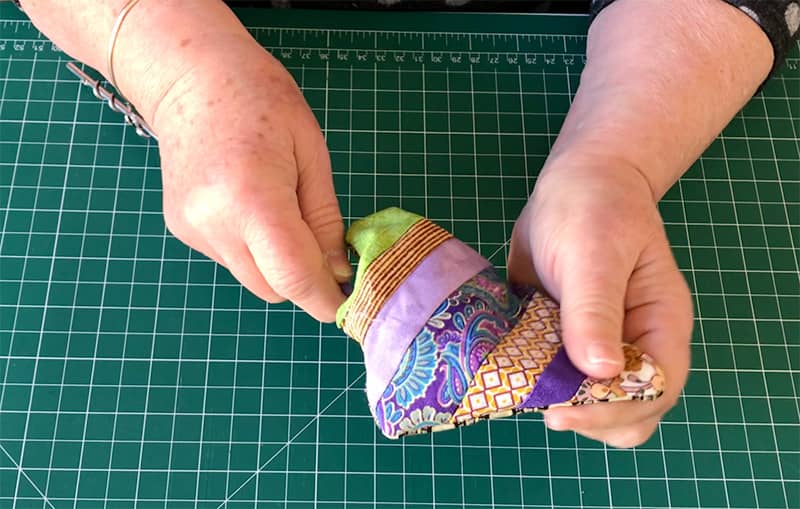
And now we need to turn it through, and that is why we left that gap at the top.

After you have turned it through, do your best to poke out the corners. I use an apple corer to help with this, but you can use the blunt end of a skewer or your scissors. However, if you use scissors be very careful not to push to hard as you may end up tearing through your fabric.
Ironing
Now its time to give it a final press. Make sure that the opening at the top is lined up nicely. To do this you want to fold in the edges so they line up and then give it a press. Take your time with this as this will make it neater and easier for the final sewing step.

Sew Around the Edge
For the finishing step we just need to top stitch around the edge of the mug rug. This will seal the opening and give the mug rug a nice finish.
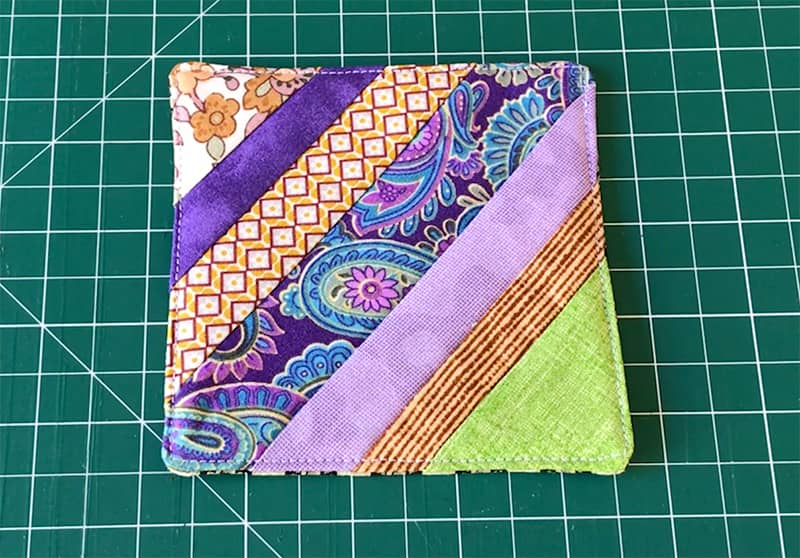
I generally sew around the edge with about an eight of an inch seam. Start and end with a small backstitch and we pivot at the corners. So we aren’t going to sew off the edge this time.
And there you have it, another great scrap busting project. And as I said at the beginning, why not make a few and tie them together with a pretty ribbon or piece of lace. They make great little gifts,


Sarah H. Stroup says
Please unsubscribe. Thanks
Alanda Craft says
You have been unsubscribed Sarah
Debbie says
Hi girls! I love your projects and want to make all of them so I have to pace myself :}} I am currently working on the quilt as you go squares that I’m alternating with some embroidered squares. The mug rugs are like miniature versions. So I had a brainstorm and will make some slightly larger than the mug rugs to be a hot pad for you coffee or tea pot. These will be a great gift!
Alanda Craft says
Hi Debbie thank you for your lovely comment 😊. Love your idea of alternating the squares with embroidered squares, and also making the mug rugs larger. These are great tips for our readers. We would love to see you projects on the website and here is a link if you are interested in sharing some photos /submit-your-project/.