The Alanda handbag is ideal sewing project for those times when you want to run up a small bag that matches an outfit and that can be used to hold your phone and a few other personal items.
Small hand bags are popular right now and bag is easy to make. Just follow our written instructions or watch the video to see just how easy it is.
So let’s get started.
Here is our tutorial on how to make the Alanda bag. These handbags are ideal to run up to match an outfit and for when you don’t want to be carrying around a large bag. You can slip your phone in the pocket on the front.
Watch the video tutorial below or scroll down for the written instructions
NOTE:
Its fairly straight forward but adding the gusset can be a little tricky.
This bag measures approx. 11″ x 6½”.
What You Need:
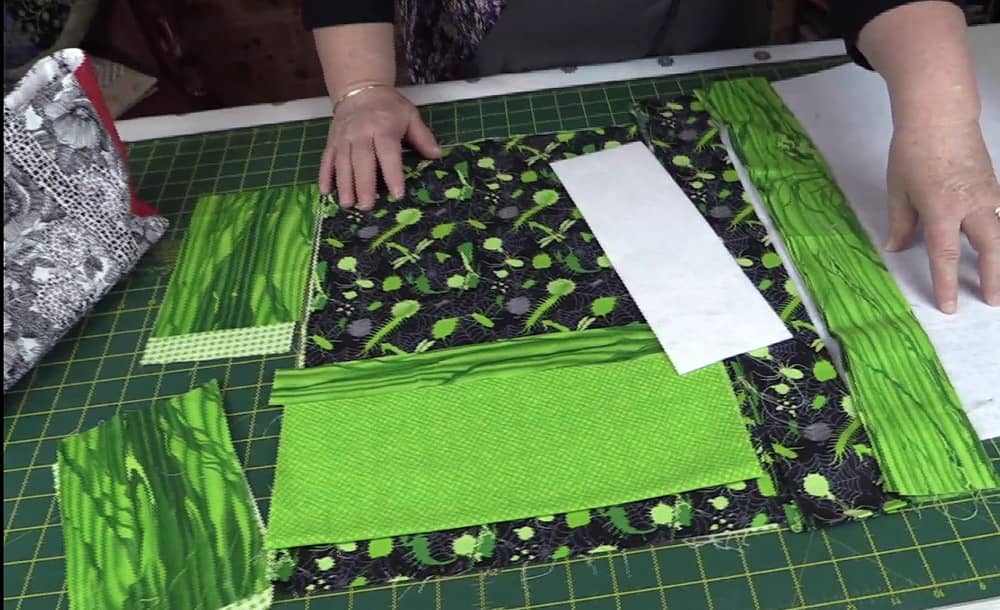
Main Bag Pieces
- 1 pce 18″ x 12″ fabric for main
- 1 pce 18″ x 12″ fabric for lining
- 1 pce 10″ x 12″contrasting fabric for pocket
- 1 pce 1½” x 12″ contrasting fabric for pocket trim
Gussets
- 2 pcs 4½” x 7¼” contrasting fabric for gussets
- 2 pcs 4½” x 7¼” lining fabric
Interfacing
- 1 pce 18″ x 12″ medium weight interfacing for the body of the bag
- 2 pcs 4½” x 7¼” medium weight interfacing for gussets
- 1 pce 3½” x 11″ heavyweight interfacing for the base of the bag.
Handles
- 2 strips 64″ long and 2½” wide of two contrasting fabrics for handles
Other
- 1 pce tubular elastic 8″
- 2 buttons
Method:
NOTE
Please note that the information below is just a basic outline. Please refer to the video tutorial for step by step instructions.
Main Part of Bag
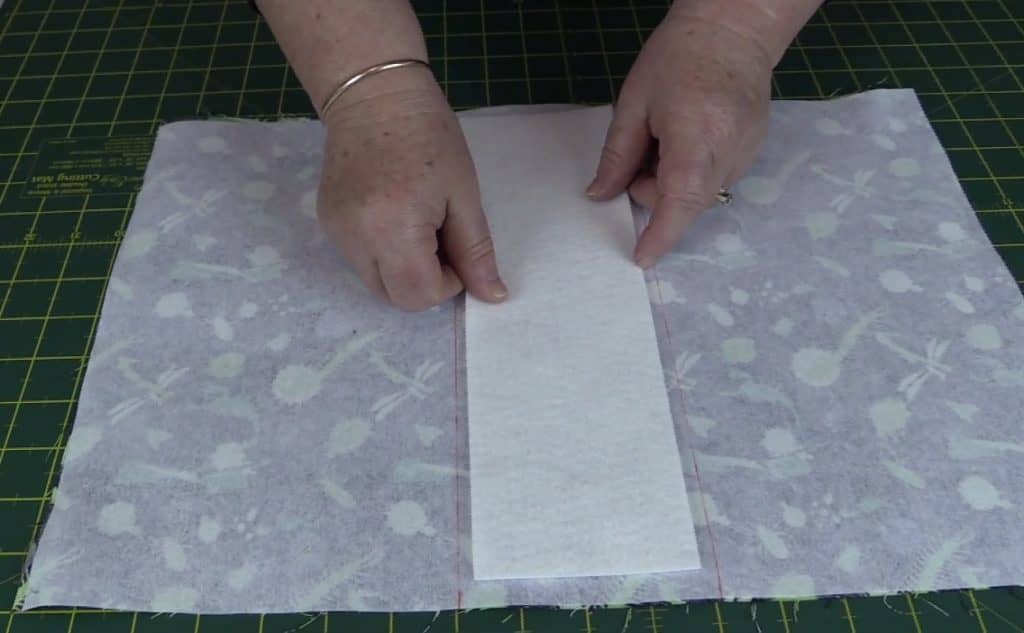
- Lay the fabric right side facing down towards the ironing surface.
- Iron medium weight interfacing to the wrong side of the main fabric.
Once you have the interfacing attached, do the following:
- Draw lines at 7″ and 11″ as shown below
- Place a piece of heavy weight interfacing in between the lines you have drawn and top stich into place.
- Make sure the cotton in your bobbin matches the colour of your main fabric.
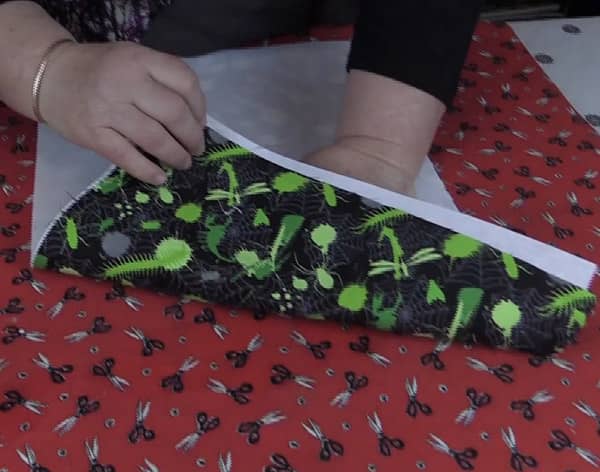
- Fold Pocket piece in half and press with the iron to get a nice sharp center crease
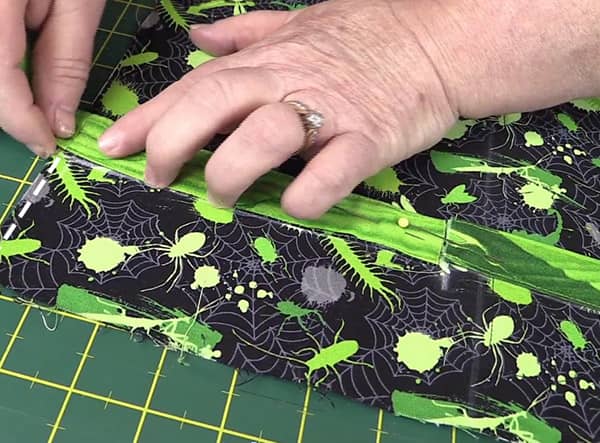
Pocket Trim
- Fold the pocket trim piece in half longways and press.
- Open and fold each of the side edges in to the center and press
- Fold trim over the raw edges of the pocket, pin in place and topstitch down to neaten.
Watch the video to see this in detail.
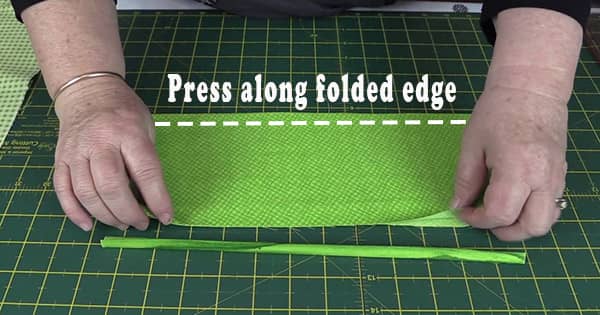
Handles
- Two strips measuring 64 inches are required for your handles.
- You will need to sew a number of strips together to get 64 inches.
- Place the 64-inch strips face down on top of each other and sew together down one long edge with ¼” seam.
- Press seam open.
- Fold each edge to center and press.
- Top stitch down each edge to create a two-toned handle.
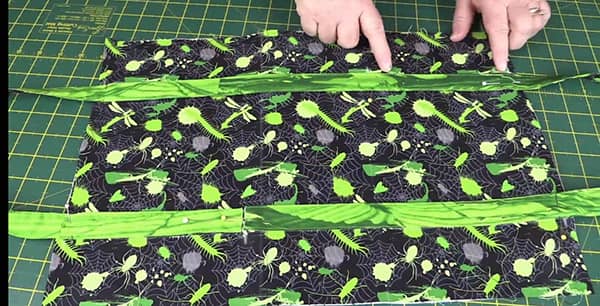
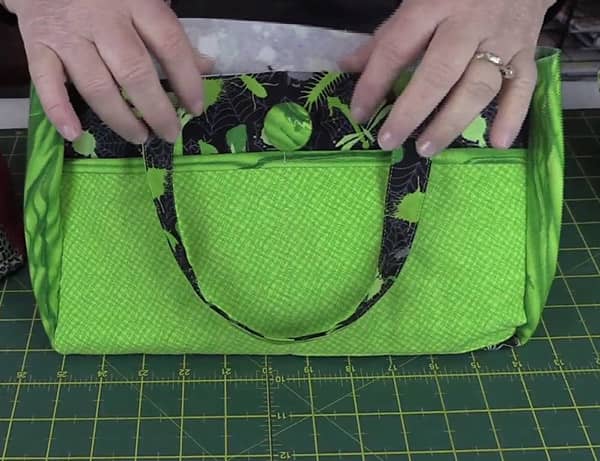
Attach the handles to the bag.
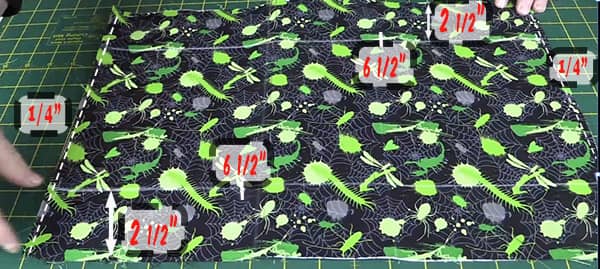
- Measure and draw a line 2½” in from the sides and all the way down the bag.
- Draw a mark 6½” from the top of the bag intersecting the line you just drew.
- Draw another line on both short edges of the bag ¼” from the edge.
- Take your handle and fold it in half.
- Place a pin or draw a line at the halfway mark.
- Lay the handle along the line putting the two raw-edges close together at the 6½” mark and the halfway pin on the 6½” mark on the other side of the bag.
- Pin handle in place and topstitch to bag keeping stitch line as close as possible to the previous topstitching on the handle.
- NOTESew only as far as the ¼” marks on all four edges.
Front of bag showing handles pinned in place.
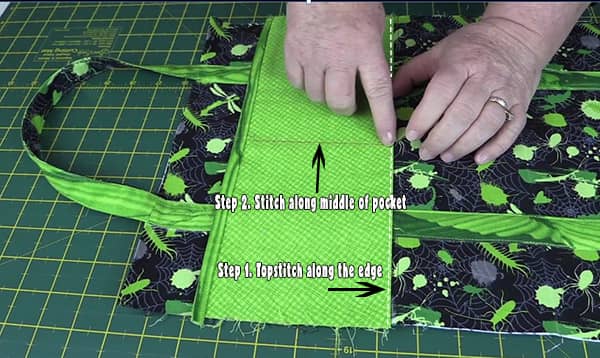
Attaching the Pocket
- Fold the pocket in half and draw a line at the halfway mark – should be 6″
- Now place the top of pocket 1½” from the top of the bag and pin in place. You will now topstitch along the lower edge of the pocket to hold the pocket in place.
- Sew along the line you have drawn at the halfway mark, backstitching top and bottom to keep pocket securely fastened to the bag.
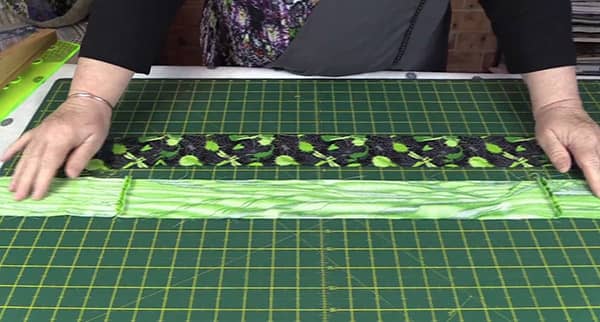
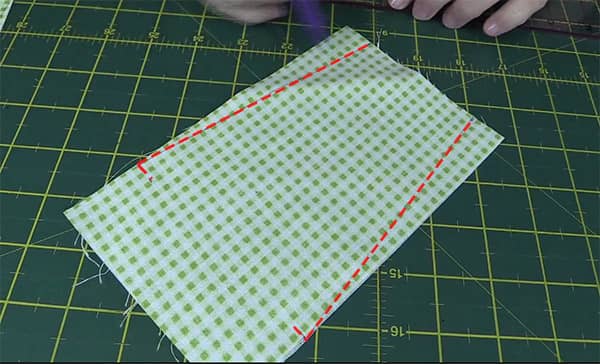
Gussets
- Take your gusset squares and measure 1½” up from one edge on the long edge of each piece and make a mark with your frixion or water soluble pen.
- Measure in ¾” on each side on the other edge on the short side and make a mark.
- Draw a line from the 1½” mark to the ¾” mark and cut along this line to get the gusset shape.
- Repeat with all 4 gusset pieces.
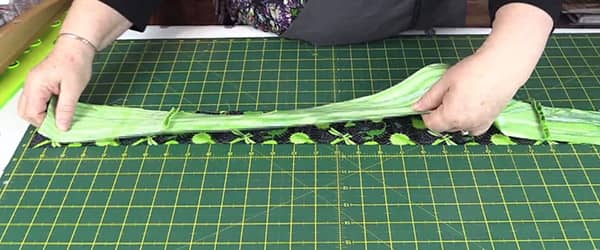
Adding the Gussets
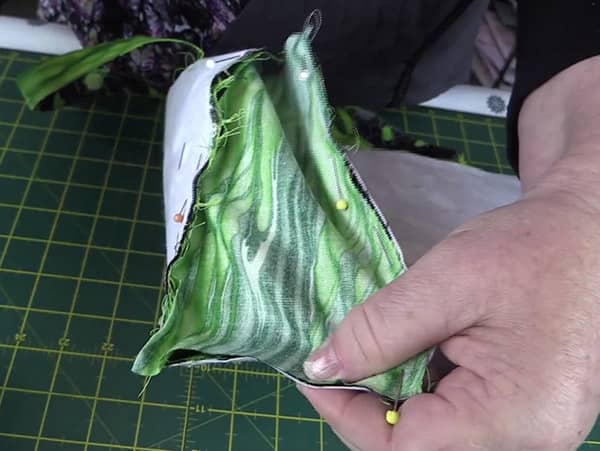
- Place one gusset to the side of the bag making sure the edges line up and pin. Sew a ¼” seam down one side, pivot and sew along the bottom of the bag, pivot and sew up the other side. (You may want to watch the video for this step if you are unsure how it is done. I was unable to get a clear picture of the process)
- Repeat for the other side of the bag and do the same to the lining pieces.
How to Finish the Bag
- Add a button to ea side of the bag. Use buttons with a shank so that you can thread the elastic through one of them so that the elastic can be looped over the button on the other side to close the bag.
Add the Lining
- Turn the lining inside out and place the bag inside the lining – right sides together. Make sure the handles are tucked into the bag so they don’t get caught up in your stitching.
- Sew around the top of the bag leaving about a 4-5 ” gap between one lot of the handles. This is so you can turn the bag through when you finish stitching.
- Use a ¼”inch seam and sew close to the handles as you can, making sure you don’t catch them between the lining and the main piece.
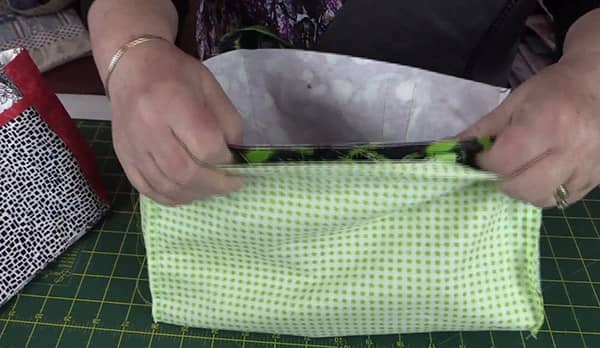
- Turn the bag through and topstitch around the edge sewing over the handles as you come to them so that they are anchored to the top of the bag.


brian says
alanda bag. great bag nice to make, i have two to make one for my daughter and one for my grand daughter
i am looking forward to making them i will let you know how i get on. thank you. brian; west midlands england
Debra Davis says
I just finished watching your tutorial! I know I can make this, but I was wondering if with this pattern can I put in a recessed zipper instead? If so, would you be able to add that to your tutorial, or make one showing how to put one in? I have never added a zip to anything, and have no clue how to go about doing so!! ugh! lol thanks so much! I love your videos by the way! You make everything look so easy to do! Thank you again!!! 🙂
Alanda says
Hi Debra, putting zippers into bags is on the to do list. I’m not sure when it will be as we are working on the Brother ScanNCut training course at the moment. But once that is finalised we will get back to doing the quilting and sewing tutorials. And Thank you so much for your lovely comment.
Debra Davis says
oh awesome! thank you so much! I will keep watching for it then! I love your website!!! Very grateful for all your hard work!!!
Amber says
I want to make this handbag, but a little bigger. It won’t fit everything I have inside of one this size. Do I just double the measurements? I’m new to this, so I am unsure. Btw..I love your videos. You make everything so simple and easy to understand.
Alanda says
Thank you for your lovely comment Amber. We haven’t made this in a bigger size because at the time this is the size we were looking for. There are a number of calculations involved so it probably isn’t as easy as just doubling everything. Sorry I couldn’t be of more help.
Michele Seko says
Sorry… I can’t find the finished dimensions of the bag. It’s super cute and the tutorial is great!!!
Alanda says
Thank you Michele. I have added the dimensions to the blog post. The bag measures approx 11″ x 6 1/2″.